
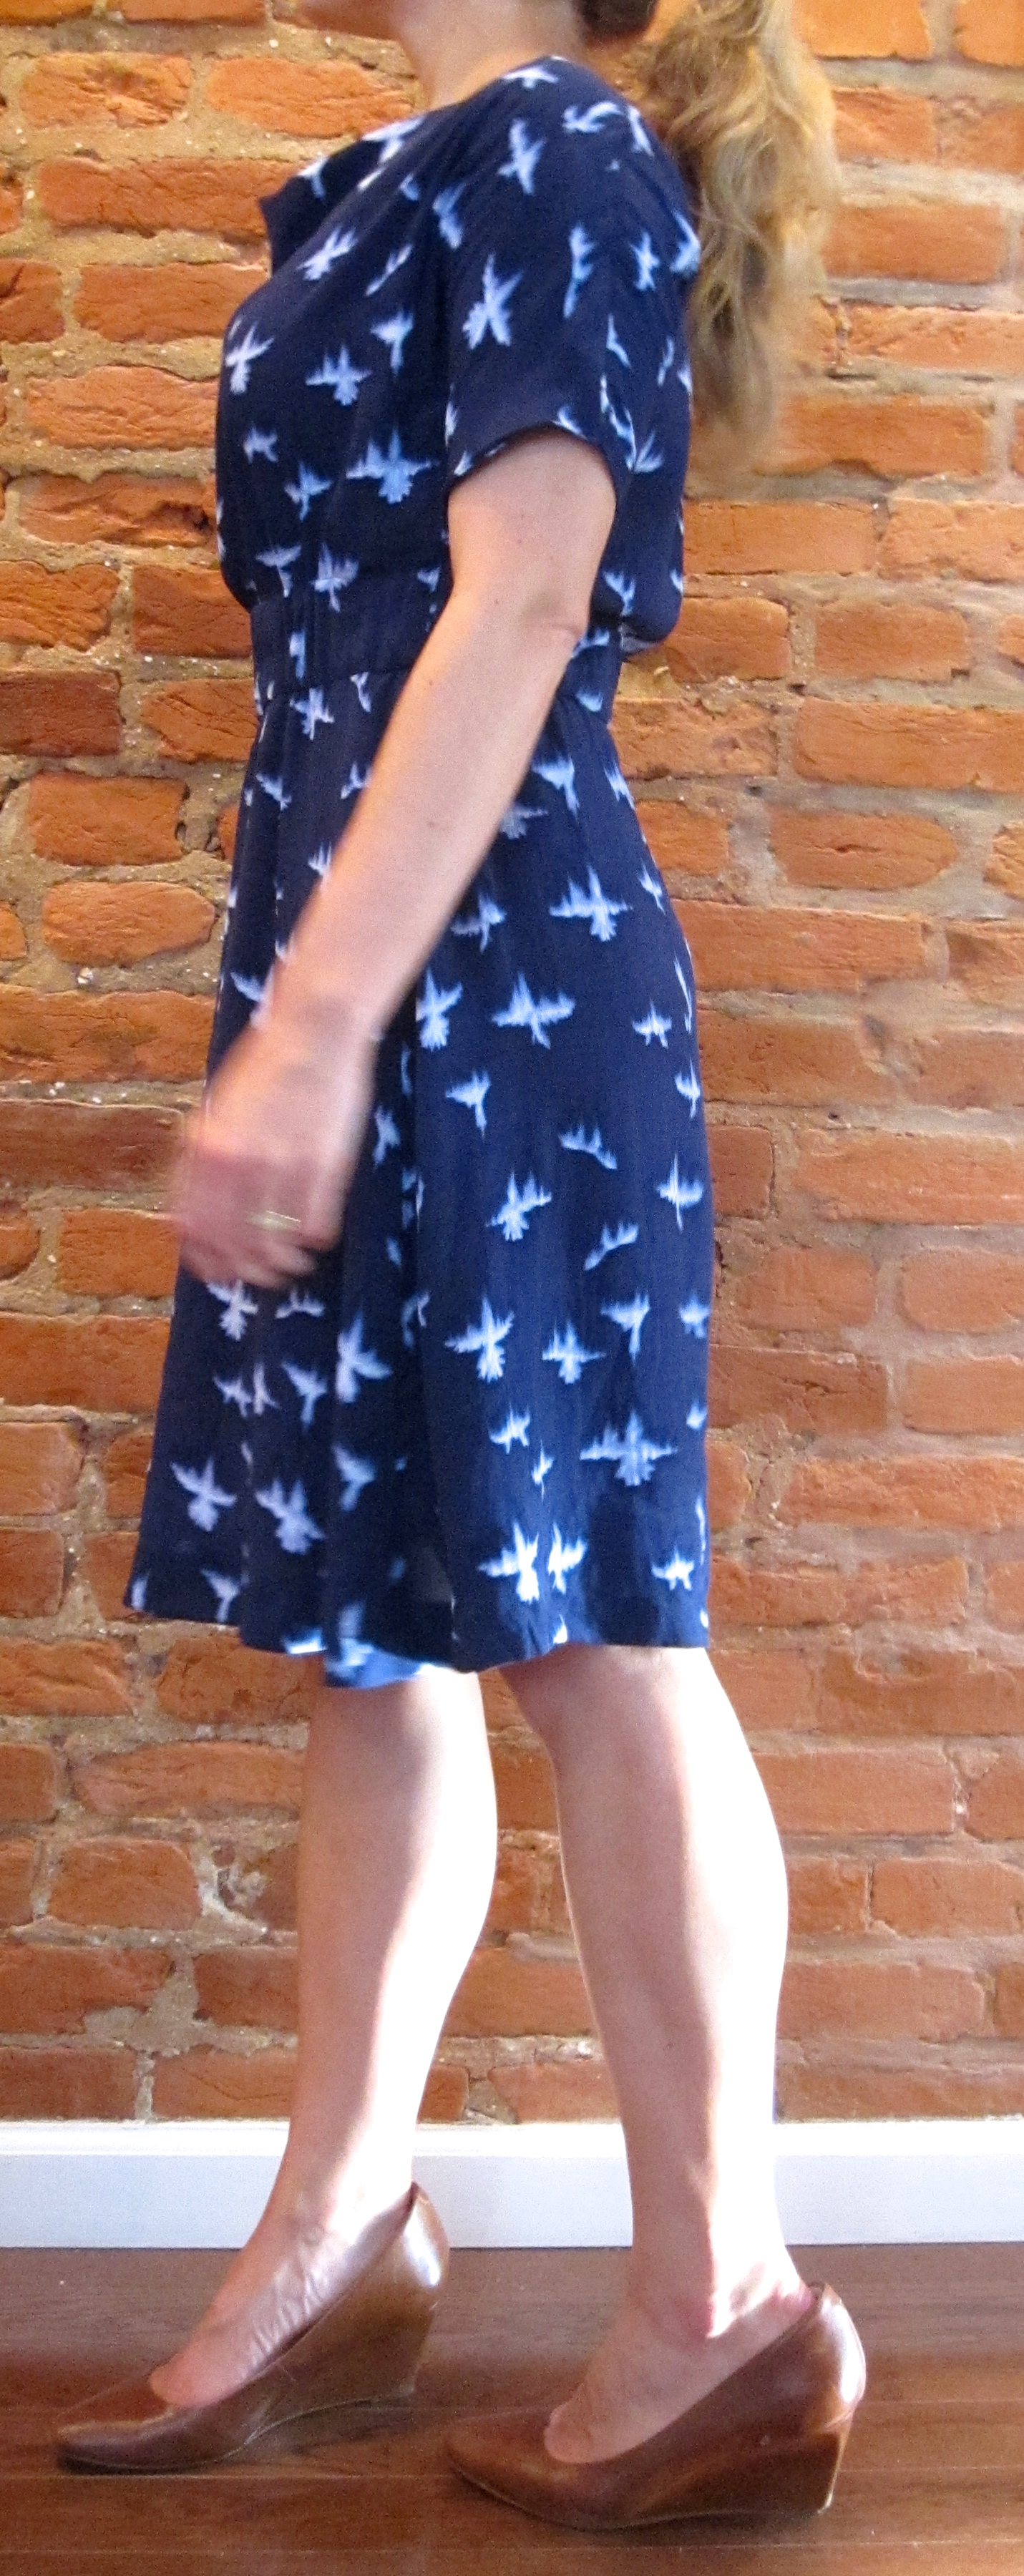


I was pretty grump after making my first Colette Myrtle, and I really wasn’t planning on a second one. But this happened anyway, in a rayon woven in a print that looks like shibori dye or maybe birds or possibly many small batmans. I’m much, much happier with this one than the first, but it took a lot of changes to get her there.
Let’s start with the most obvious one: She’s got sleeves. The proportions on my first attempt seemed a little off to me; with the massive cowl and the high waist it felt very ‘hello boys!’? chesty? I’m not quite sure what, but I thought adding sleeves might draw some of the focus away.
The sleeve hack was easier than I had initially thought it would be, because a kimono sleeve is essentially just a stretched out shoulder. The top of the sleeve is just the shoulder seam, extended several inches (I think mine was 7?), the armhole becomes the end of the sleeve, and the side seam is essentially curved out under the arm and then extended to match the length of the new shoulder seem. To execute this, I
:: traced my pattern onto Swedish tracing paper
:: followed the original shoulder seam slope (It slopes a tiny bit) out several inches
:: measured the circumference of my arm (~11 inches), divided by two, and added a little to get the length of the sleeve hole.
:: drew a line the length of the sleeve hole perpendicular to the shoulder slope
:: curved the side seam out and extended it to meet the new sleeve hole.
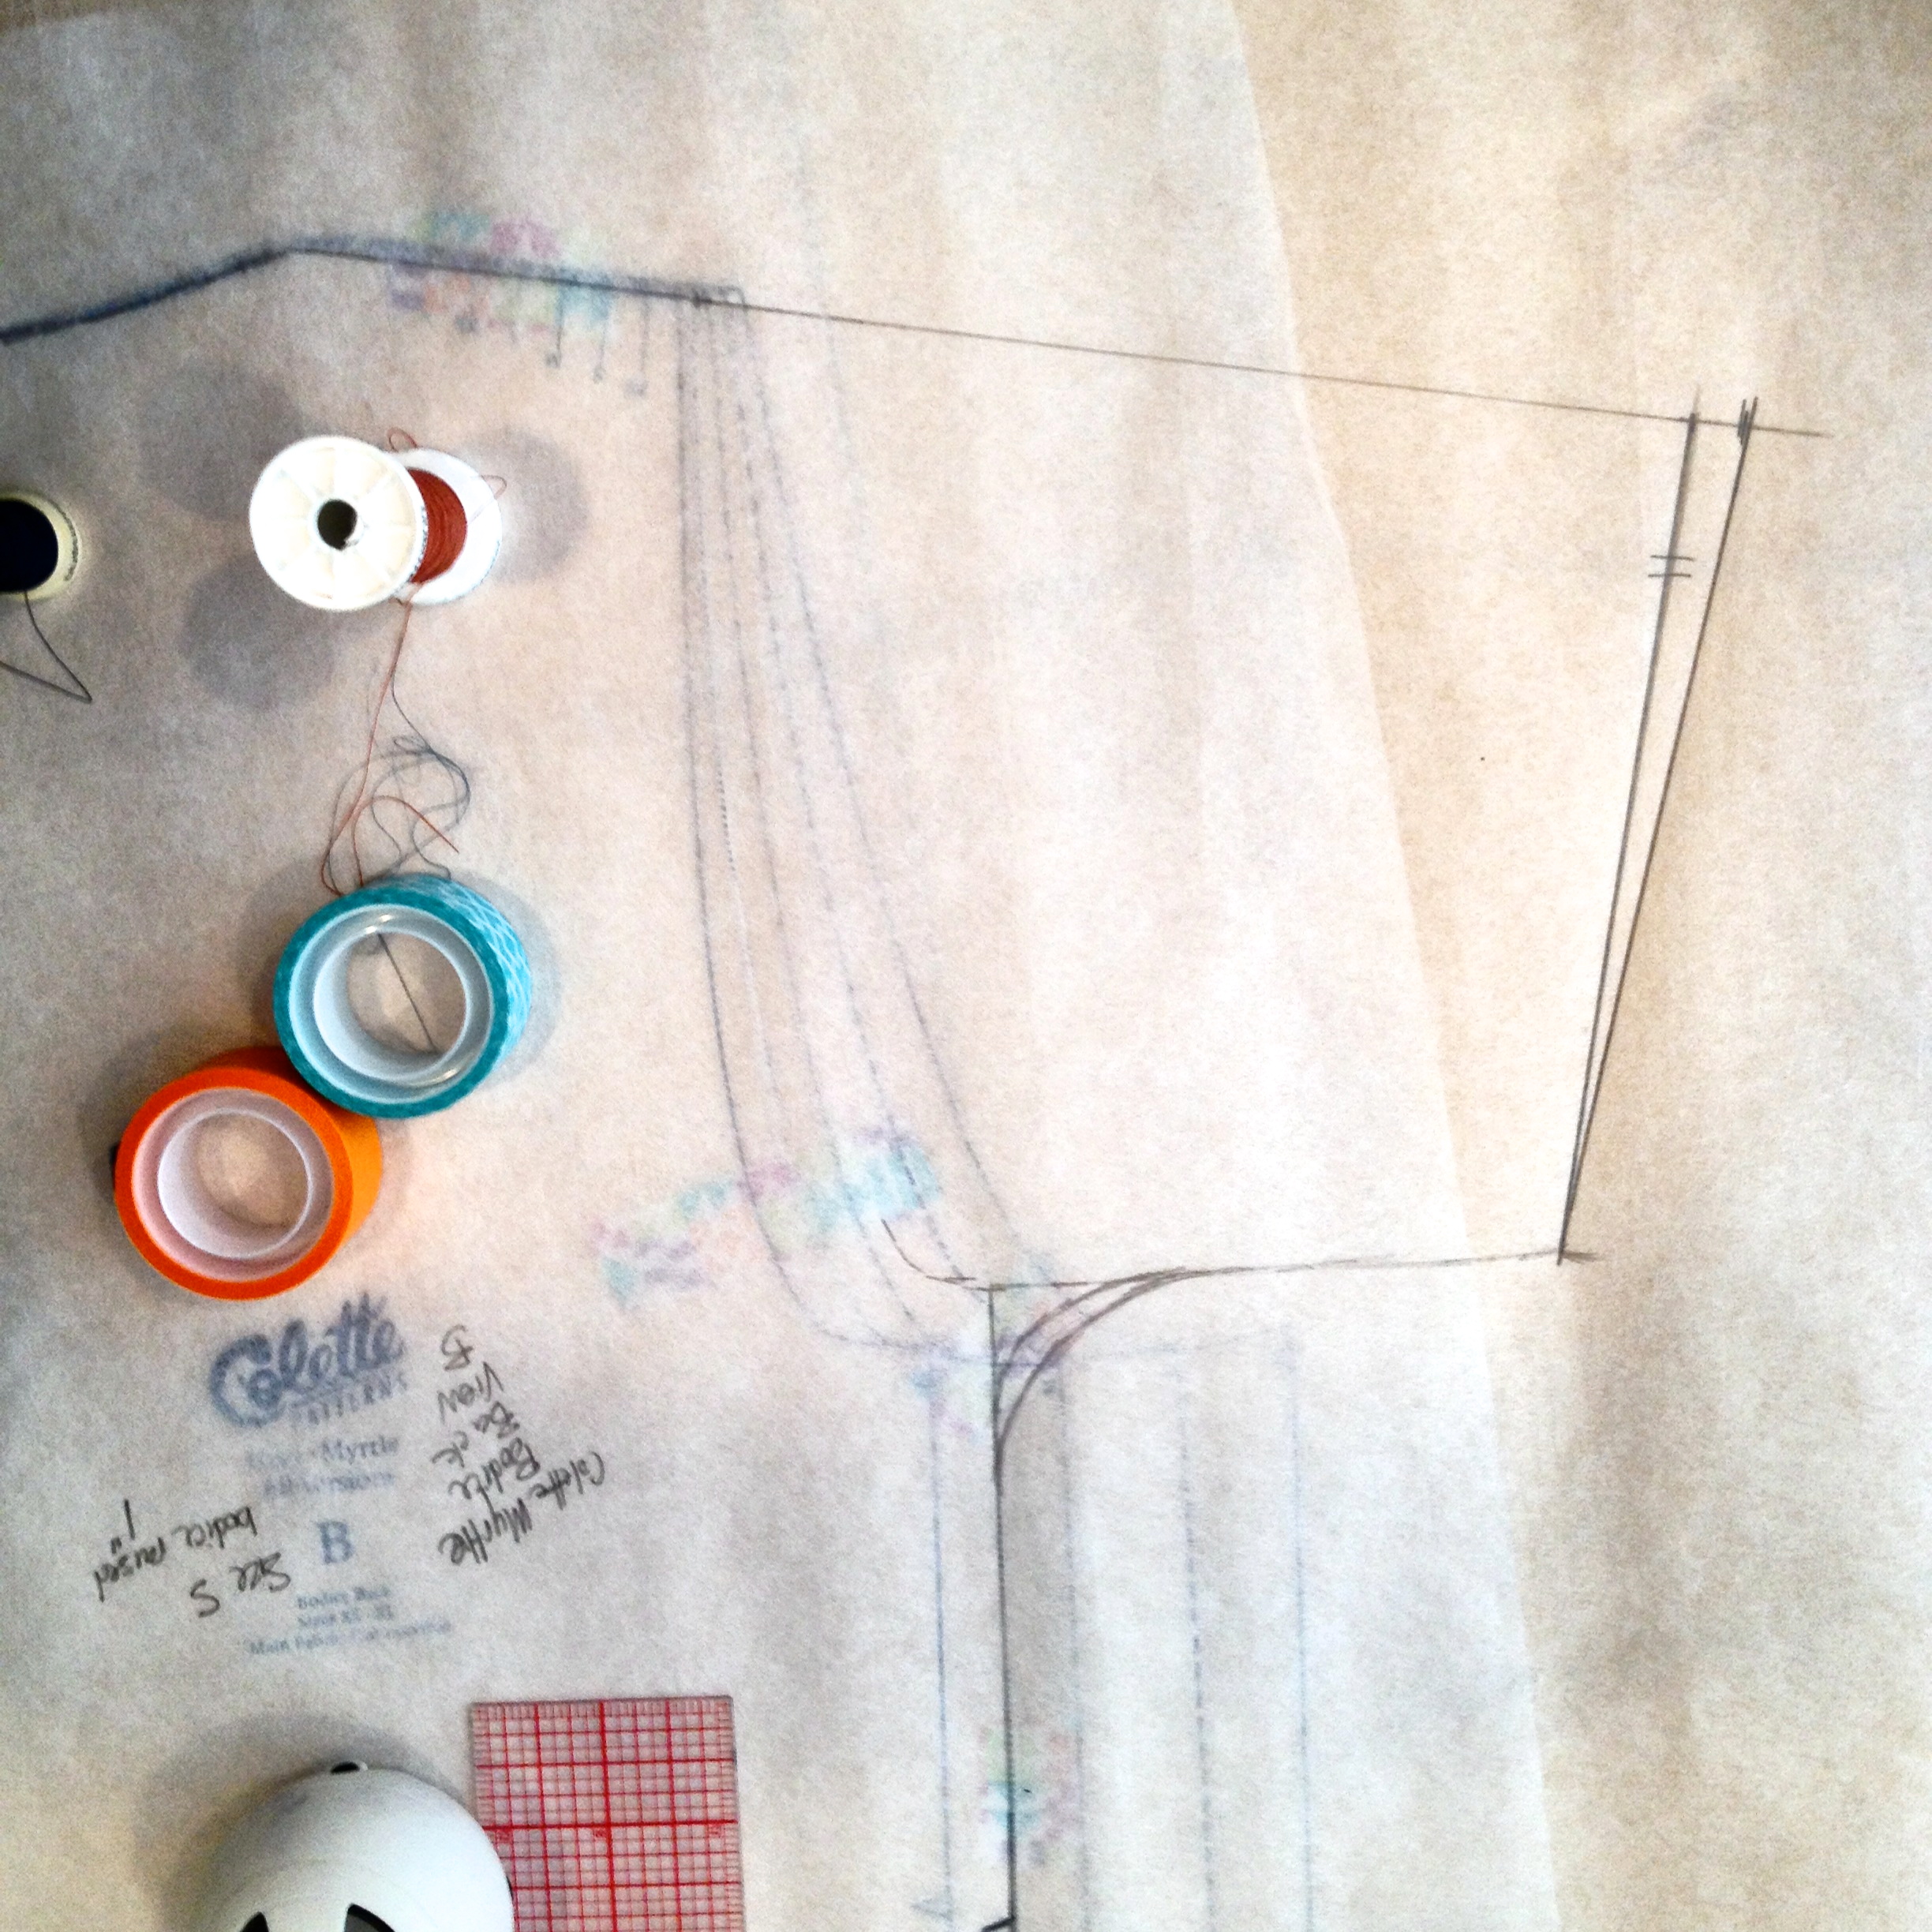
I did this on the front and back bodice pieces, making sure they matched up.
The construction does not change much at all. If you’re following the Colette instructions, treat the new shoulder seam as the original shoulder seam, treat the new side seam/under arm combo seam as the side seam, and treat the sleeve hole as you do the arm hole. Not so bad!
Be generous with your sleeve ease. I wasn’t and had to unpick and reduce the seam allowance to 1/8 of an inch in order to get myself a little more room. In some spots I ended up with a bit of a mess and some top stitching. I’ve lightened this photo so the detail of this eff up is more apparent.
I made several other construction changes as well.
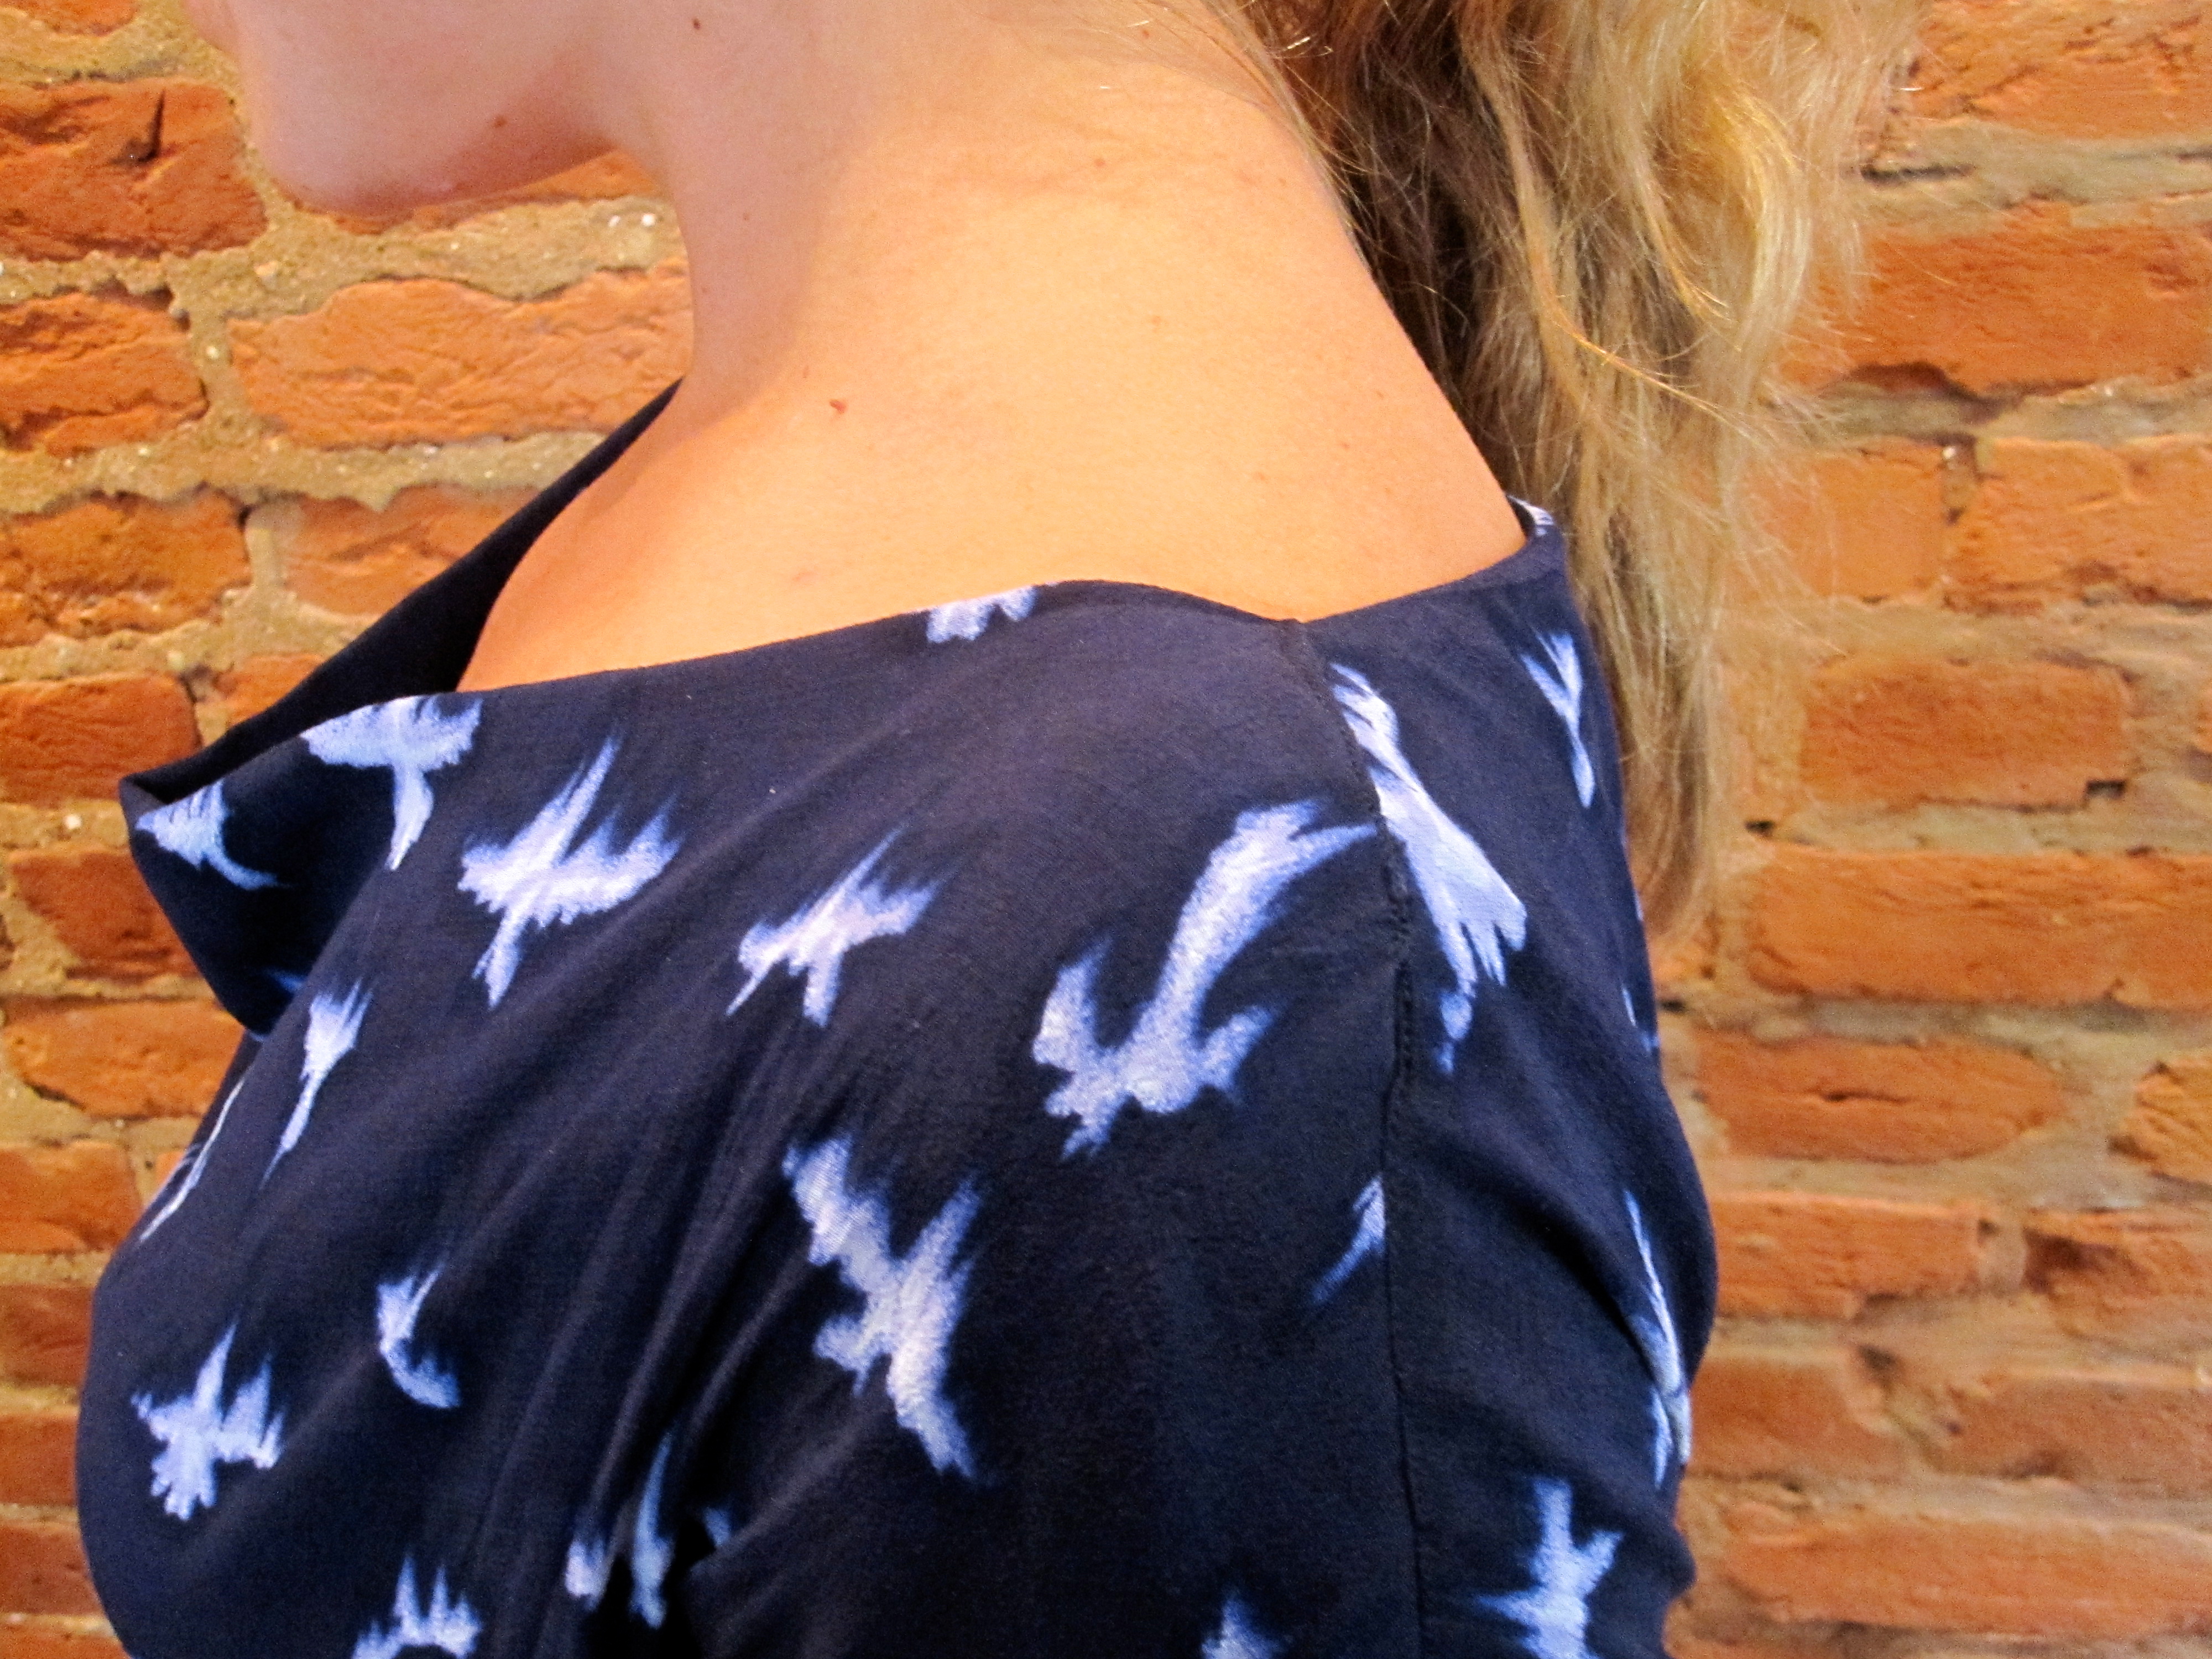
:: On the back bodice pattern, I took out 3/4 of an inch from the top neck, grading to zero at the waist. That took care of the pretty severe back neck gaping that seemed so common. (You can see in the photo above how much better it is.
:: On the front bodice piece, I took out 3/4 from the top neck, grading to zero at the waist. Helped keep the cowl from going so low, though in hindsight, maybe reducing by 1/2 at the top would have been enough. I’m not the only one to have done this.
:: I self-lined the back bodice as well, just by cutting out another piece and sewing them right sides together at the back neck and armholes using a 3/8″ seam allowance. (The Colette instructions tell you to turn and press 3/8″ for the knits at the back neck and armholes, so I was just trying to get my self-lined bodice to a point that would be analogous to the unlined back bodice in their instructions). I then turned it right sides out and pressed, and treated it as a single piece for the reuse of the instructions..
:: Increased the skirt waist band height by 1″ in order to accommodate 2″ elastic. This makes the waist look a bit more defined than it did when I used the 1″ recommended, I think.
:: Raised the waist/shortened the bodice length by 1/2″.

:: Chucked the construction method for the waist band suggested in the instructions. It’s horrible and involves simultaneously stretching and pinning 30″ of elastic. Straight up goofy. I just pressed the edge of the waist band under by 1/4″, and then stitched it down to make the casing, leaving a gap that I then threaded the elastic through (pressing down initially tucks the raw edges of your waist band inside the casing so they don’t show on the inside).
:: Used the ‘long’ version for the skirt length. I’m 5’3″, and this is the long version turned up by 1″ and pressed, turned up by another 1″ and pressed and stitched down for a total hem of 2″.
So…what do you think? She’s better now, but I think one of these guys (or, one wearable one) is enough for my closet.


Oh yes, I was also unsure of Myrtle for the Hello Boys reason: I felt the huge cowl would make my bust look like some kind of shelf. It looks so much better with sleeves! How clever you are!
Oh! Shelf is a very good description of how it felt the first go-round. Using the thicker elastic and reducing the cowl helped a bit as well. But loads of modifications to not feel like I was drawing attention to my chest. depending on your torso length, lowering the waist might help as well
How do we add more ease? I want to add sleeves to my myrtle, but I am not sure where I would add the ‘generous’ ease you recommend? Would I draw the bottom sleeve seam down more? Sorry, I love your version but have not drafted sleeves before!
Kelly
Oh wow, great question! I had to re-read to understand. So when extending the top shoulder seam, DON’T follow the exact same slope as the shoulder. Flatten it out a little bit, so that the sleeve has a fatter circumference. Does this make sense? I’ll have to edit original post.