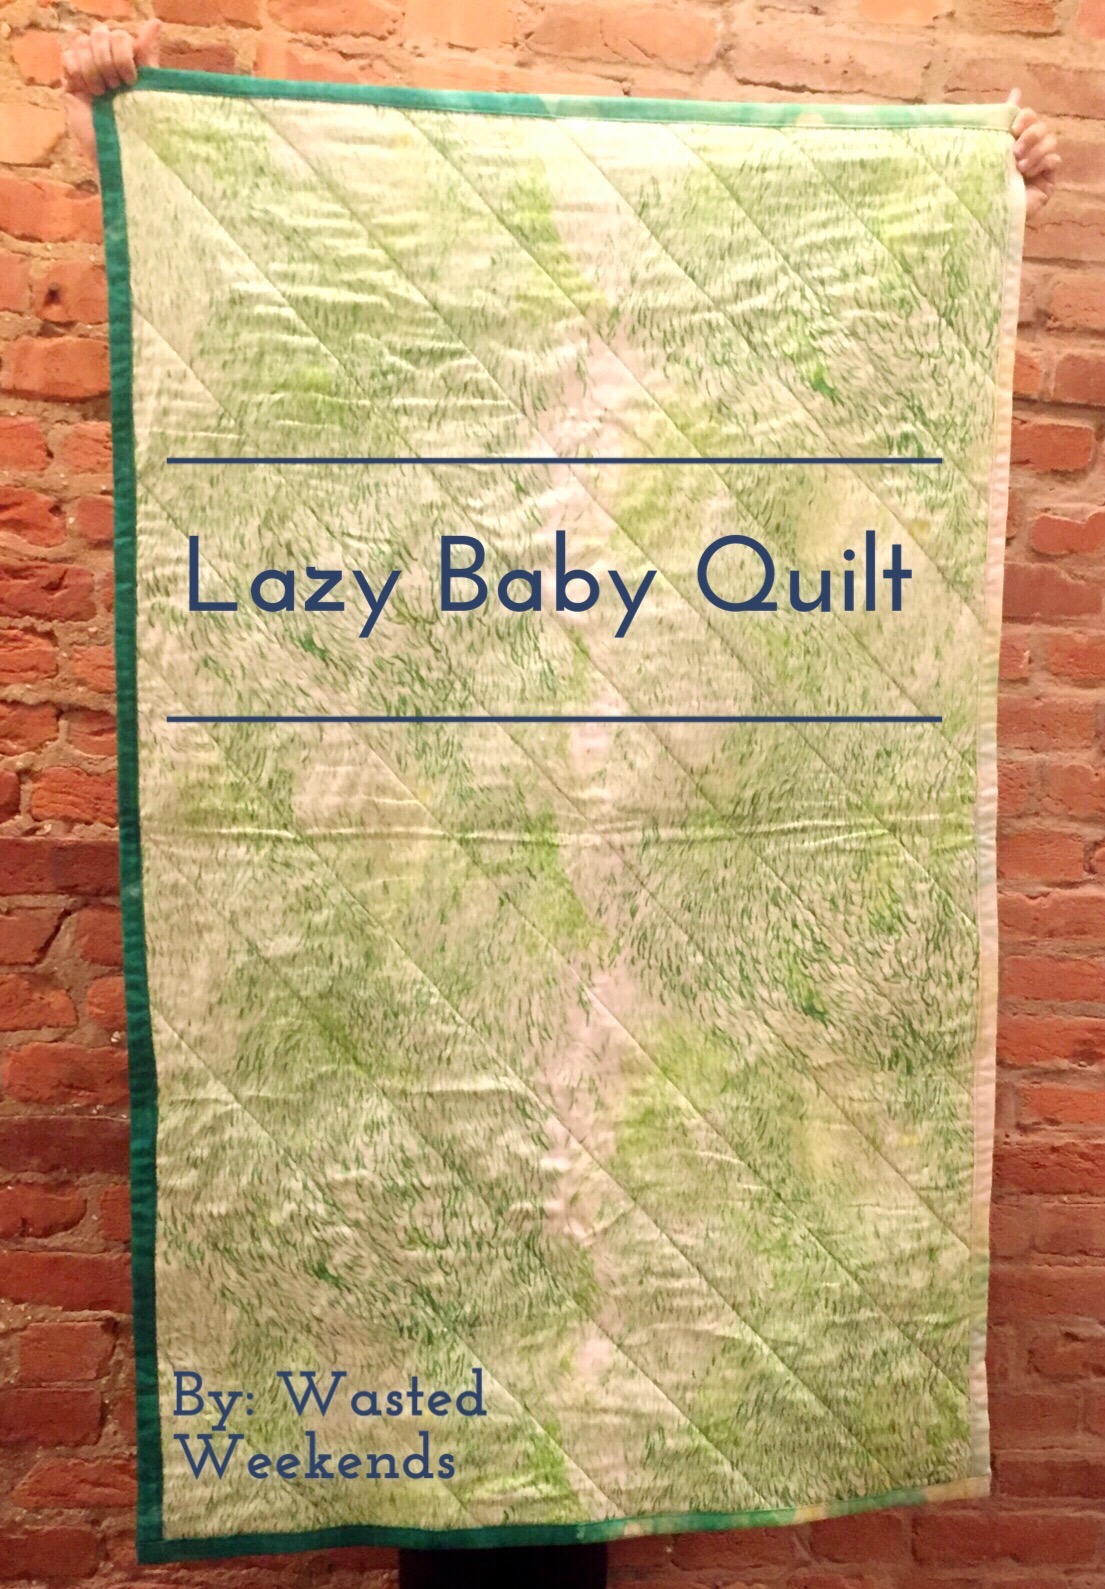
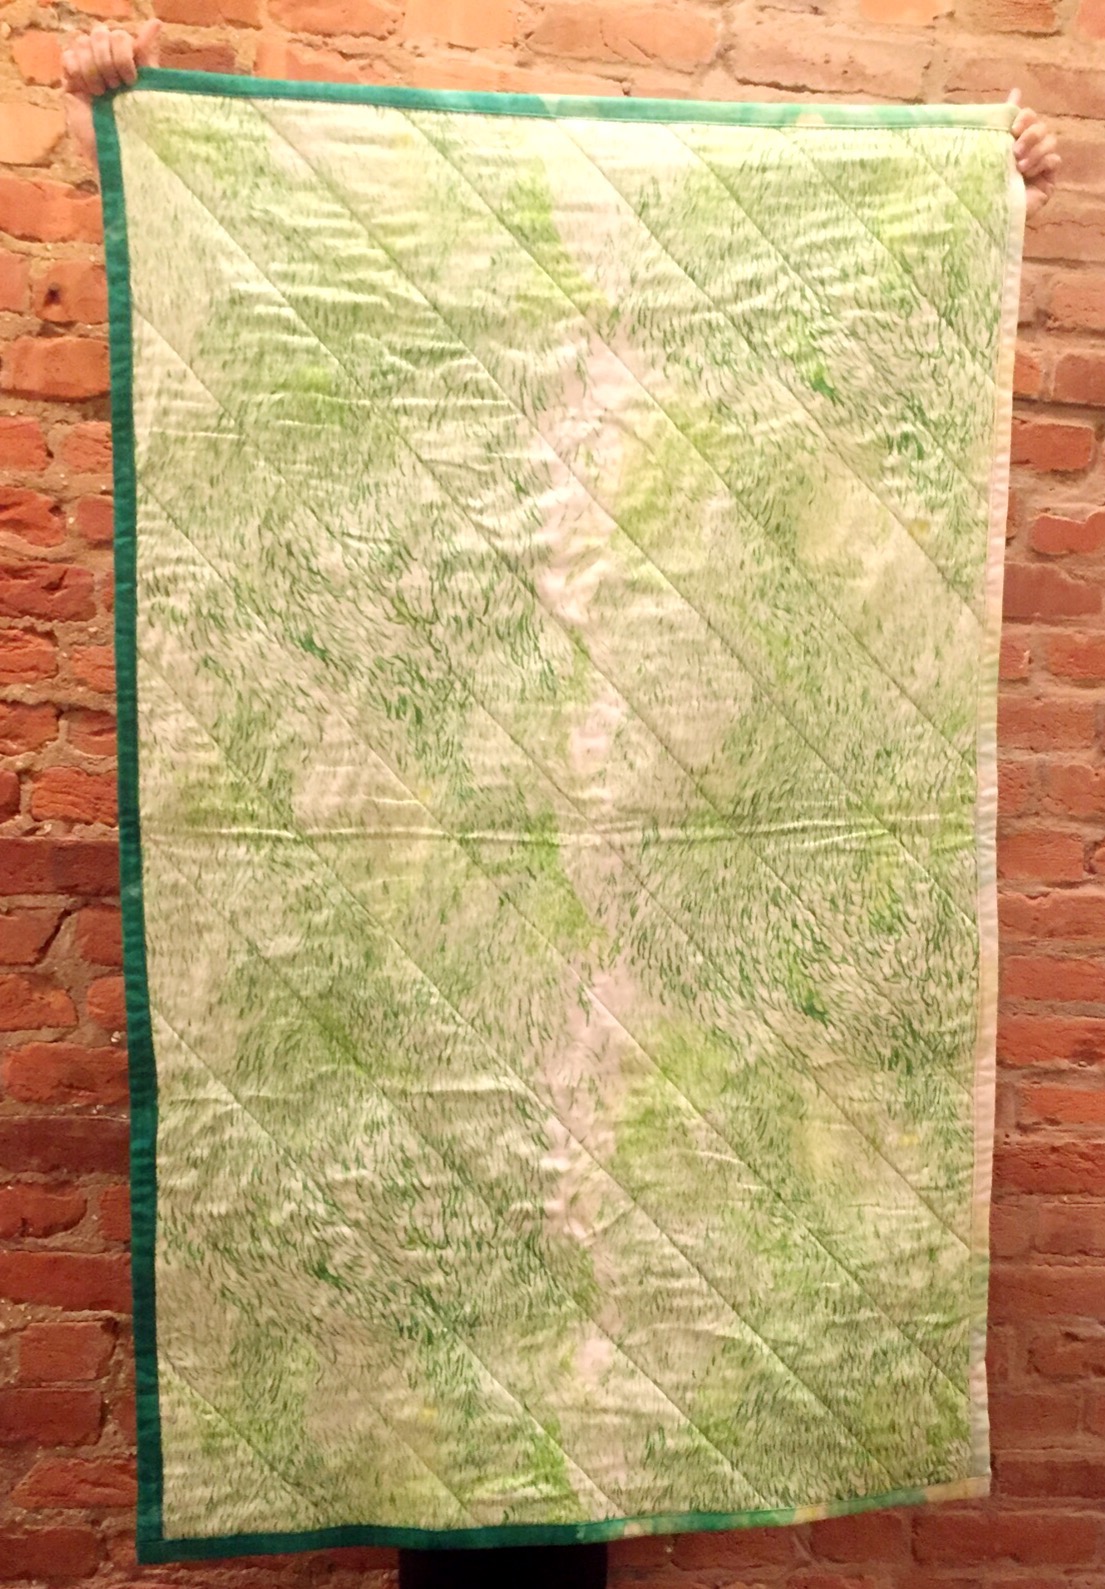
In that last few months, we’ve had two new babies to celebrate. I wanted to give them (eh hem, their parents) something handmade, but I also wanted to make something useful and fast. I don’t have the saint-like patience for tiny-stitch knit blankets or intricately-pieced quilting. I also don’t really have the time if I want to get back to clothes sewing and hold down a paying job.
So, here’s what I came up with for a striking but quick baby blanket. First I made this:
And then this:
I’m an embarrassingly slow sewer and it took me about six hours start (pulling fabric out of closet) to finish (final press on binding).
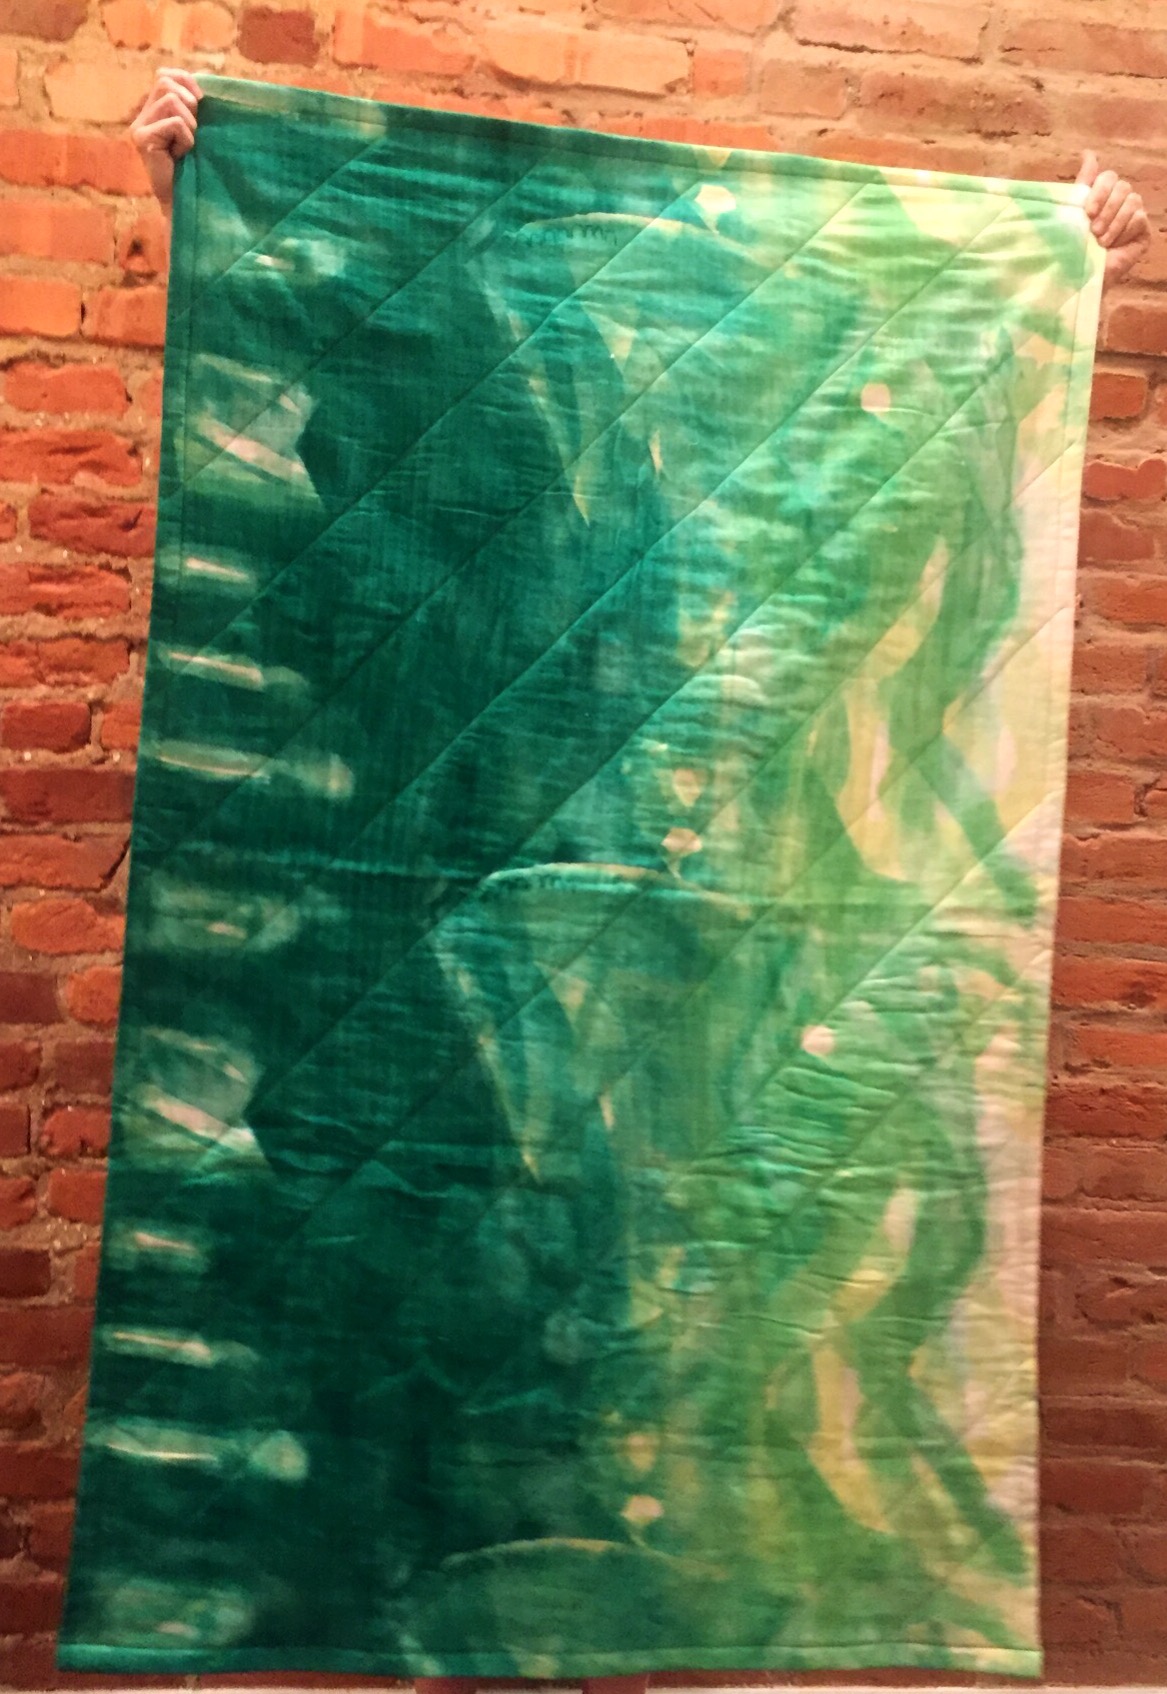
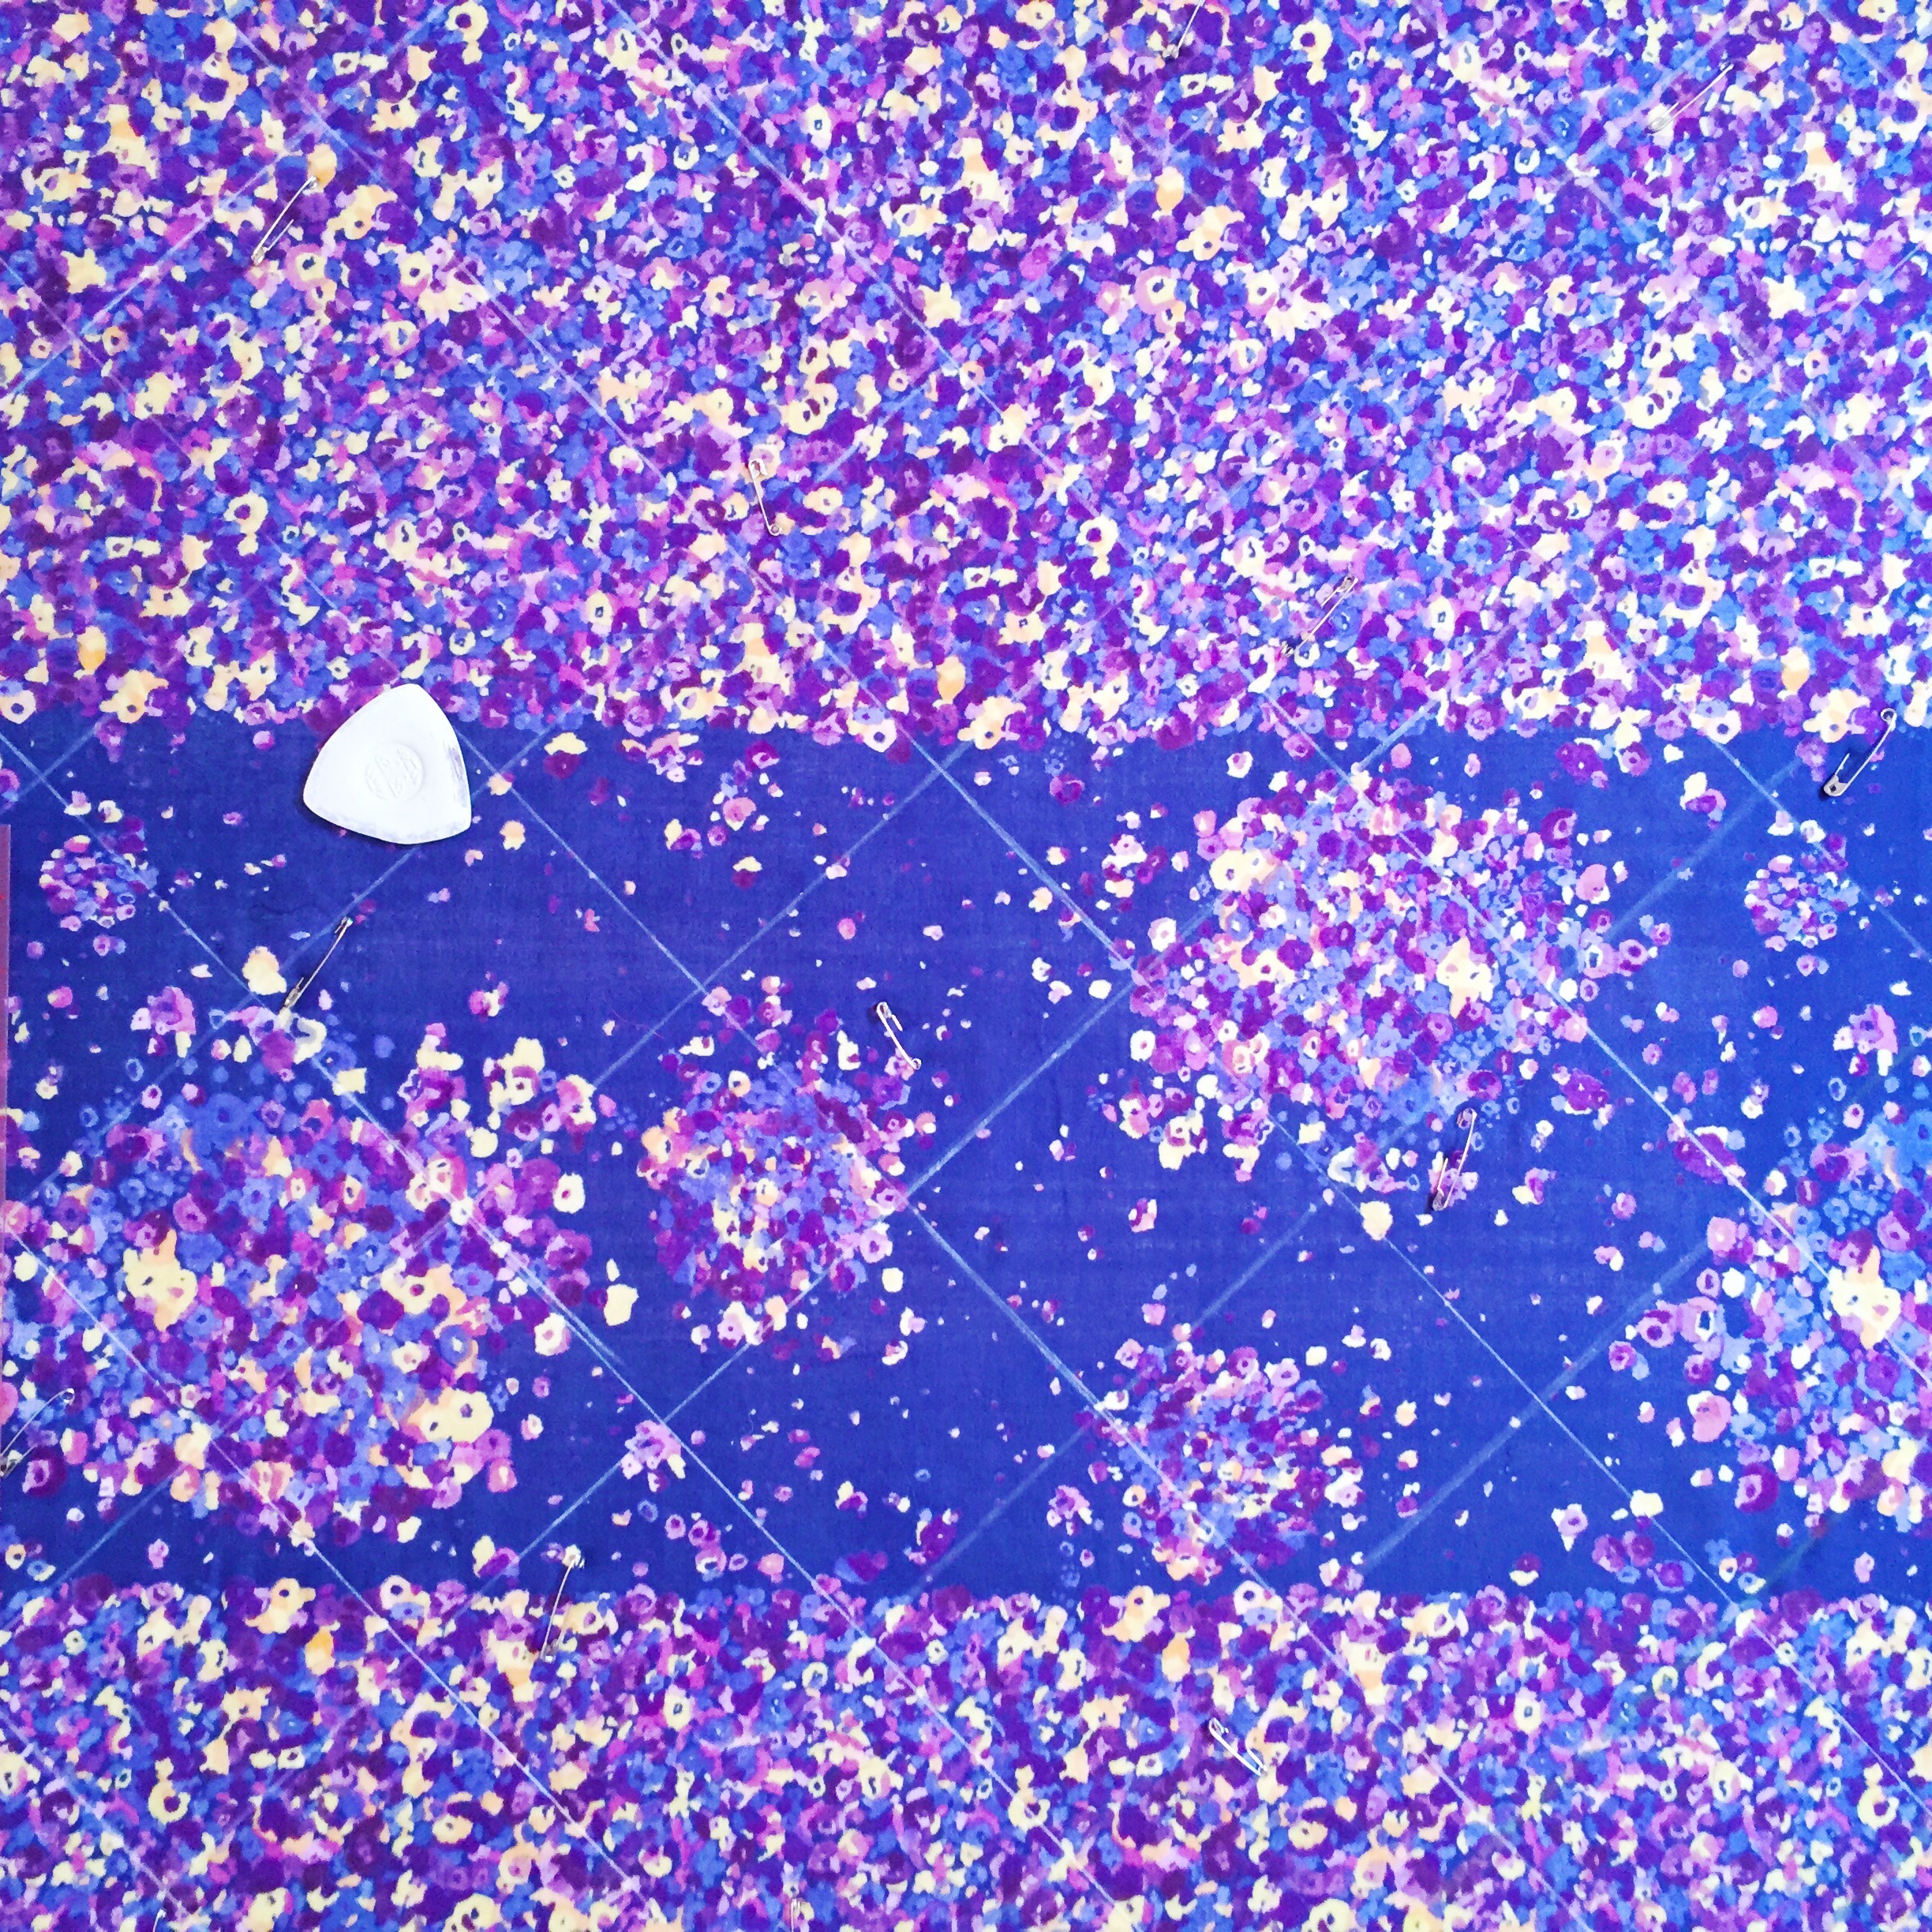
Since the quilt is very simple, it benefits from a really awesome fabric you want to showcase. For each, I used Nani Iro purchased through Miss Matatabi. I really love that fabric, but it’s just not my style for garments.
In terms of construction background: At first, I thought I’d use this tutorial for swaddling blankets. I thought about this lap ‘duvet’, but I didn’t like the puffy look of the edges.
I was resigned to layering my fabrics with batting in the middle, and having to bind them. For my first go — the green quilt — I roughly followed the idea of cutting out precisely-measured fabrics and layering them. But that was a little fussy and fiddly.
For my second purple-y attempt (and this tutorial), I used a much, much simpler method of layering first and cutting later. This wouldn’t work well if you’d spent loads of time piecing together a specific quilt top pattern. But if you’re just using some printed fabric, it keeps you from having to continually line up and rearrange your layers to get everything perfectly square.
In search of easy ways to bind, I more or less followed this tutorial for self binding which I roughly describe at the bottom.
A note: The felted cotton batting and the double layer gauze I used are quite ‘sticky’. There are a lot of fibers that help hold the layers together. But if you’re using fabric with a smooth, flat weave and or different batting material they might not have the same grip. That might require a bit more pin basting to keep everything secure.
Materials:
:: 1.5 yards top fabric
:: 1.5 yards backing fabric. This could be plain, or also have a cool print if you’re feeling nuts.
:: Crib sized batting (I used this).
Notions:
:: Safety Pins
:: Scissors
:: Chalk or invisible ink marker of your choice
:: Rulers (I used this one)
Step A: Before proceeding, wash your fabrics in hot water and dry them in a dryer on hot. Since these are for babies that spit and drool and barf and put things in their mouthes that have been on the floor, you want the parent of said baby to feel comfortable cleaning it. If you pre-treat the fabric roughly and shrink everything before making the quilt, you can offer the new parent assurances that they won’t be able to do damage just by doing requisite cleaning. Also, also toss the batting in the washer. Mine came in a package that said it didn’t need any pre-treating, but it felted up significantly once I washed it and shrunk a little.
1. Lay your batting on the floor.
2. Spread your topping fabric out on top of it, smoothing as much as possible but don’t kill yourself. If they aren’t exactly the same size, just don’t worry about it. We’ll square everything off later. Use safety pins at irregular intervals to ‘baste’ the layers together. This doesn’t have to be super fussy or precise. I probably used, I dunno, like 25 pins?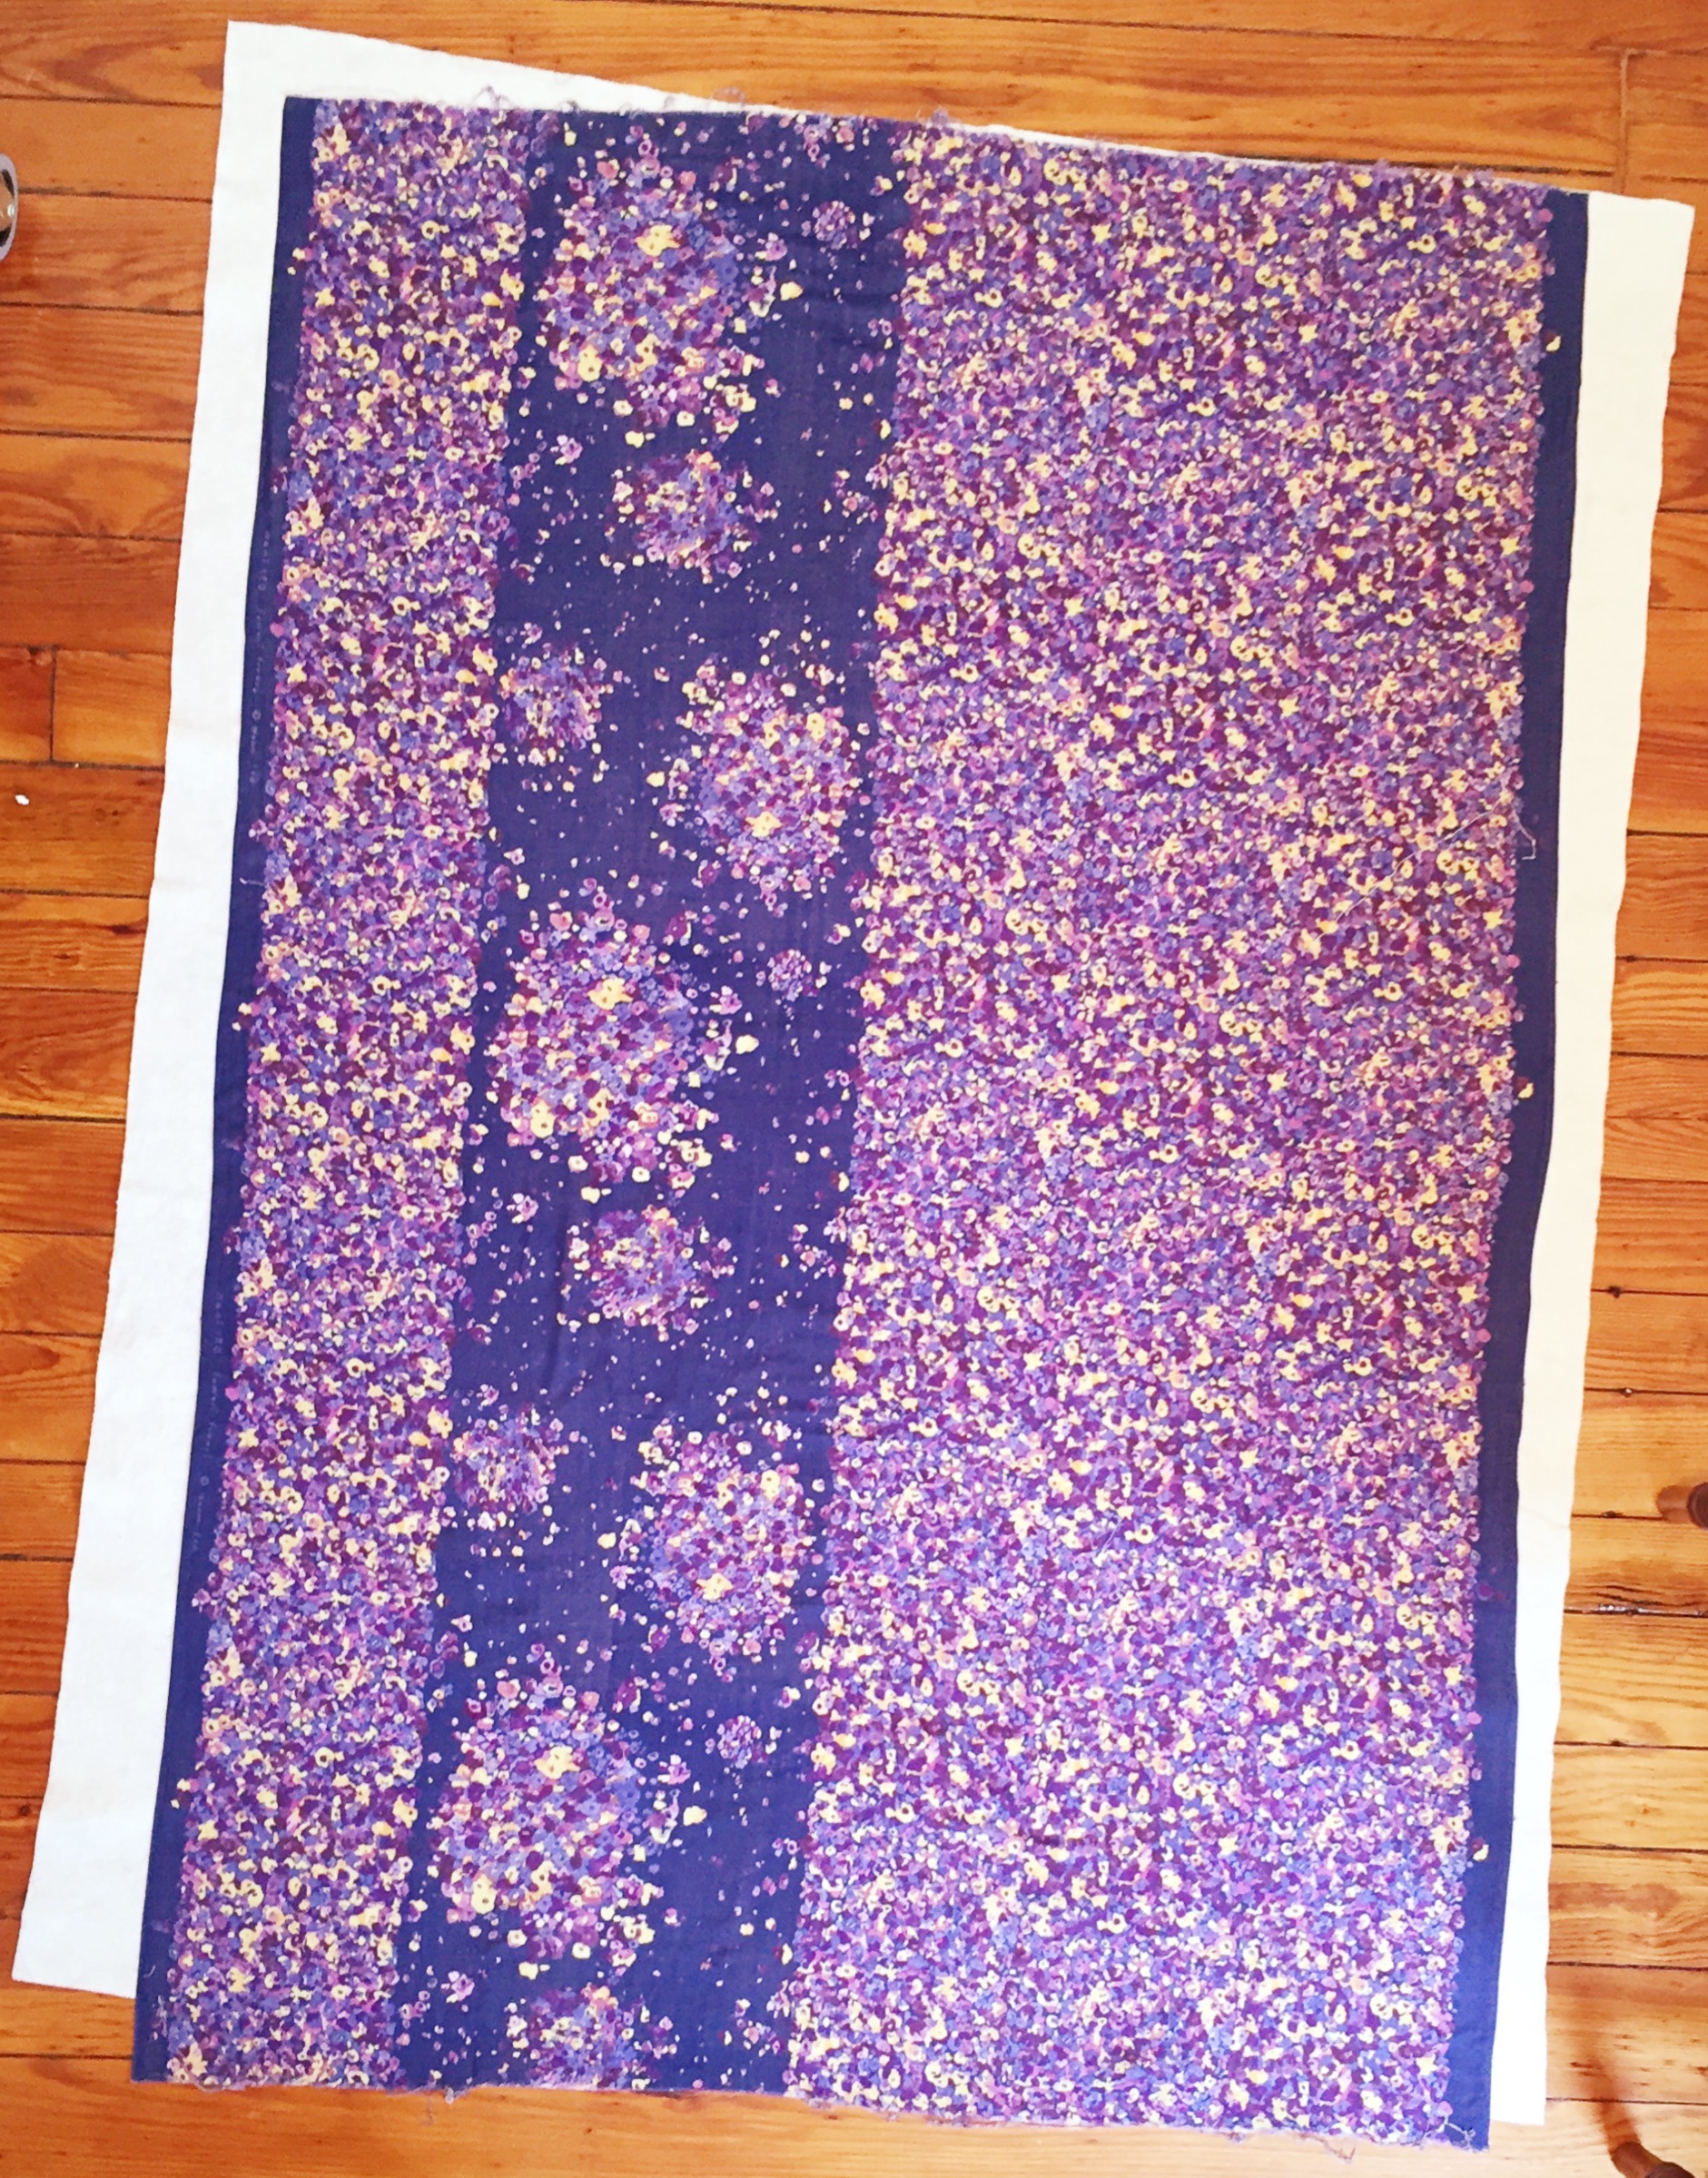
3. Now pick those two layers up and lay them across a chair or table or something.
4. Lay your backing fabric on the ground, smoothing it out flat. Put your topping/batting layer on top, trying to ensure it’s roughly square. Undo each safety pin, and repin it to include the lower layer.
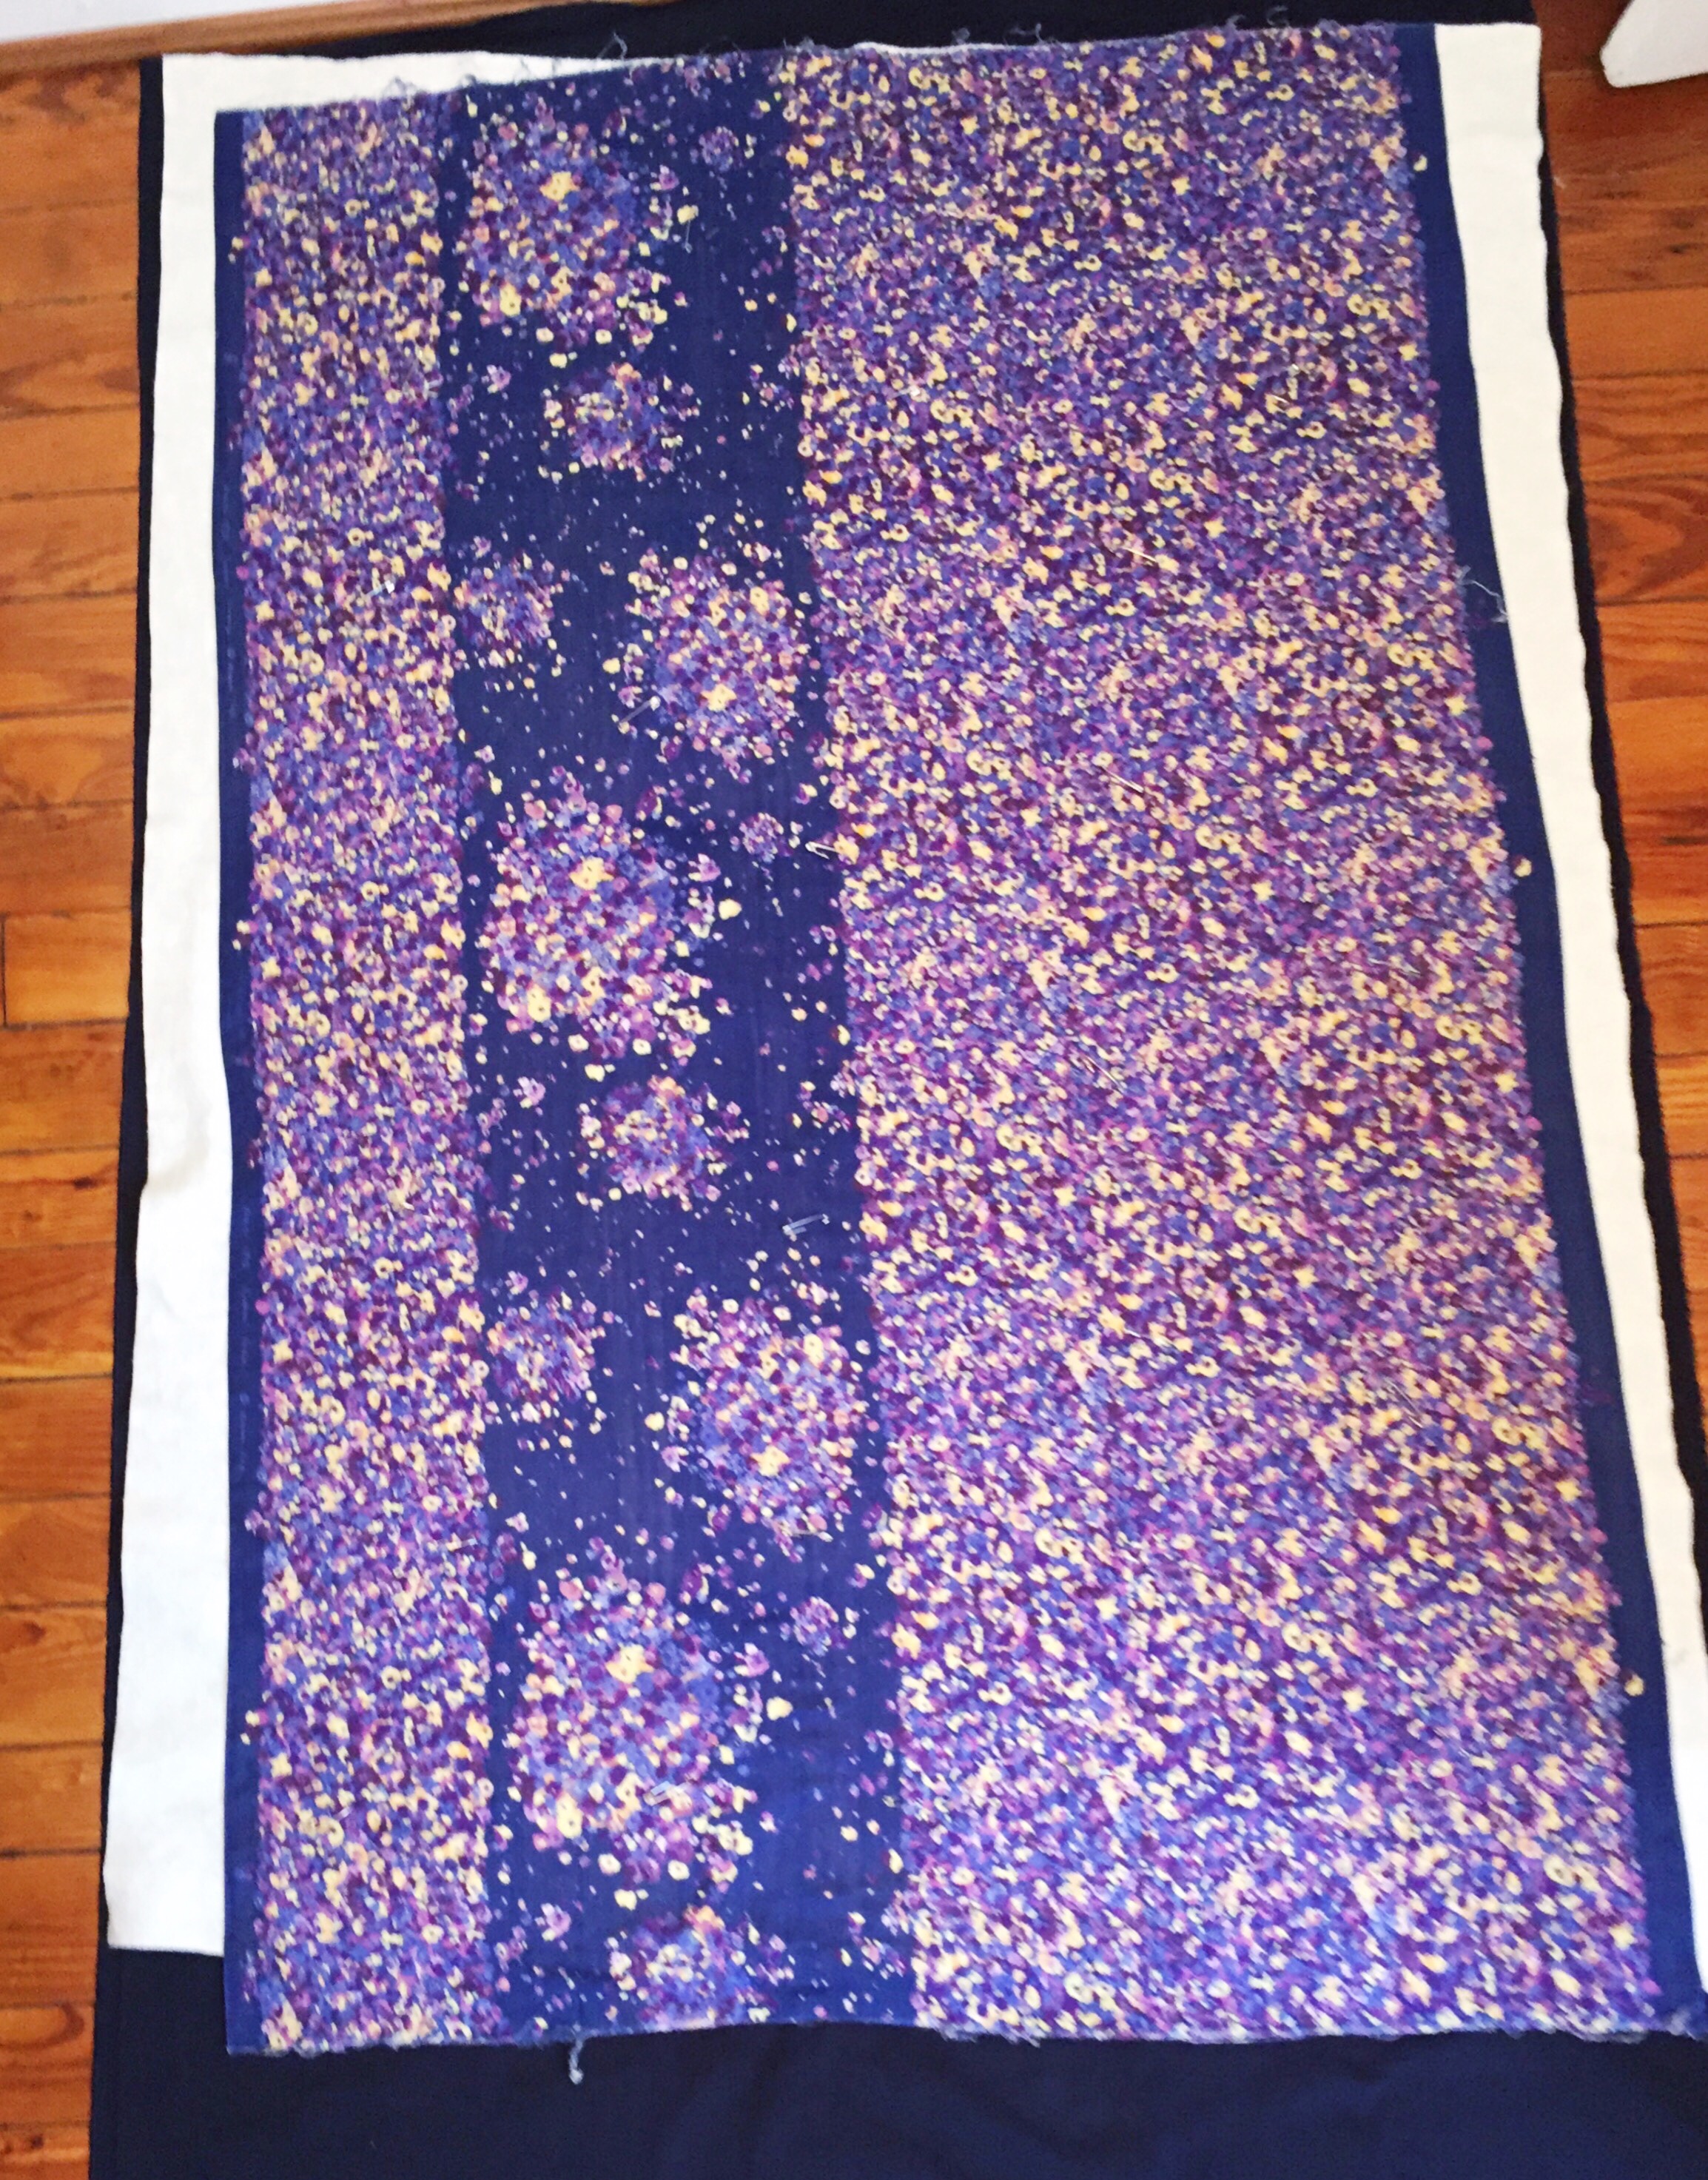
A short descriptive break for orientation purposes: We’re going to want our our topping and batting to be the same size. We want our backing fabric to be two inches larger on all sides to create a one-inch ‘bind’. Soooo:
5. Cut the excess batting out from behind the topping selvage.
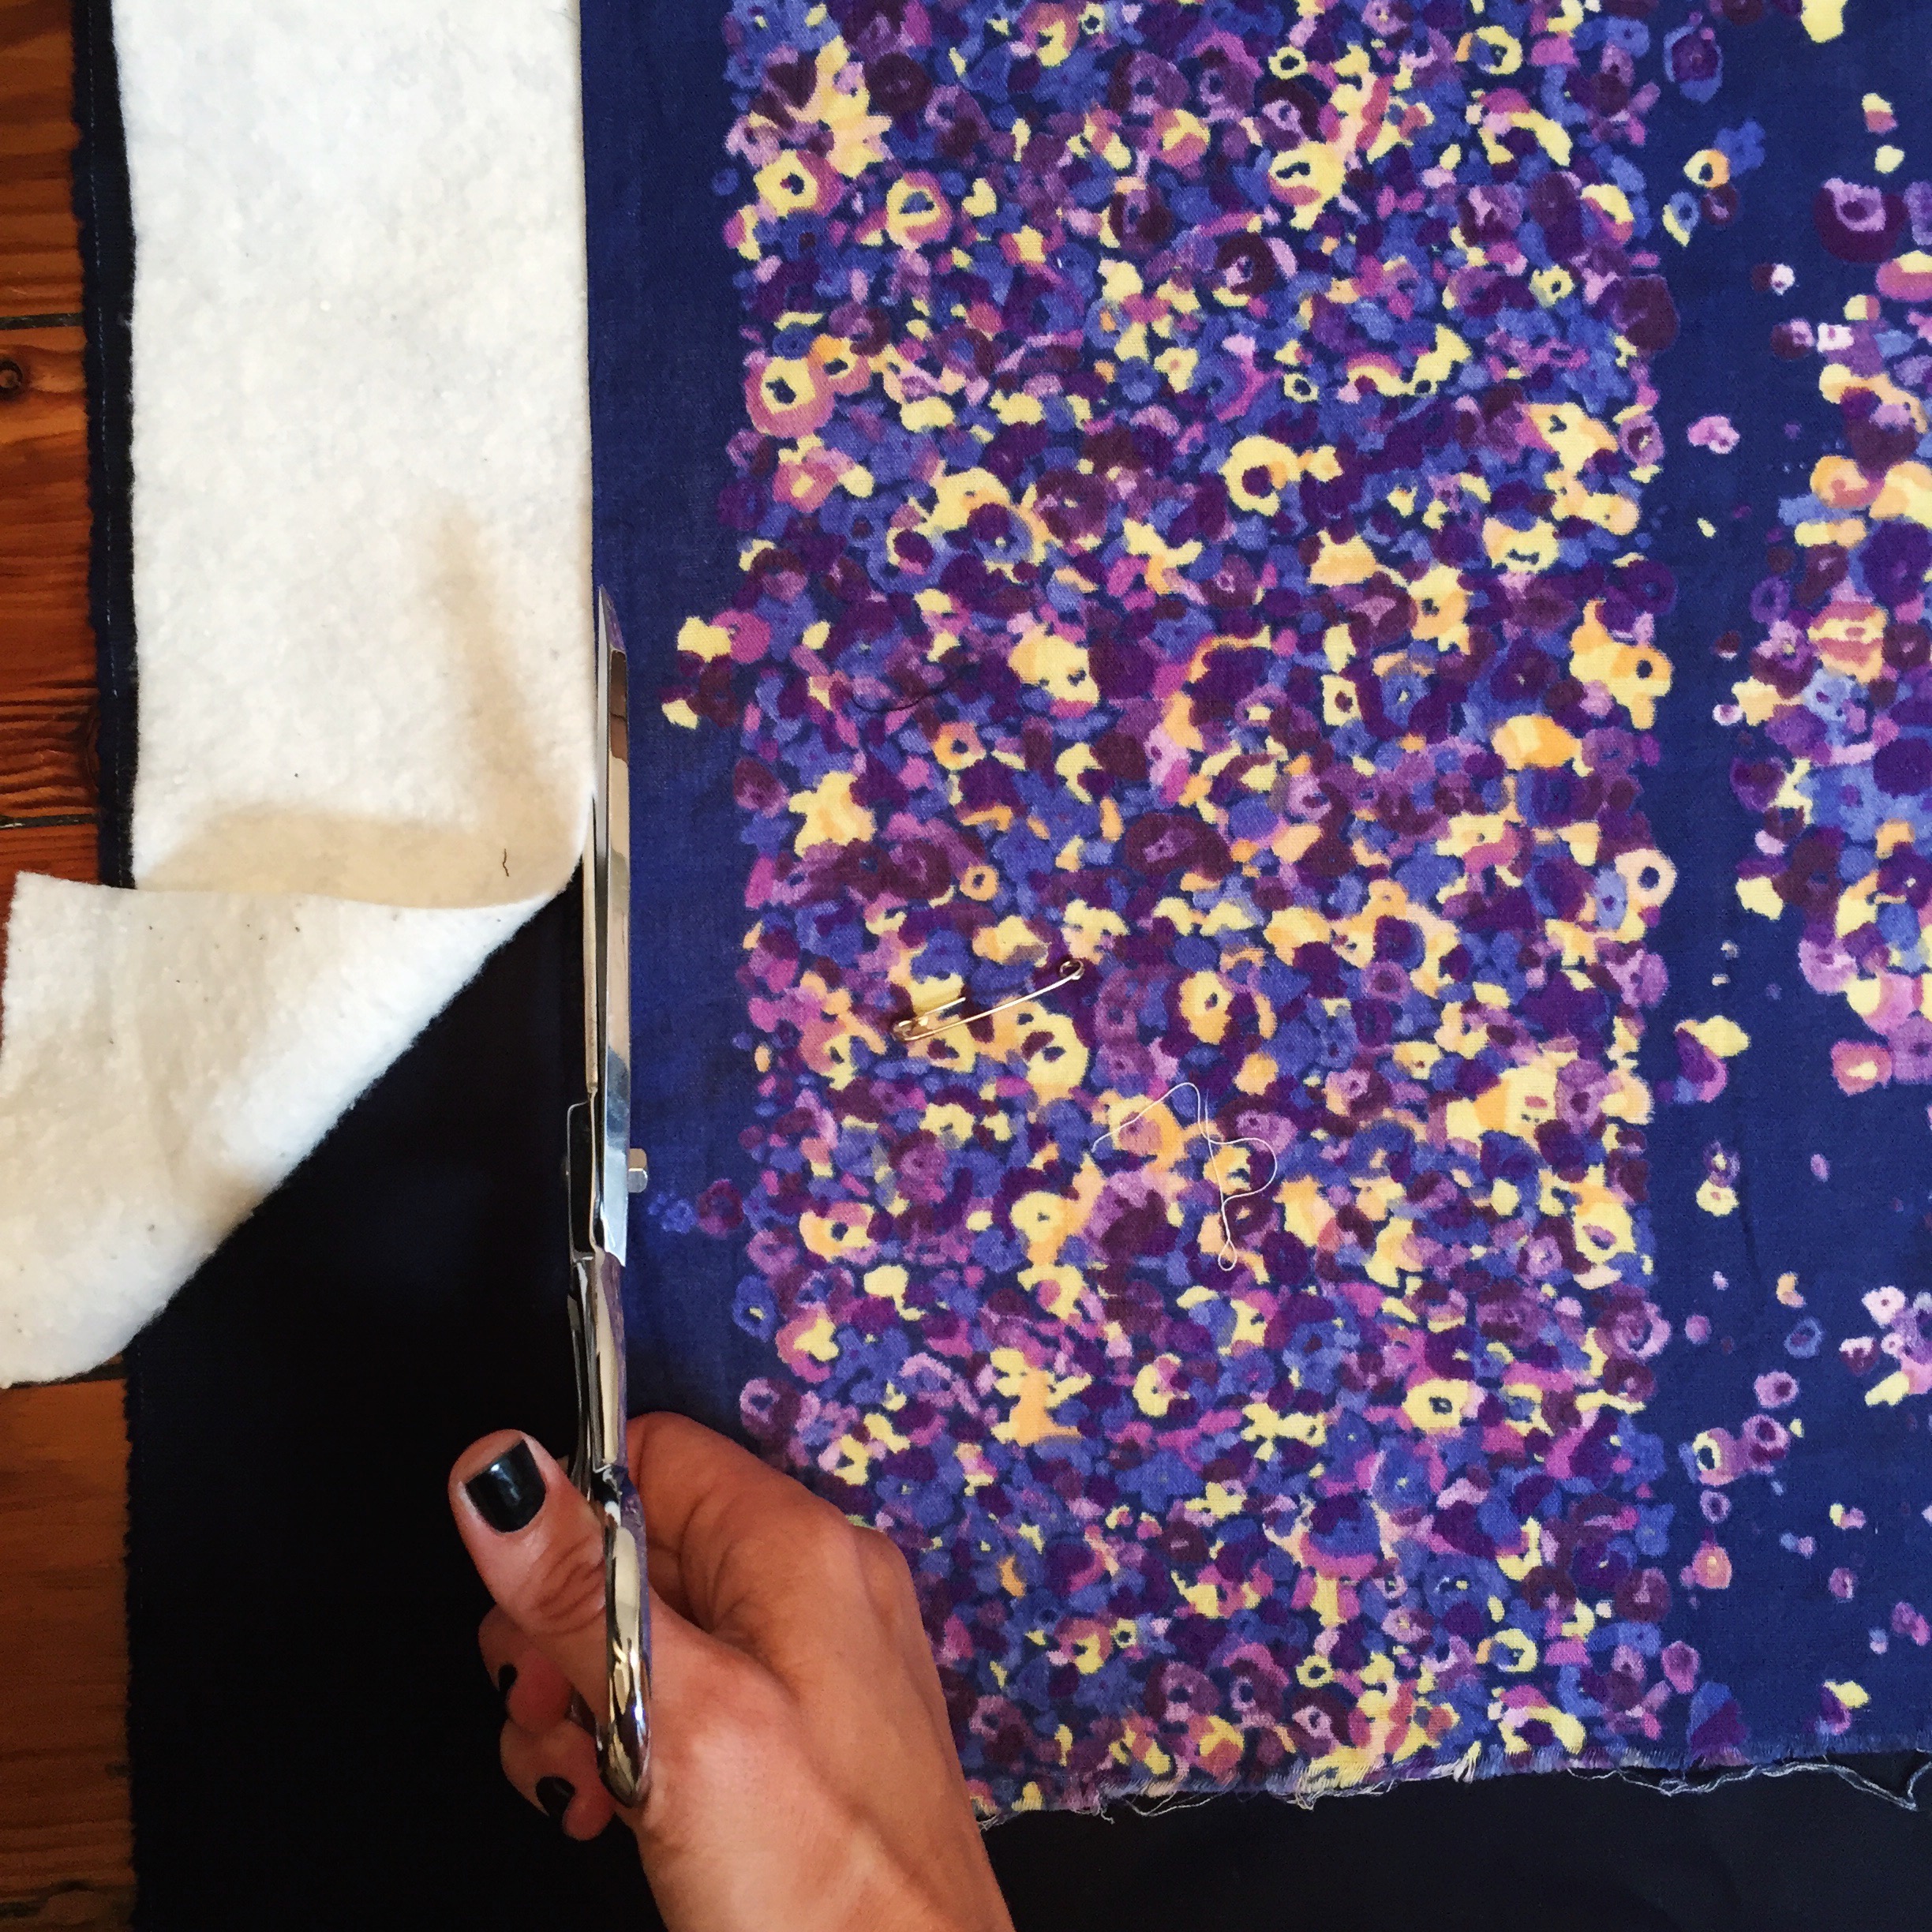
6. Now, using your top fabric selvage as a guide, square off the cut edges of the toping fabric. Use a ruler to draw a line perpendicular to the selvage at each side. Cut both your topping and your batting together along those lines. These layers should be a squared-off rectangle now.
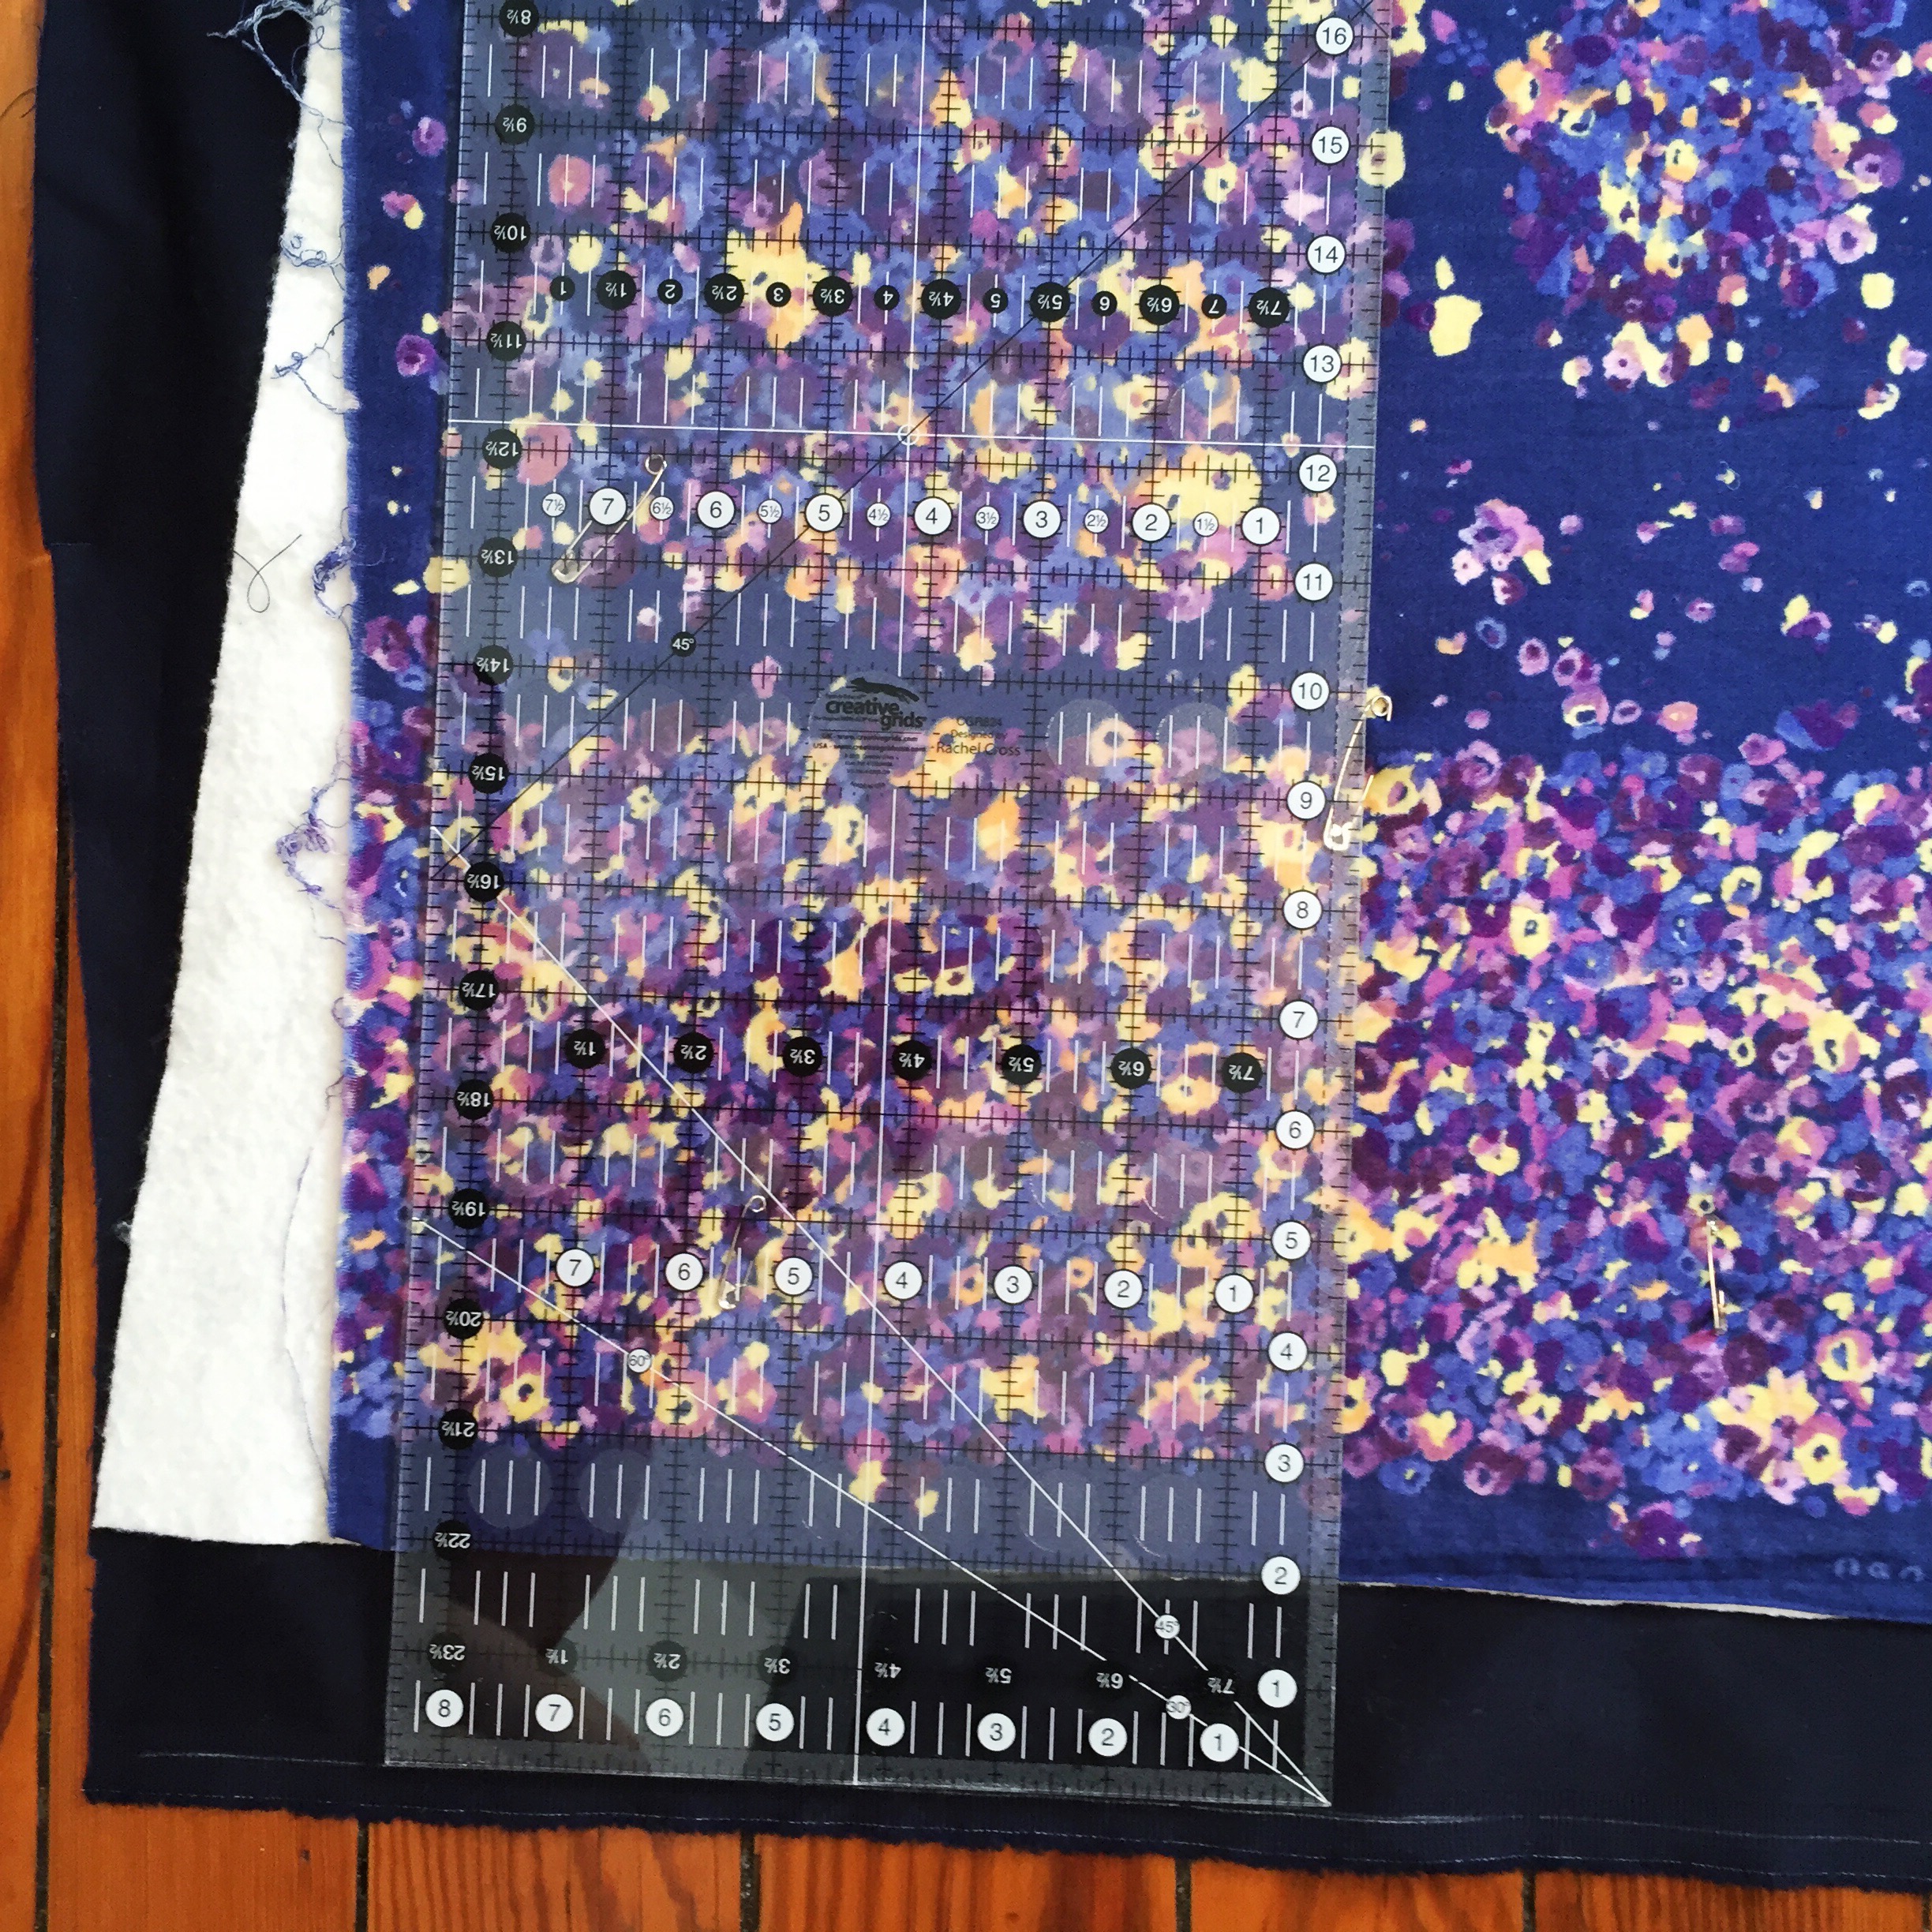
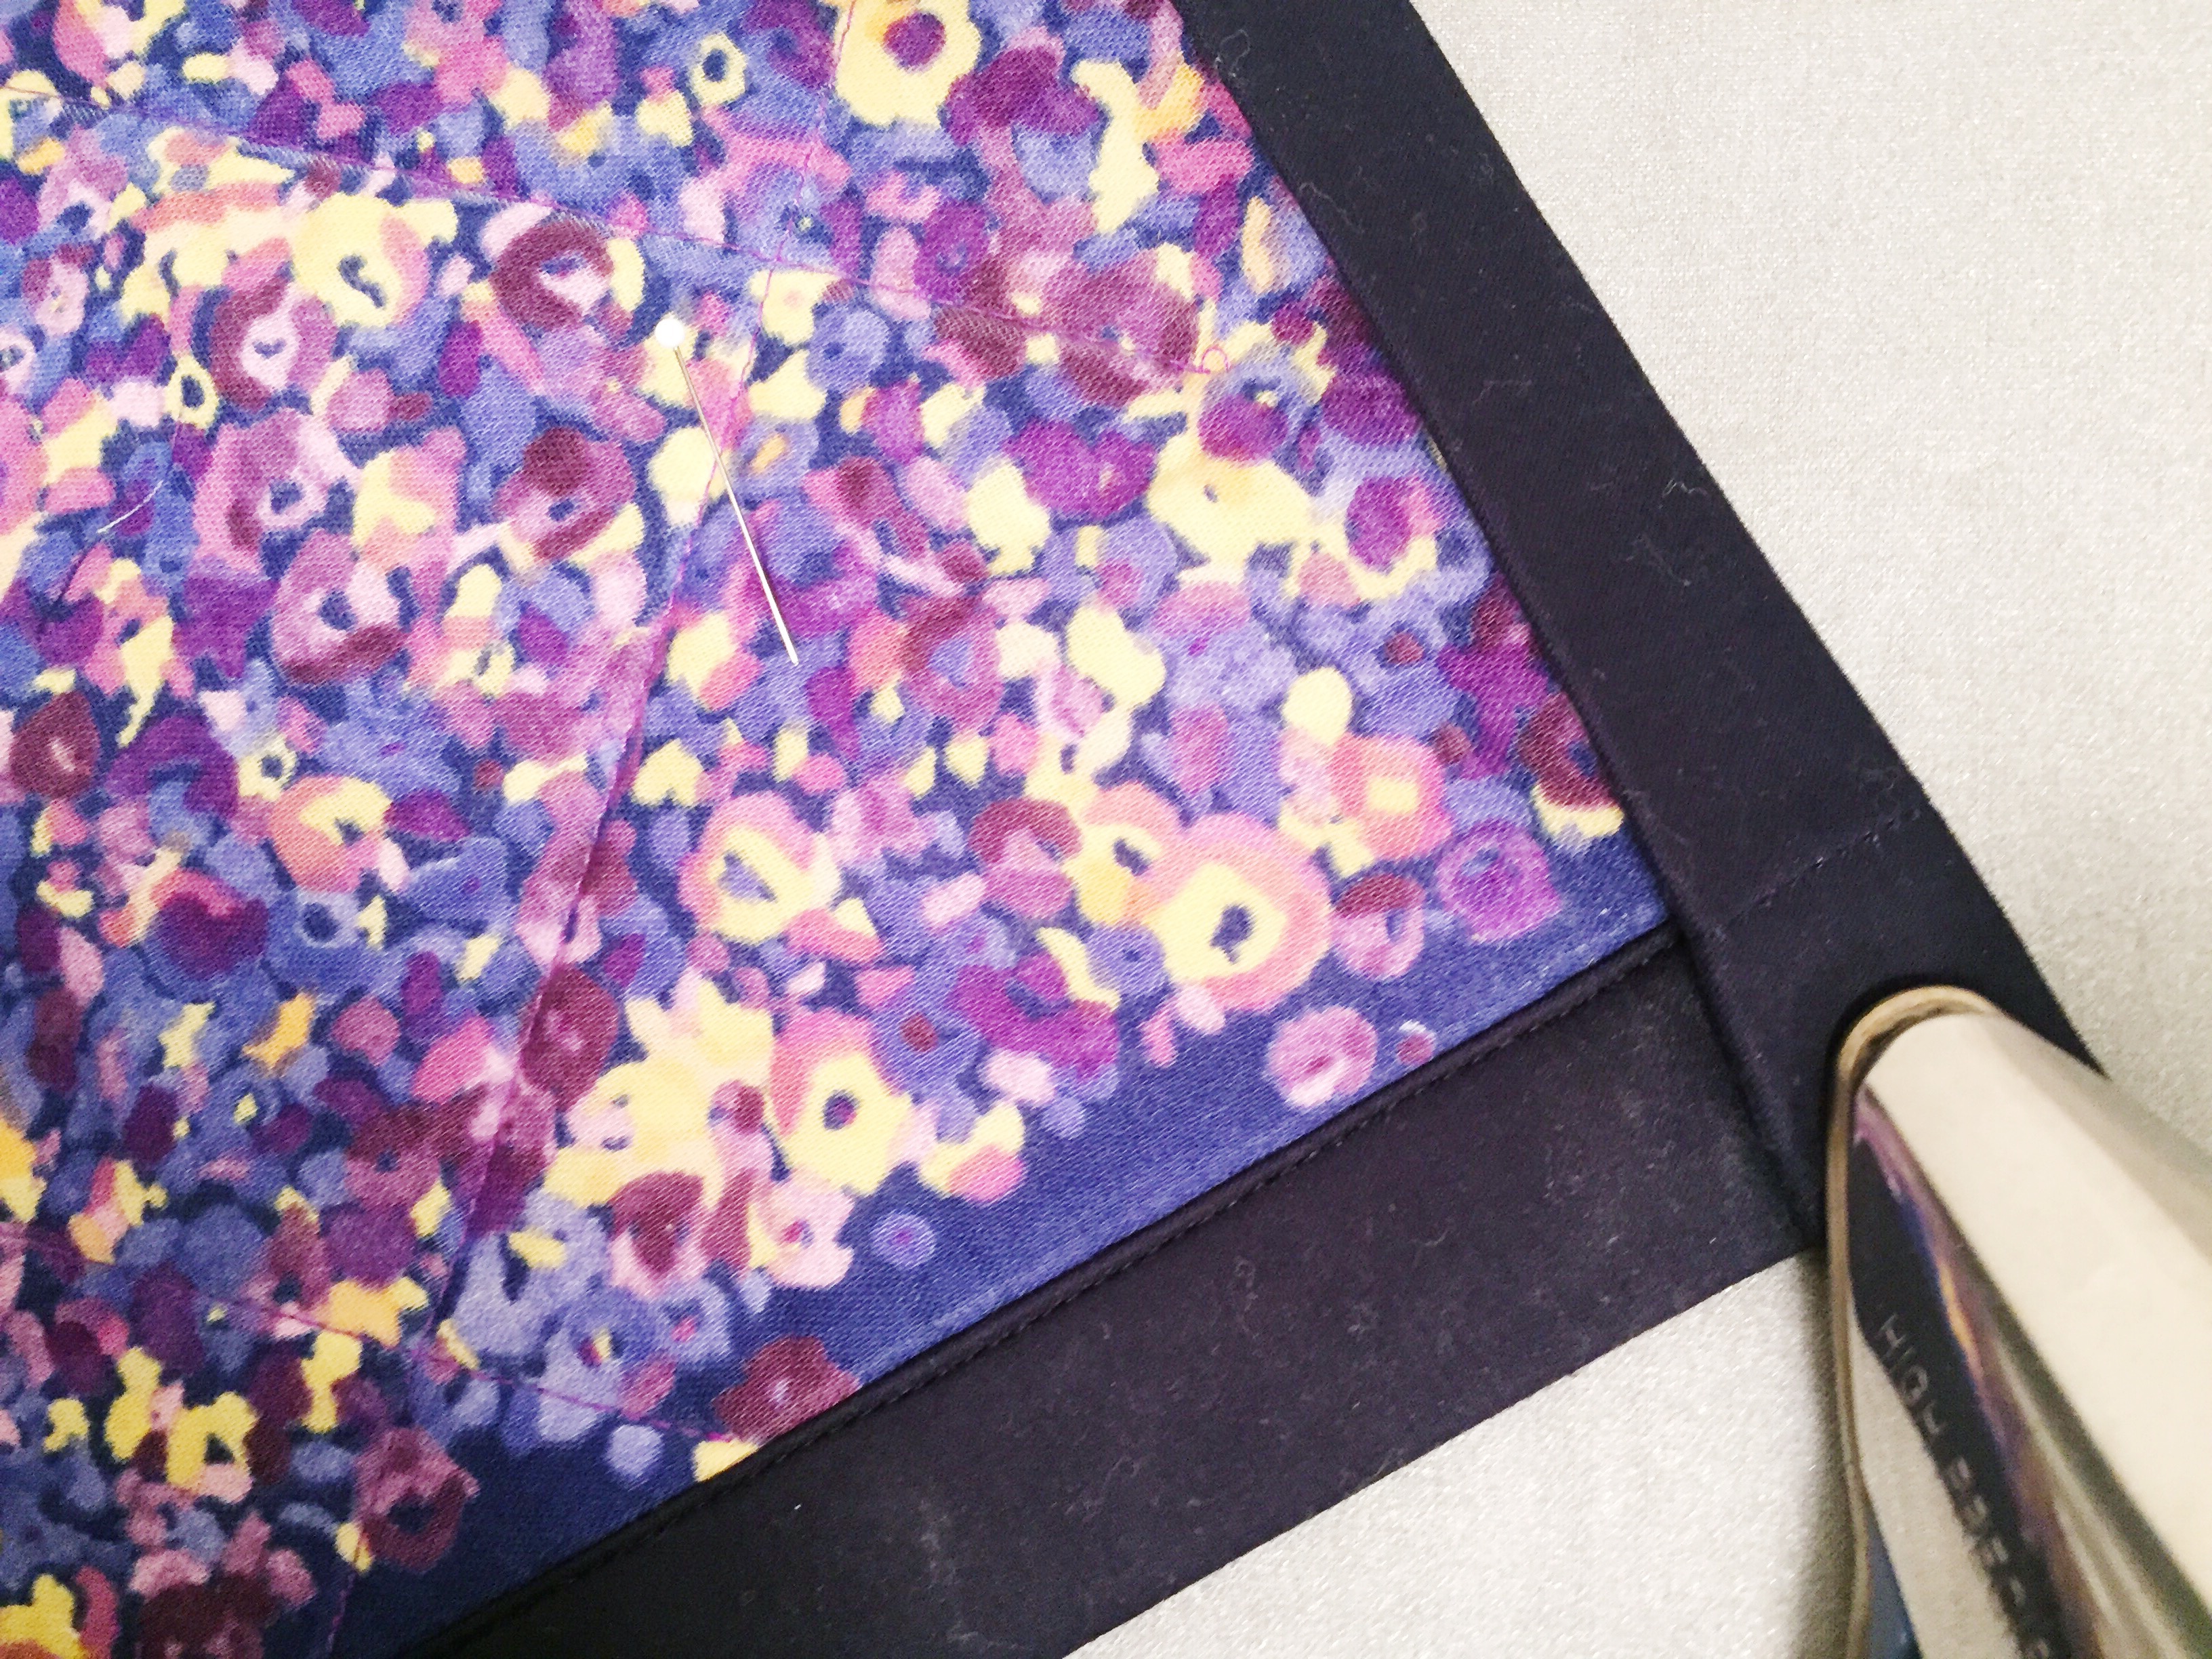
7. Draw a border two inches from the squared off top quilt in chalk on the backing fabric. Then cut backing fabric along that line. You should then have backing fabric hanging out two inches from the top, as below.

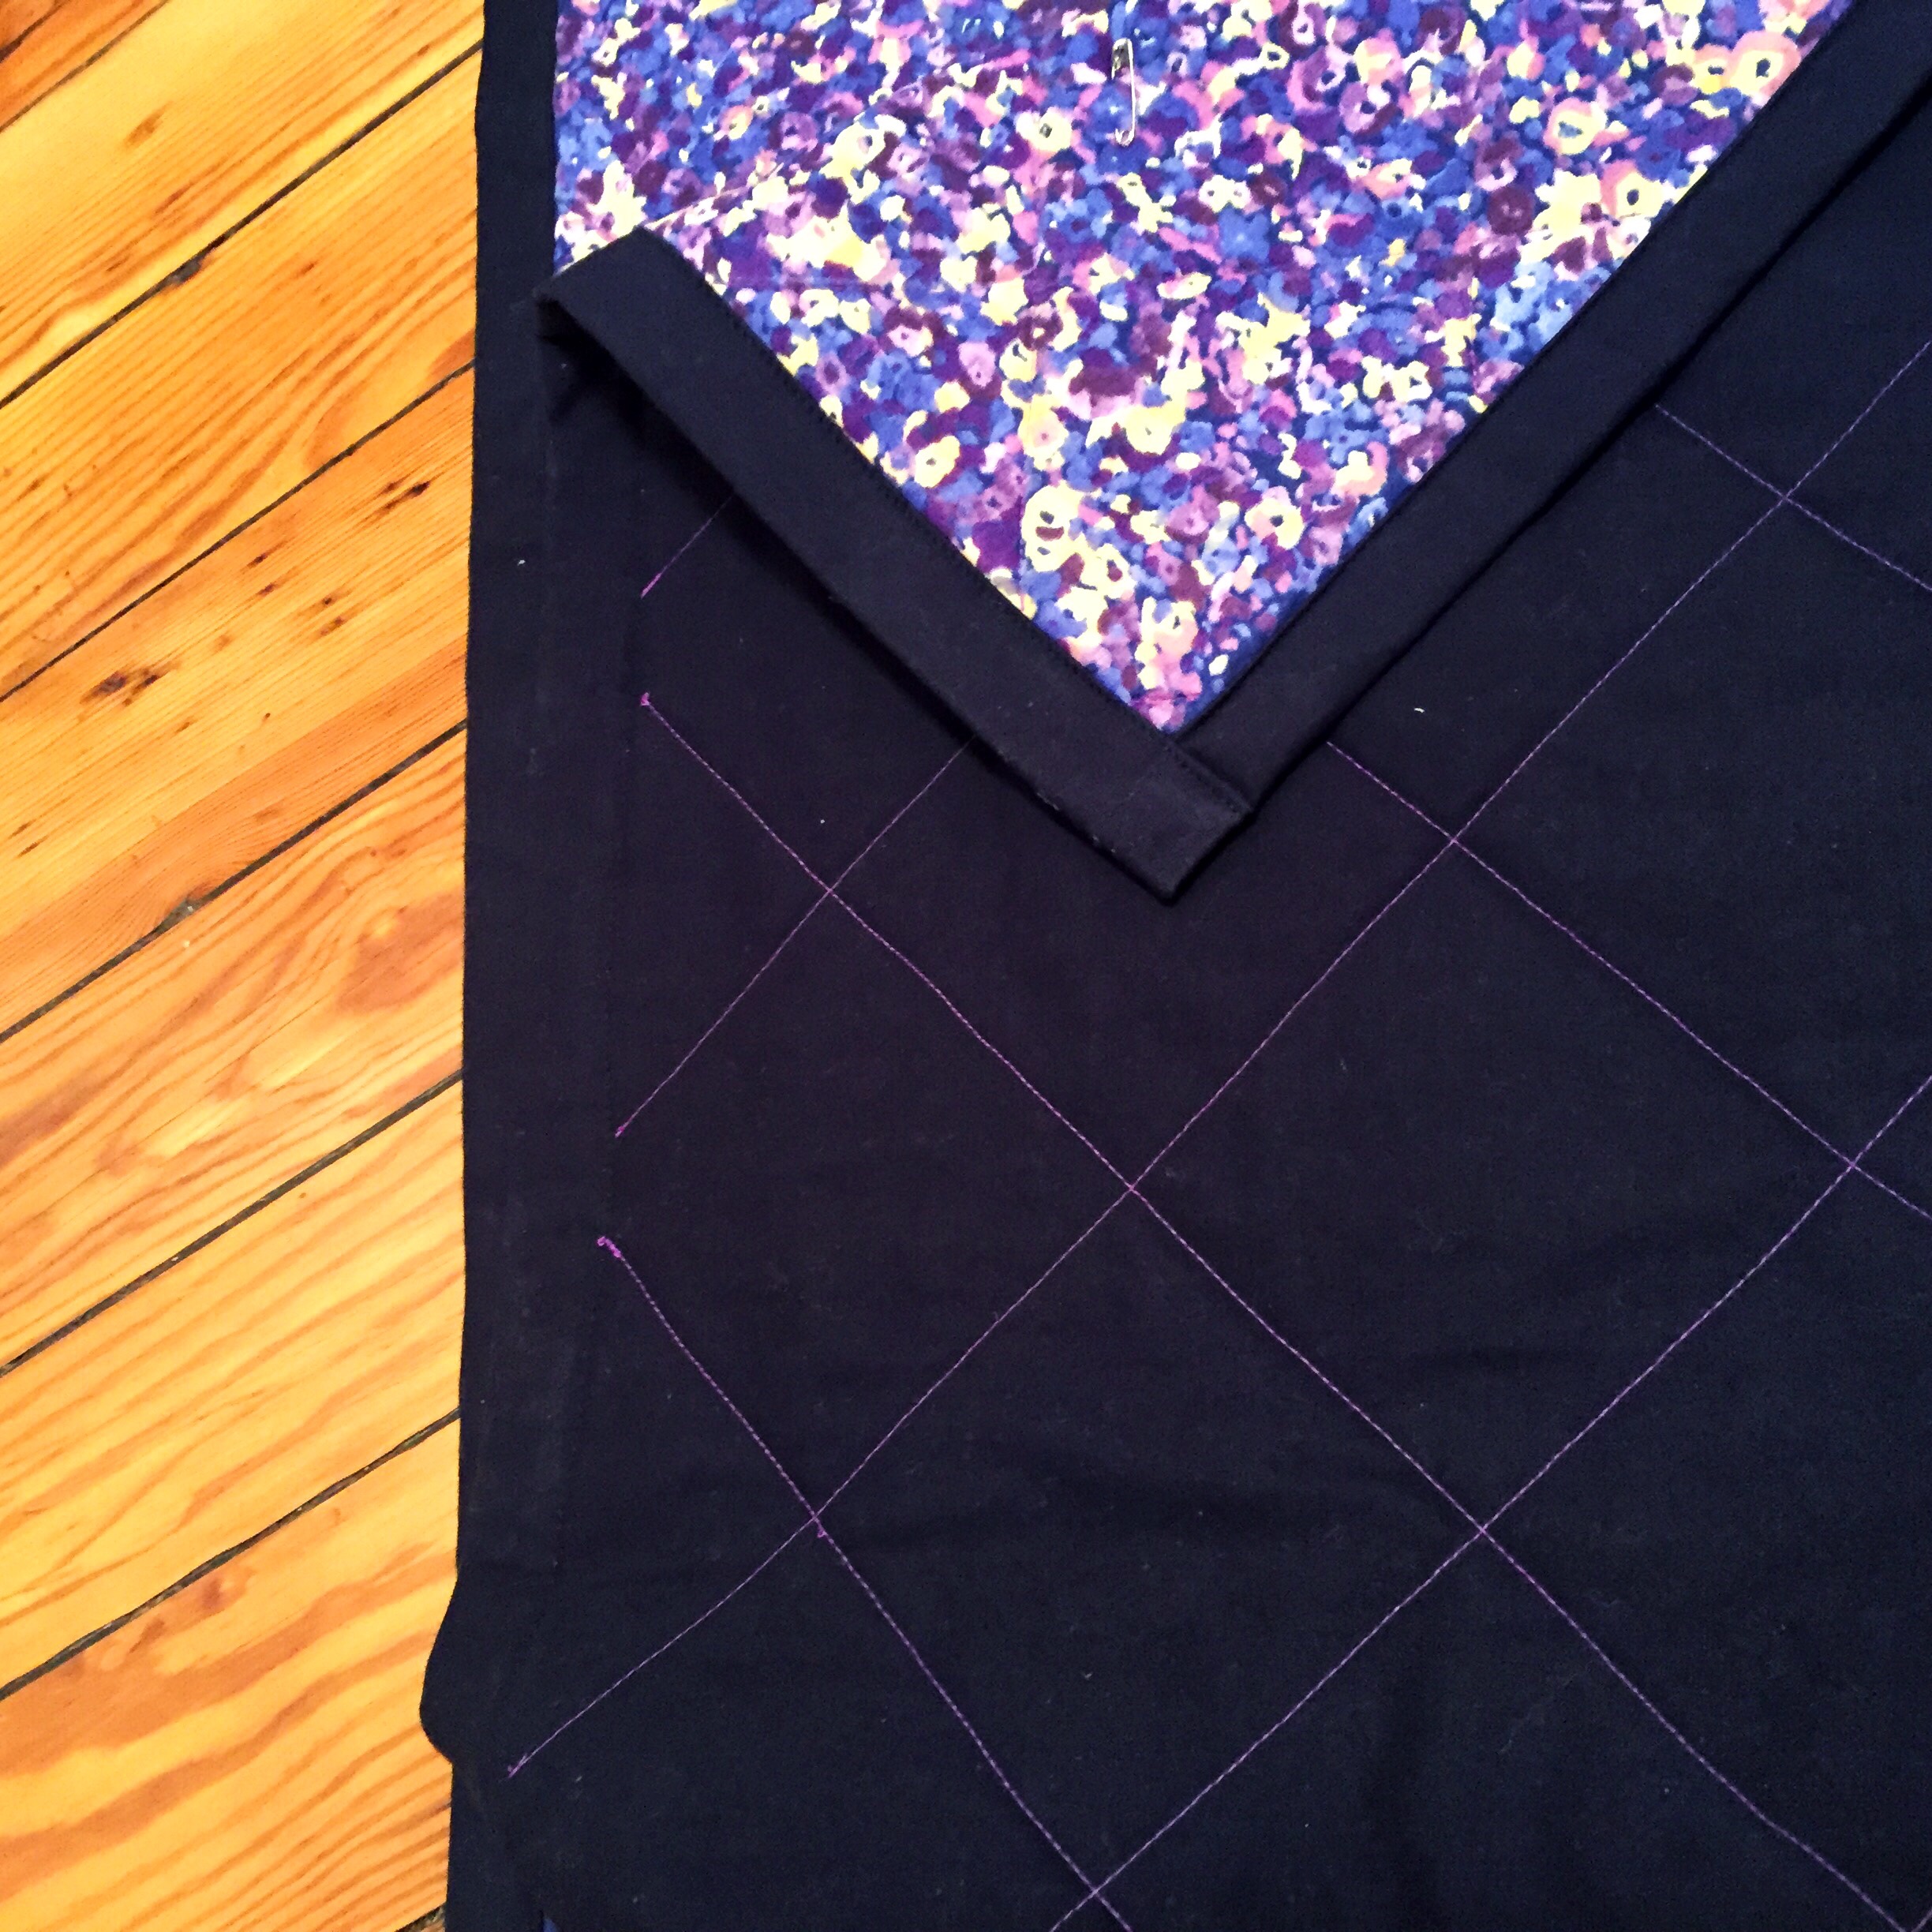
8. Time to draw some quilting lines (with chalk that will rub off). Do what you like. I drew lines diagonal to the cut edges at 4-inch intervals, which seemed regular enough to keep all the layers together, while not requiring too much quilting. On the purple quilt, I did this in both directions, making diamonds. On the green one, I only did in one direction. I prefer the finished look of the purple one with the extra lines, but one direction will get the job (of stabilizing the layers together) done.
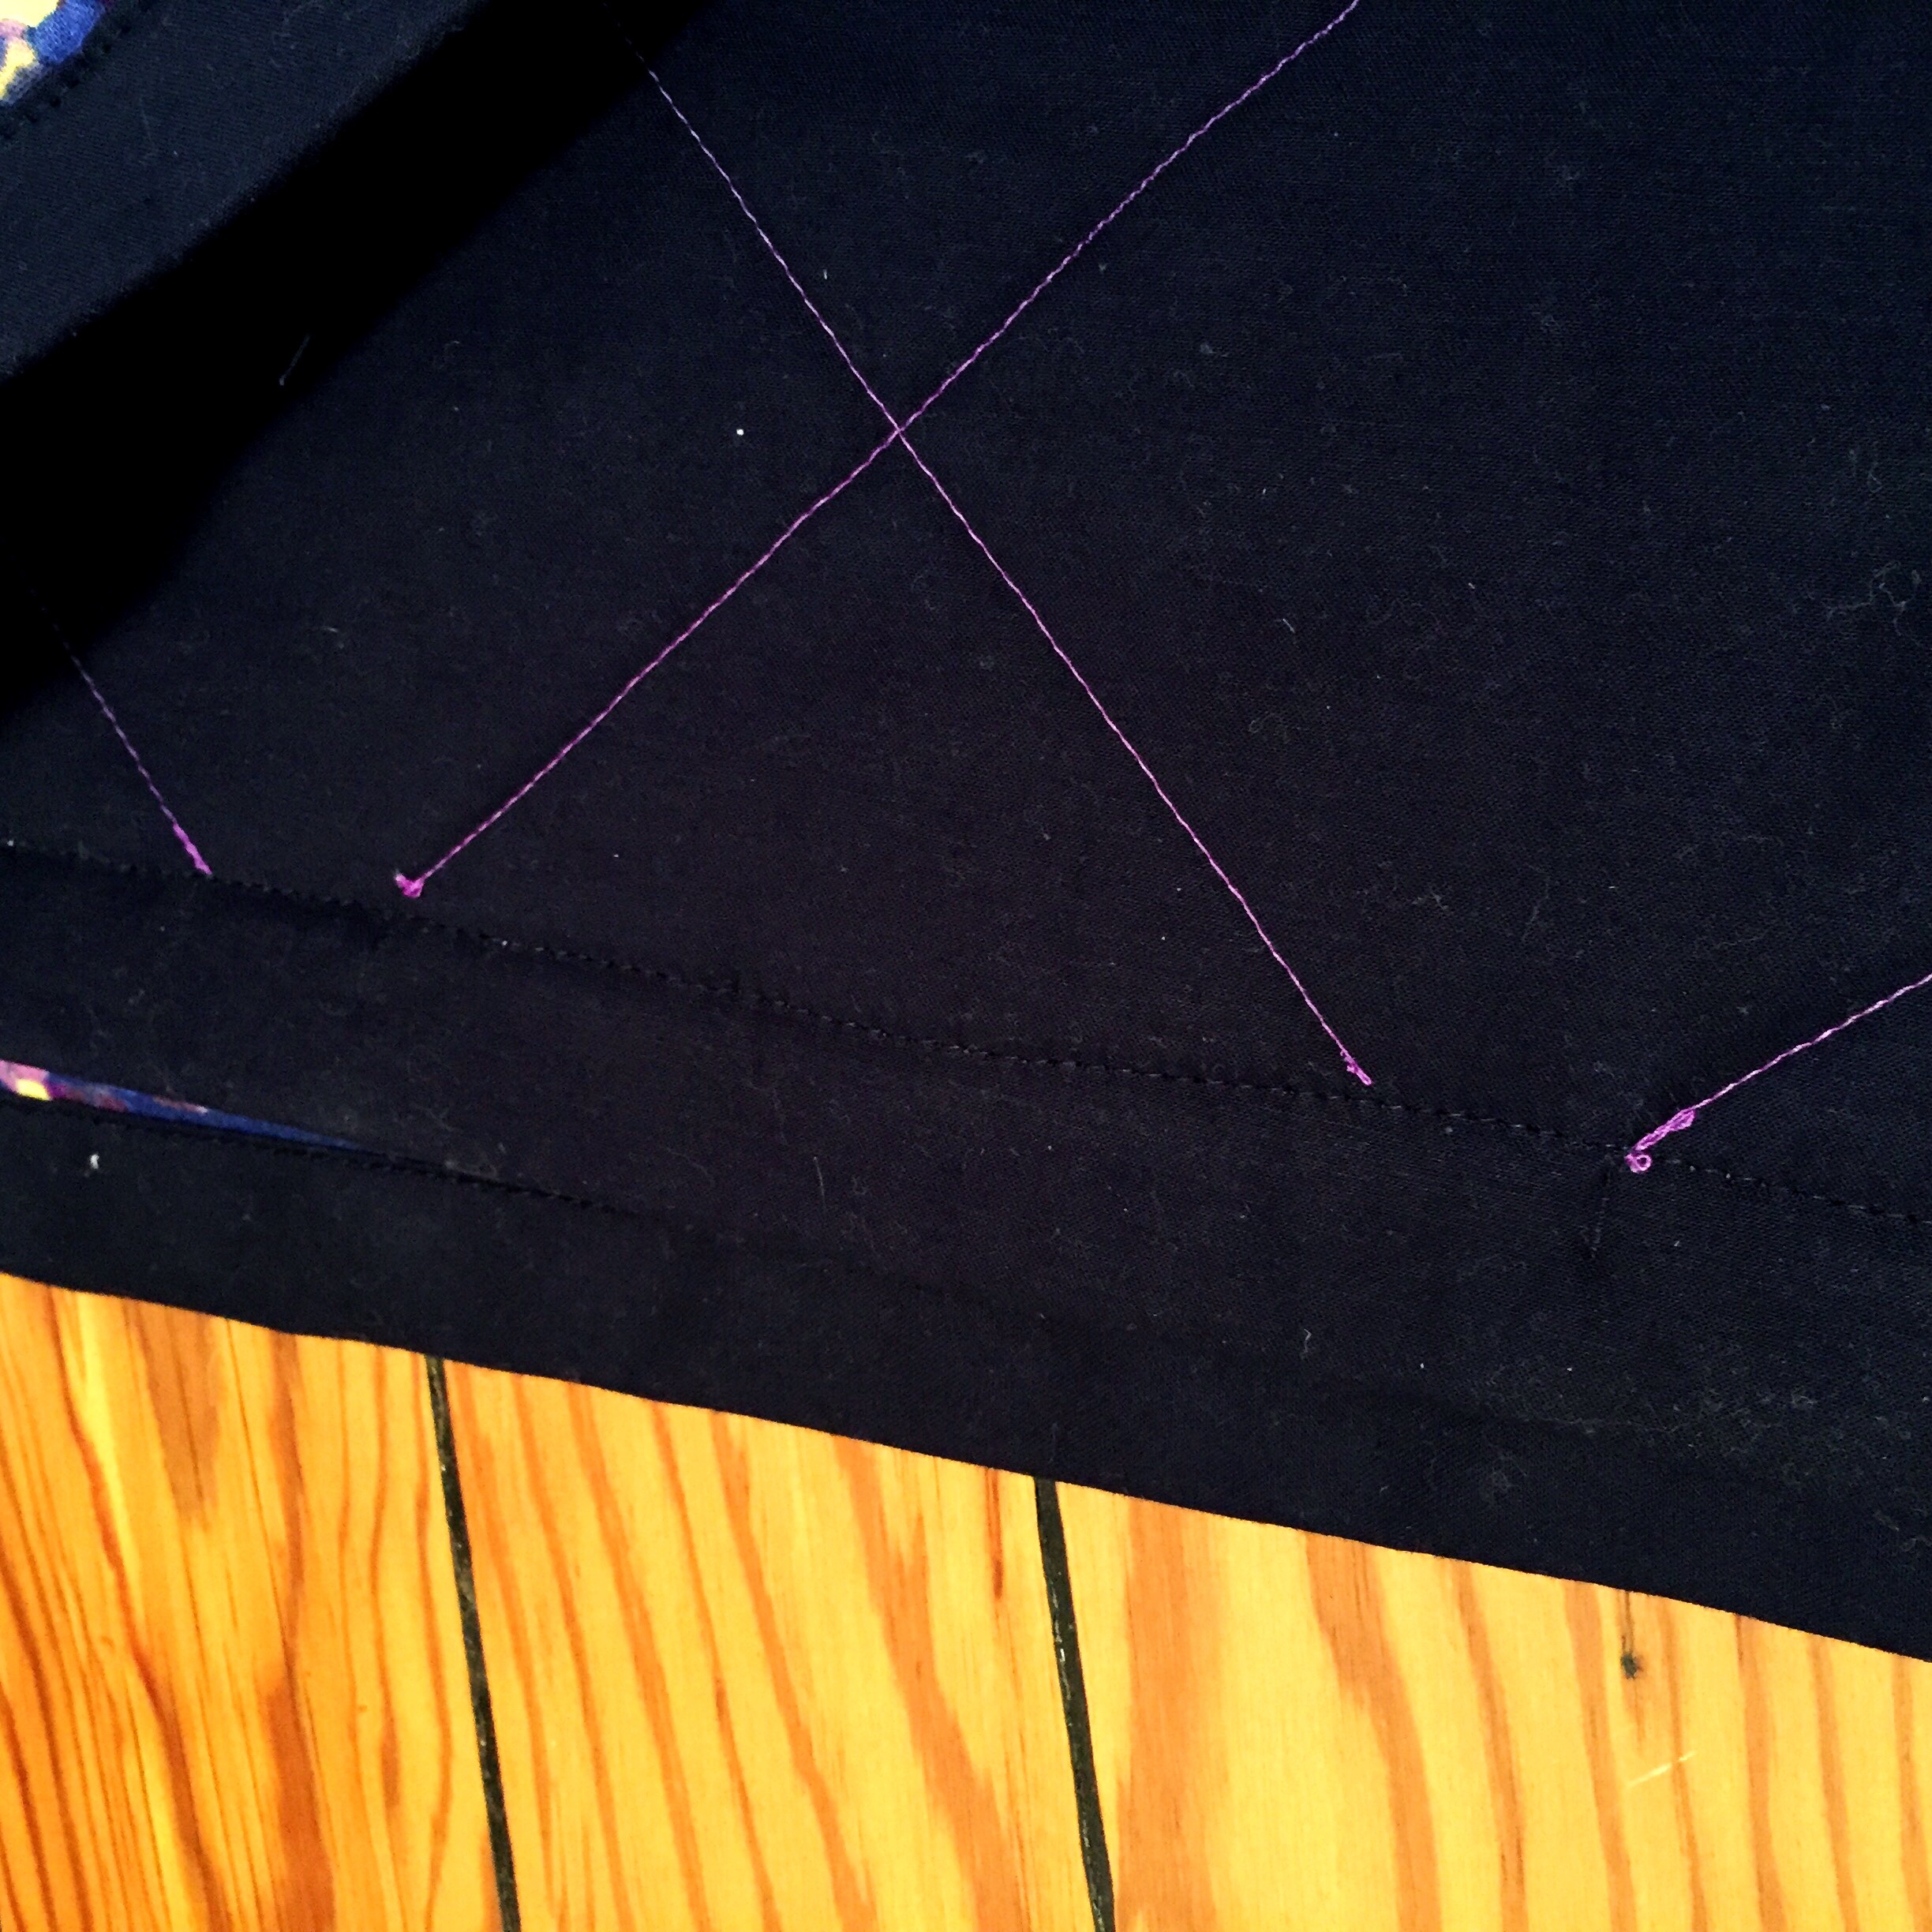
9. Draw a one-inch border on the topping fabric on all edges. This is your guide for starting and stopping your quilting lines, and it will help to give the illusion of a border on the back of the quilt even though we aren’t using a real binding (see below). On the first quilt, I didn’t keep this in mind and the quilting lines didn’t look quite as neat as I would have liked.
Machine time!
9. Beginning roughly at the center line, start quilting. You might have to roll your layers in order to get everything under the machine, but try to keep the fabric on either side of the stitching line pulled relatively taught in order to reduce some bubbling.
10. And now for finishing. At the long edges, press the backing fabric in by one inch (it will be touching the topping). Then press it in again by one inch, essentially wrapping the backing fabric around the edges and on to the front. Pin this every several inches to keep things held in place until you get back to the machine.
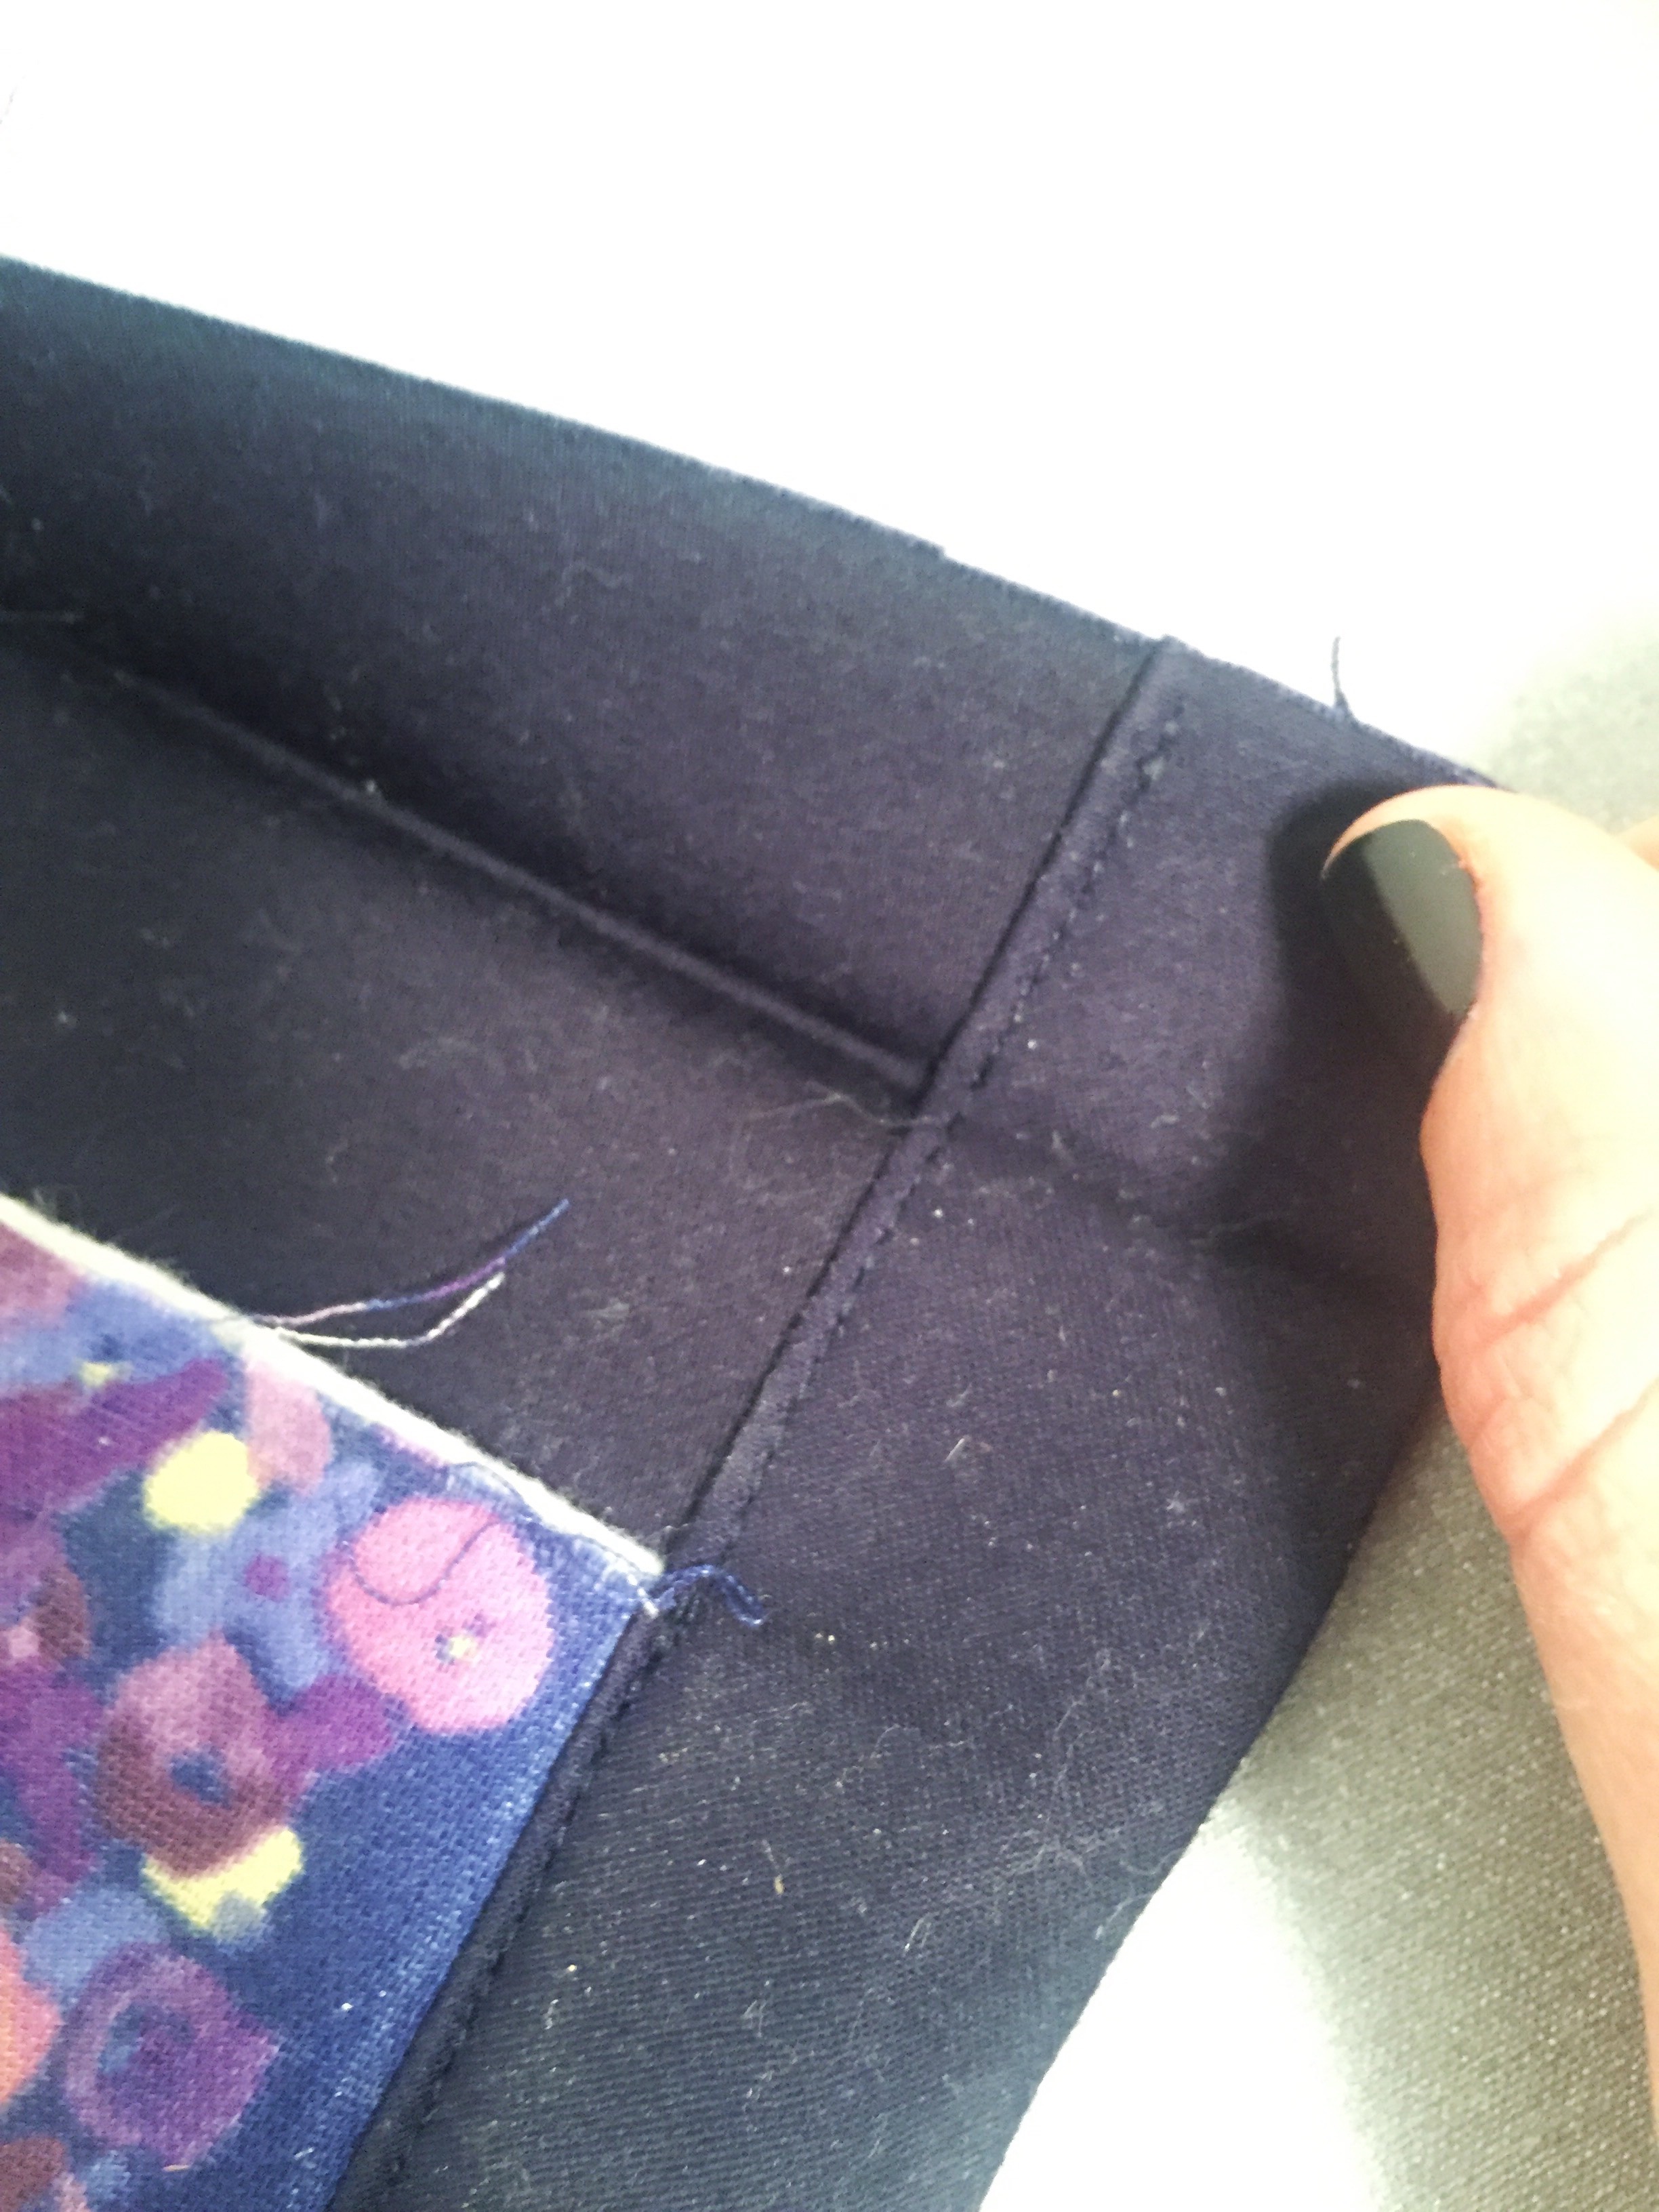
11. Stitch a scant 1/4” from the edge of the fold on each side.
12. Now repeat on the short edges, folding the backing fabric in one inch and pressing, then a second time and pressing before pinning and stitching down.
Now press the self-bound edges to neaten the seams, dust off the chalk, and you’re all set!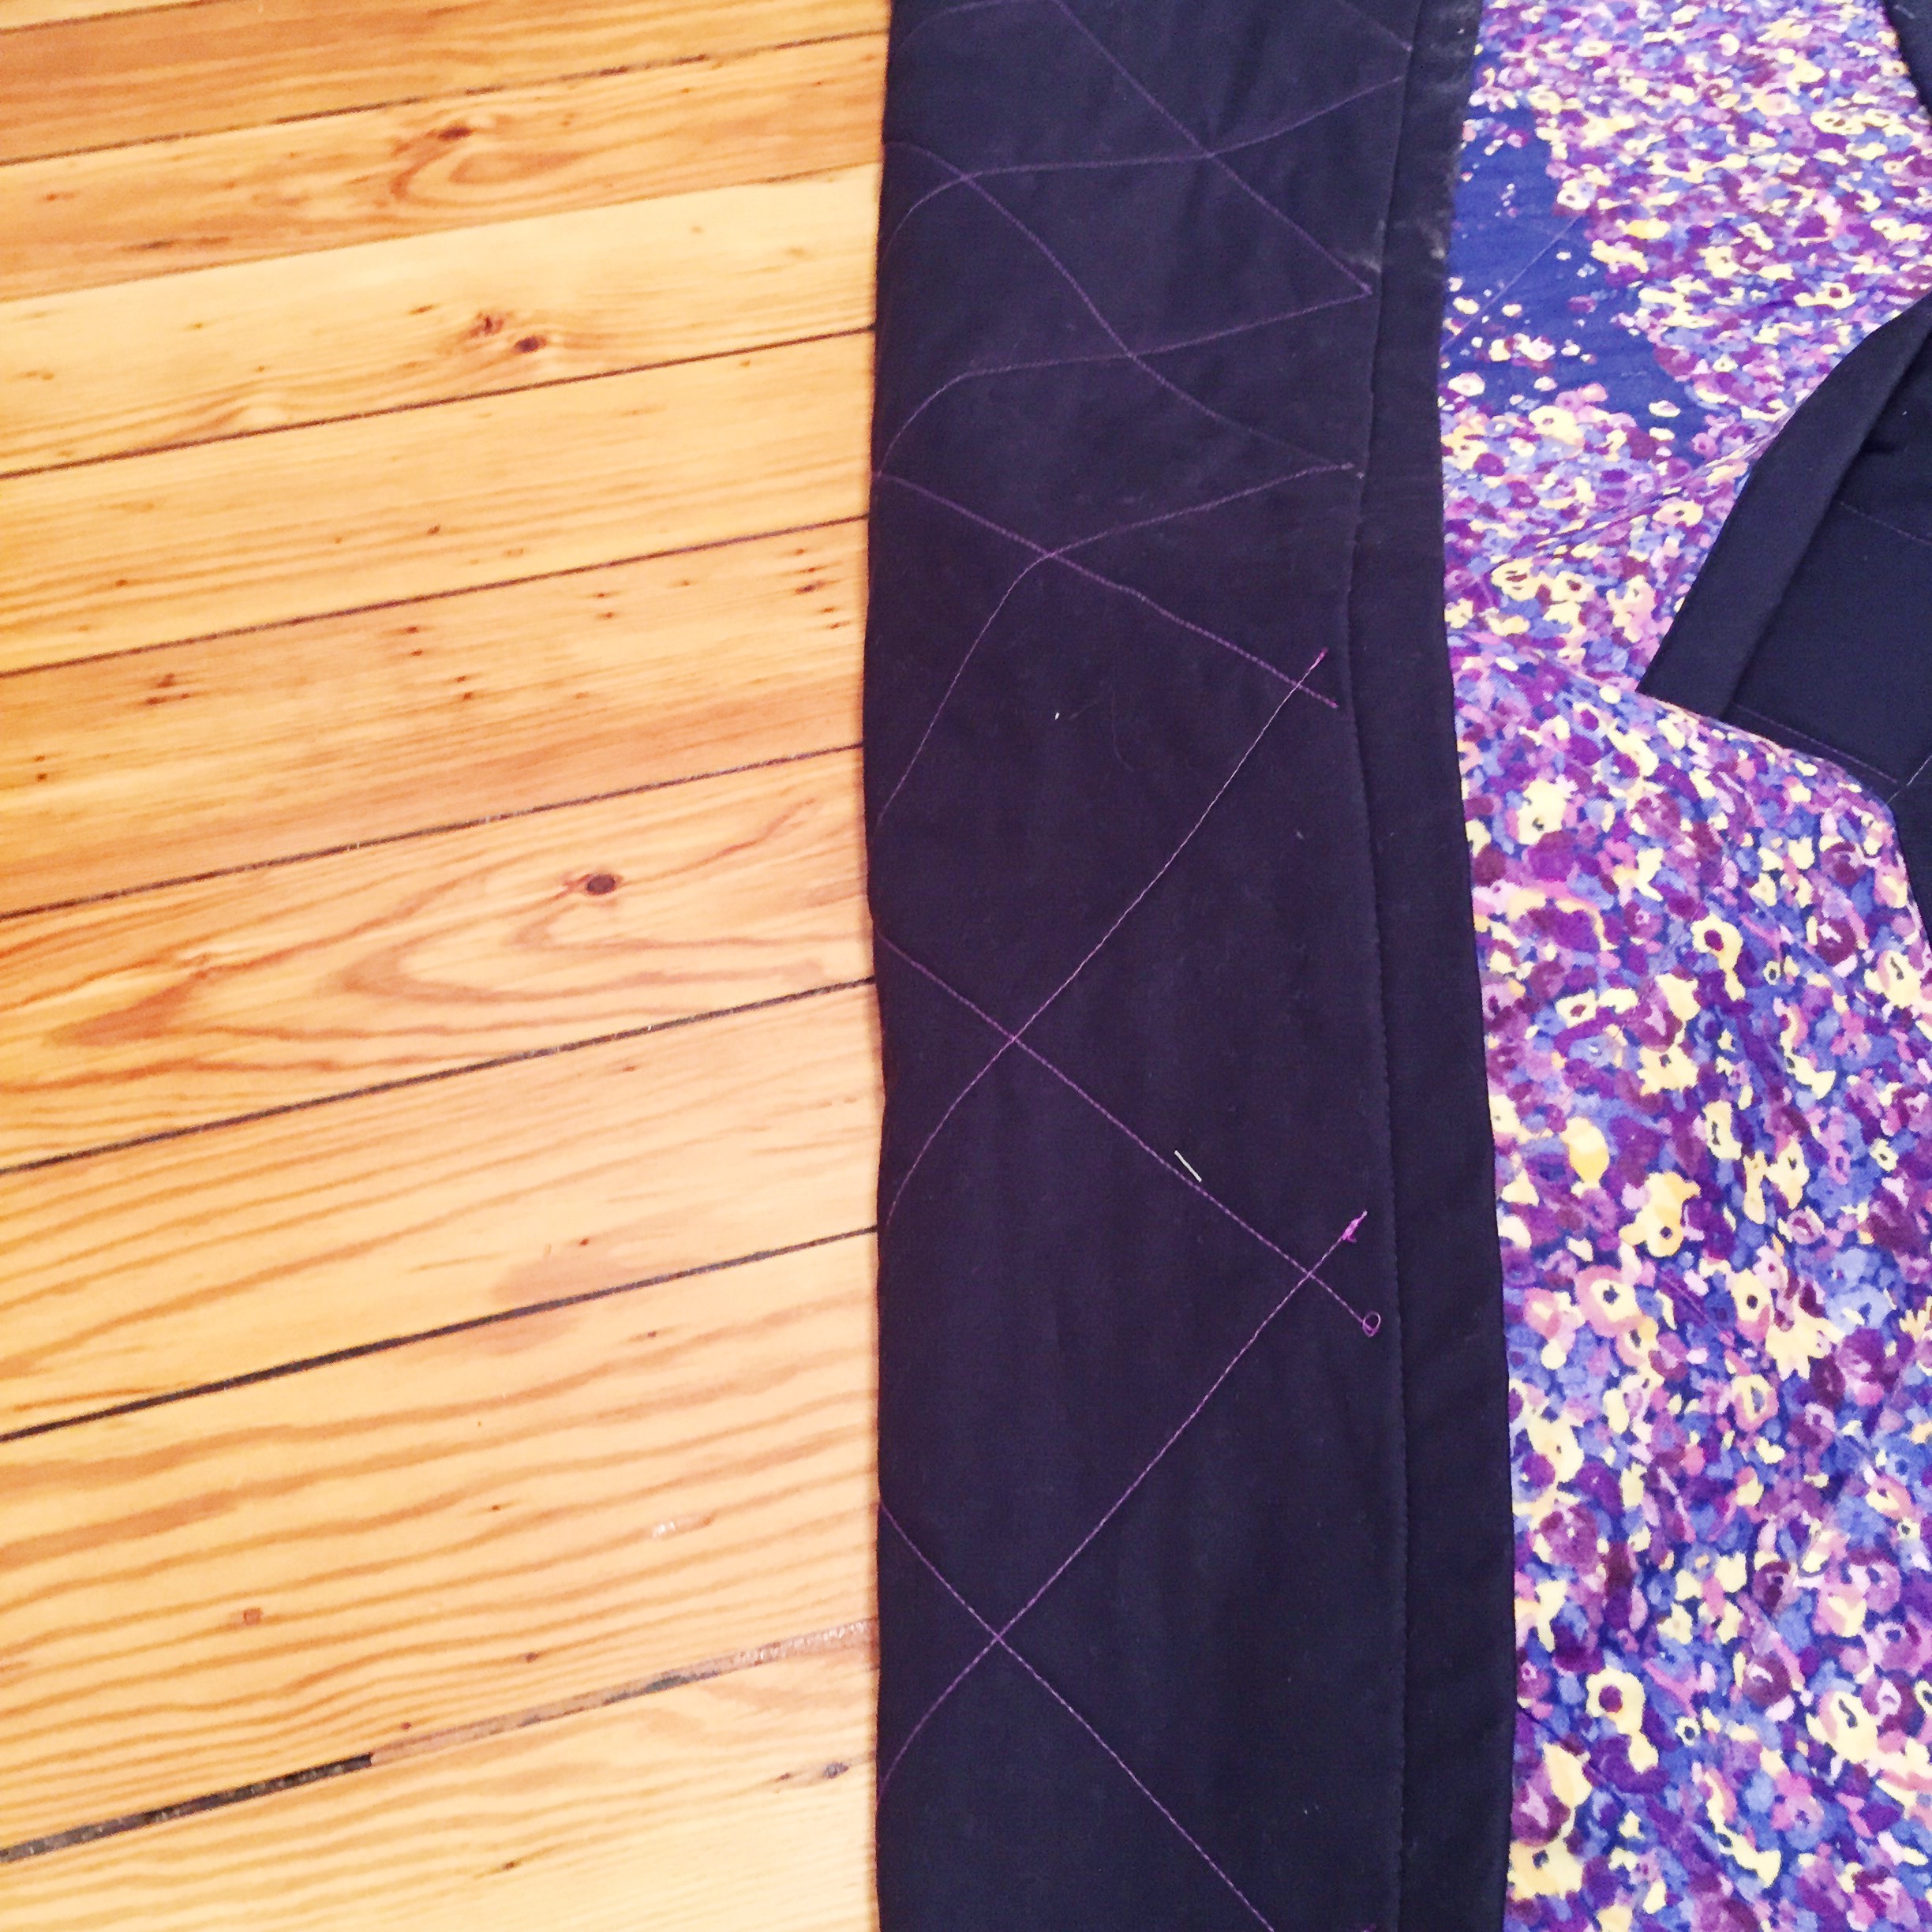

I had to laugh because I’ve turned all of the Nani Iro prints I’ve ever bought (2, at this point, considering it for a 3rd) into baby quilts!
They’re so charming but so unsuitable for my closet. Lately I’ve wanted that really weird one with faces inside rainbows, but it’s a little too creepy for baby blankets.