
This post is a long, long time coming. I finished this Orageuse Londres trench in May. I’m almost ashamed to be writing it up six months later, but there aren’t very many reviews of it in English and I took pretty good notes, so let’s get it out of the way before the deluge of maternity sewing we have later (jk–maybe).
First impressions of Orageuse:
#1 I hate (hate) taping together pdf patterns. I think this was the last time I’ll ever do it, having had success with using an online printer thanks to this Cashmerette post. Just look at this. How is it that anyone ever says they love the instant gratification of a downloadable pdf pattern? This took hours!

#2 Holy length measurements, batman. We’ve got shoulder to bust point, shoulder to waist, and on. I really don’t understand why these aren’t included more often with English pattern companies. How the hell am I supposed to know I’m short-waisted relative to the pattern model without them?
Adjustments for this (5’3”, slightly narrow shouldered, a bit full busted) lady, using a size 38.
:: Removed 1 cm between shoulder and waist, splitting evenly above and below the bust
:: Removed 3cm between shoulder and elbow. Shocked at the difference between measurements and the pattern but went along with it. Should have had an assist in measuring my arm length, though, because I ended up adding 1.5” cuffs to the sleeves to make them long enough. Oops.
:: Made a 3” full bust adjustment.
A further note on the pattern: There is no lining pattern included (though you can buy one for an extra 2 Euro). Back when I was an inexperienced baby sewist, I used to have a policy of not buying jackets without lining patterns. Now that I’m a medium experienced toddler sewist, I almost always draft my lining from my adjusted pattern anyway, using the method in this book so that adjustments are incorporated. It’s easier than trying to apply all your pattern changes to lining pattern as well.
A further note on the pattern #2: Okay, look at the line drawing for the collar in that pattern.
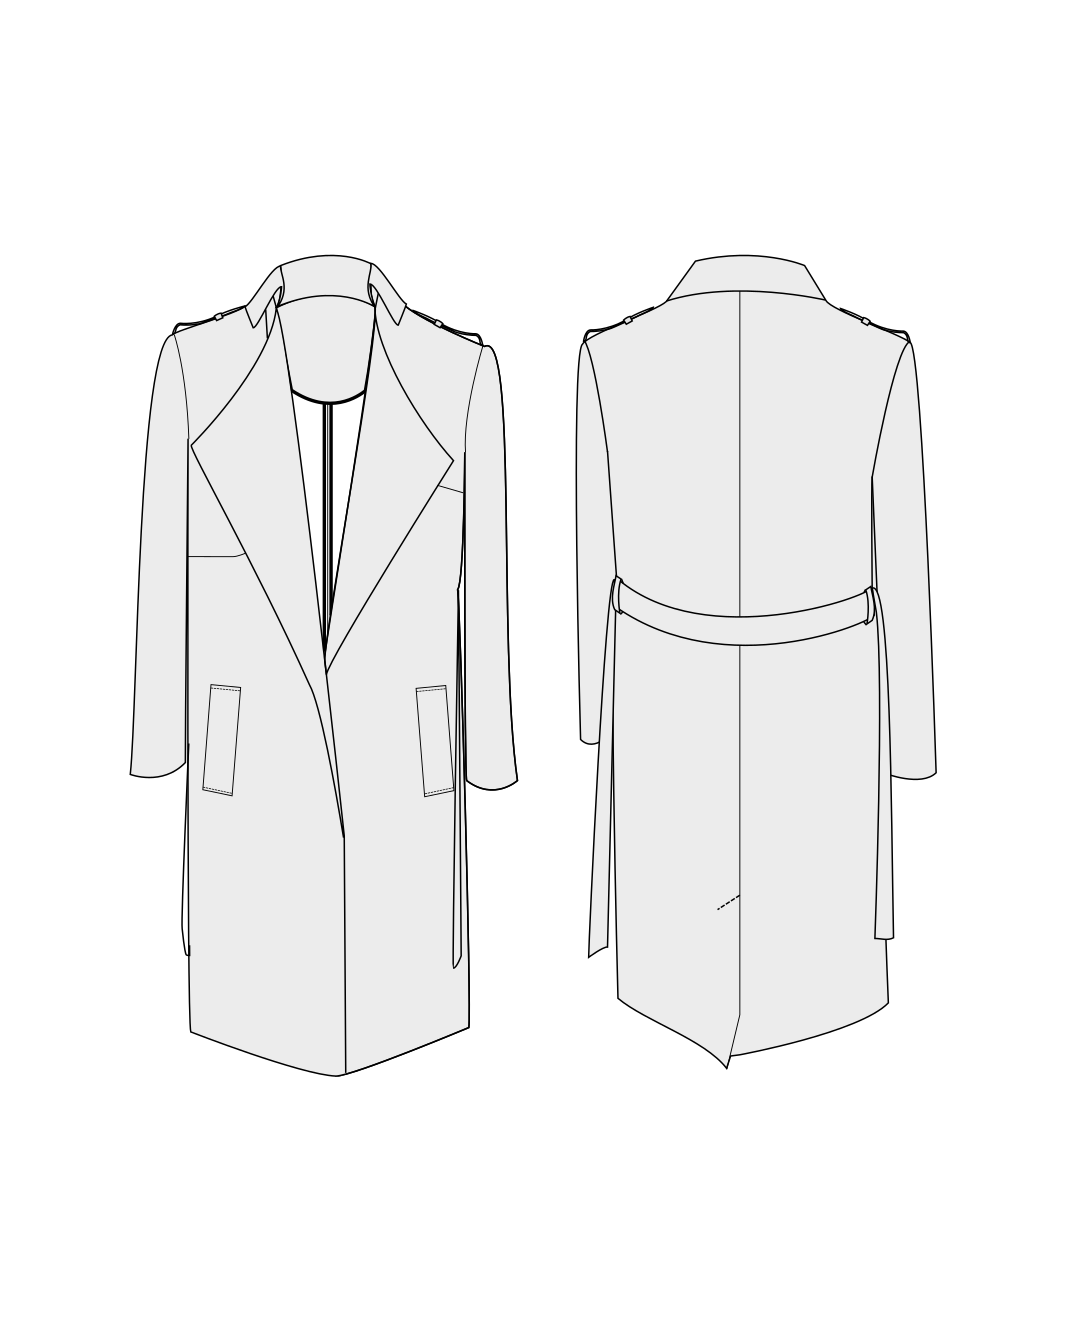 It looks like a napolean collar and I love napolean collars. However, if you go googling around, for made up versions of the coat, the collars don’t look like the line drawing. That’s because the drafting is not really like the line drawing. Forewarned=forearmed, etc.
In terms of fabric and construction:
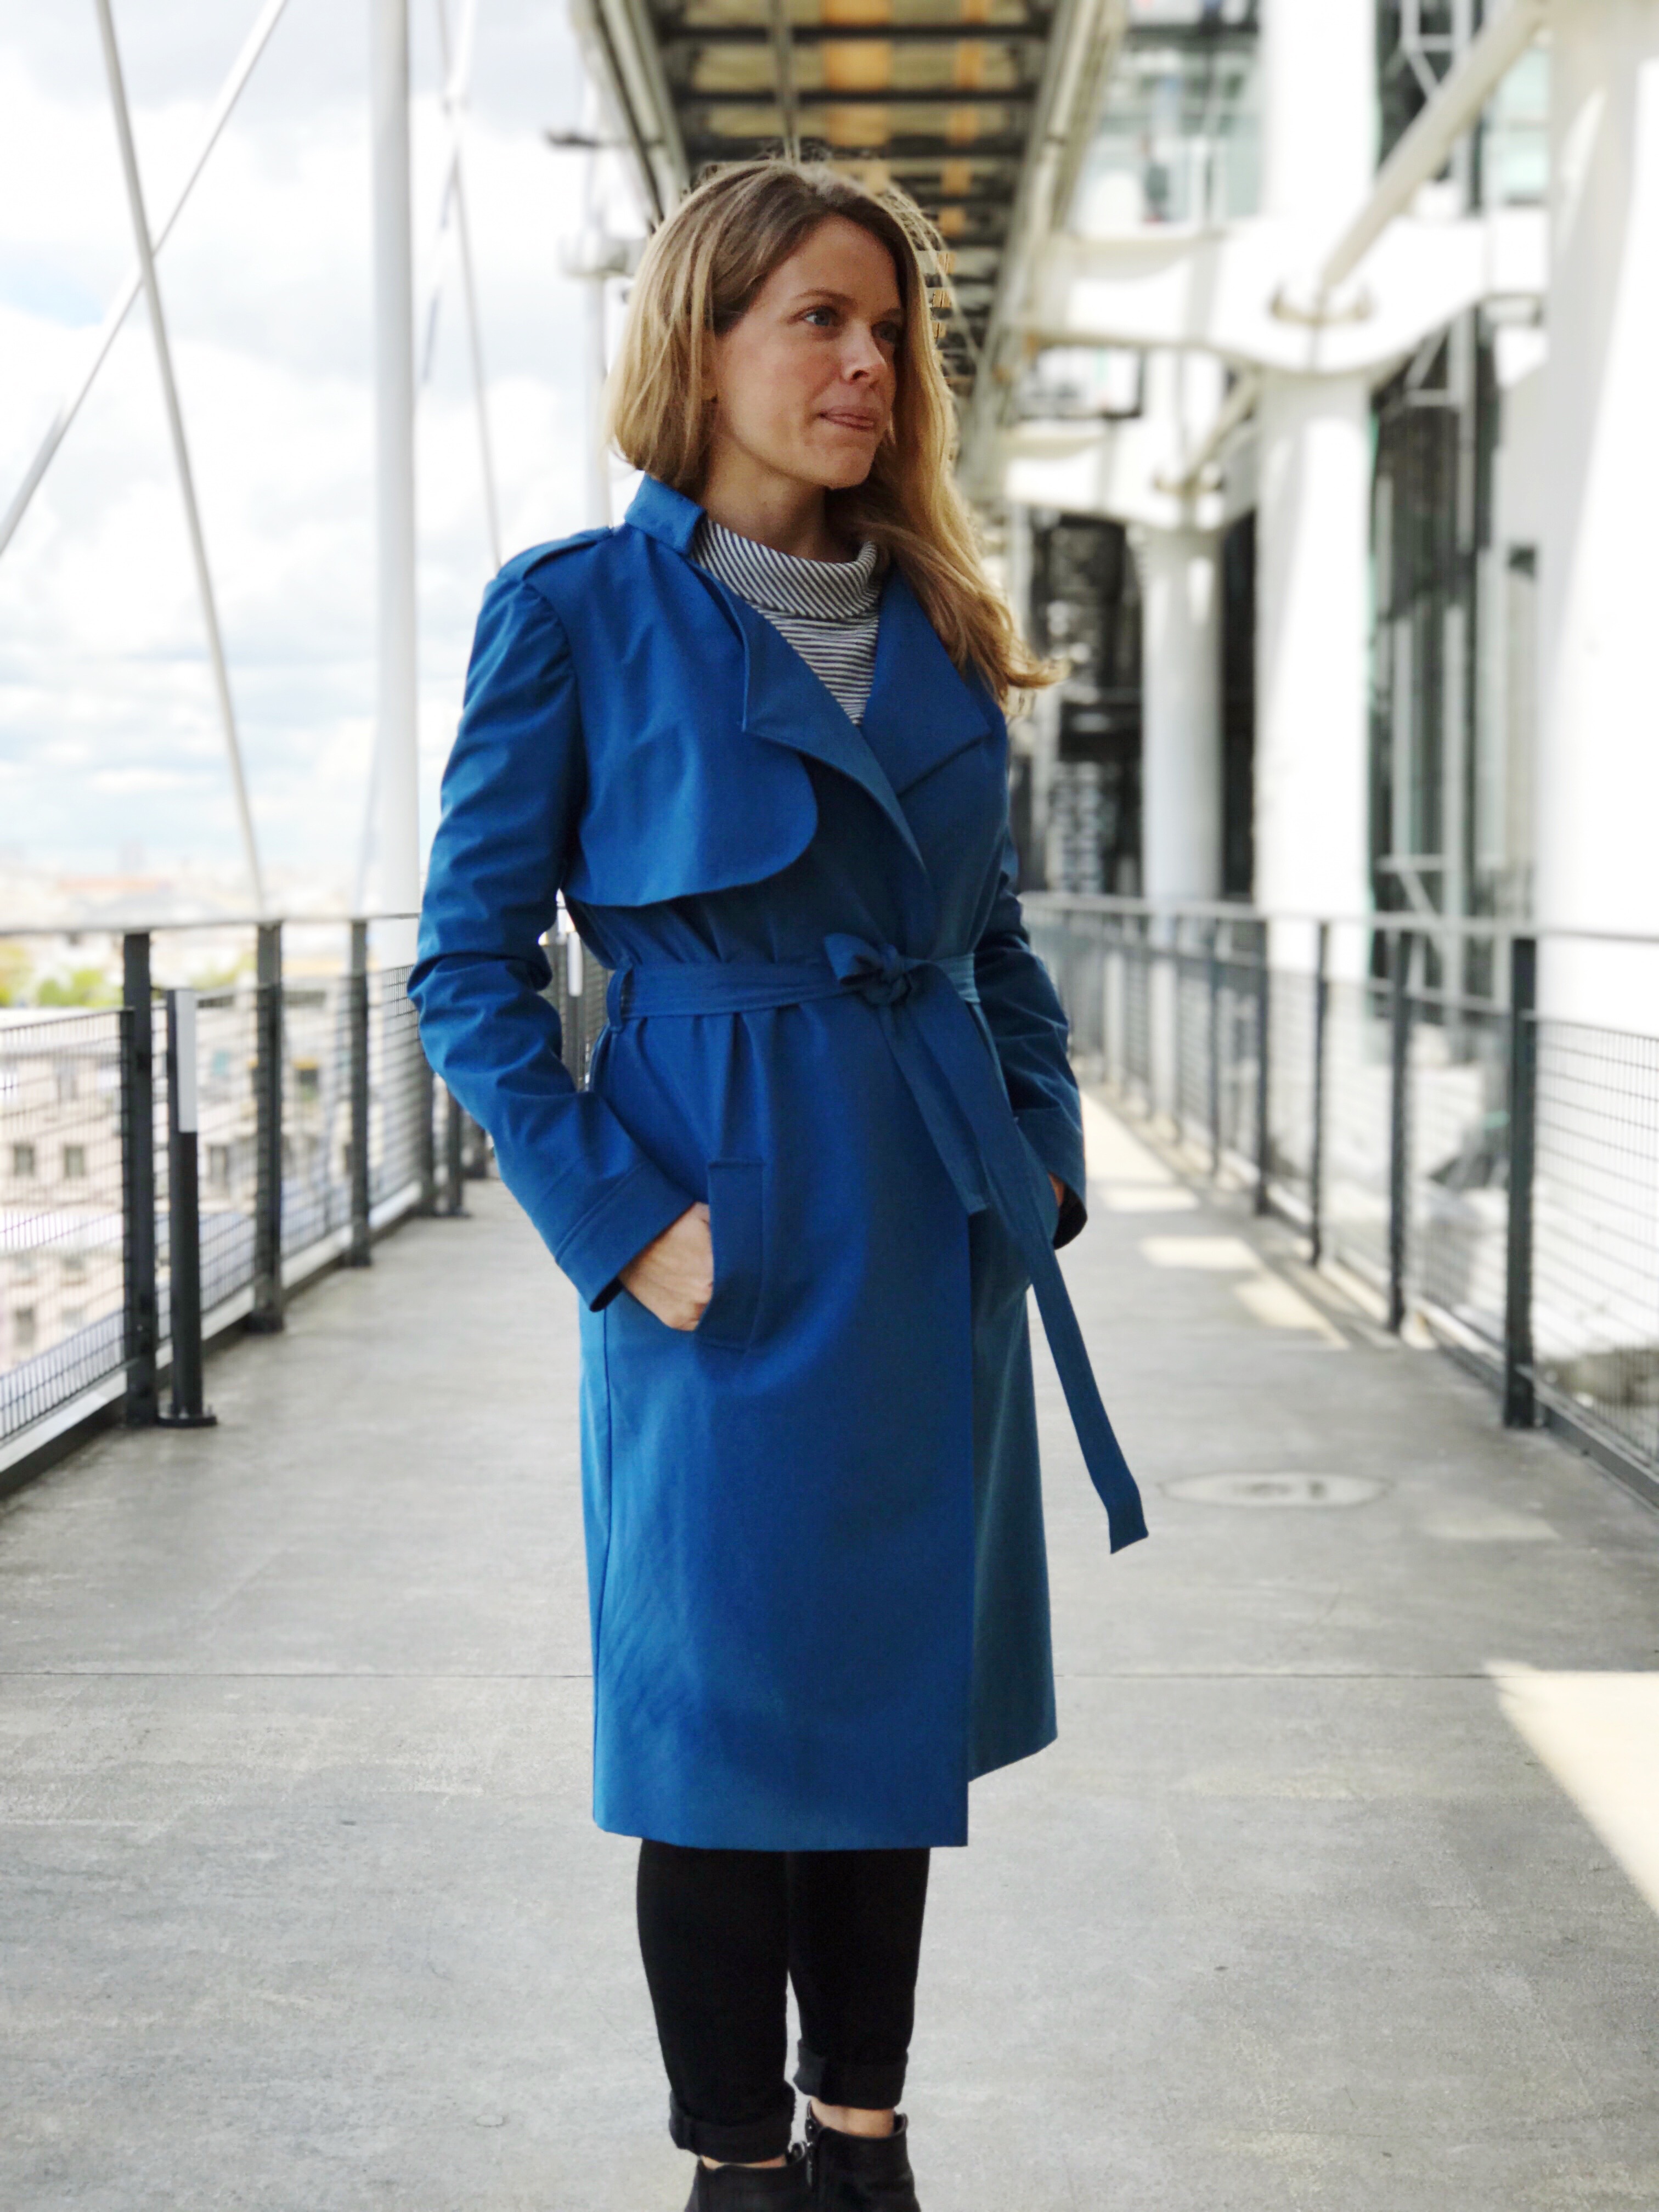
:: I used Dintex waterpoof fabric from Thread Theory. I had dreams about a plum color they had last year, but by the time I convinced myself I would actually make the coat, and it was okay to buy the fabric, that was sold out. Blue is more my general speed, so I’m not sad about it.
:: I still interfaced the fronts. I think I’d just read a Kathleen Fasanella rant about homesewers not using enough interfacing. It does give the front more substance, but it was annoying to fuse because Dintex has multiple layers designed to make the fabric both breathable and waterproof, and I had a hard time figuring out when it was sticking adequately to enough layers. I’m still not entirely sure it was the right move, and a bit afraid that the fusing will delaminate. However, in spots where I noticed delamination during the sewing process, there wasn’t visible bubbling on the right side of the fabric (maybe specifically because of those layers?). So we can call it a wash.
::I lined with some ugly stretch silk charmeuse that’s been sitting in my stash a very very long time. Bought for cheap on Fabric Mart. It’s a lavender and light yellow stripe, which looks like a relatively unobjectionable solid below.

:: Both for the the shoulder flap and the pockets, I used a silk crepe that was a much closer match to the Dintex. (Seen below in a shot meant to document the way in which I somehow effed up which was the front and which was the back pocket back, but never mind.

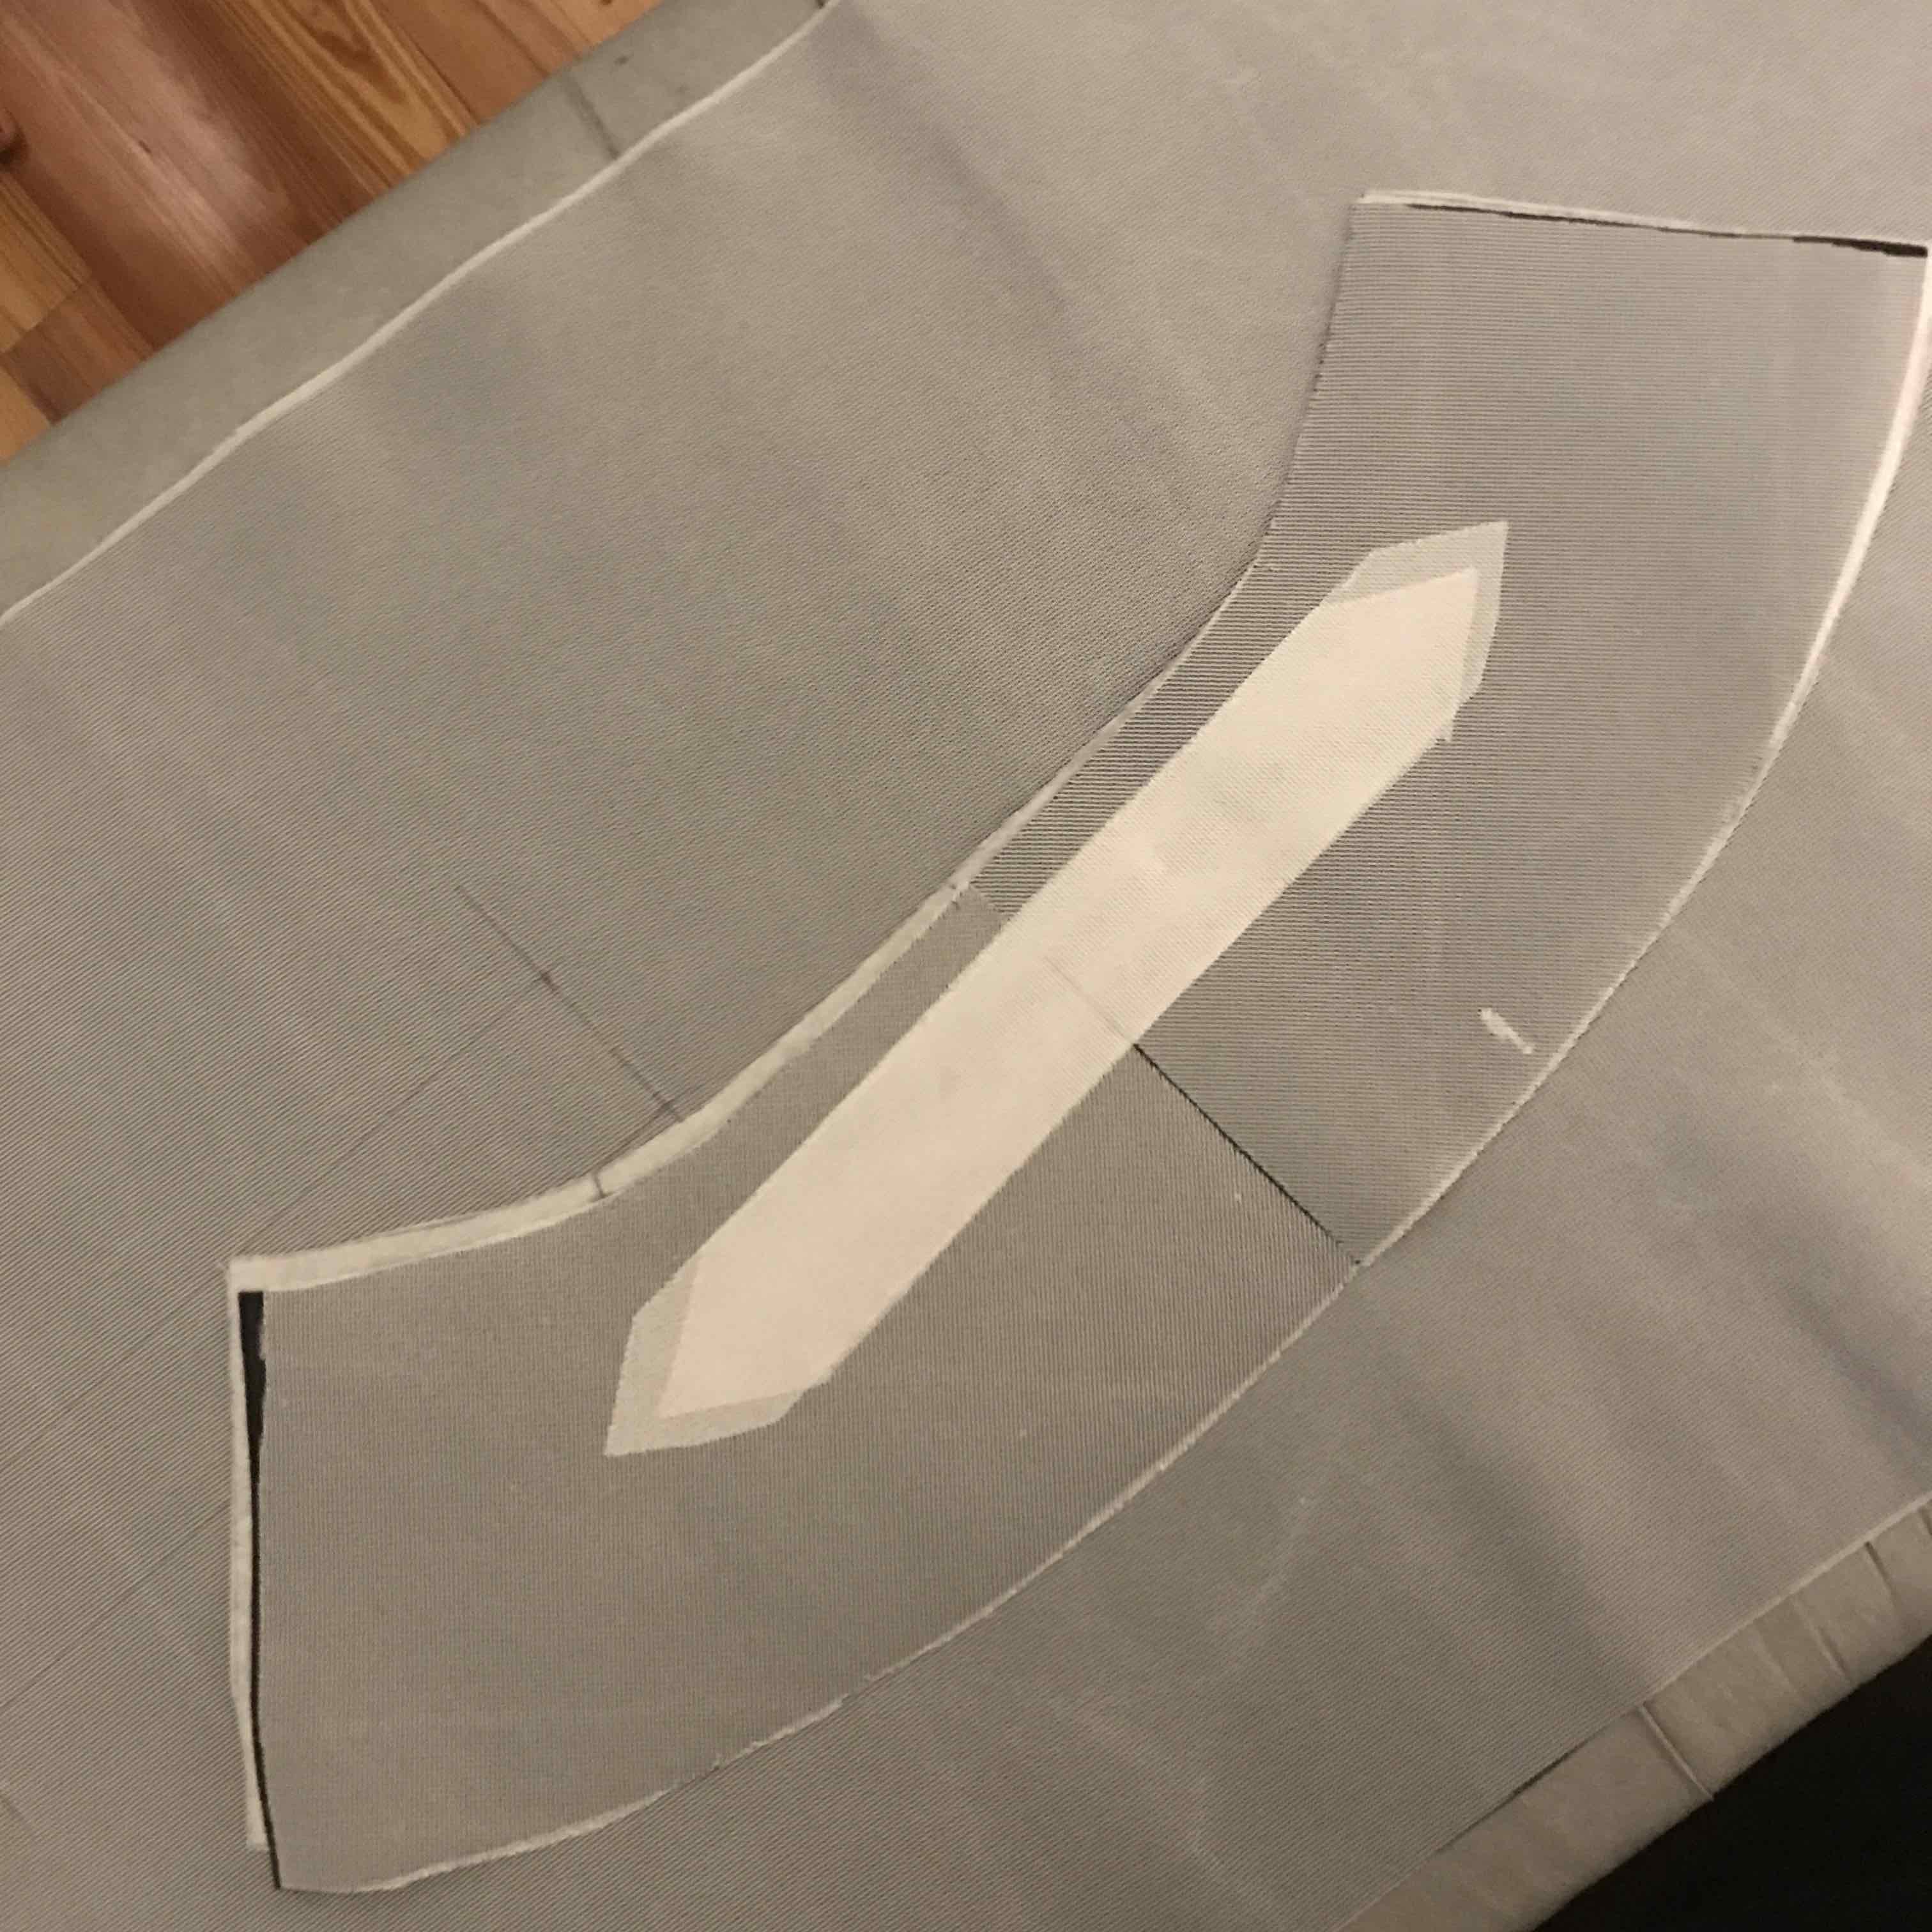
:: To get my collar to look more like the line drawing, I manipulated the under collar pattern piece around the neckline to get a sense of where the fold line was. I then interfaced the entire undercollar on the bias before cutting two extra pieces of interfacing in roughly the shape of a collar stand to add some extra rigidity, as below. This, plus some steam, helped a lot. But the collar tips still wanted to splay out. That was a relatively simple fix: I basically just tacked the underside of the tips down to the jacket itself.
:: I added several lines of top stitching to the belt, which gave it more structure.
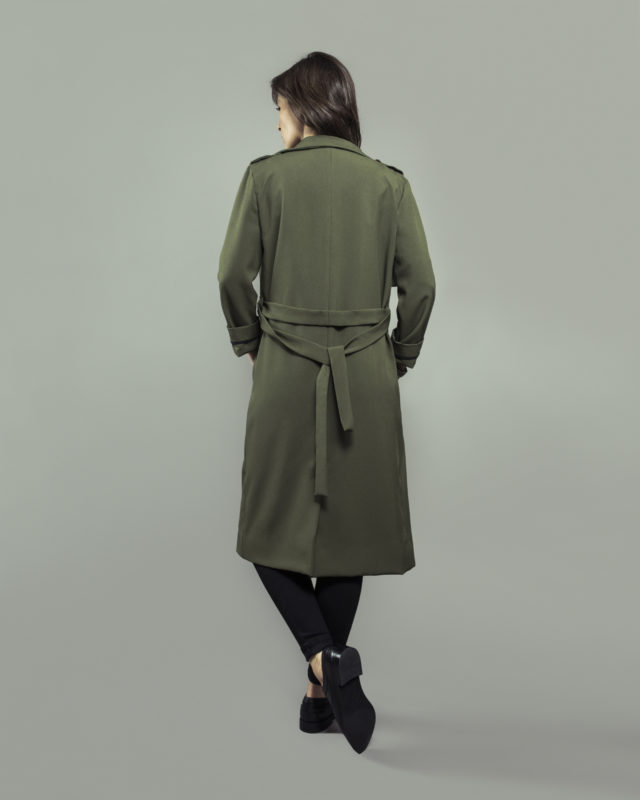
Otherwise, construction was relatively straightforward! This is a great mid-weight jacket. I’ve gotten unsolicited compliments on it while walking to work — which is always really nice. I think maybe a non-beige trench sticks out?
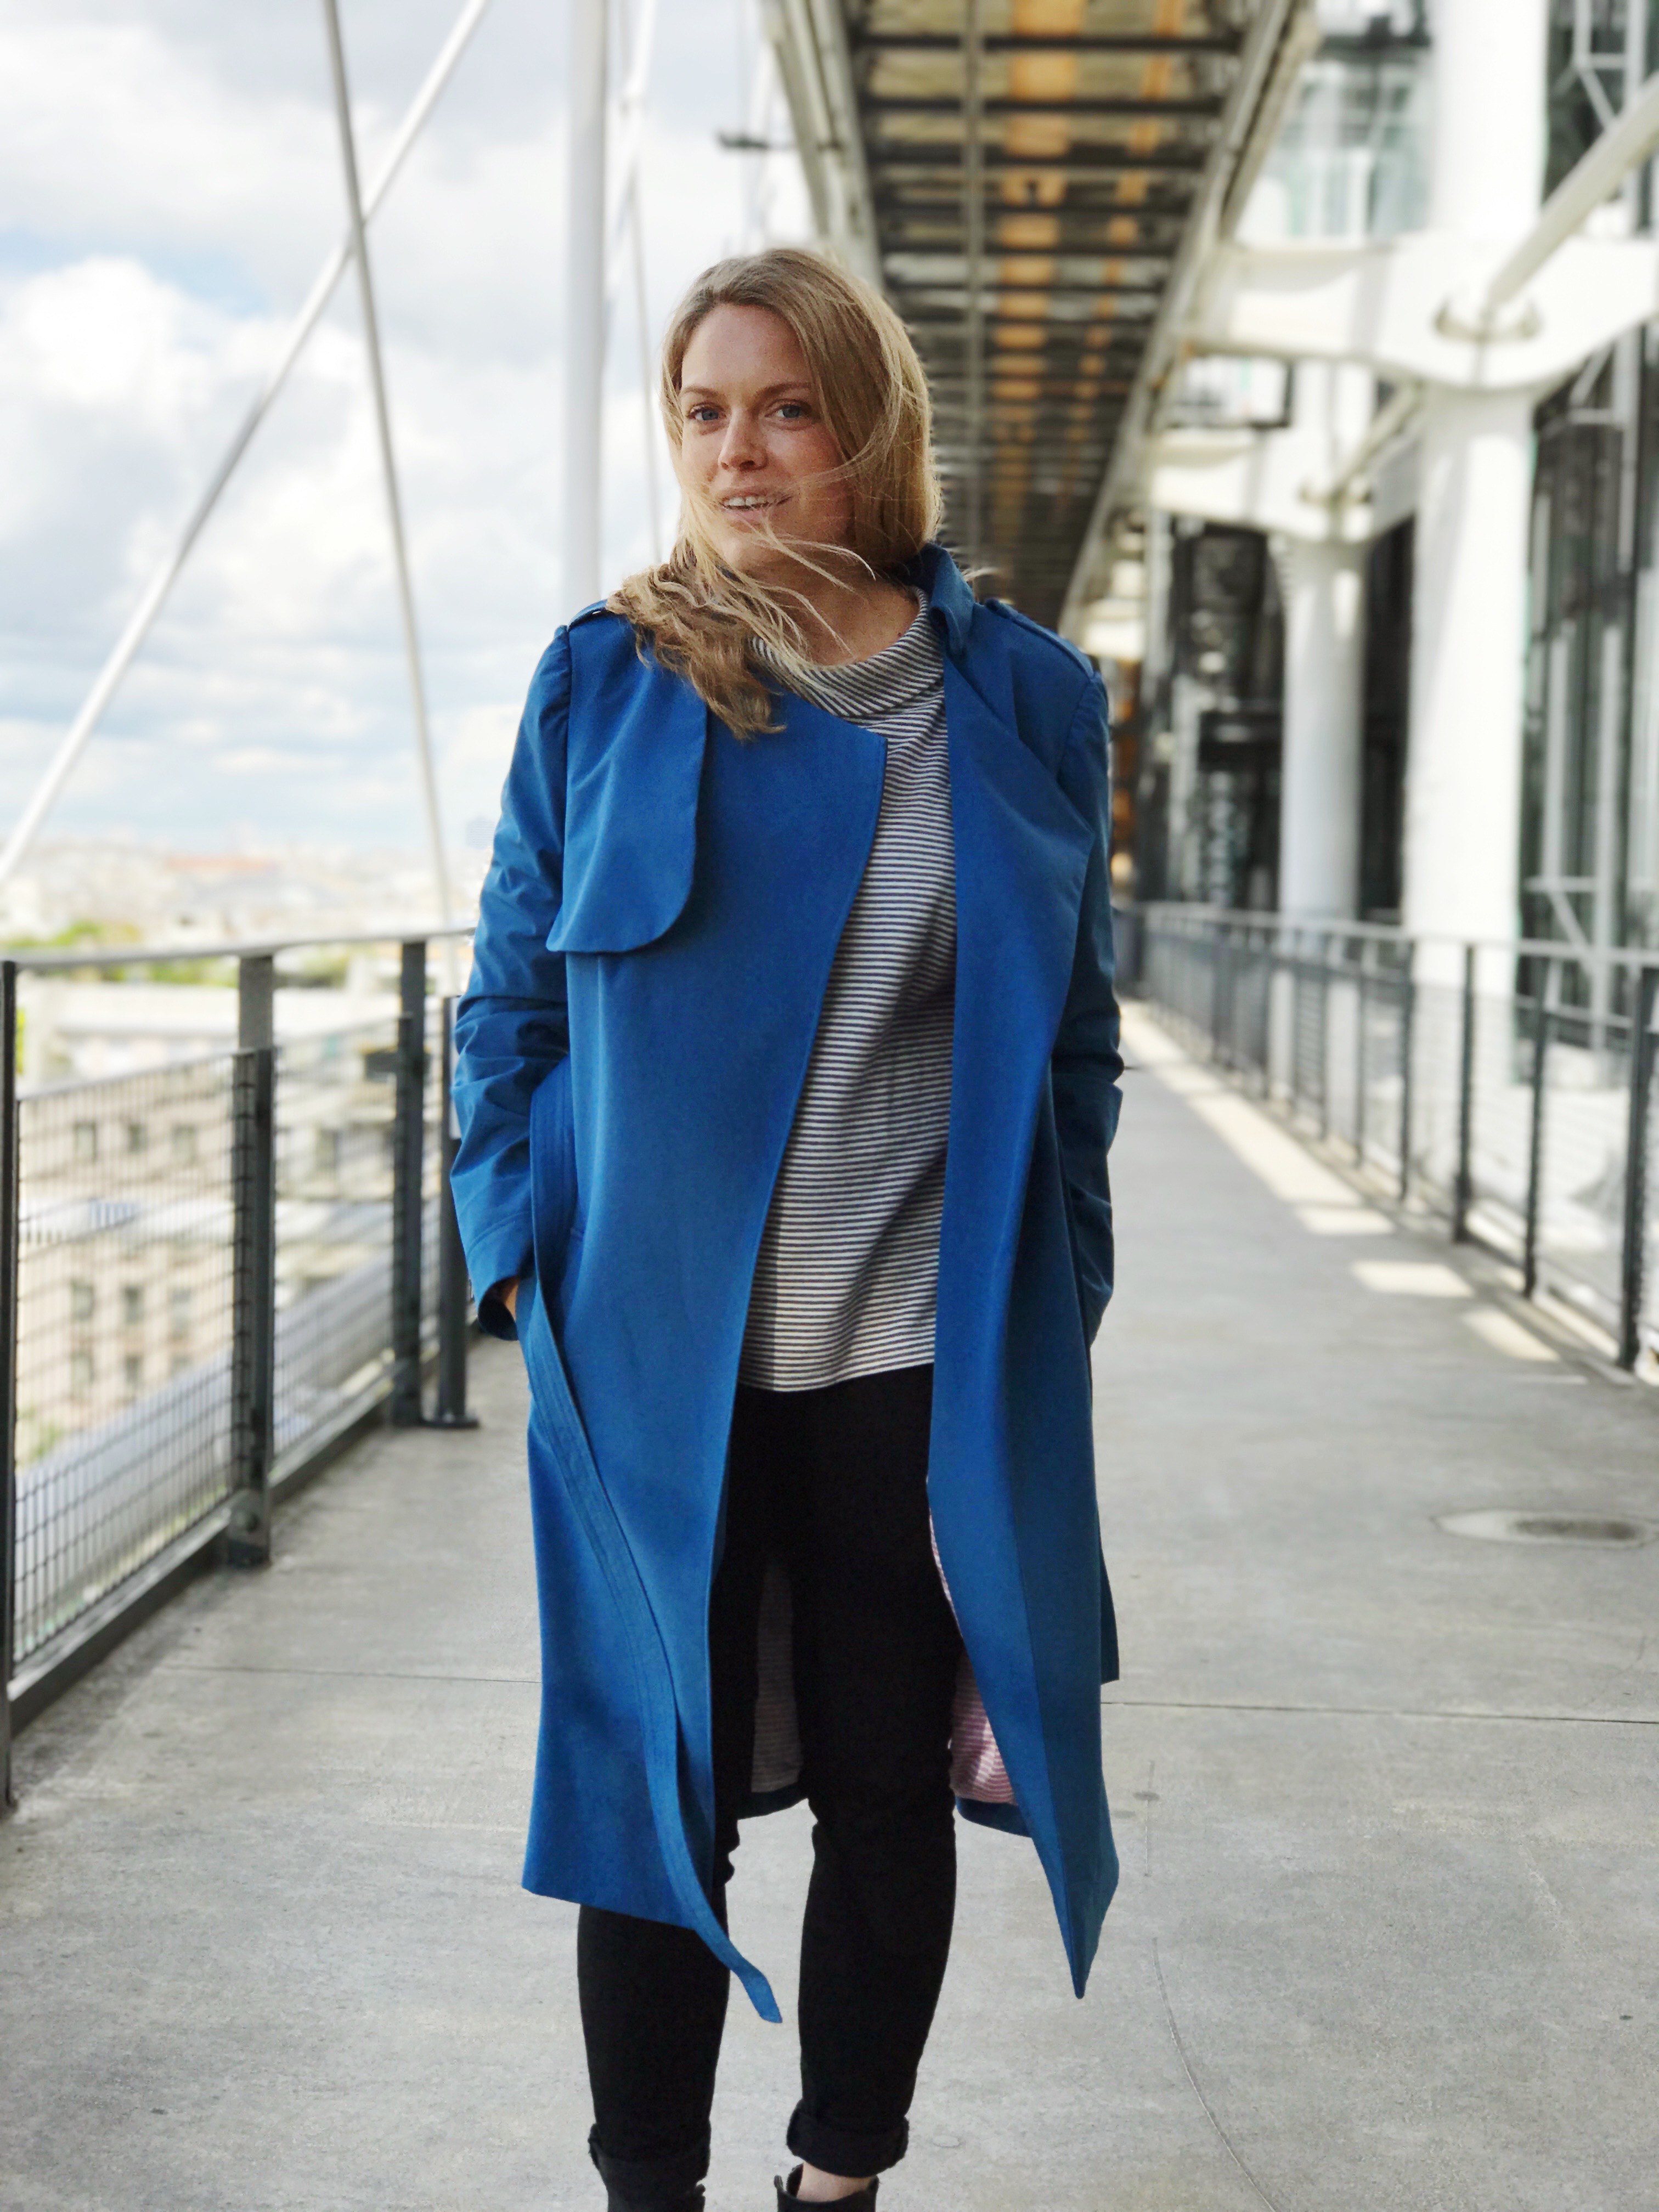
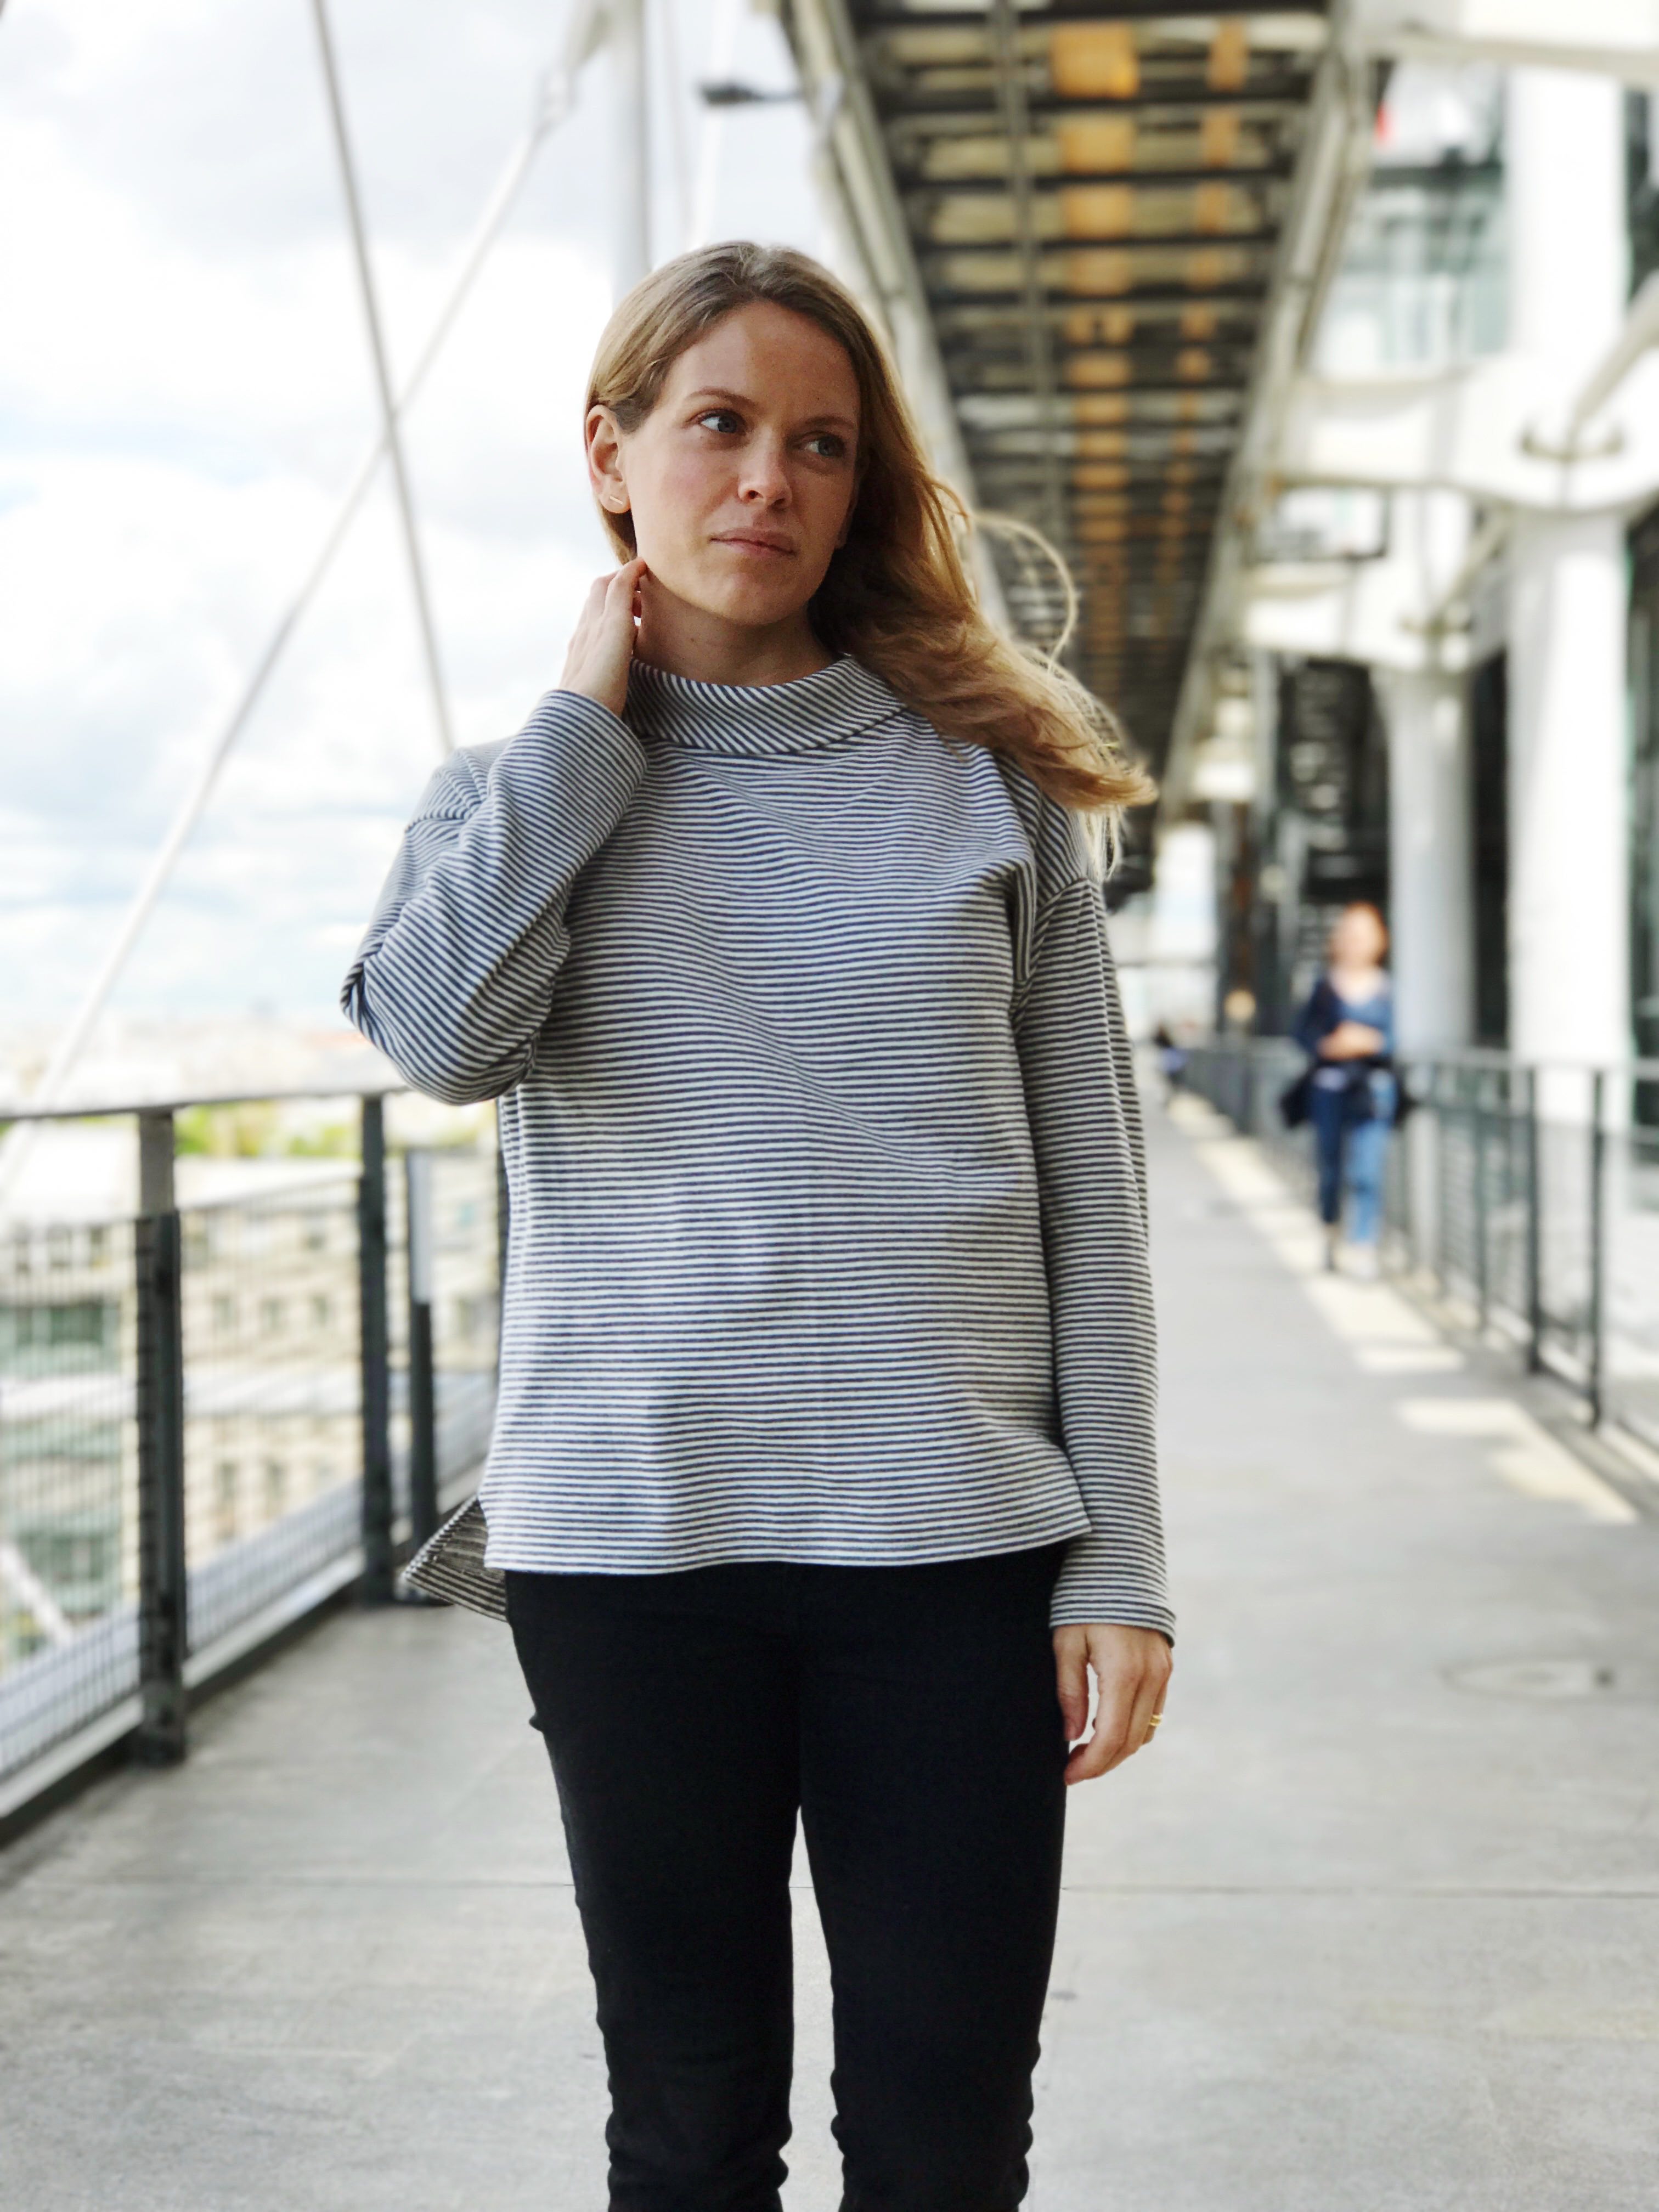
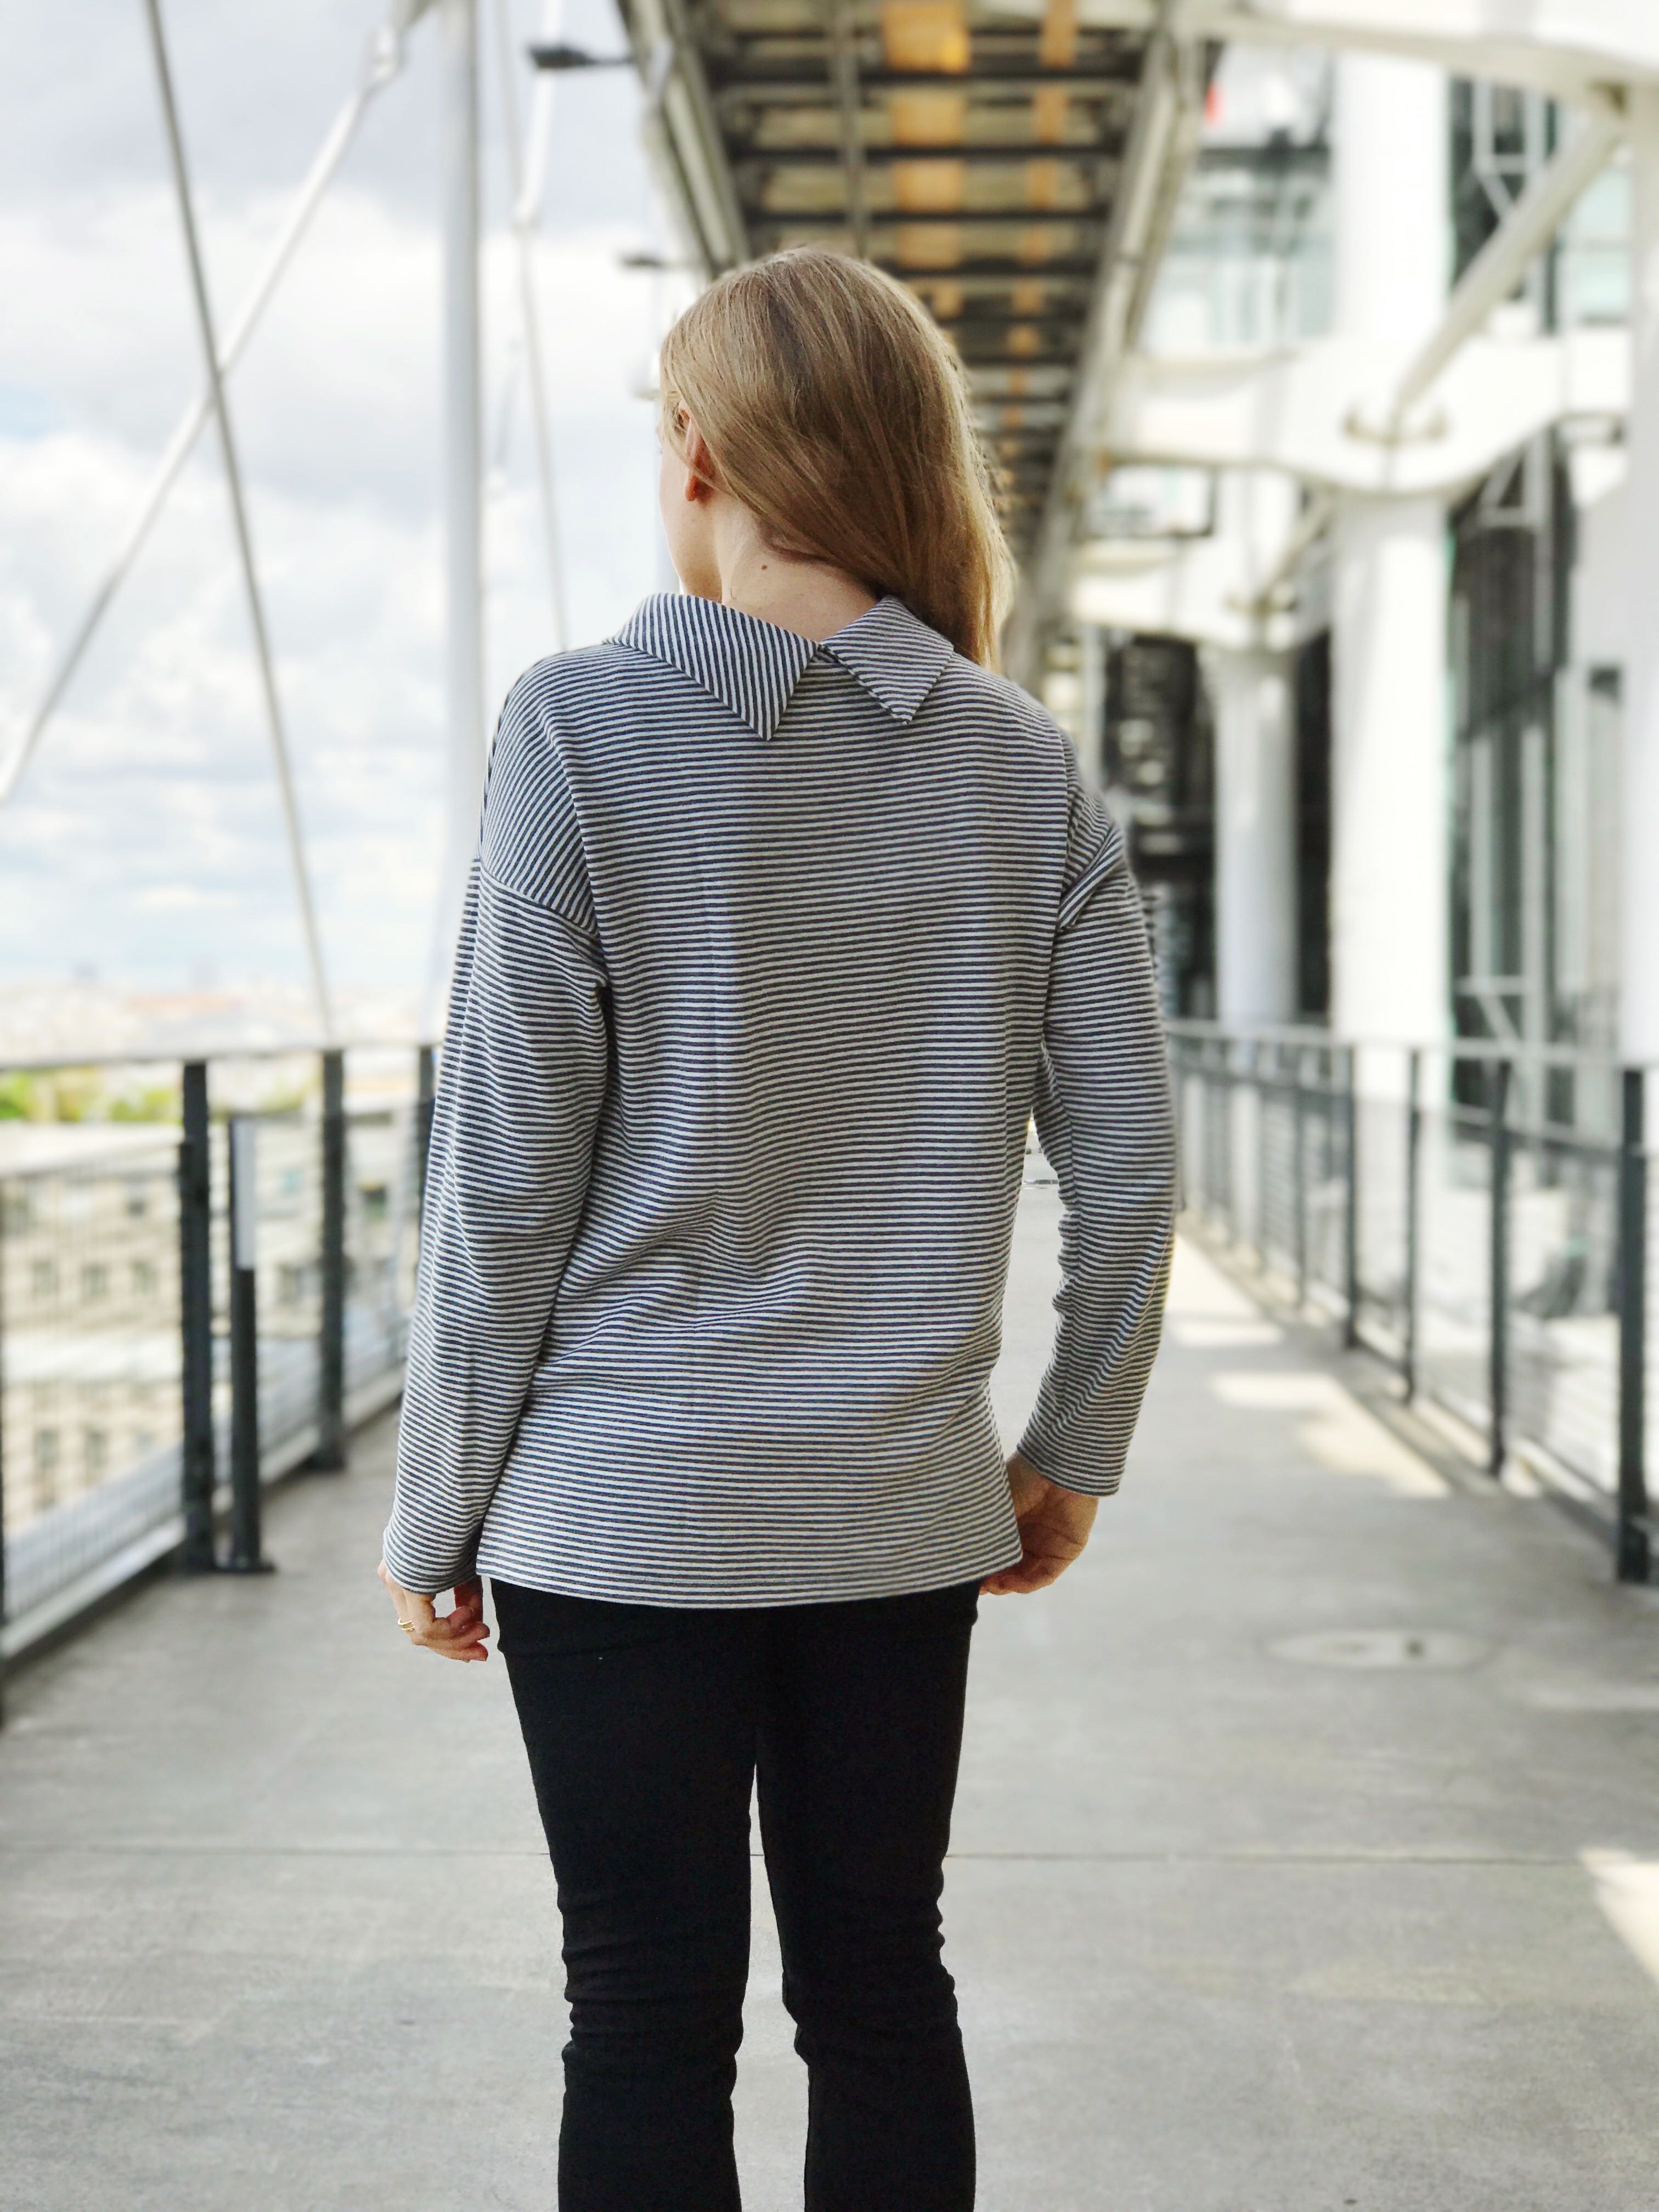
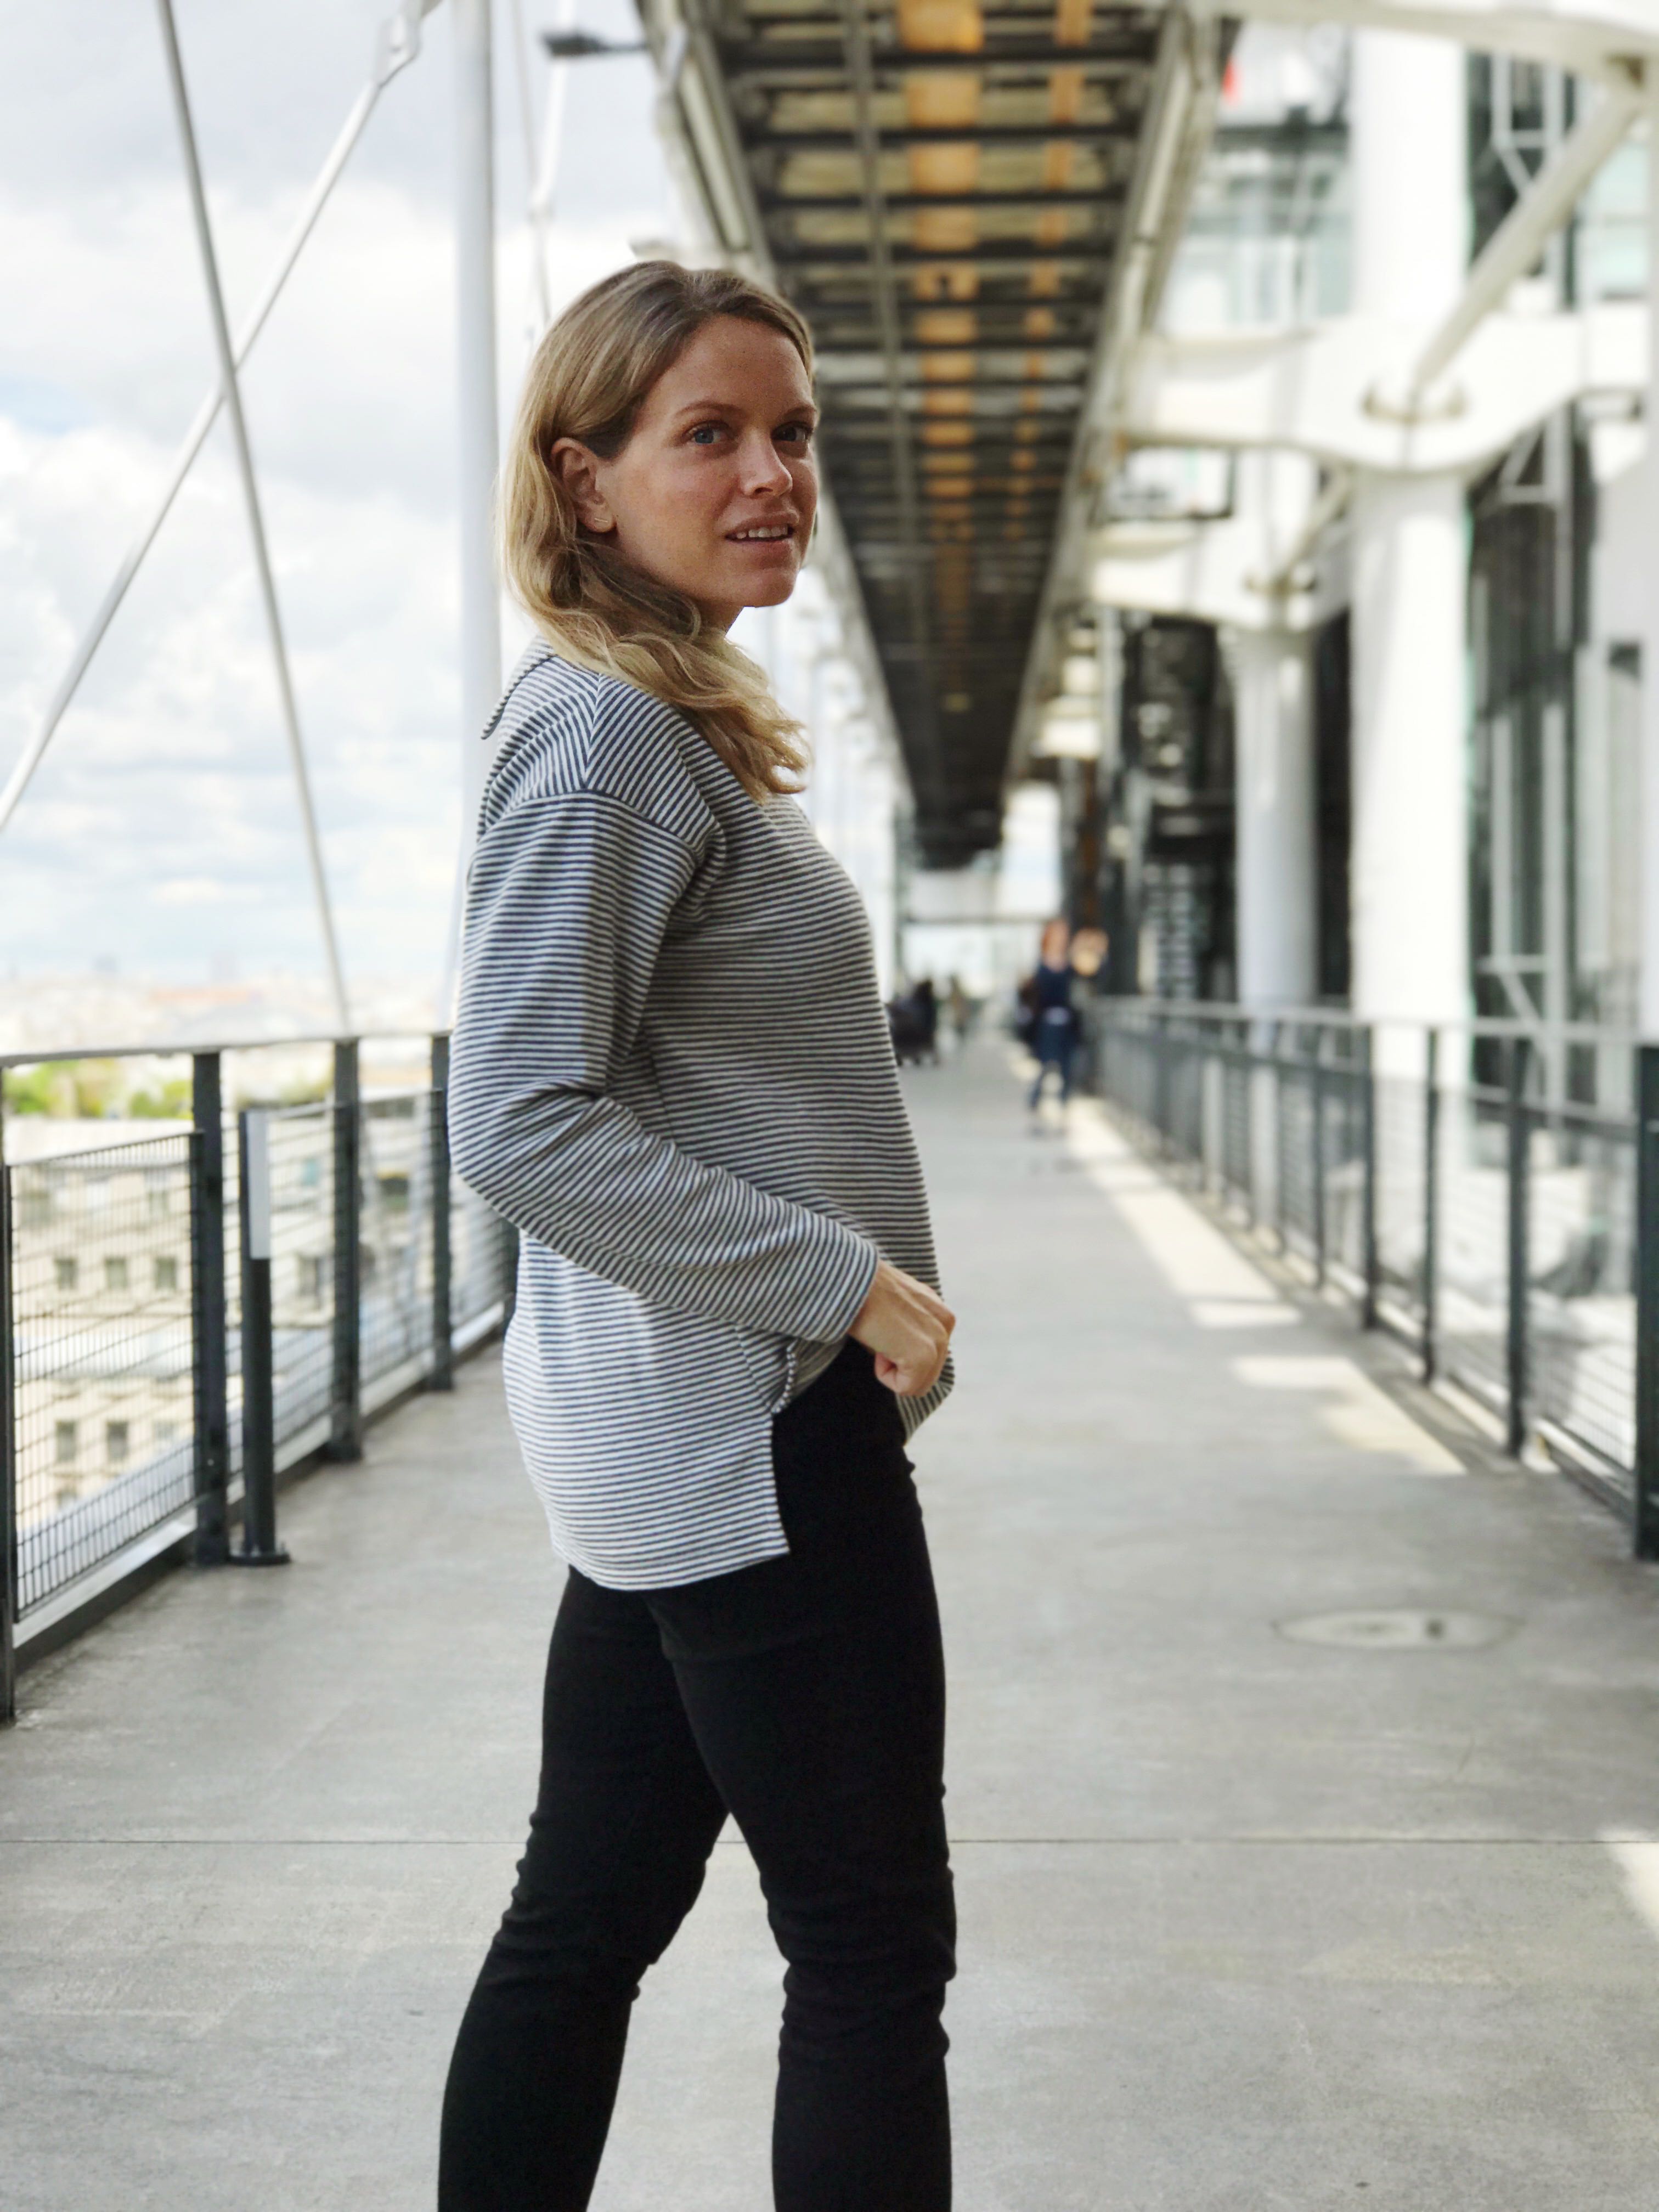
I wore it in Paris in late spring and it was perfect over a sweater for that season. These photos were taken when I was about 8 or 9 weeks pregnant (Dr. Wasted is handy with an ultrasound machine, so we knew reeeeeeeally early that it was in the right place and everything). I wore it again around 28-32 weeks, but instead tied the belt in the back and left it open in the front. Like this.
And that’s it! Except here are a couple of shots of a rush-job Esme Tunic, which I thought would be cozy but not too sloppy. I like that pattern a lot, and details on it are here, from the first make. I wore that one so much on cooler weekend days it was worth making a second.

I love this coat so much
Thank you!
this is fantastic and I don’t think you can call yourself a medium experienced toddler sewist – that is expert work! it looks really good and I love the color. and yes, more interfacing seems to be the key to a good result – at least that is what I have found.
Ha, thanks that’s very kind. If you notice, though, I keep making things without button holes because I. am. so. scared. of buttonholes. I definitely don’t think you get expert level without making a buttonhole!
I agree on interfacing generally being better, I just always get a bit nervous that I’m not applying it right. With the Dintex layers (I wish I had photographed the underside — lots of texture — I had a hard time getting it to stick. I also made a relatively loose weave (but not boucle) blazer recently and underlined with silk organza because I was worried the interfacing glue would bleed through during the process of applying. Jacket’s kind of saggy, though, and I feel like interfacing would have helped. I’m just not cavalier enough with it.
It really turned out great! I love the color especially.
Thank you!
Lovely coat and colour! Really suits you. I stopped taping the PDF’s! I now just trace page by page, making sure the corners match. Probably takes longer, but I hate it less.
Great colour on you! And my goodness yes that PDF – I’d never attempt something that big unless I could get it copy shop printed!
Thank you! And yea, that’s the last time I’m doing paper assembly. Hope you’re feeling good if you haven’t yet had the baby!
Toddler-sewer – haha!! It’s a really gorgeous coat pattern, and I love it in the blue 🙂 All those extra measurements should so totally be mandatory – such a simple thing with the potential to make so many lives better!!!
I really don’t understand why we just do circumference if pattern cos are using the same block over and over but I don’t run a pattern company so who knows.