

I made a felted dinosaur.
Pinterest certainly won this round.
That time suck of a website makes me think I need to do all of the things, and occasionally wish my friends would start popping out babies so I could justify making small people blankets/hats/mittens/plush dinosaurs.
Plush. Dinosaurs.
Luckily, I have the kinds of friends in my life with whom I have conversations like:
Friend: I’m thinking of getting a dinosaur tattoo.
Wasted, after a long pause: Hm. But why?
Friend: I mean. I basically think of them every day.
Such friends have birthdays.
The inspiration (and massive help in the form of the downloadable pdf) came from this tutorial. A few differences outlined below.
I used:
1 skein bright blue embroidery floss.
Felted coat-weight wool (scraps once I cut out the pattern pieces from the never-ending coat project).
Scraps for stuffing. And lavender. This is a lavender-scented stuffed dinosaur (I know, I know).
1. Felt your wool. There are many tutorials on the internet, but essentially: Stuff wool in pillow case. Wash on an aggressive high heat setting. Dry on high heat setting. Press.
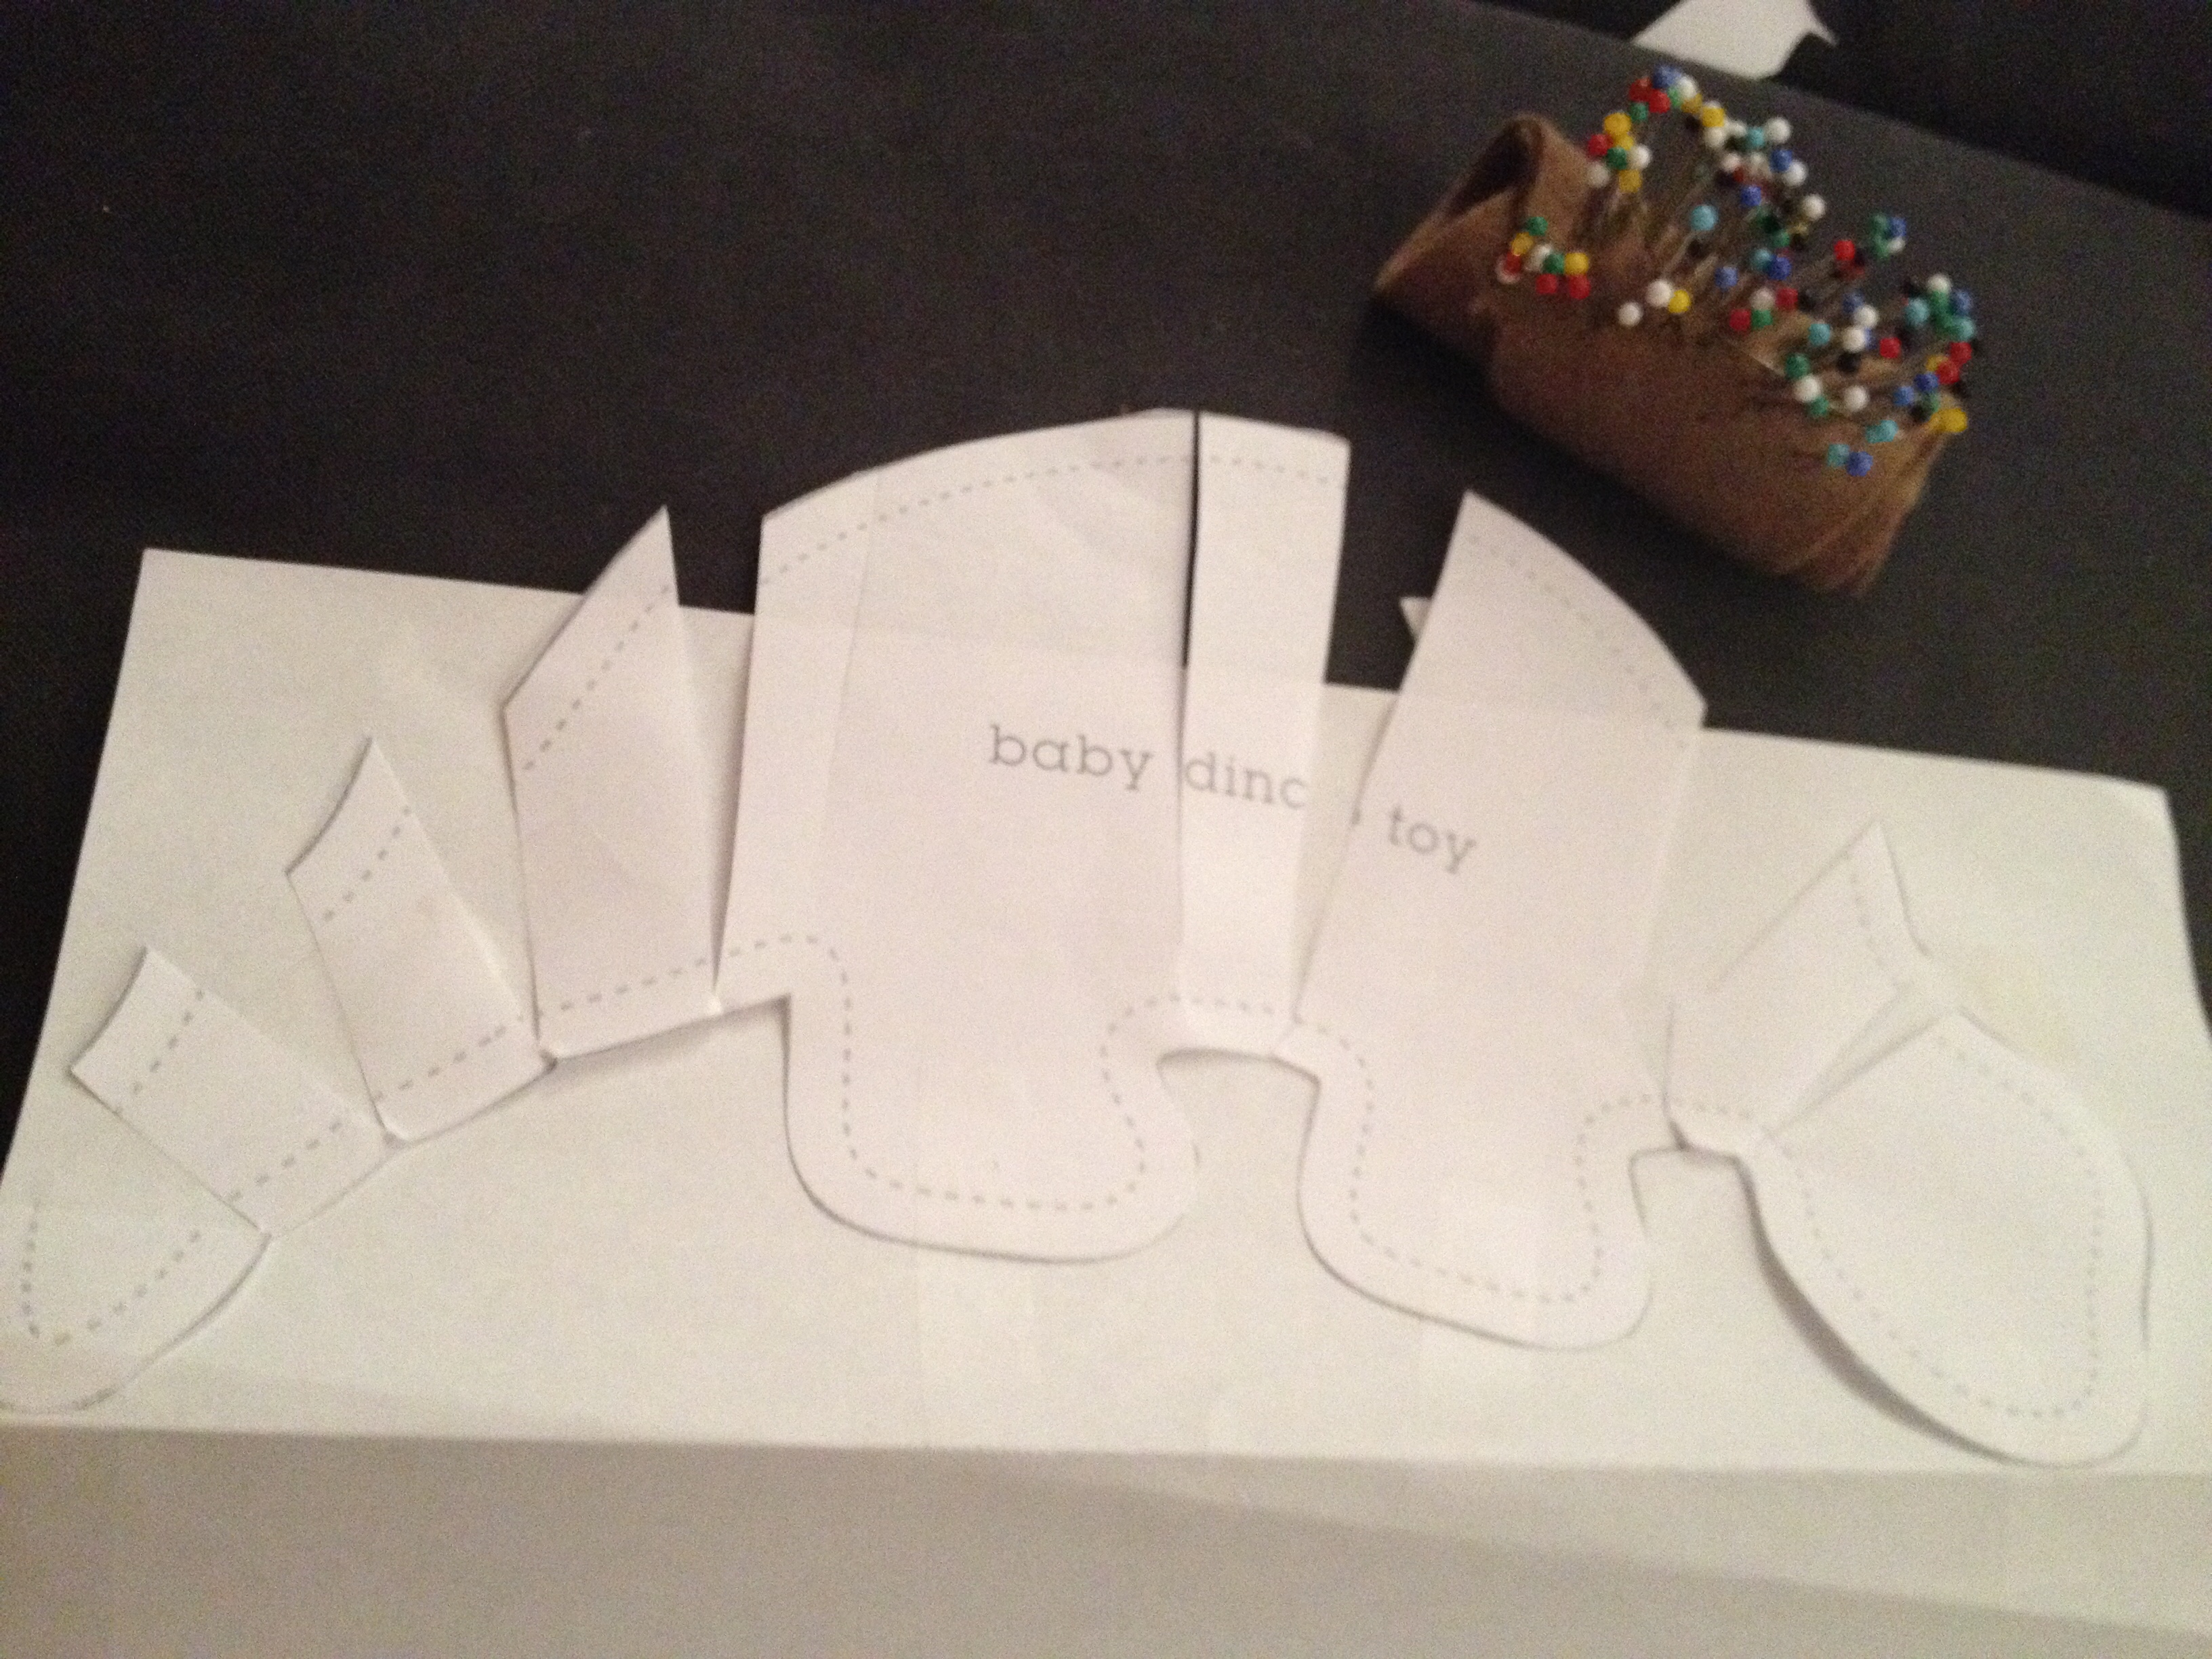
2. Download and print this handy little pdf.
3. Modify if you wish. I freehanded some stegosaurus spikes, because the brontosaurus was a myth and because I didn’t want to have to deal with separate fabric pieces for the spikes. (The disappointment, I know).
4. Cut out your two pieces. I found it easiest to pin the pattern piece to the top of the felted wool and just cut that way. The thick felt doesn’t take traced lines well.
5. Stop! If you want your dinosaur to have four legs, you need to make another modification. If not skip to step 6.
5.2 The FDoM tutorial is pretty dang cute and if my friends would come through for me with the babies, I’d be happy to give a baby a stuffed two-legged dinosaur. But this was for a goddamn grownup who knows better. It needed four legs.
5.46 To get four legs, we need to give him a belly piece to which you can attach the second side of the leg. You need the outline of your dinosaur’s chest, legs and , um, undertail(?) area.
5.5 Fold a second sheet of paper in half.
5.61 Make several vertical cuts in your existing dino printout. Then layer them over one another and tape. This will make his belly bow out a little. I guess if you wanted a skinny dinosaur you can skip this part and cut straight to the tracing.
 and then
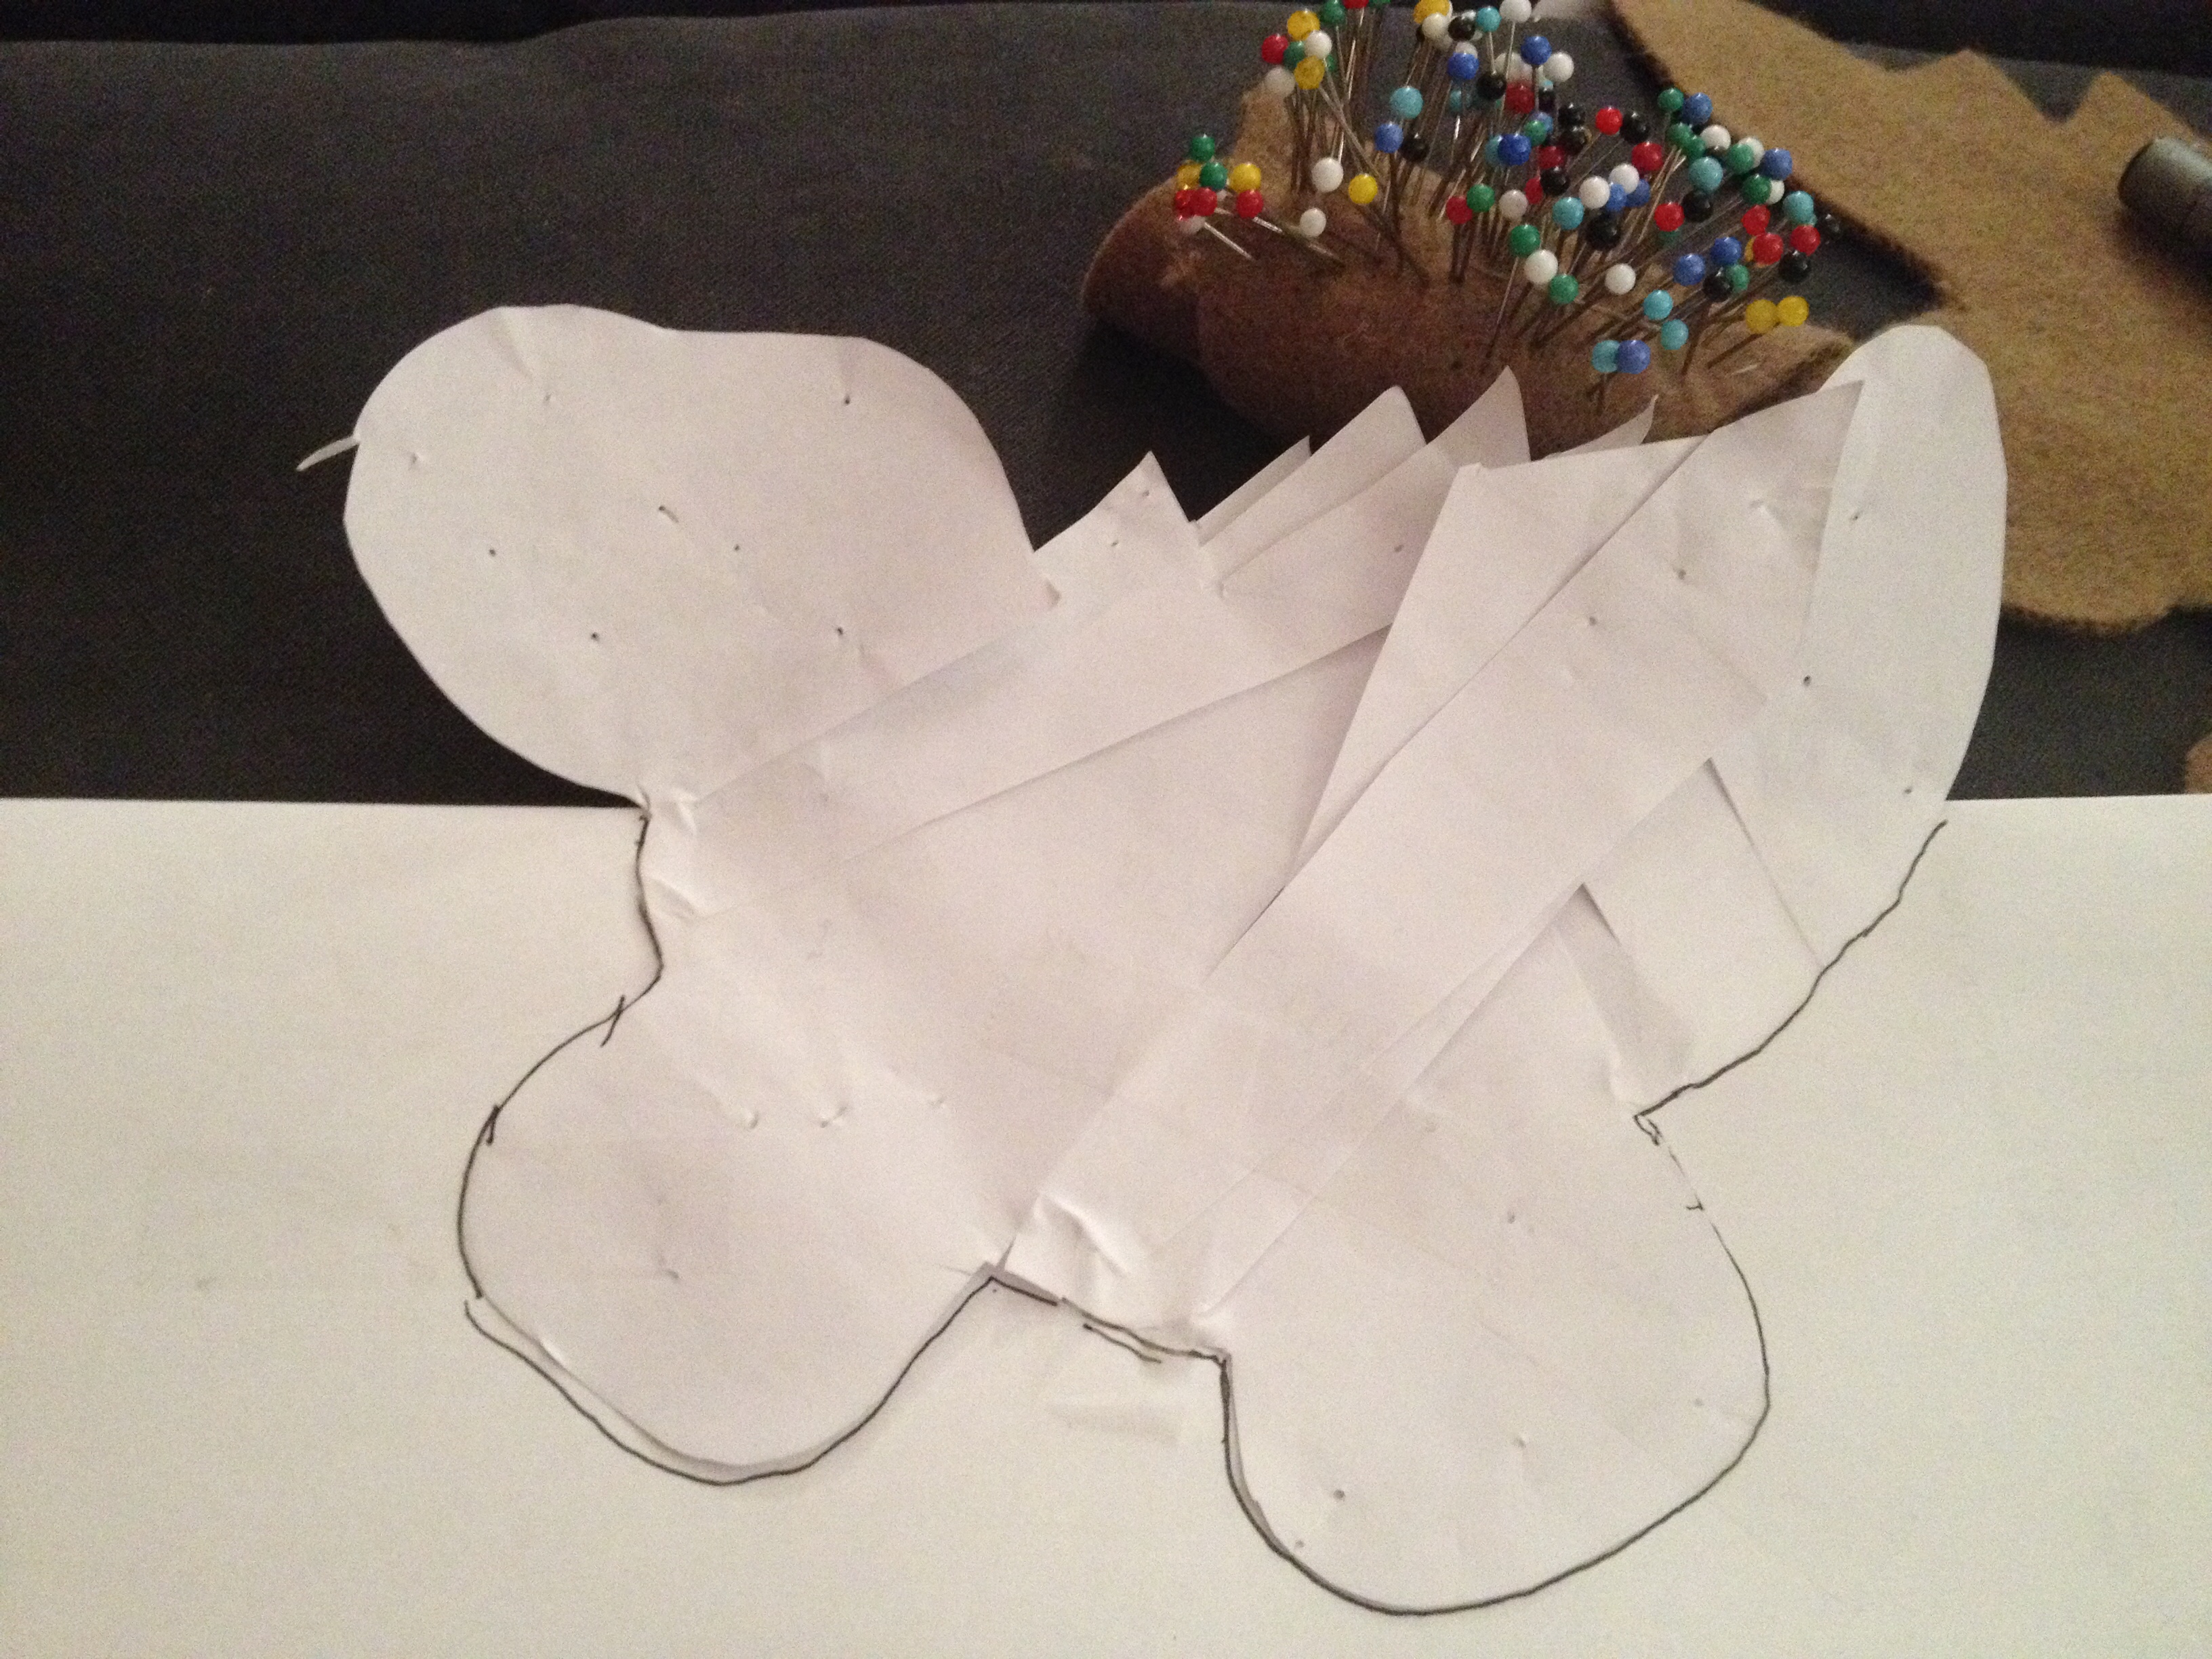
5.62 Trace, with the neck and undertail (sorry) touching the fold line of your second sheet.
5.68 Cut along the traced line. Unfold. Look at that belly.

6. If you want to embroider, this is the time to do it. I did some french knot eyeballs, got creeped out by them and tore them out. Mine has no decoration.
7. Sew! Using a blanket stitch, start at the underside of the tail and work your way around. I used dried lavender to stuff the tail and spikes, holding it in place with more wool scraps. It smells like awesome. When you get to the base of the neck, join the belly.
8. Sew on one side of the belly and legs. Finish off, then sew along the other side.
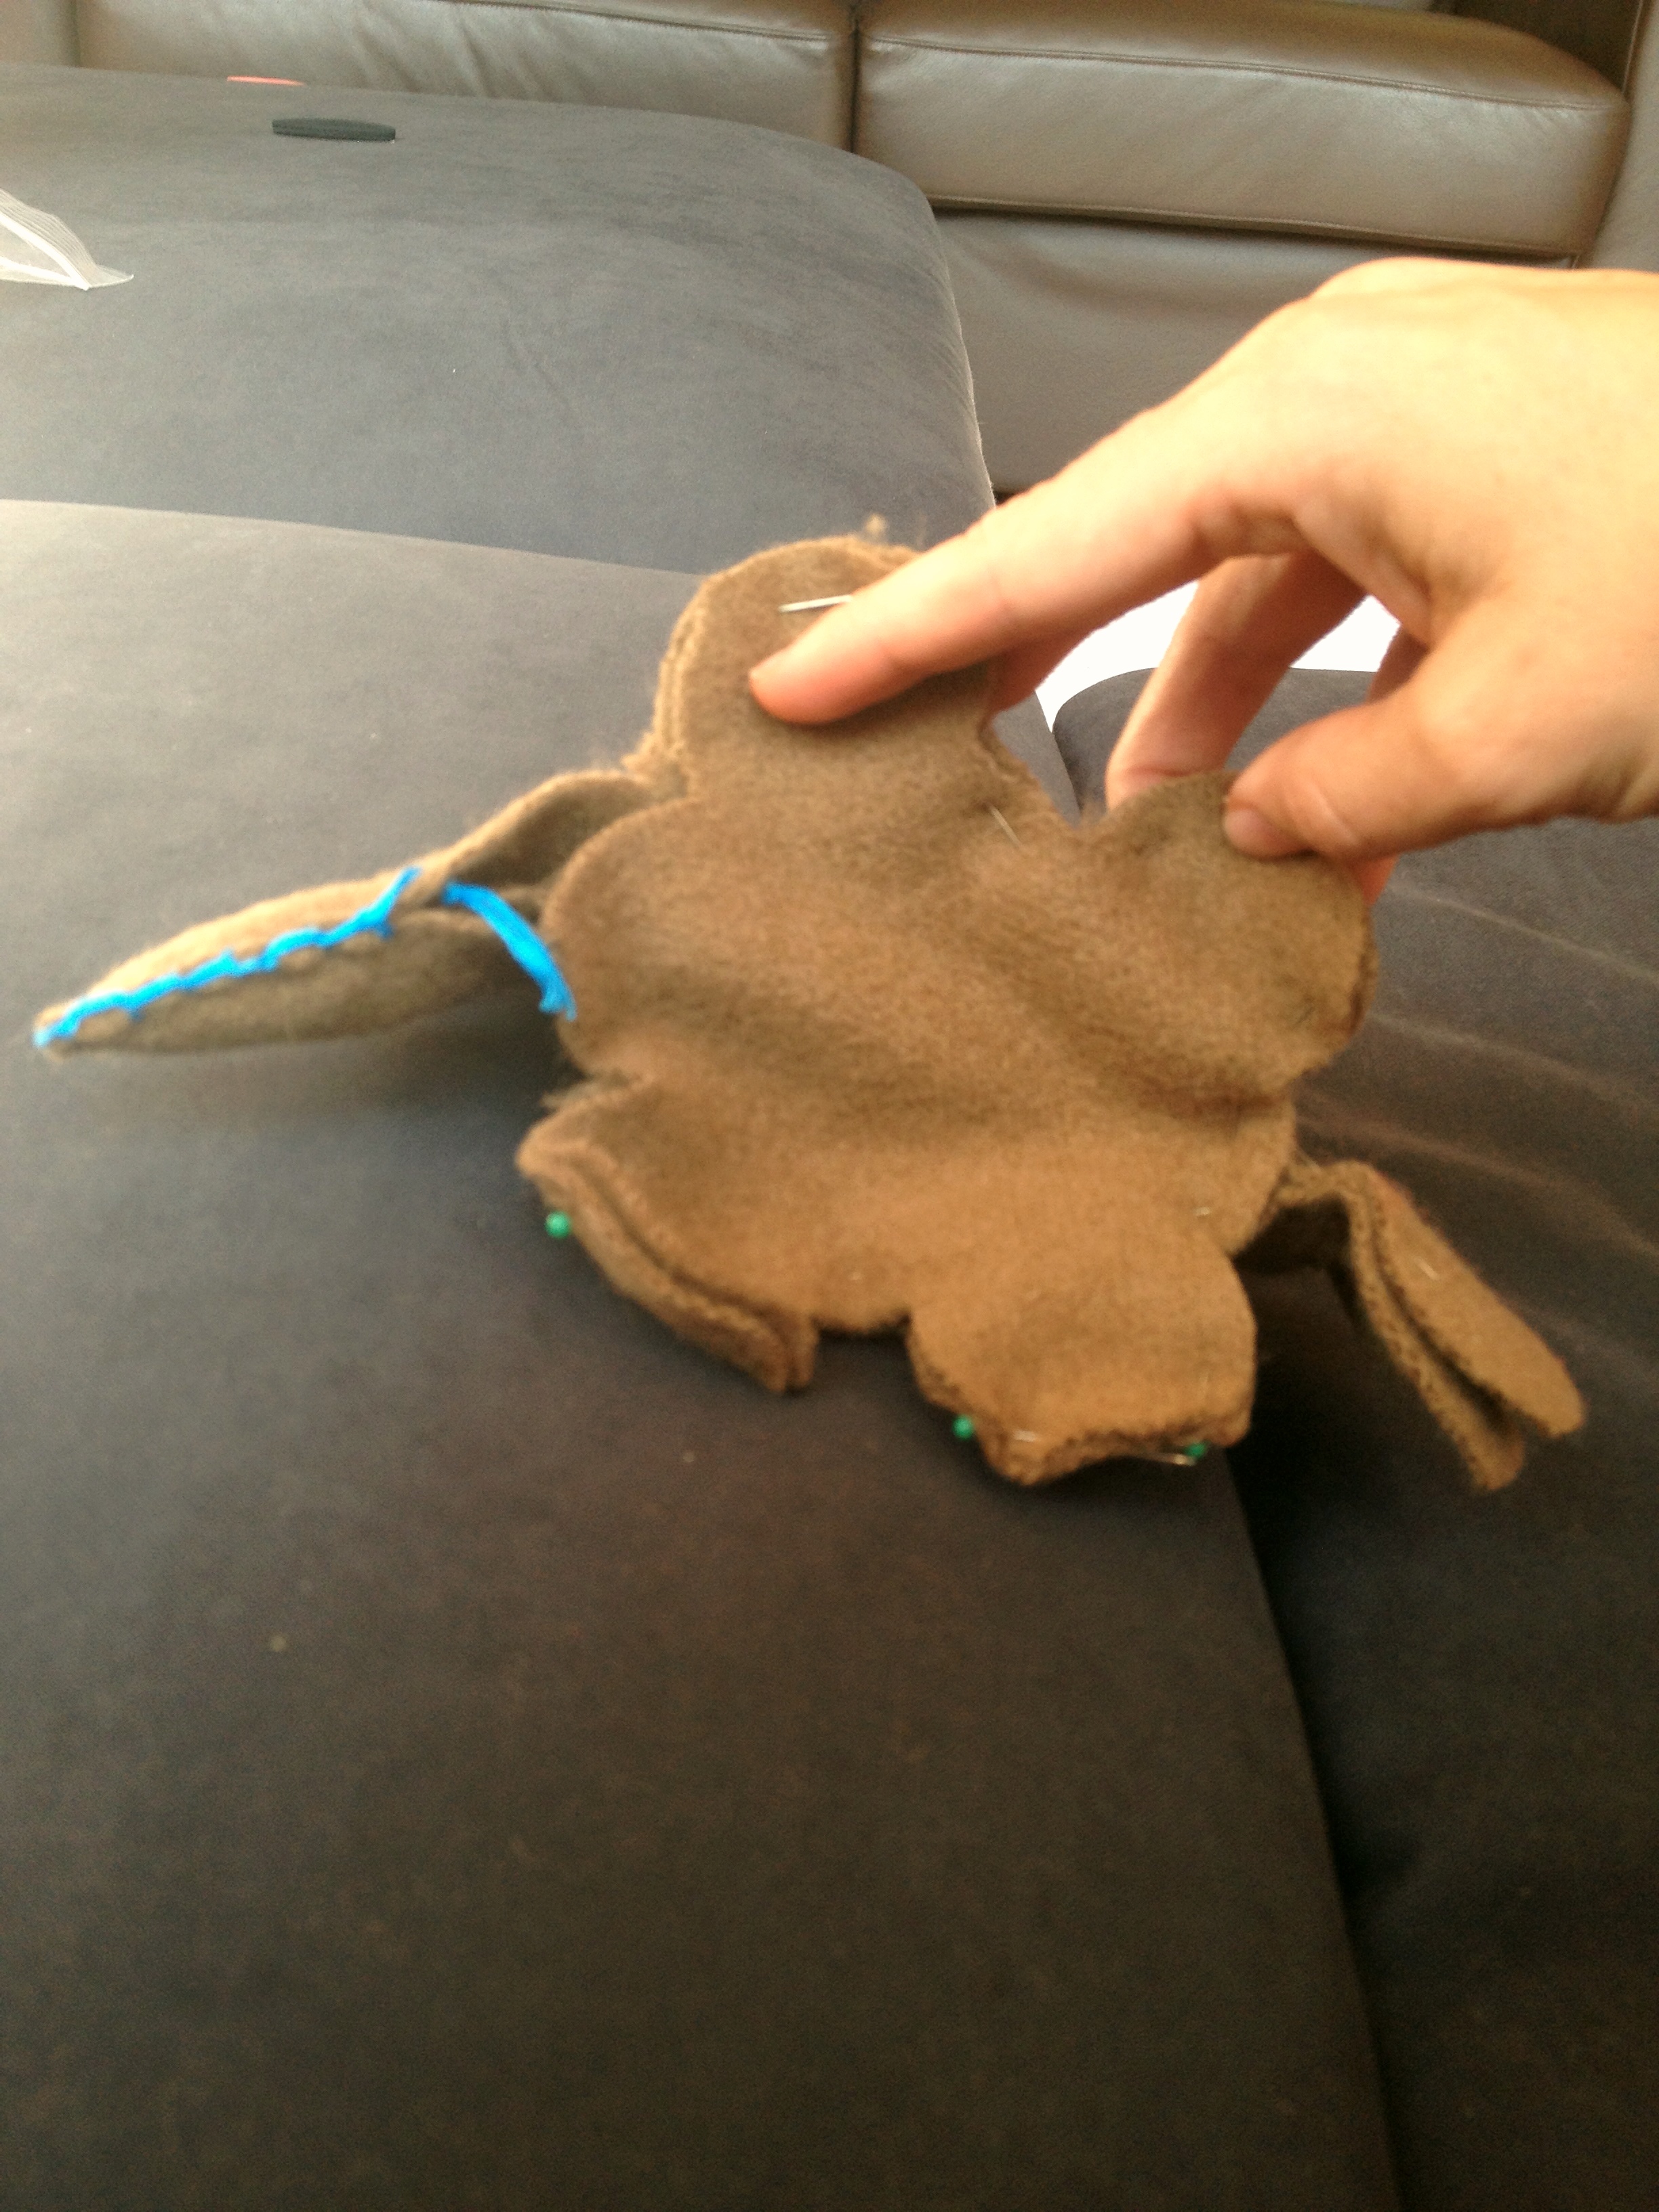
9. Finish stuffing with whatever you want to use. and held it in place with more wool scraps as I went along.
10. Finish that stitching and give that shiz to your friend for her birthday.

I’m pretty happy being that friend. Also. This majorly beats the drunken tattoo idea.