

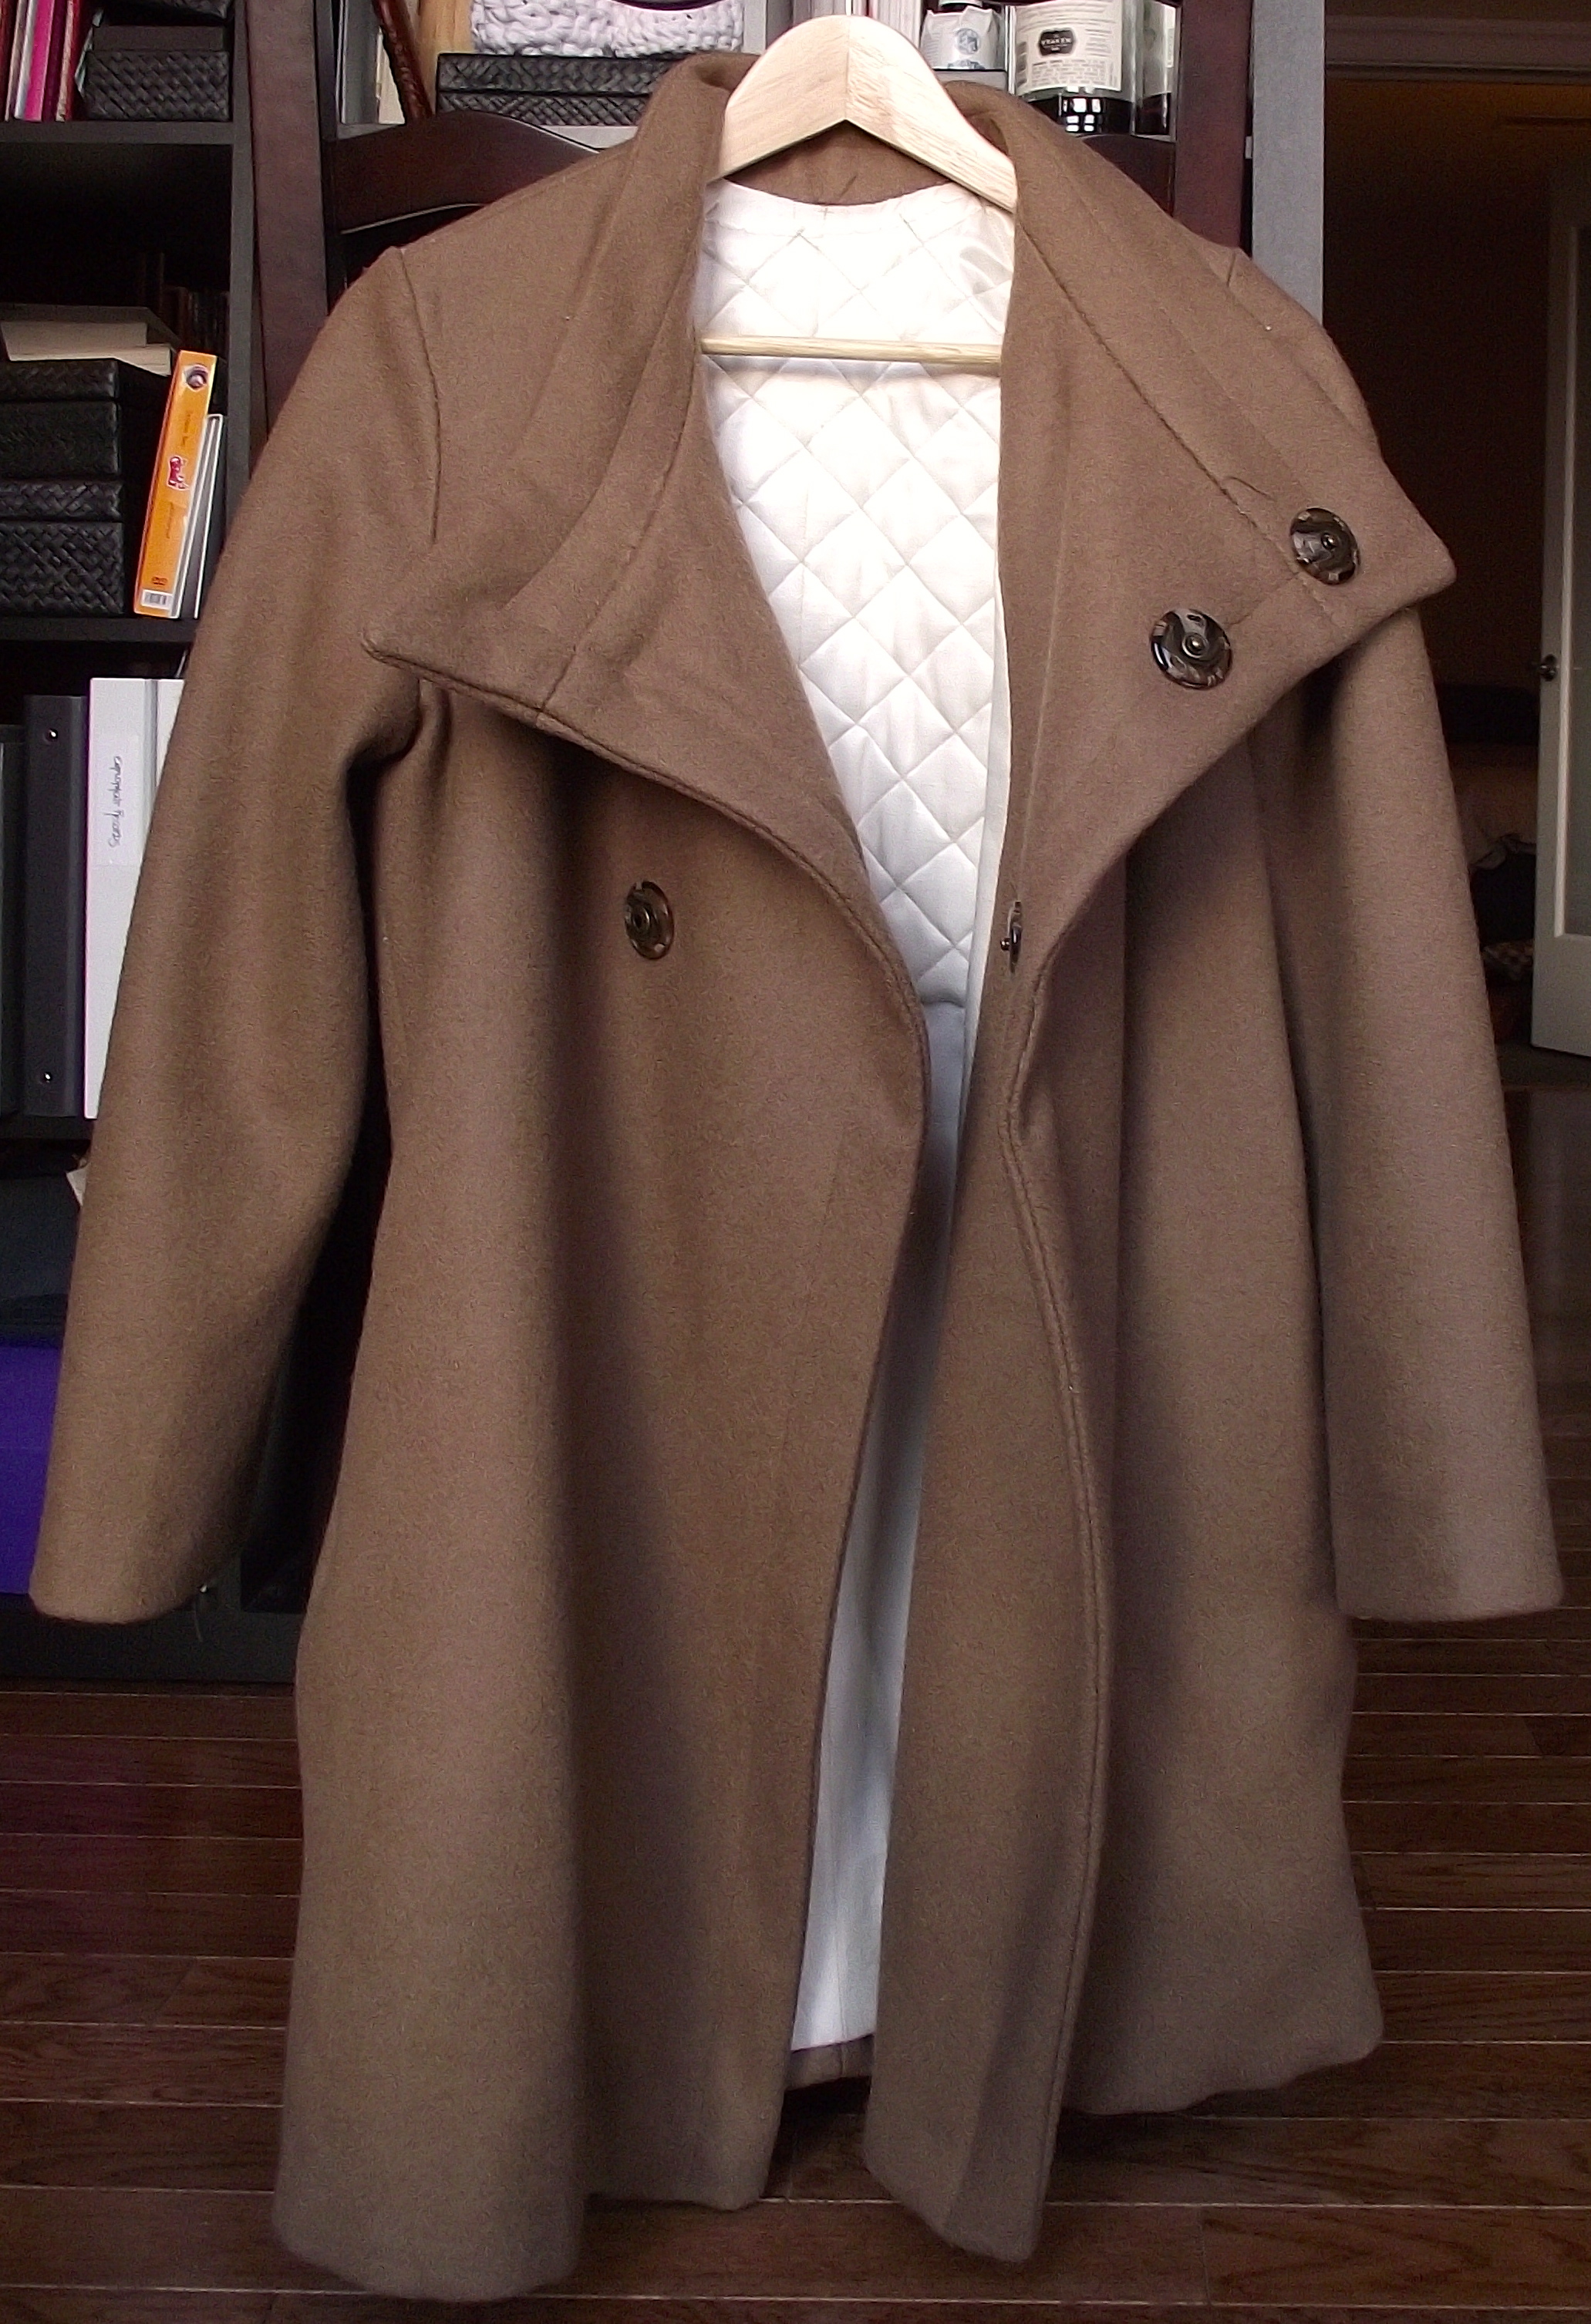
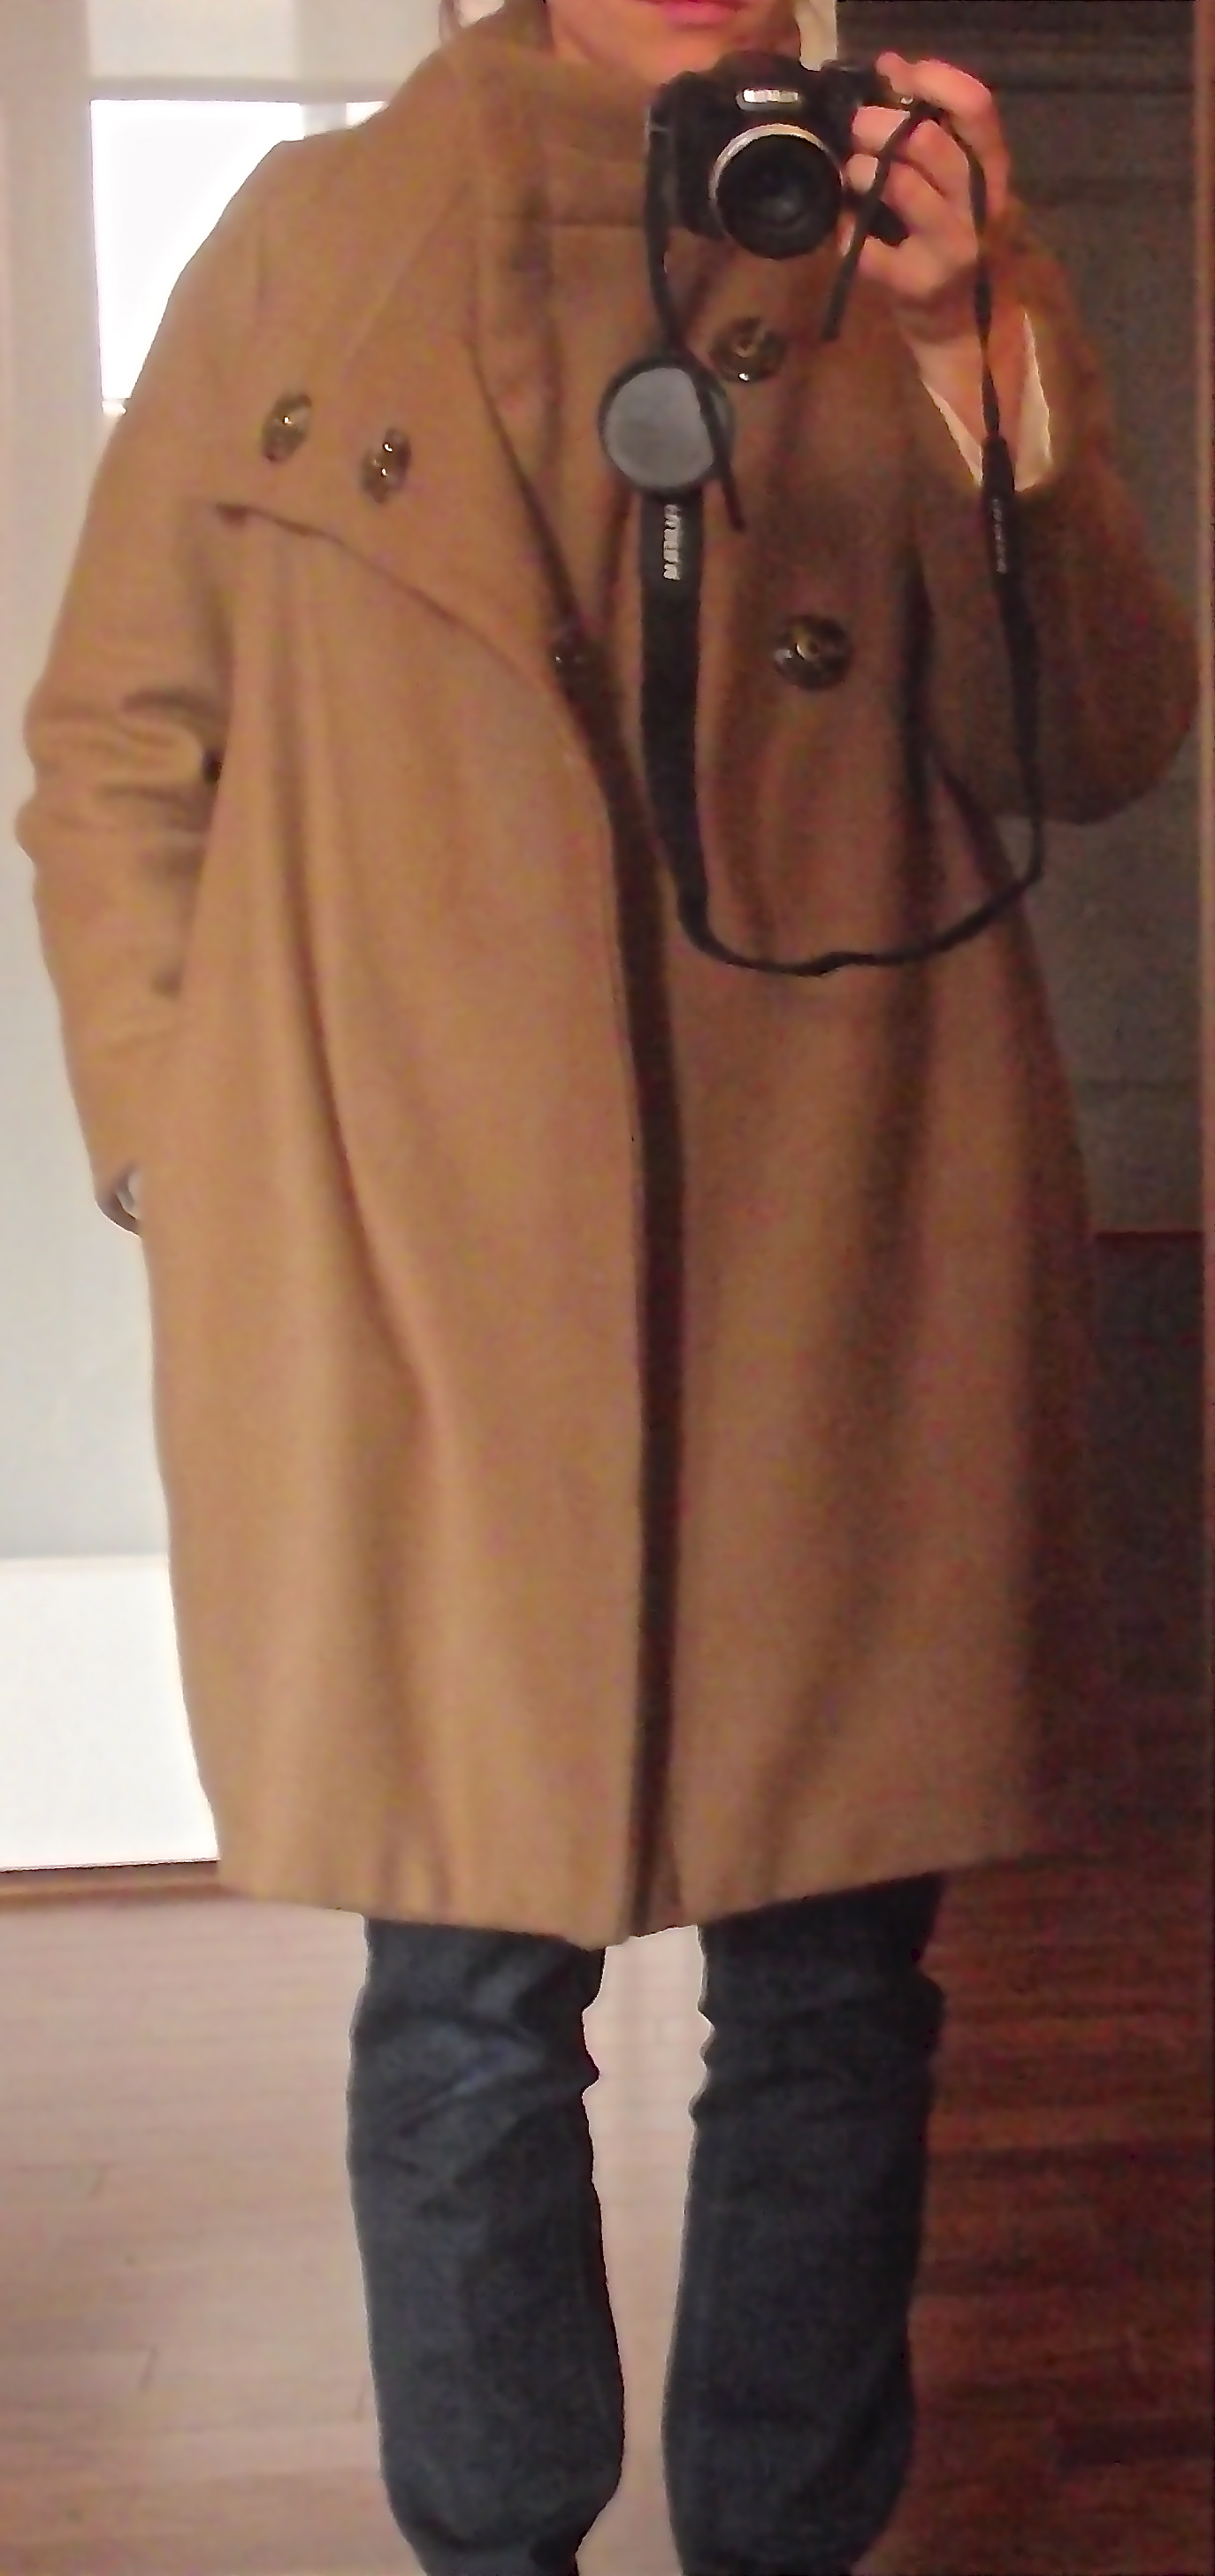
I’m (finally) done with the coat project. It’s not really one for a tutorial since I followed the Butterick B5822 pattern it came from pretty closely (I dare you to click on the link and take your style tips from the pattern company models). But I did do one thing all on my own that makes it superawesome: I quilted (like, with quilt batting) the lining that would go along my back to make this coat the warmest coat.
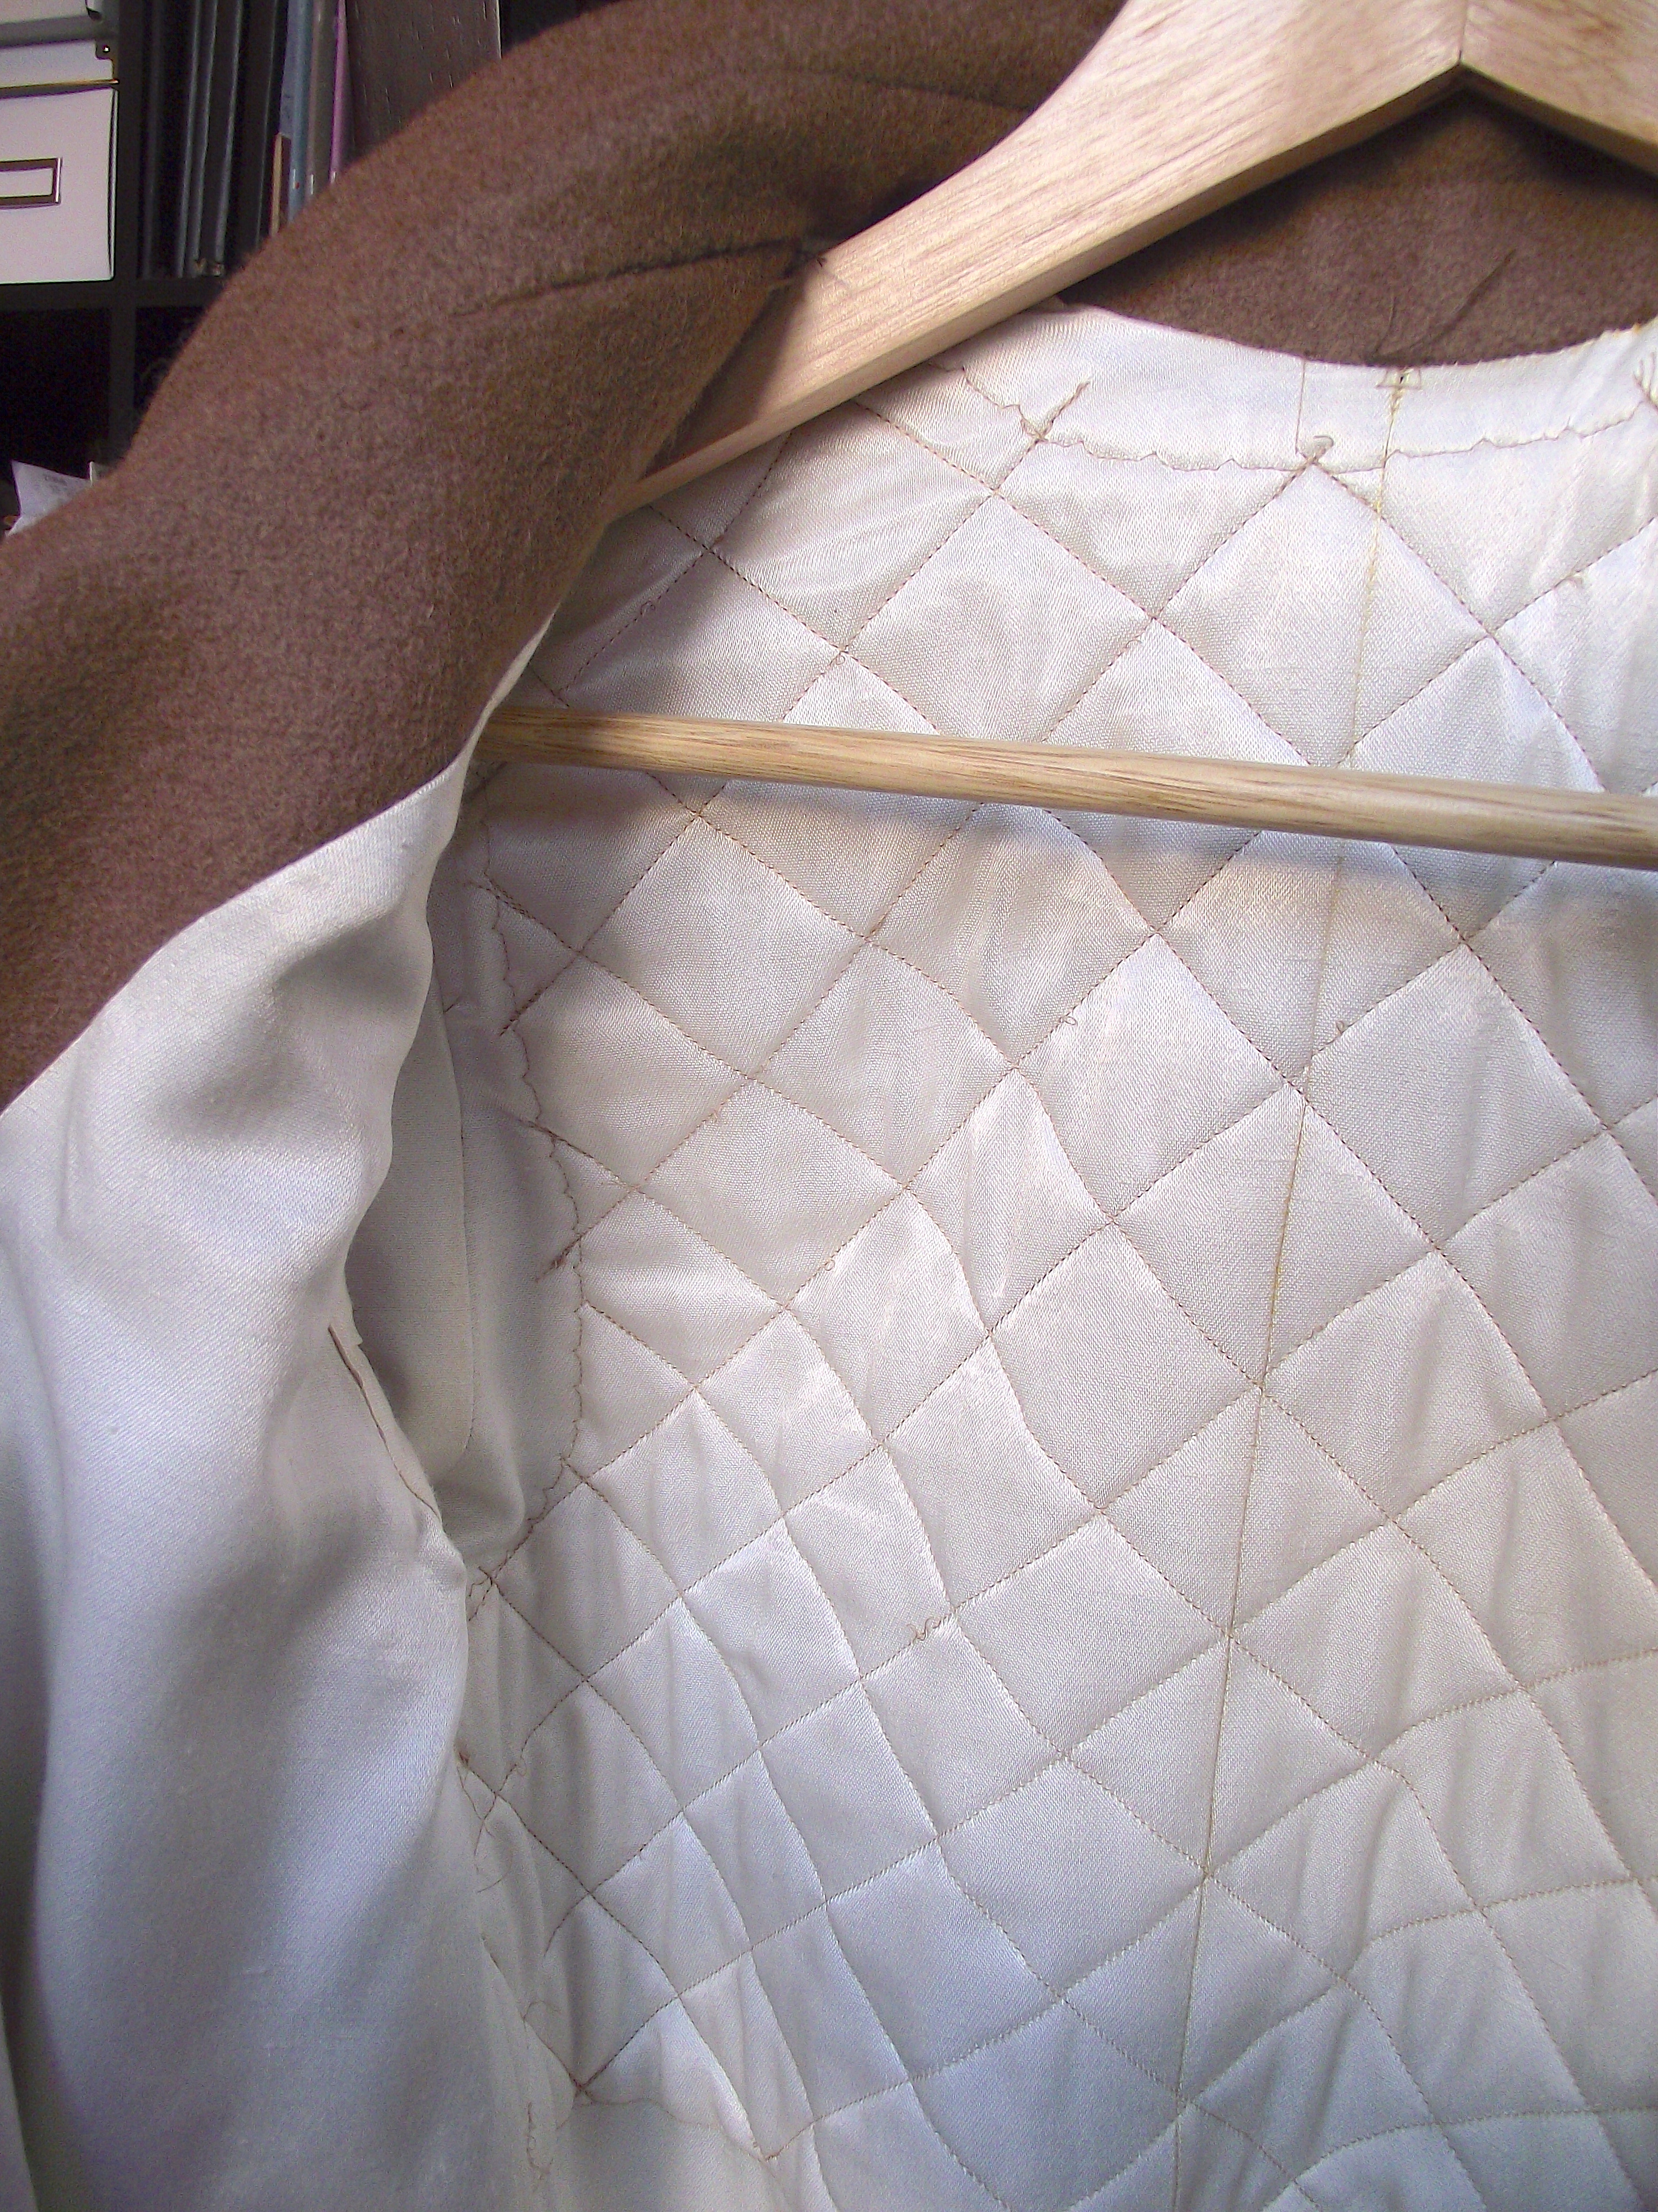
See it?
Time needed: About 2 hours (Hah, I mean in addition to the time you’re spending making your own coat. The entire project with muslin-making took me about 3.5 weekends.).
Materials: silk, if you are so lucky; quilt batting (I had about a 24inchx24inch scrap); some awesomely heavy Pendleton wool.
And how to? First, you should be doing this before you construct your coat lining, but you can do it any time up until that. So if when you are cutting out your fabric pieces you want to feel some quick satisfaction, go ahead and make your back lining.
1. Take your back lining pieces and sew them together along the center back. For my lining I was lucky to get some really nice silk dupioni on the cheap at the Resource Exchange in Philadelphia. (I would have been nervous to spend the money for silk otherwise — it costs way more than the wonderful coat-weight wool! — but using the silk really makes a difference in how awesome the coat feels when I put it on.)
2. You need to cut out another lining piece that goes to your waist line to back the quilting. To do this, fold your lining fabric along the center by lining up your selvage edges and pressing (I know, the iron). I also pin the selvages to make the fabric stay put. It sounds fussy, but then your fabric is much better behaved.
2.4. Put the upper part of the center back pattern piece flush with the fold of the lining fabric. Trace to the waist line. Cut.
3. Repeat step 2.4 with the batting.
4. Shrink/scale your inner lining and batting but cutting away a bit at the edges. This way the extra material won’t screw up how the lining pieces together. This is very, very unscientific, but I then just cut the side, neck and armhole line of the inner lining about 1/4 inch in from the edge. I did the same about 3/8 of an inch in on the batting.
5. You should be looking basically at three pieces as below.

6. Decide which side of the lining will face your back and which side will face the coat material. Put the inner lining coat-facing side down. Lay the batting on top (as above in that beautiful little picture I drew for you). Pin. Sew using an overcast stitch.
7. Lay your lining wrong side/coat facing side up. Lay the inner lining/batting piece batting side down. Pin. Sew using an overcast stitch.

8. Quilt! Using my 2x18inch quilting ruler, I blocked off two-inch squares, and then stitched along the diagonals each way, making the diamond pattern.
- fancy, right.
9. Use this back piece as per the instructions in the rest of your pattern knowing that you will be so, so warm.

1 Comment