
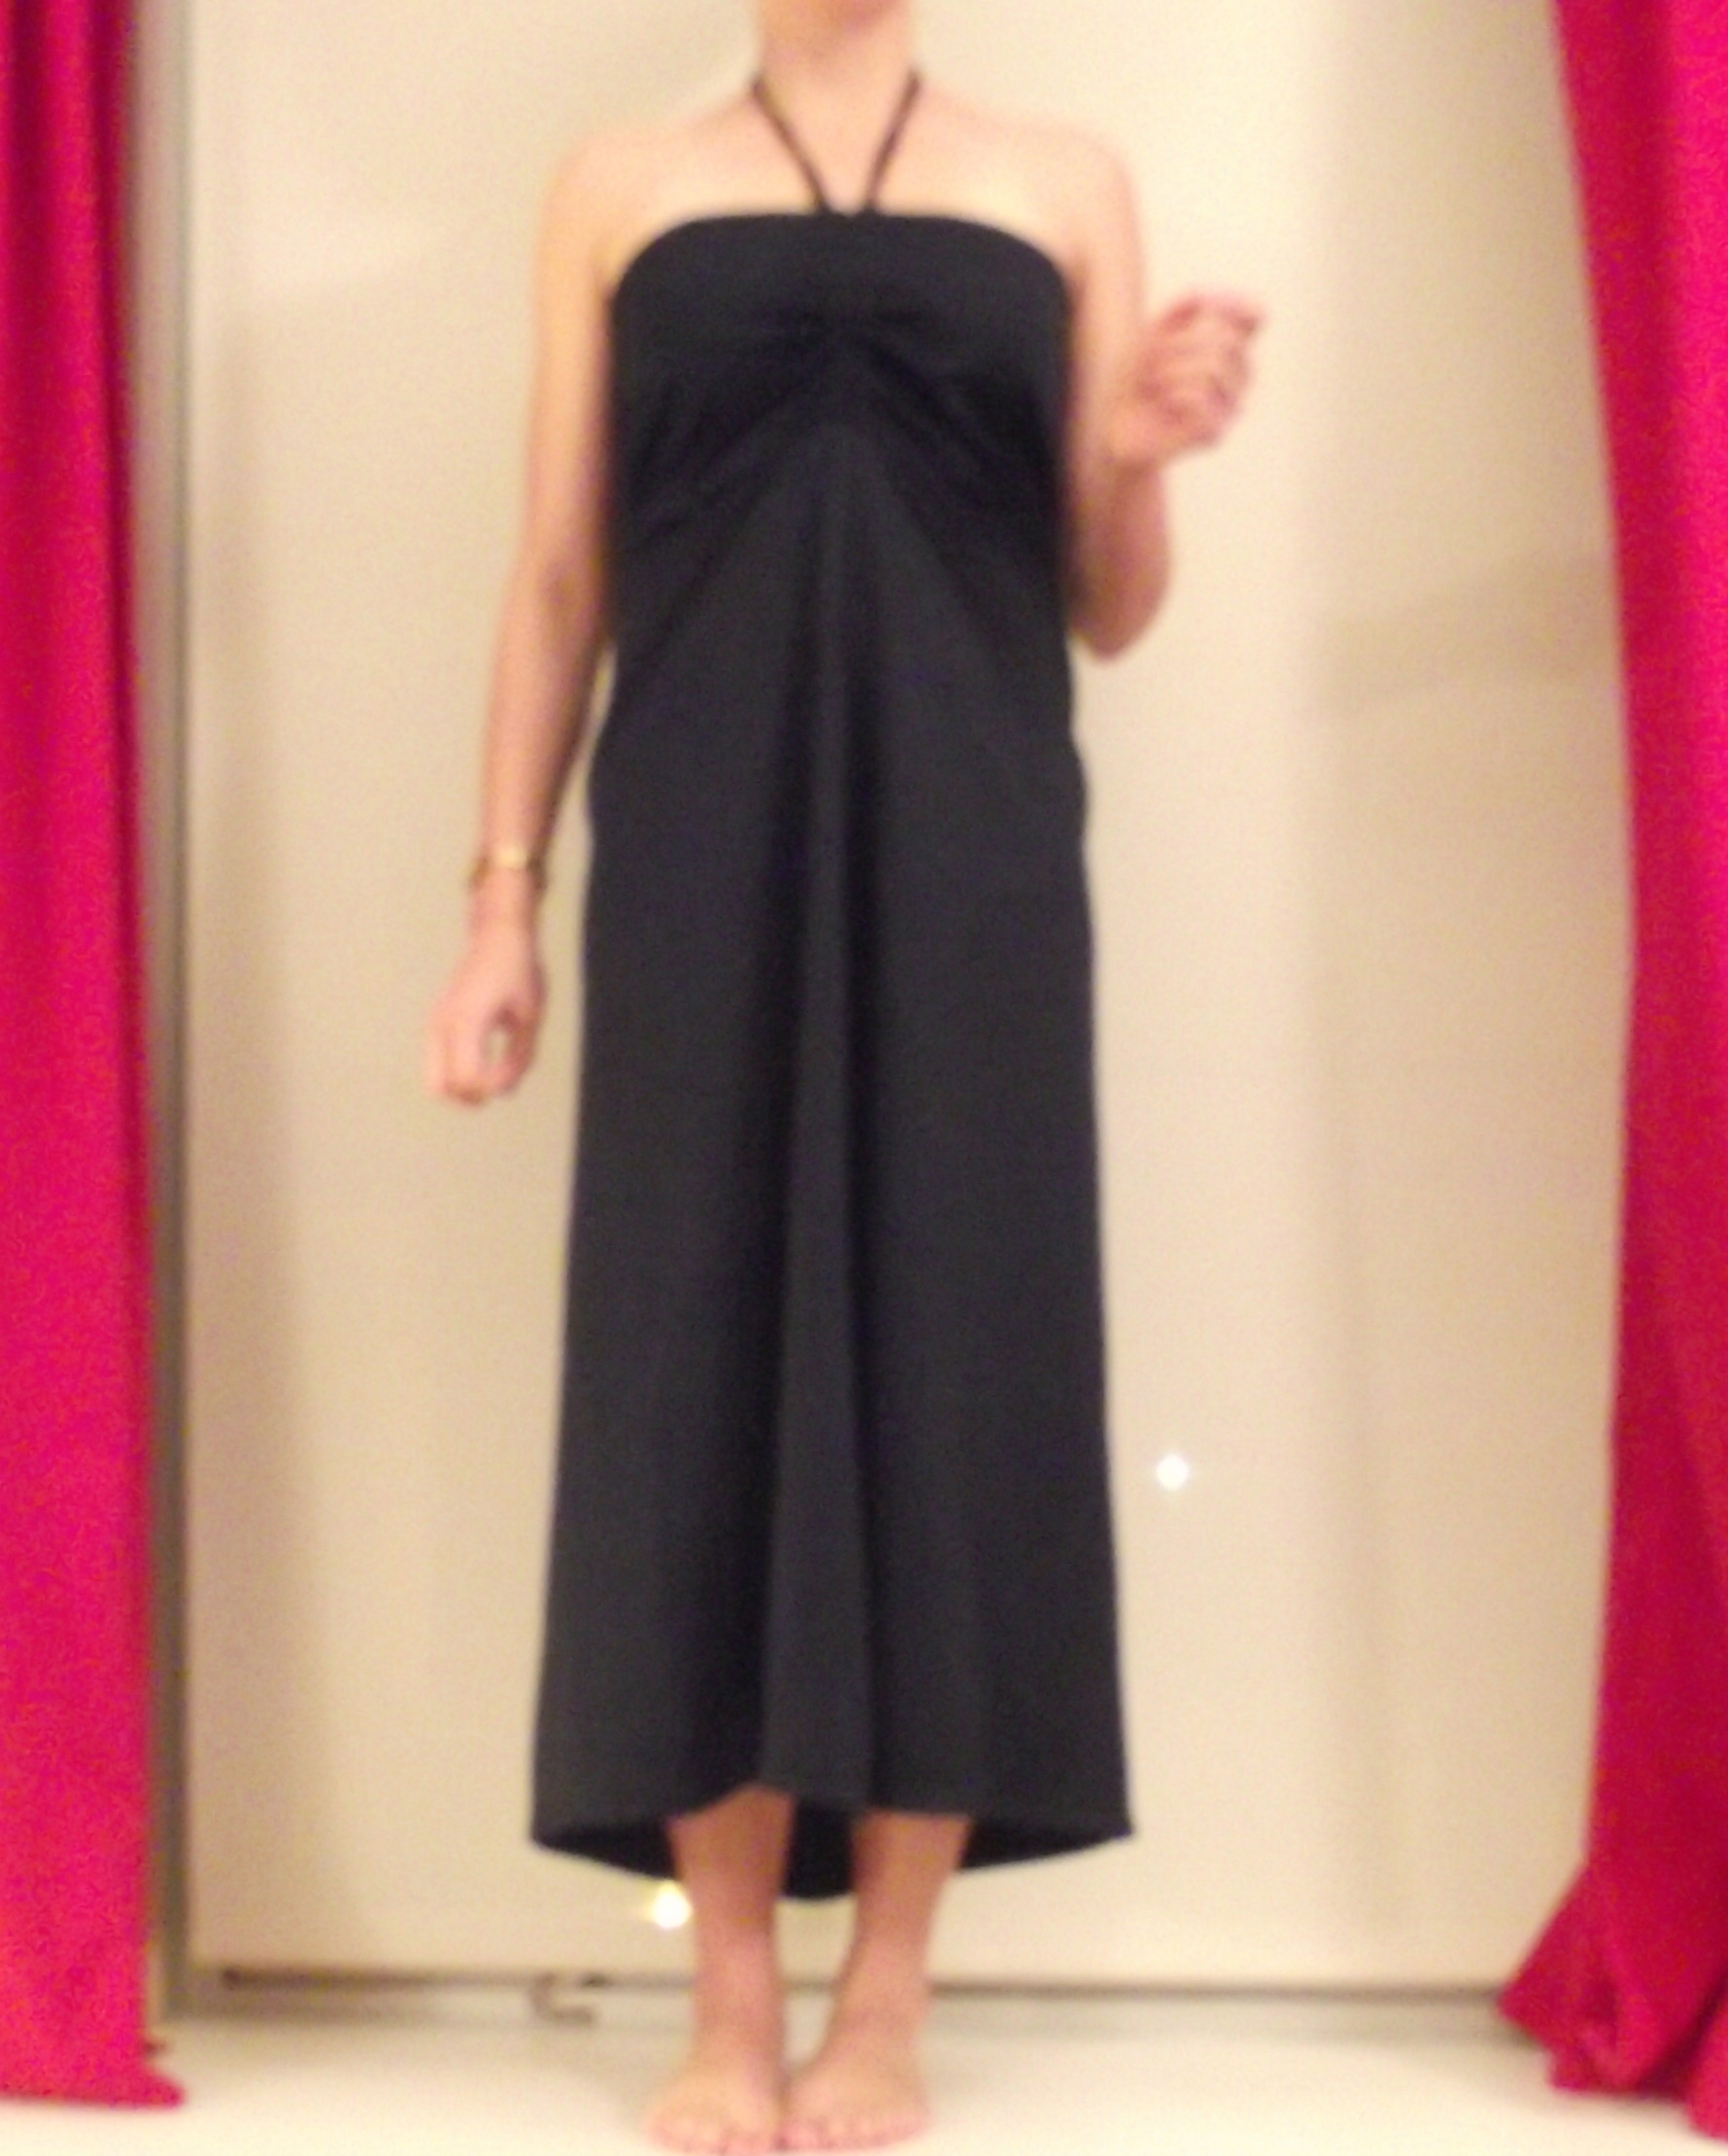

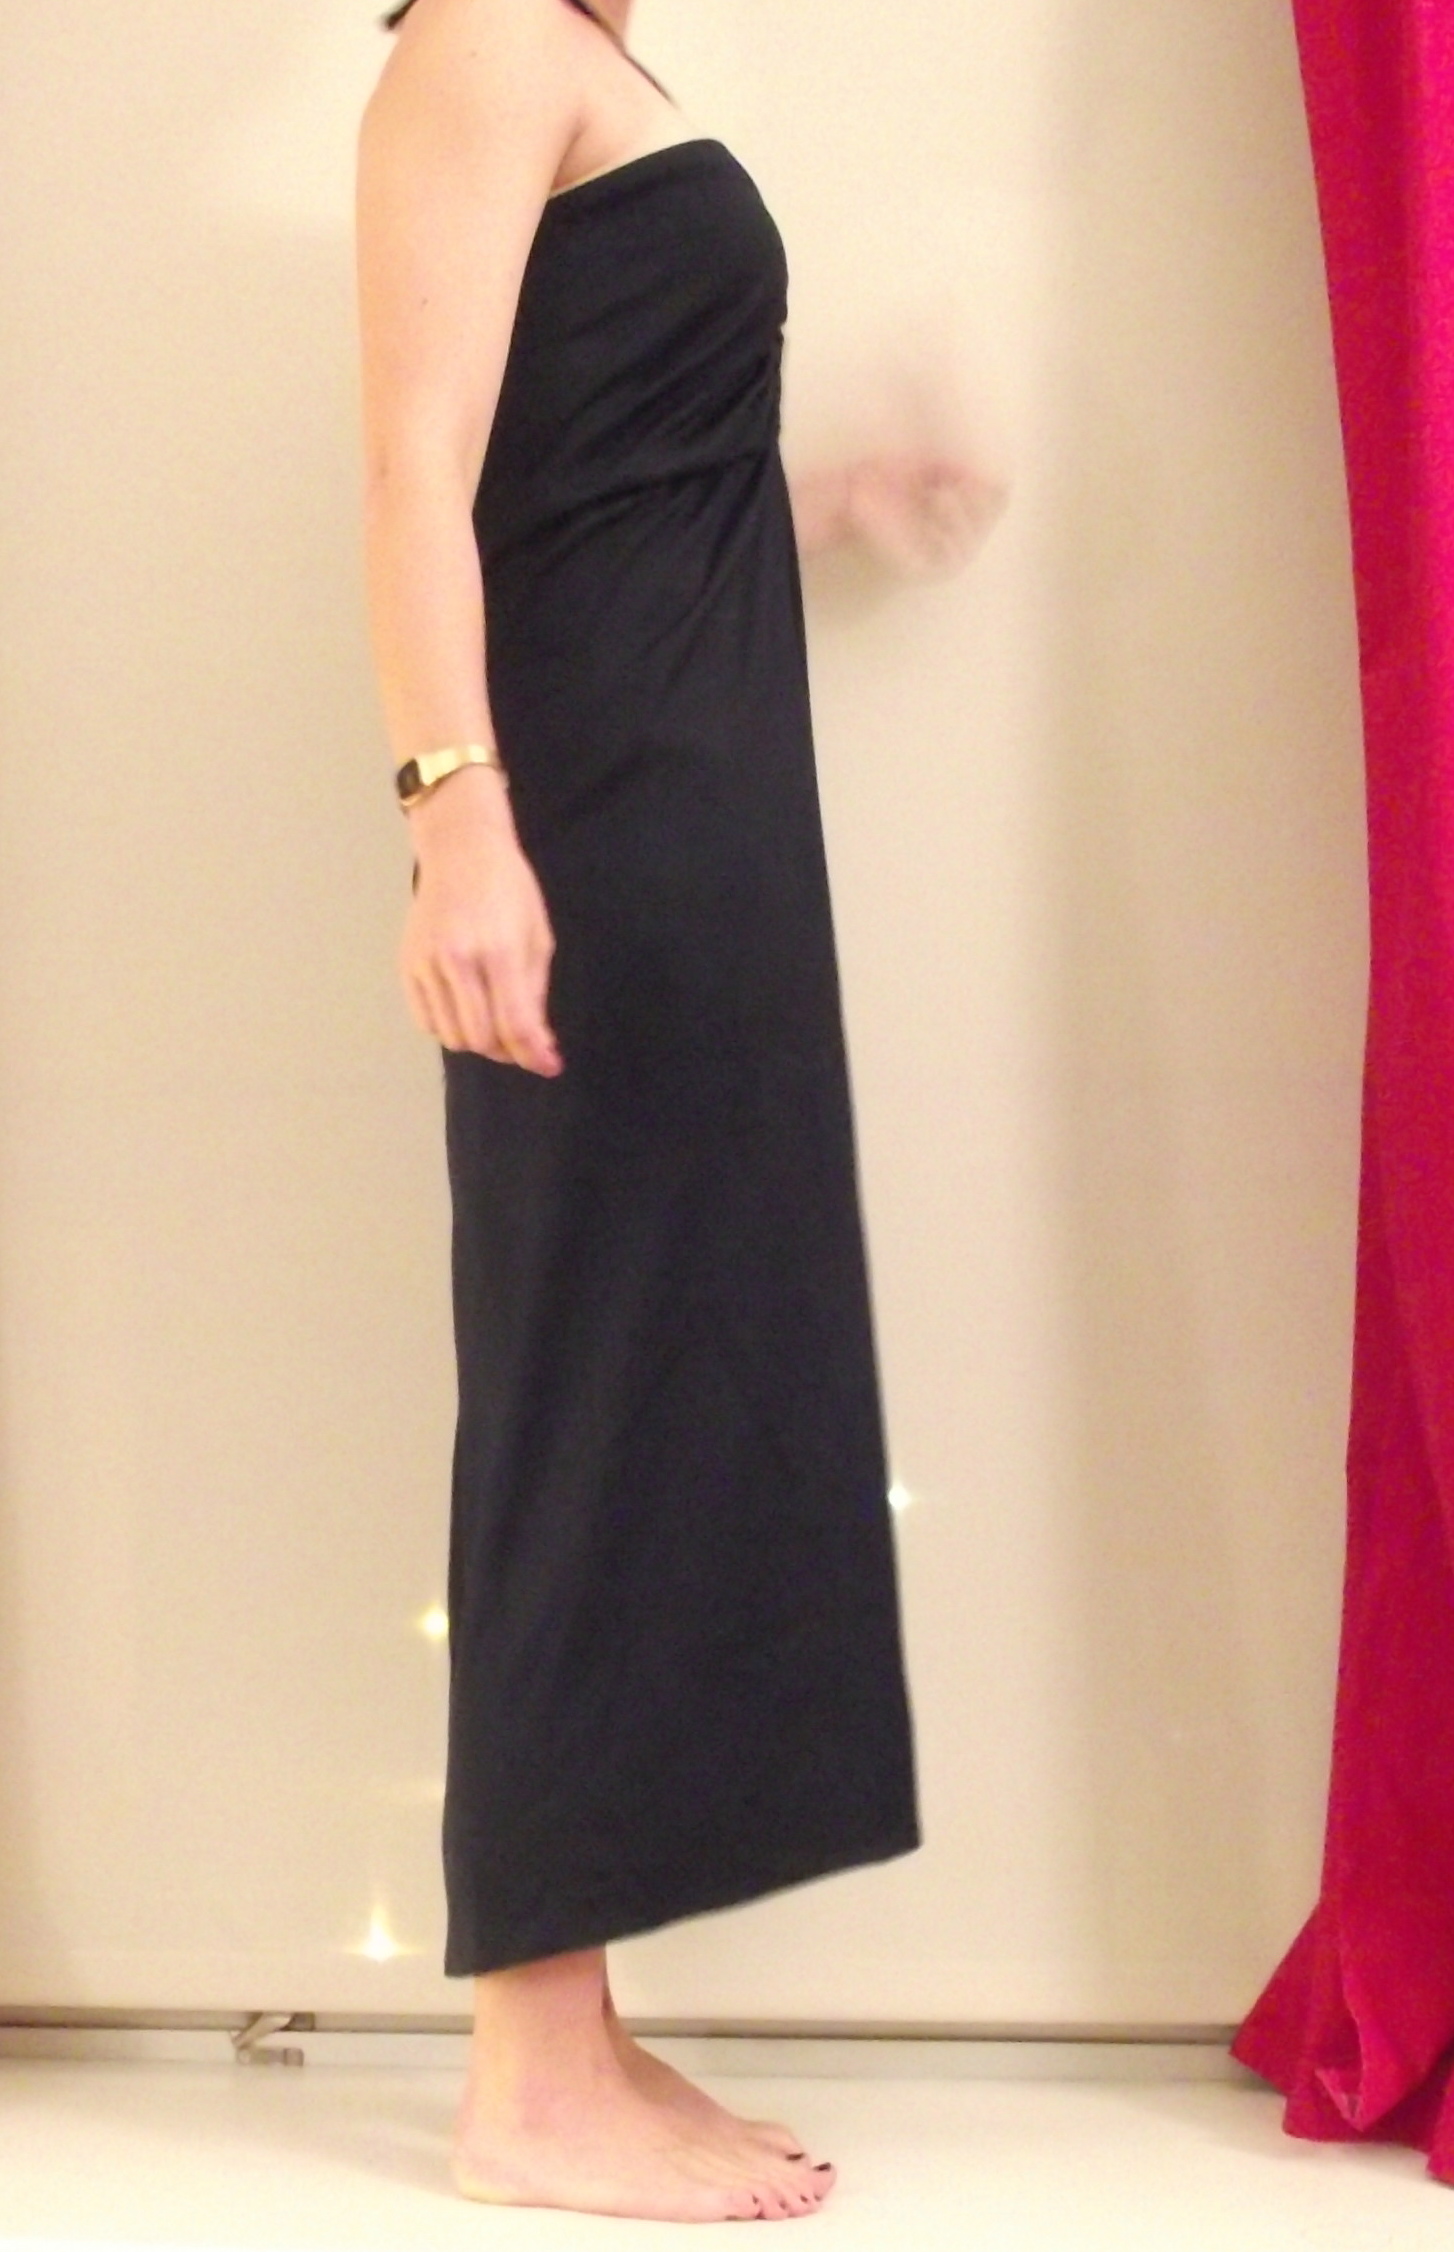
So this patagonia travel skirt is pretty cute.
But it’s that unattractive mid-calf length as a skirt. It looks good on the model.
I am not a model.
Materials: 2.5-3 yards of heavy knit; matching thread; double needle; elastic cording.
This requires six pieces: two trapezoidal skirt pieces; two rectangular pieces to make the waist band; and two thin long strips from which you will make the cords for the halter.
To measure and make the skirt trapezoids, please visit this tutorial and come back when you’re done.
The waist band on this one is tricky, so a few notes to orient you: as a dress, the waist band seems will be at the center front and center back, essentially rotated 90 degrees from the previous tutorial. Your waist band seems will also be a little different. The seem that goes in the back will be sewn with elastic cording to scrunch it up a bit, which is useful for giving the backline a gentle V shape and also for ruching one side of the fabric when you are wearing it as a skirt.
The halter/tie side seem is important.You will need extra length in the waist band pieces in order to make the two tubes for the cording to move through. I allocated an 3/4 of an inch on each waist band panel.
Waist panels are: Length (1/2 waist measurement+1/2 inch seam allowance + 3/4 inch allowance for cording) x height (waist to bust measurement + 1 inch for seam allowance)
FIRST. Let’s make that cording cause it’s pretty annoying.
1. Use your measuring tape to measure around your neck and down your bust, plus some length for the ties.Divide this measurement by two and add an inch. Cut two 1-inch-wide strips of fabric of the desired length.
2. Essentially, you are going to make the cords in the same manner you’d make double fold bias strips that you then sew down. Yes, this is easier with an iron.
3. Iron down one end of the strip. (The other end will be sewn into the waist band so no need to get rid of the raw edge.)
4. Fold the strip in half, ironing as you go to give yourself a crease.
5. Now fold each raw edge into the middle crease, pinning if you need to keep everything together. If your knit is thick like it should be, you’ll probably need to pin.
6. Refold along the middle crease (so the raw edges are now inside), ensuring that one end is tucked into the length-wise fold so that you have no raw edges. Sew down. Repeat for the second cord.
NEXT, LET’S MAKE THE WAIST BAND (Shirt band?)
1. With elastic cording in your bobbin and a half-inch seam allowance, sew up one side seam.
2. Change out your cording for normal thread.
3. Using a double needle, hem one side of the waist band/shirt band. (This will be the neckline. You have to do this now or else you’ll end up sewing shut the space where the cords will go.)
4. Using normal needle, normal thread and a 3/4 inch seam allowance, sew straight up the other side seam. You now have a tube. You are not done yet.
5. Flip fabric circle/waistband/shirtband outside out. On one side of the fat side seam, fold under the raw edge a tiny bit towards the right side of the fabric, and then fold under again towards the right side of the fabric, creating a tube for the cording. Pin, test to make sure your cording fits, and sew lengthwise. Repeat on other side.
ASSEMBLY
1. Sew together your skirt pieces up the side seams using a straight stitch.
2. Taking the cords and the waistband/shirtband, put cords through their respective tubes, lining up the raw edges of the cords with the raw edges of the band. Pin cords in place.
3. Keep skirt piece out side out. Flip waist/shirt band inside out. Find the mid point of each waist/shirt band panel and mark it. Find mid point of each skirt piece and mark it (with a pin will work).
4. Line the raw edges of your waist/shirt band up with the raw edges of your skirt. The seams of the shirt band should be lined up with the mid-point marks of the skirt, and vice versa. Right sides should be together.
5. Using a zig zag stitch and elastic cording in your bobbin, sew all around the waist band.
!!!! You finished!
Oh, except, hem the skirt.
But good work.
