


I have a nasty 40% off J Crew final sale habit, and while it often yields success, it just as often yields this reaction: …Jesus, what terrible construction. Thank eff I paid $25 for this and not the $115-or-whatever.
But I continue to fall for their stupid (smart) tricks.
Which lead to this project.
The silk is thankfully not the so-rough-it-swishes-when-you-move weave I picked up in an earlier J. Crew final final sale (see? nasty), but the material is so thin it srsly should not even have been used as a lining, nevermind a shirt.
Like, sweat for 30 seconds and you can never wear it again thin.
It needs a lining. Thankfully, I’m in the midst of trying to teach myself how to sew things properly. Installing a lining to save a shirt destined for the rag pile is great practice. And I had left over china silk from another project.*
The china silk is hard to handle but works well for this because stupid Jenna Lyons chose such thin pink silk that anything more substantive would have been too heavy. [Minute 5:54 of this video if seeing her make that face helps you feel better about things].
HOW TO LINE. — pst. I’ve broken this up into two phases because the project isn’t short.
Phase 1 of project: Cutting out lining in the shape of your top.
1. Fold lining fabric in half, lining up the selvages. Lay on your cutting matt/table you don’t mind scoring.
2. Fold shirt to be lined in half, along the center front line.
3. Pin along the center front line to hold the fold.
4. Lining up the center front fold of shirt with the fold of the lining fabric, pin the shirt to the lining. Keep both fabrics taught, and continue to smooth them, repositioning pins as needed. Make sure you can see all the seams of the front piece. Note: This is a very very short shorthand of Stephanie Lincicum’s pin-through method (thankfully re-christened for the internets. The book I have actually calls it the ‘rub off’ method…I’ll let you explore the subtext on your own over at Urban Dictionary). If you really want to duplicate store bought pieces, she has a class on Craftsy? I have not taken it, I’ve only been through the book.
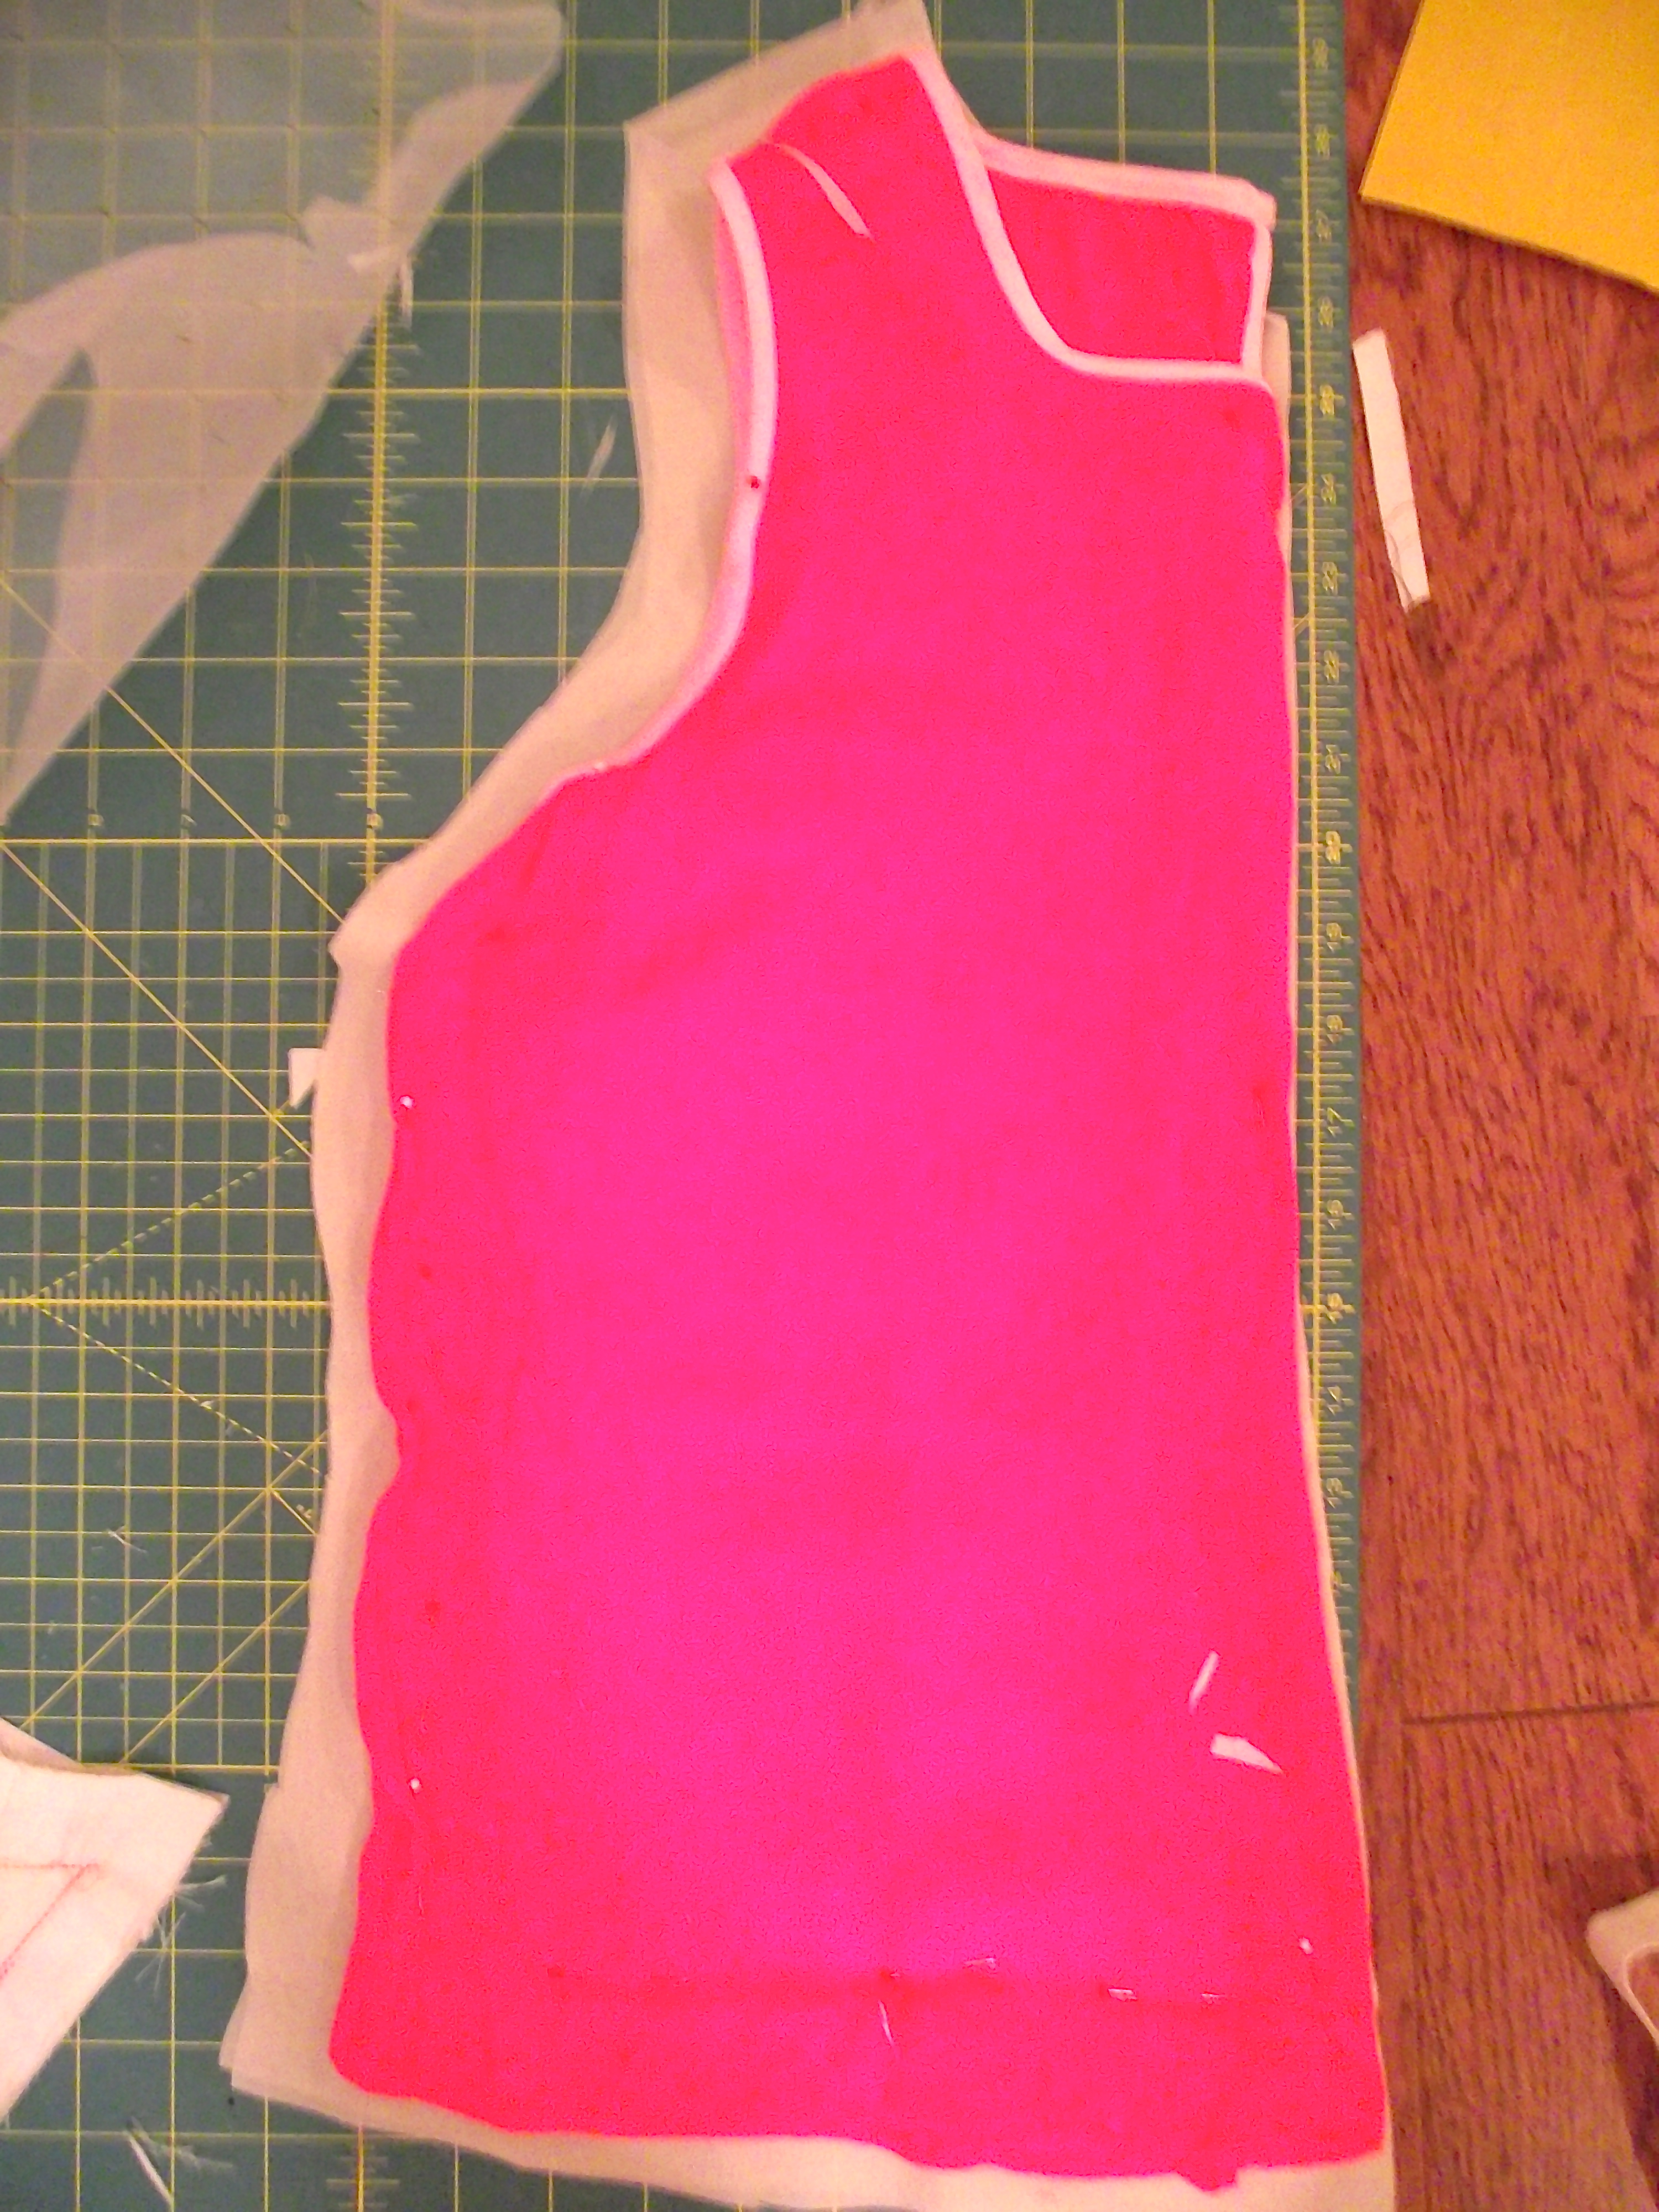
Like this though the garish pink makes it pretty hard to see the pretty little silk pins holding that sucker down.
5. Put a piece of tracing paper under the lining fabric. Using your tracing wheel (or the fat end of a knitting needle, the butt end of a pen, whatever you’ve got on hand), trace over the seams.
6. Taking this one pin at a time, remove the pin from the shirt/lining combo, pull back the shirt fabric, and immediately put that pin back in its place to hold the lining fabrics together. Repeat until you have just your lining fabricstaring you in the face and your garment tossed to the side.
7. Flip lining fabric onto other side. You should be staring at the traced outline of your shirt.
8. Making sure tracing paper is under lining fabric, retrace.
9. Repeat this entire process for back, although for the back you don’t need to do this along the fold if you are short on fabric/don’t mind sewing up the center back.
10. Giving yourself a generous seam allowance, cut out your lining pieces. If your seam allowance is not generous enough, you don’t have much room for error.
*A note on china silk: It is really really hard to handle. I’ve been taking this class on Craftsy and Susan tried to tell me. But I went ahead and bought it and now I’m stuck with it. Lesson learned: If Khalje over there tells you it is a pain in the ass, it is a pain in the ass. This is the woman telling you it is just lovely and oh so very functional to HAND BASTE UNDERLINING FOR YOUR ENTIRE GARMENT. If the woman tells you something is too much of a bother to be worth it, it ain’t cause she’s lazy.
Phase II, in which we construct and install our lining, to follow.
EDITED for Phase II:
1. Stay stitch along the stitching lines of the arm and neck holes, and then assemble the lining. Sew shoulder seams first, then side seams.
2. Snip the seam allowances where necessary to turn the neck and arm hole seam allowances down. Press them down, on the wrong side of the garment.
3. With the wrong side of the lining turned out, drop it into the shirt. Tack at the shoulder seams, on both the arm and neck hole sides. (Wrong side of shirt and wrong side of lining will be facing each other, giving you a nice, smooth lining facing your nice, smooth body.)
4. Now for the fun part. Using a blind stitch, sew the neckline of your lining to the neck line of the lining. Repeat with arm holes.
5. Now for the even funner part. (Probably you should be several beers in at this point). Understitch the lining, so it won’t pop up out your shirt. And because Khalje told you to. She says to use a prick stitch, which is a back stitch but with only a tiny bit visible. I cheated and used a running stitch because I am lazy. You are a grownup. Make your own decisions.
6. Finally. Press the lining hem up and sew it down. Tack it to the shirt at the side seams if you like. Finish your six pack and sleep like a baby, knowing your shirt won’t be ruined by your toxic sweat.
