
I mean, a thrift store sweater and all of your free time.
So my husband has a coat that is many years — if not a few decades — old. It was a nice coat — and is still in that it’s lasted this long.
But. It was falling apart at the seams. And at the cloth. Last year, I executed some pretty intense repairs that bought the thing another season of wear — which is great.
So, while I’m in the midst of buying it’s replacement and ripping the tags out so he thinks I made it making its replacement, he’s still wearing this one.**
In the interest of full disclosure, this is just what I did and isn’t an explanation of tried and true methods. D wasn’t ready to spend on a new one, but it would have been okay if something went horribly wrong and we had to buy a cheap one to tide him over. And, honestly, the holes were so visible and so big, nothing that I did could have made the situation worse. But! If you really love your coat and just had a mild argument with a picket fence/dog/car door, you might want to go the professional route.
All that ish being said! This is what I did to keep the thing going, and this post is divided into four parts:
A. Reweaving the holes in the cashmere around the pockets.
B. Patching the lining.
C. Reinforcing the disintegrating undercollar with some stitching.
D. Reinforcing collar seams at the neckline.
A. First up: Re-weaving that coating fabric.
Step one. Procure yarn. I didn’t want to pay $40 for a skein of yarn, so I harvested mine from a thrift store sweater. You will actually be taking apart a sweater, so make sure you don’t want to wear it.
1. Buy sweater. You want one that is not too felted (you should be able to see the individual yarns of the fabric. If it’s been washed and dried with high heat, the fibers tighten and get fuzzy and it will be difficult, if not impossible, to unravel).
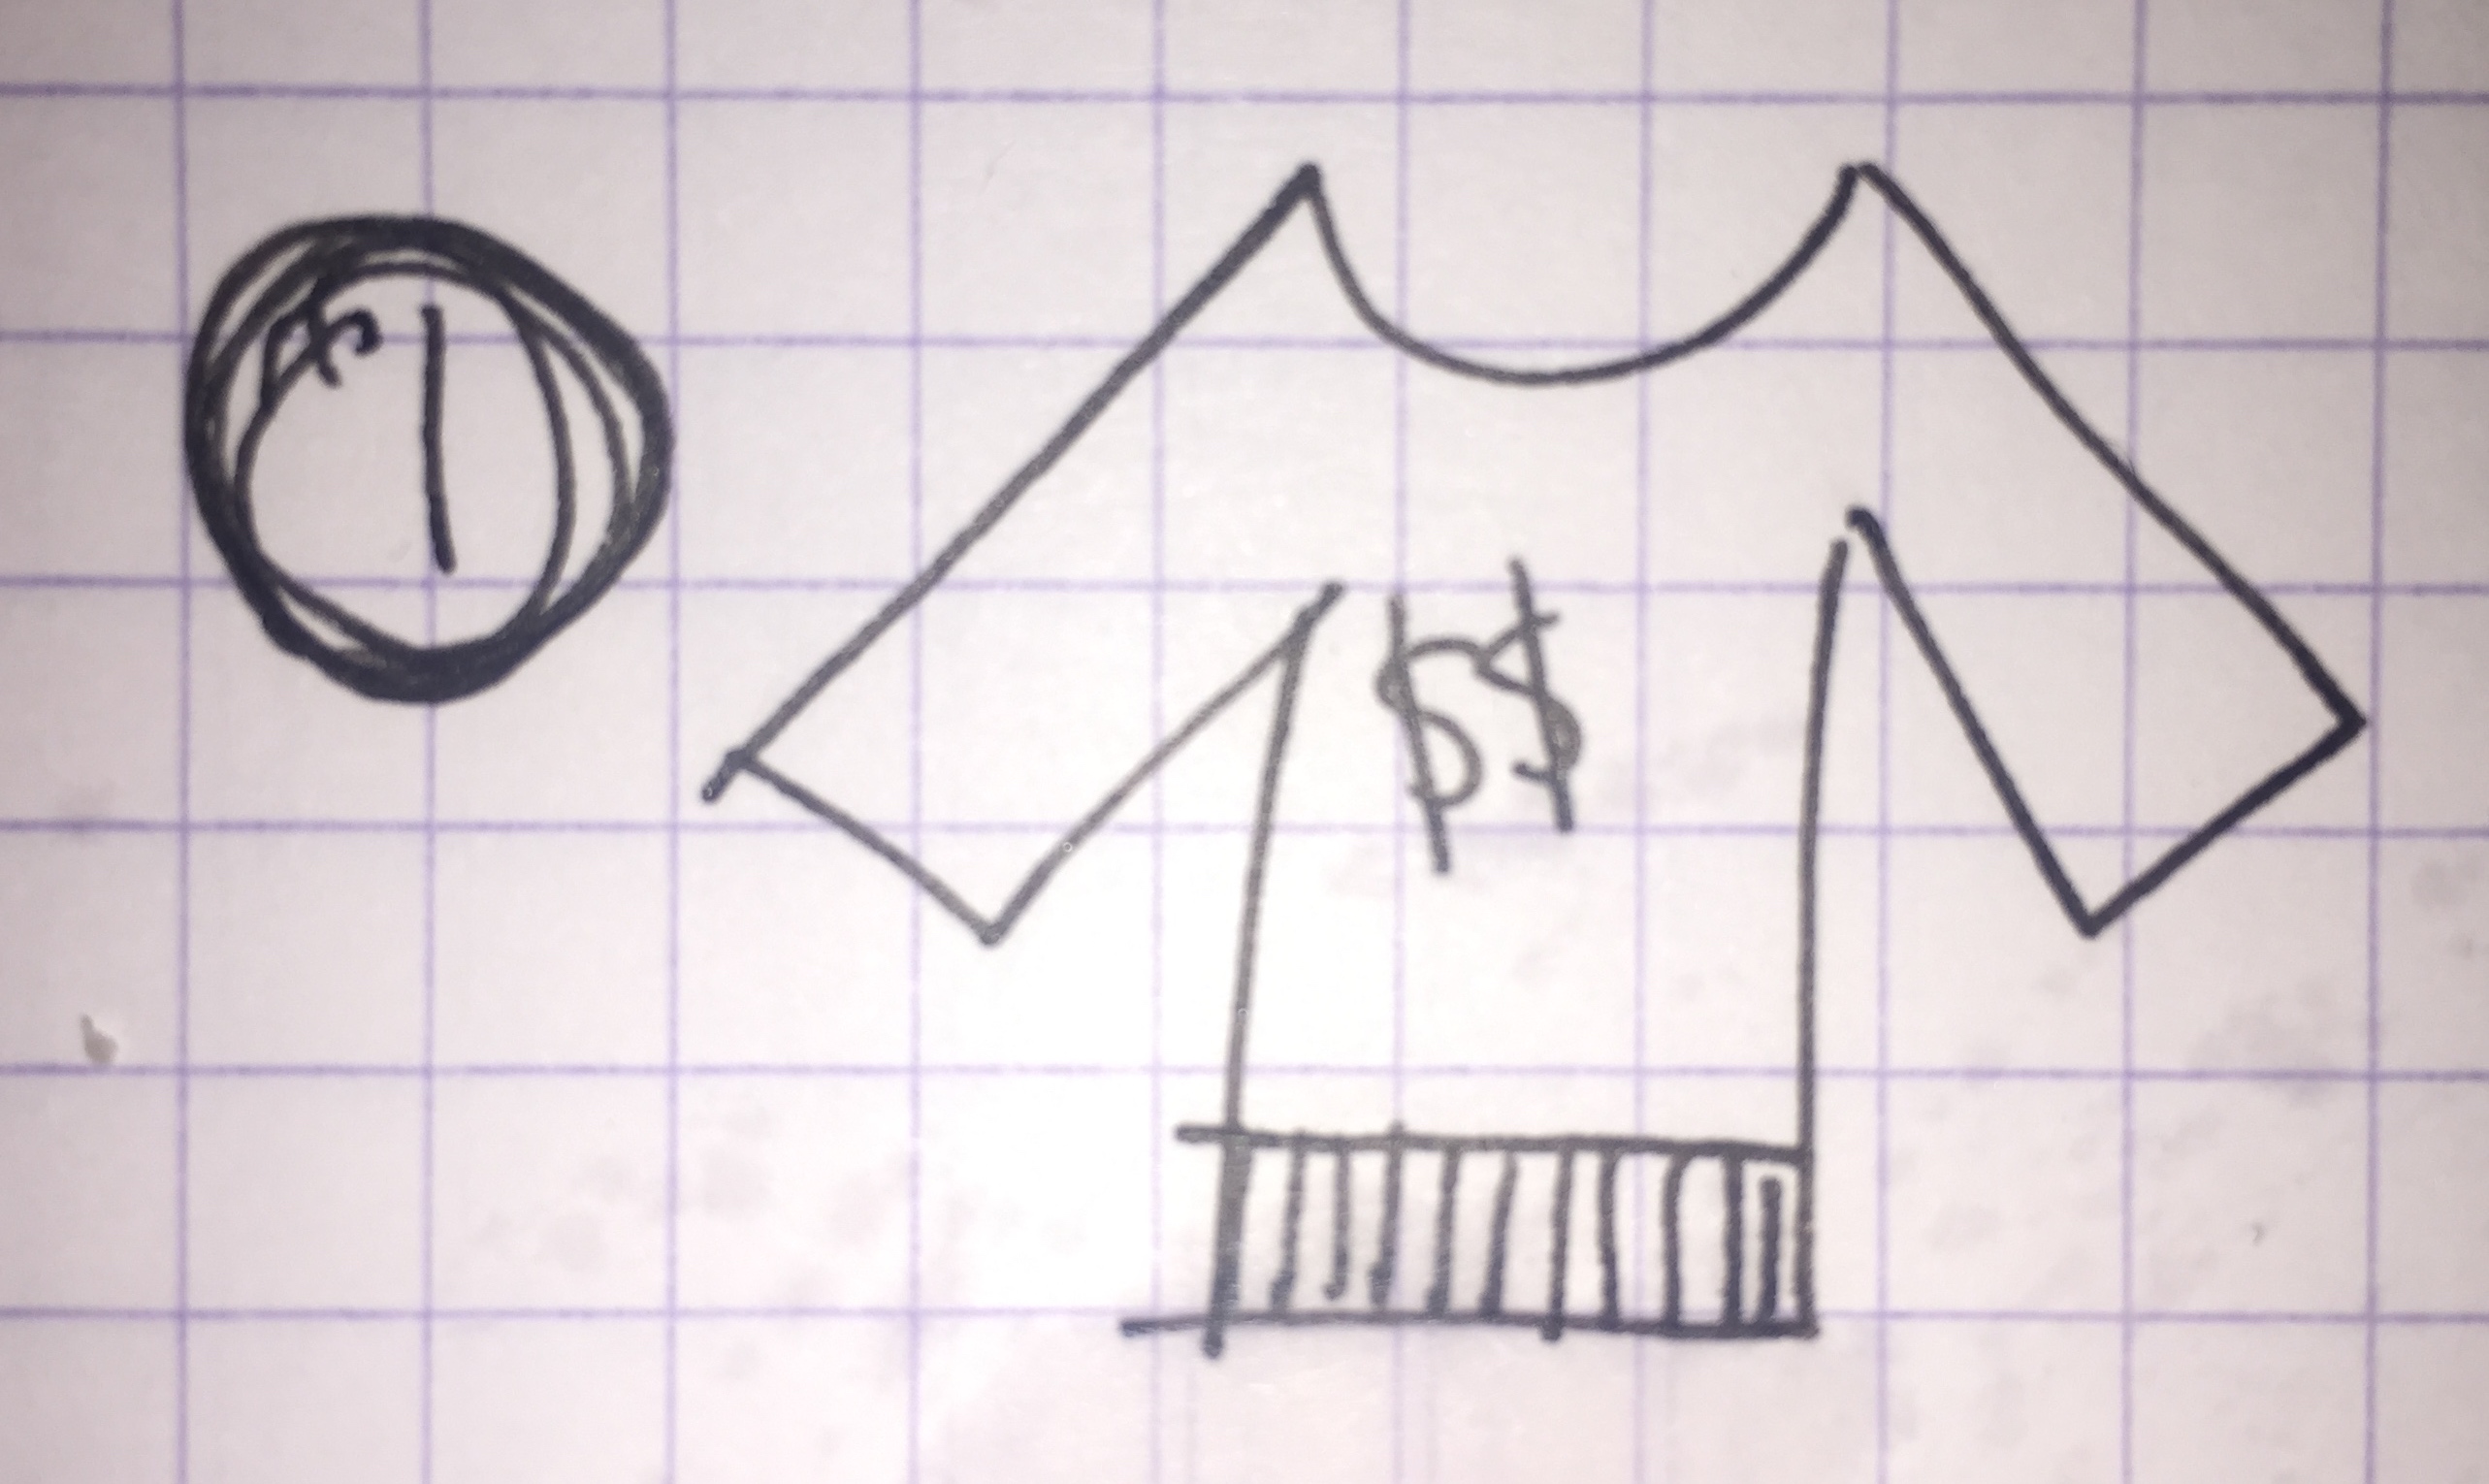
2. Cut off waist band.
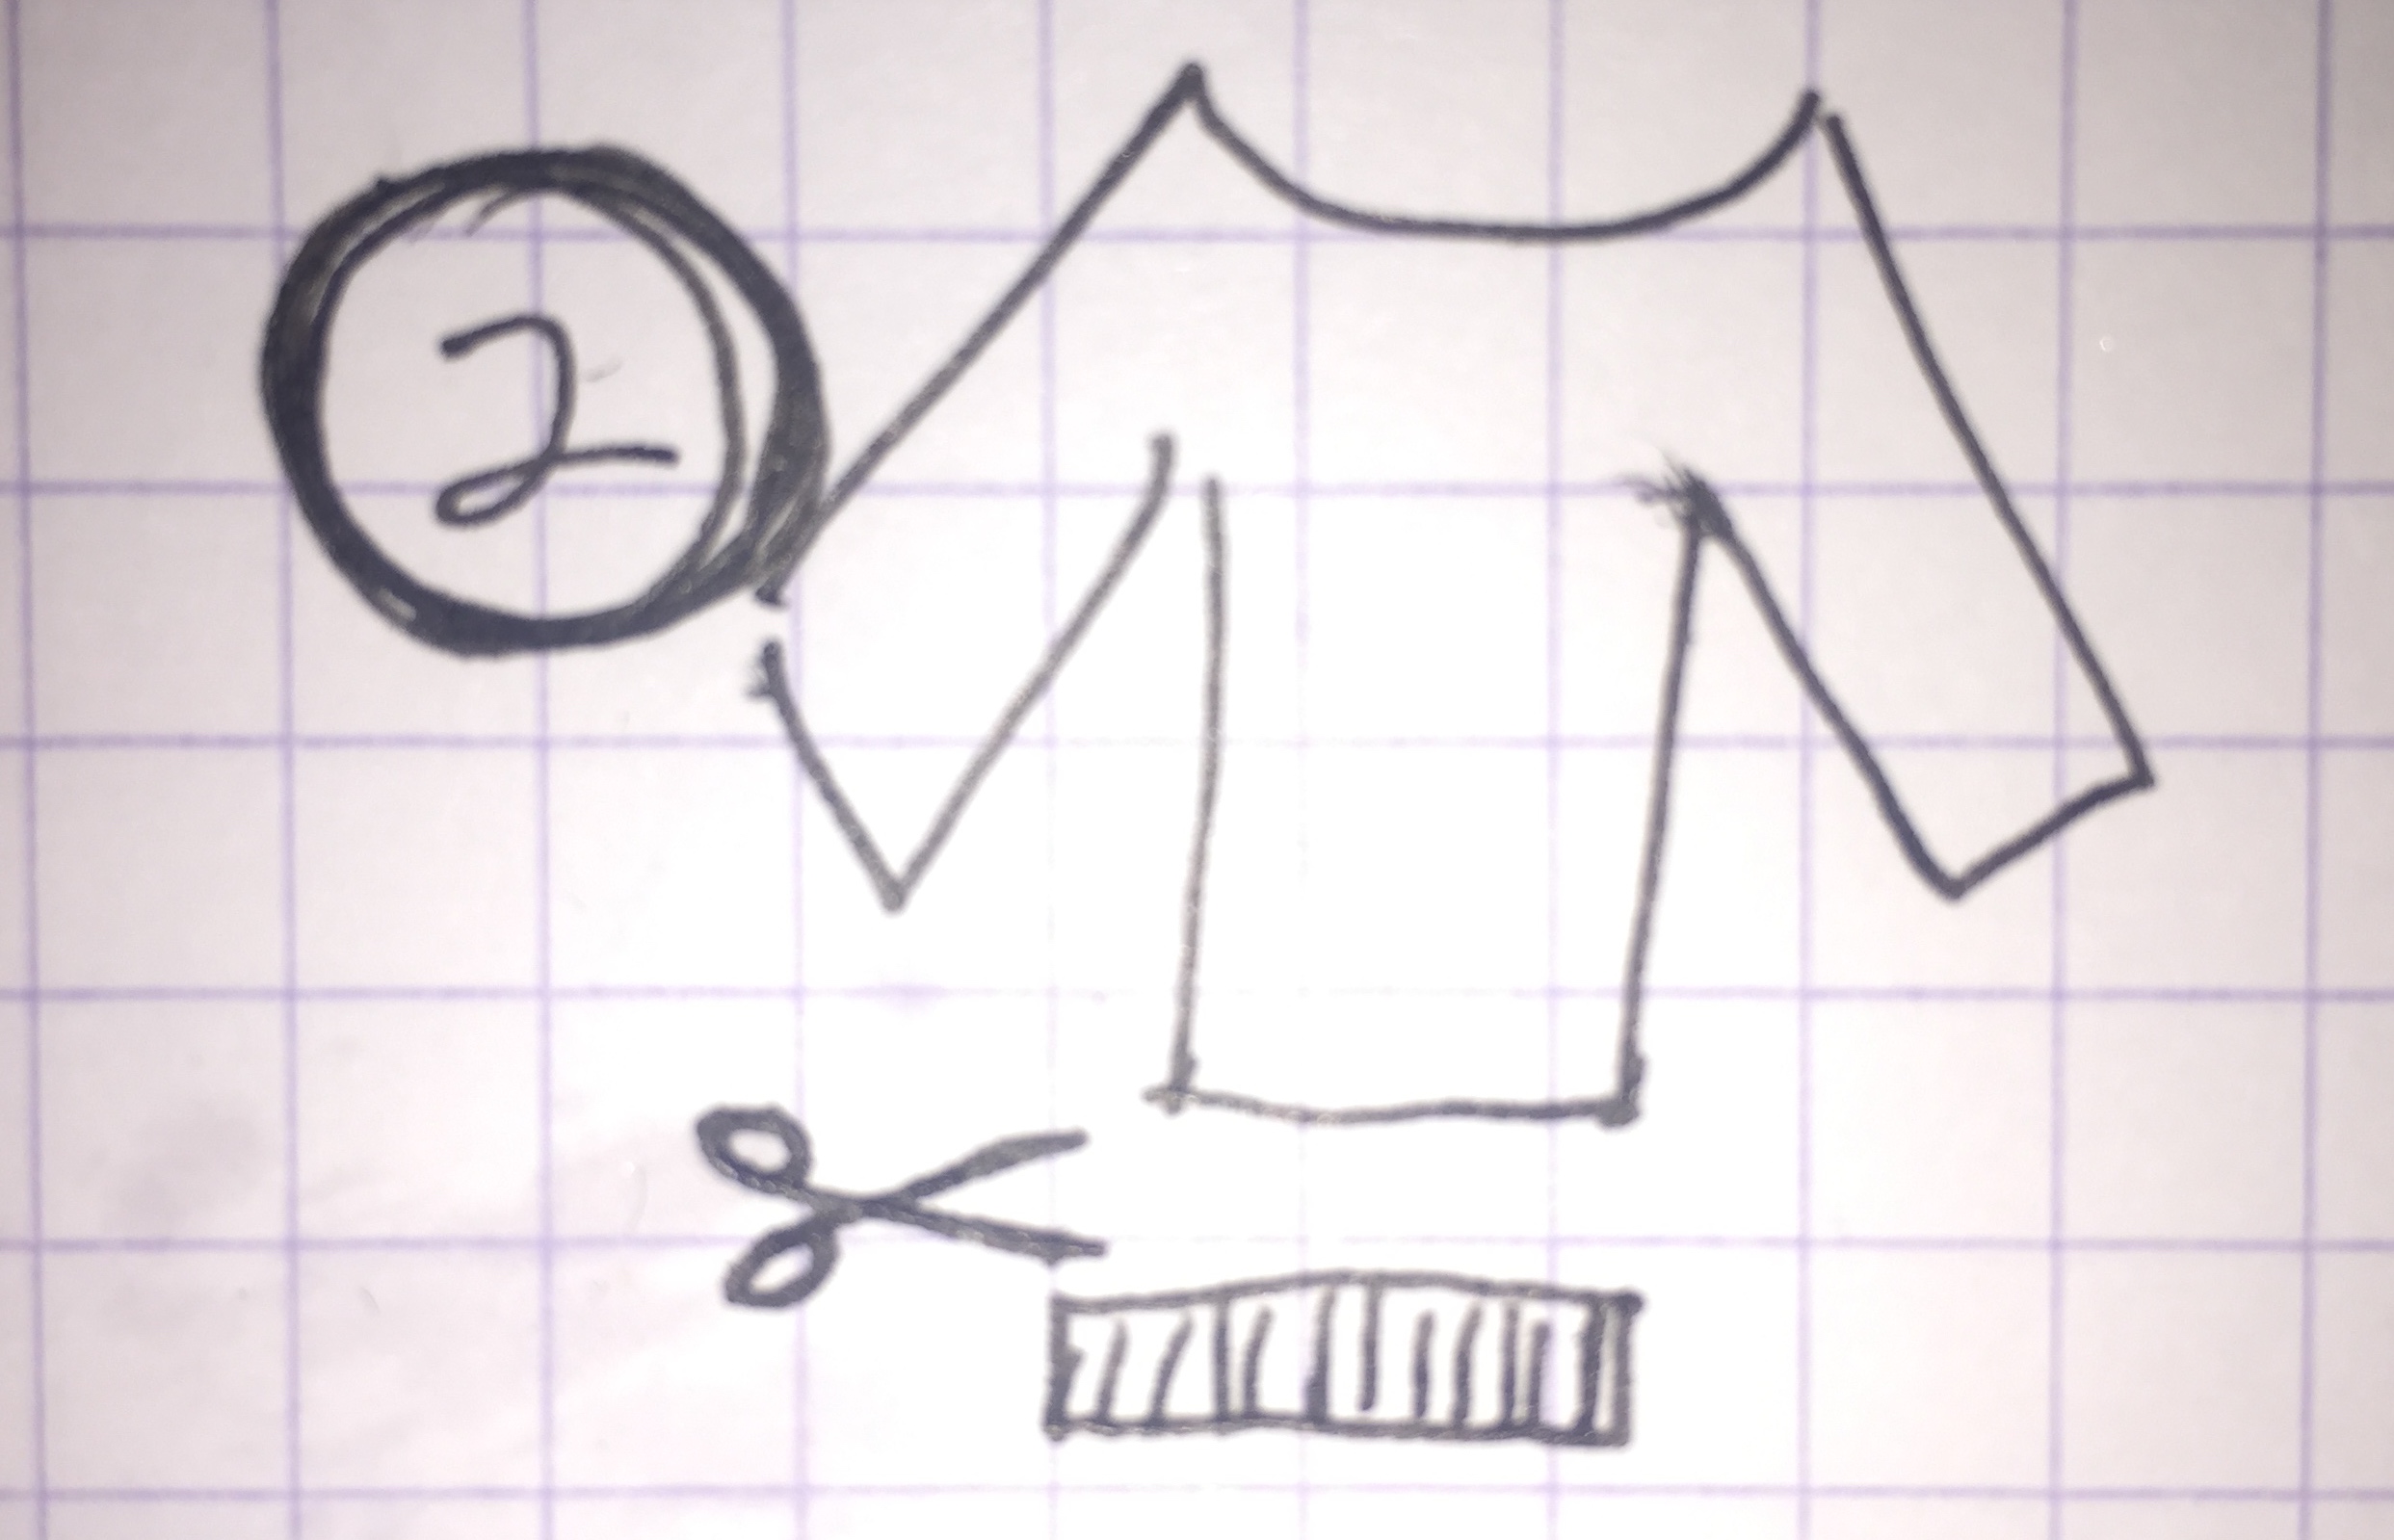
3. At the bottom of the sweater, snip a few inches up into each side seam.
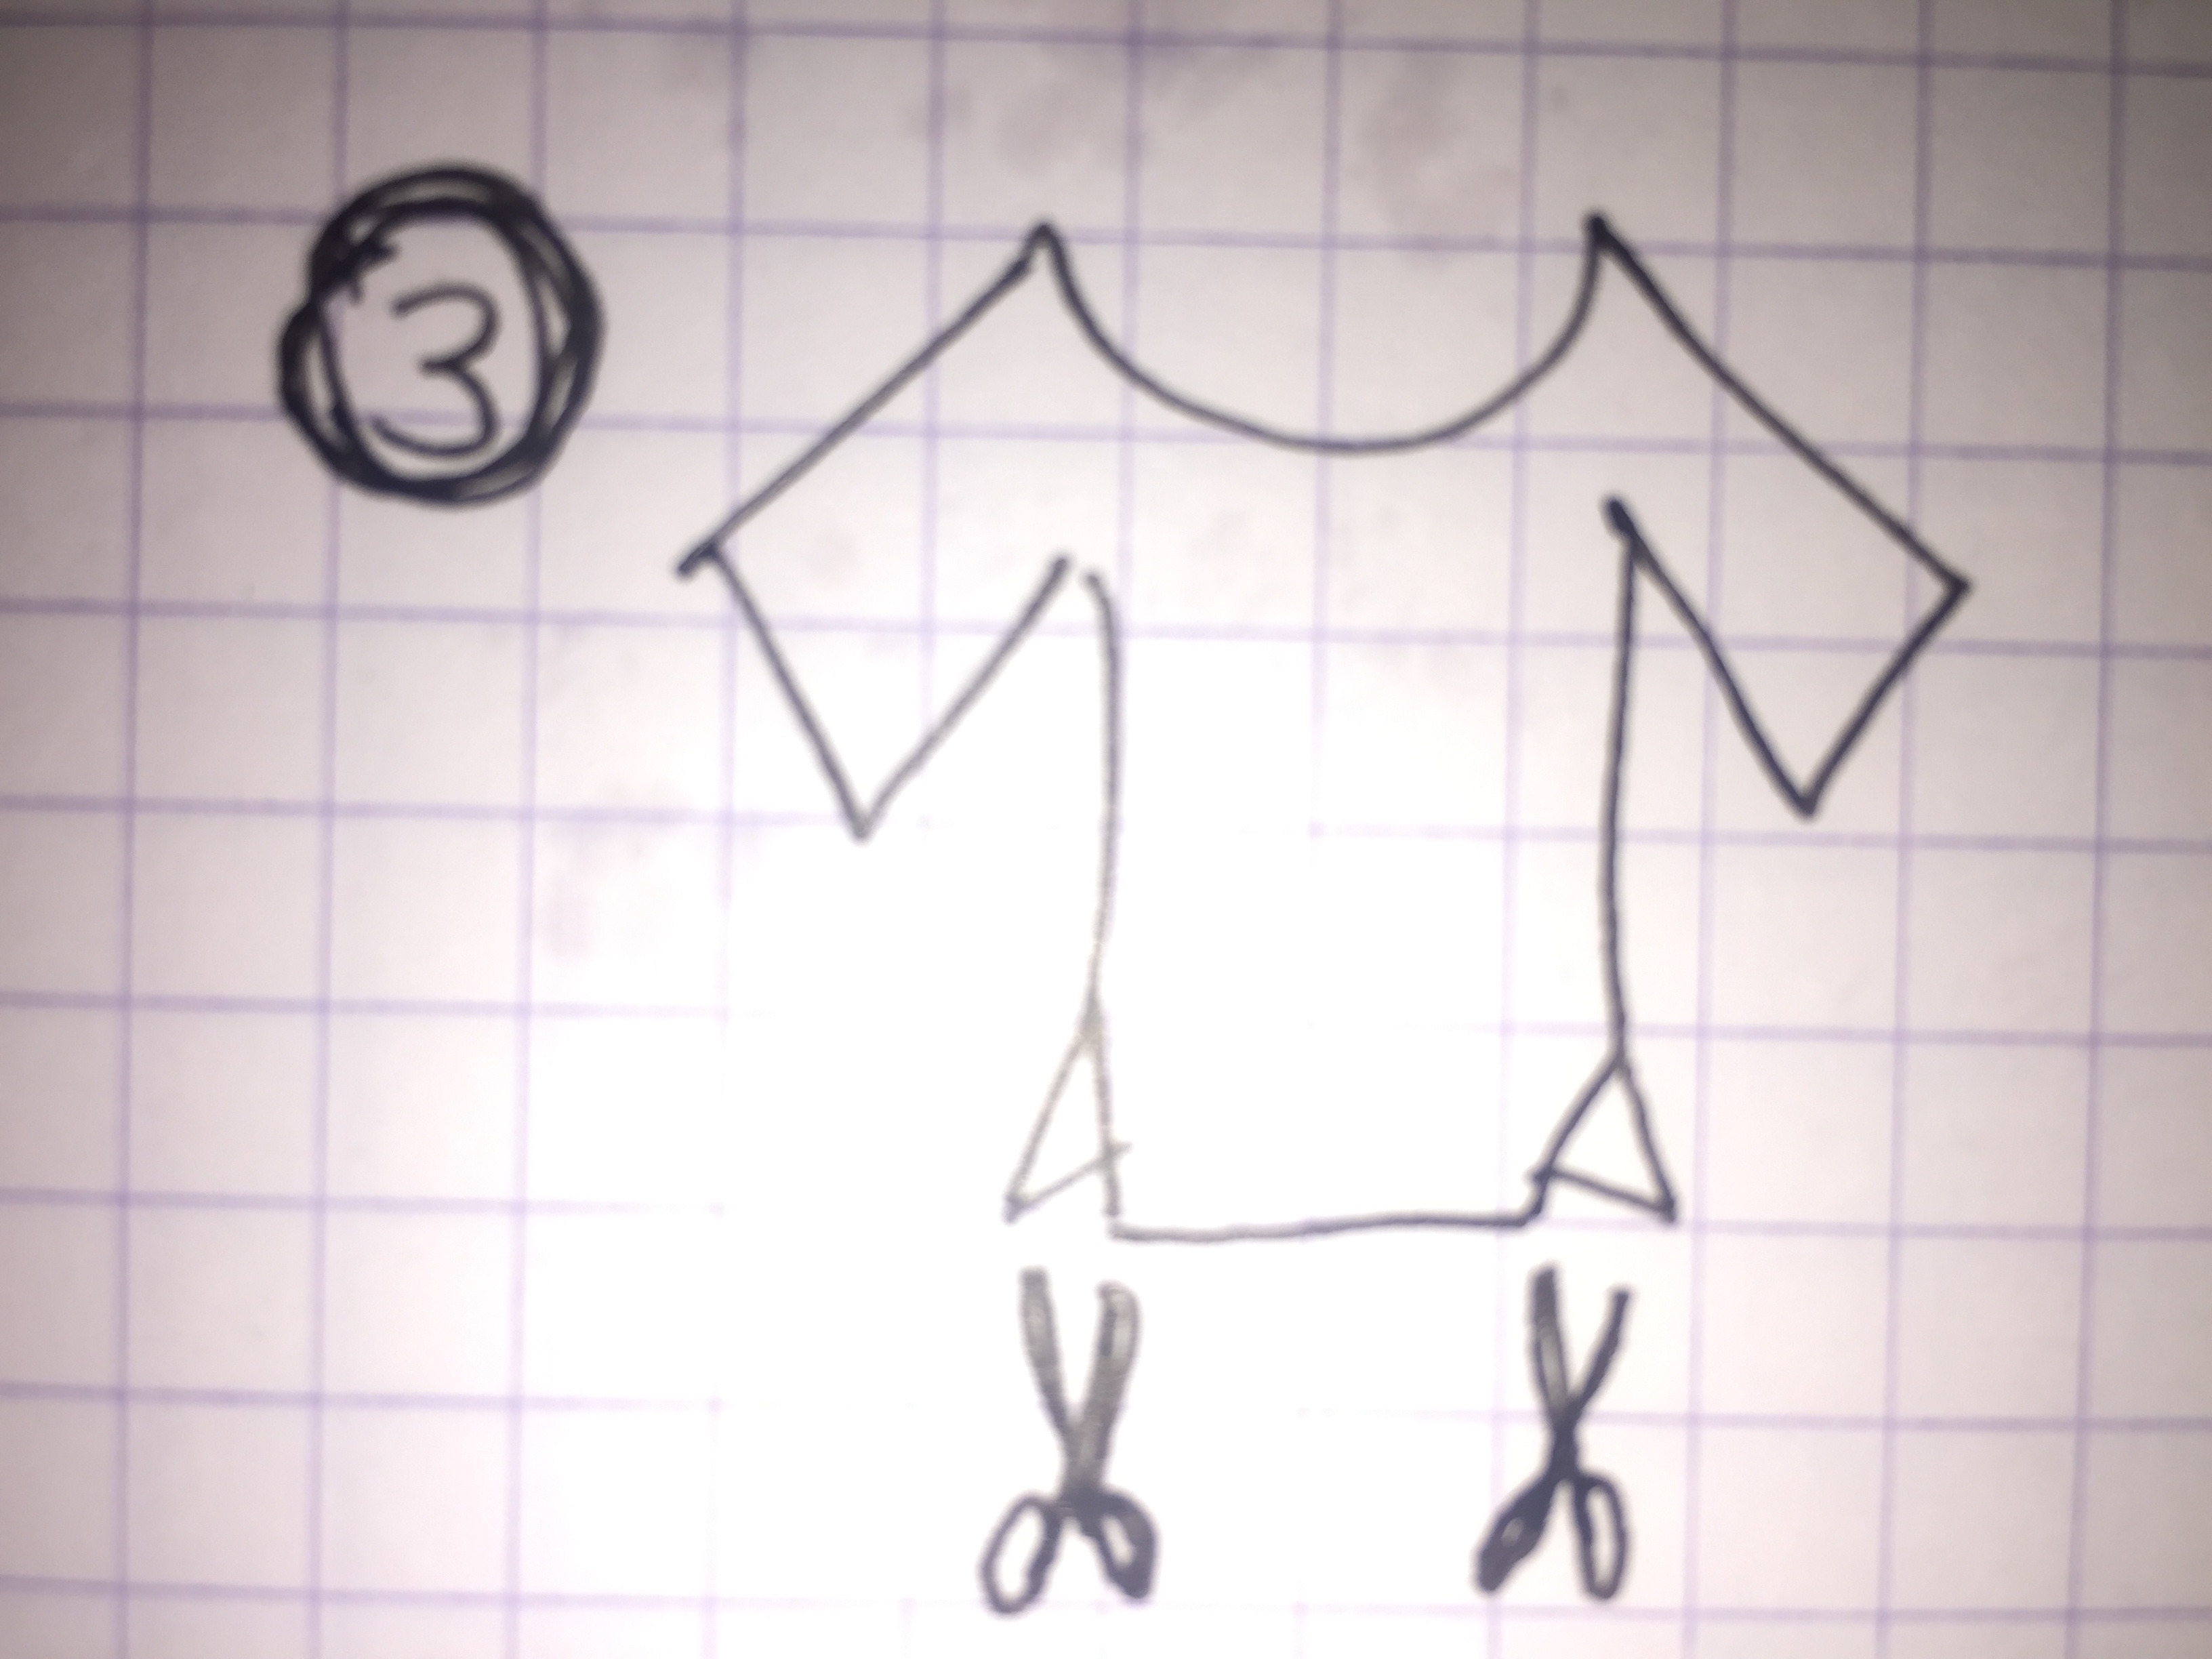
4. At the snipped side seam, look for a thread end close to the edge of the fabric. Start pulling.
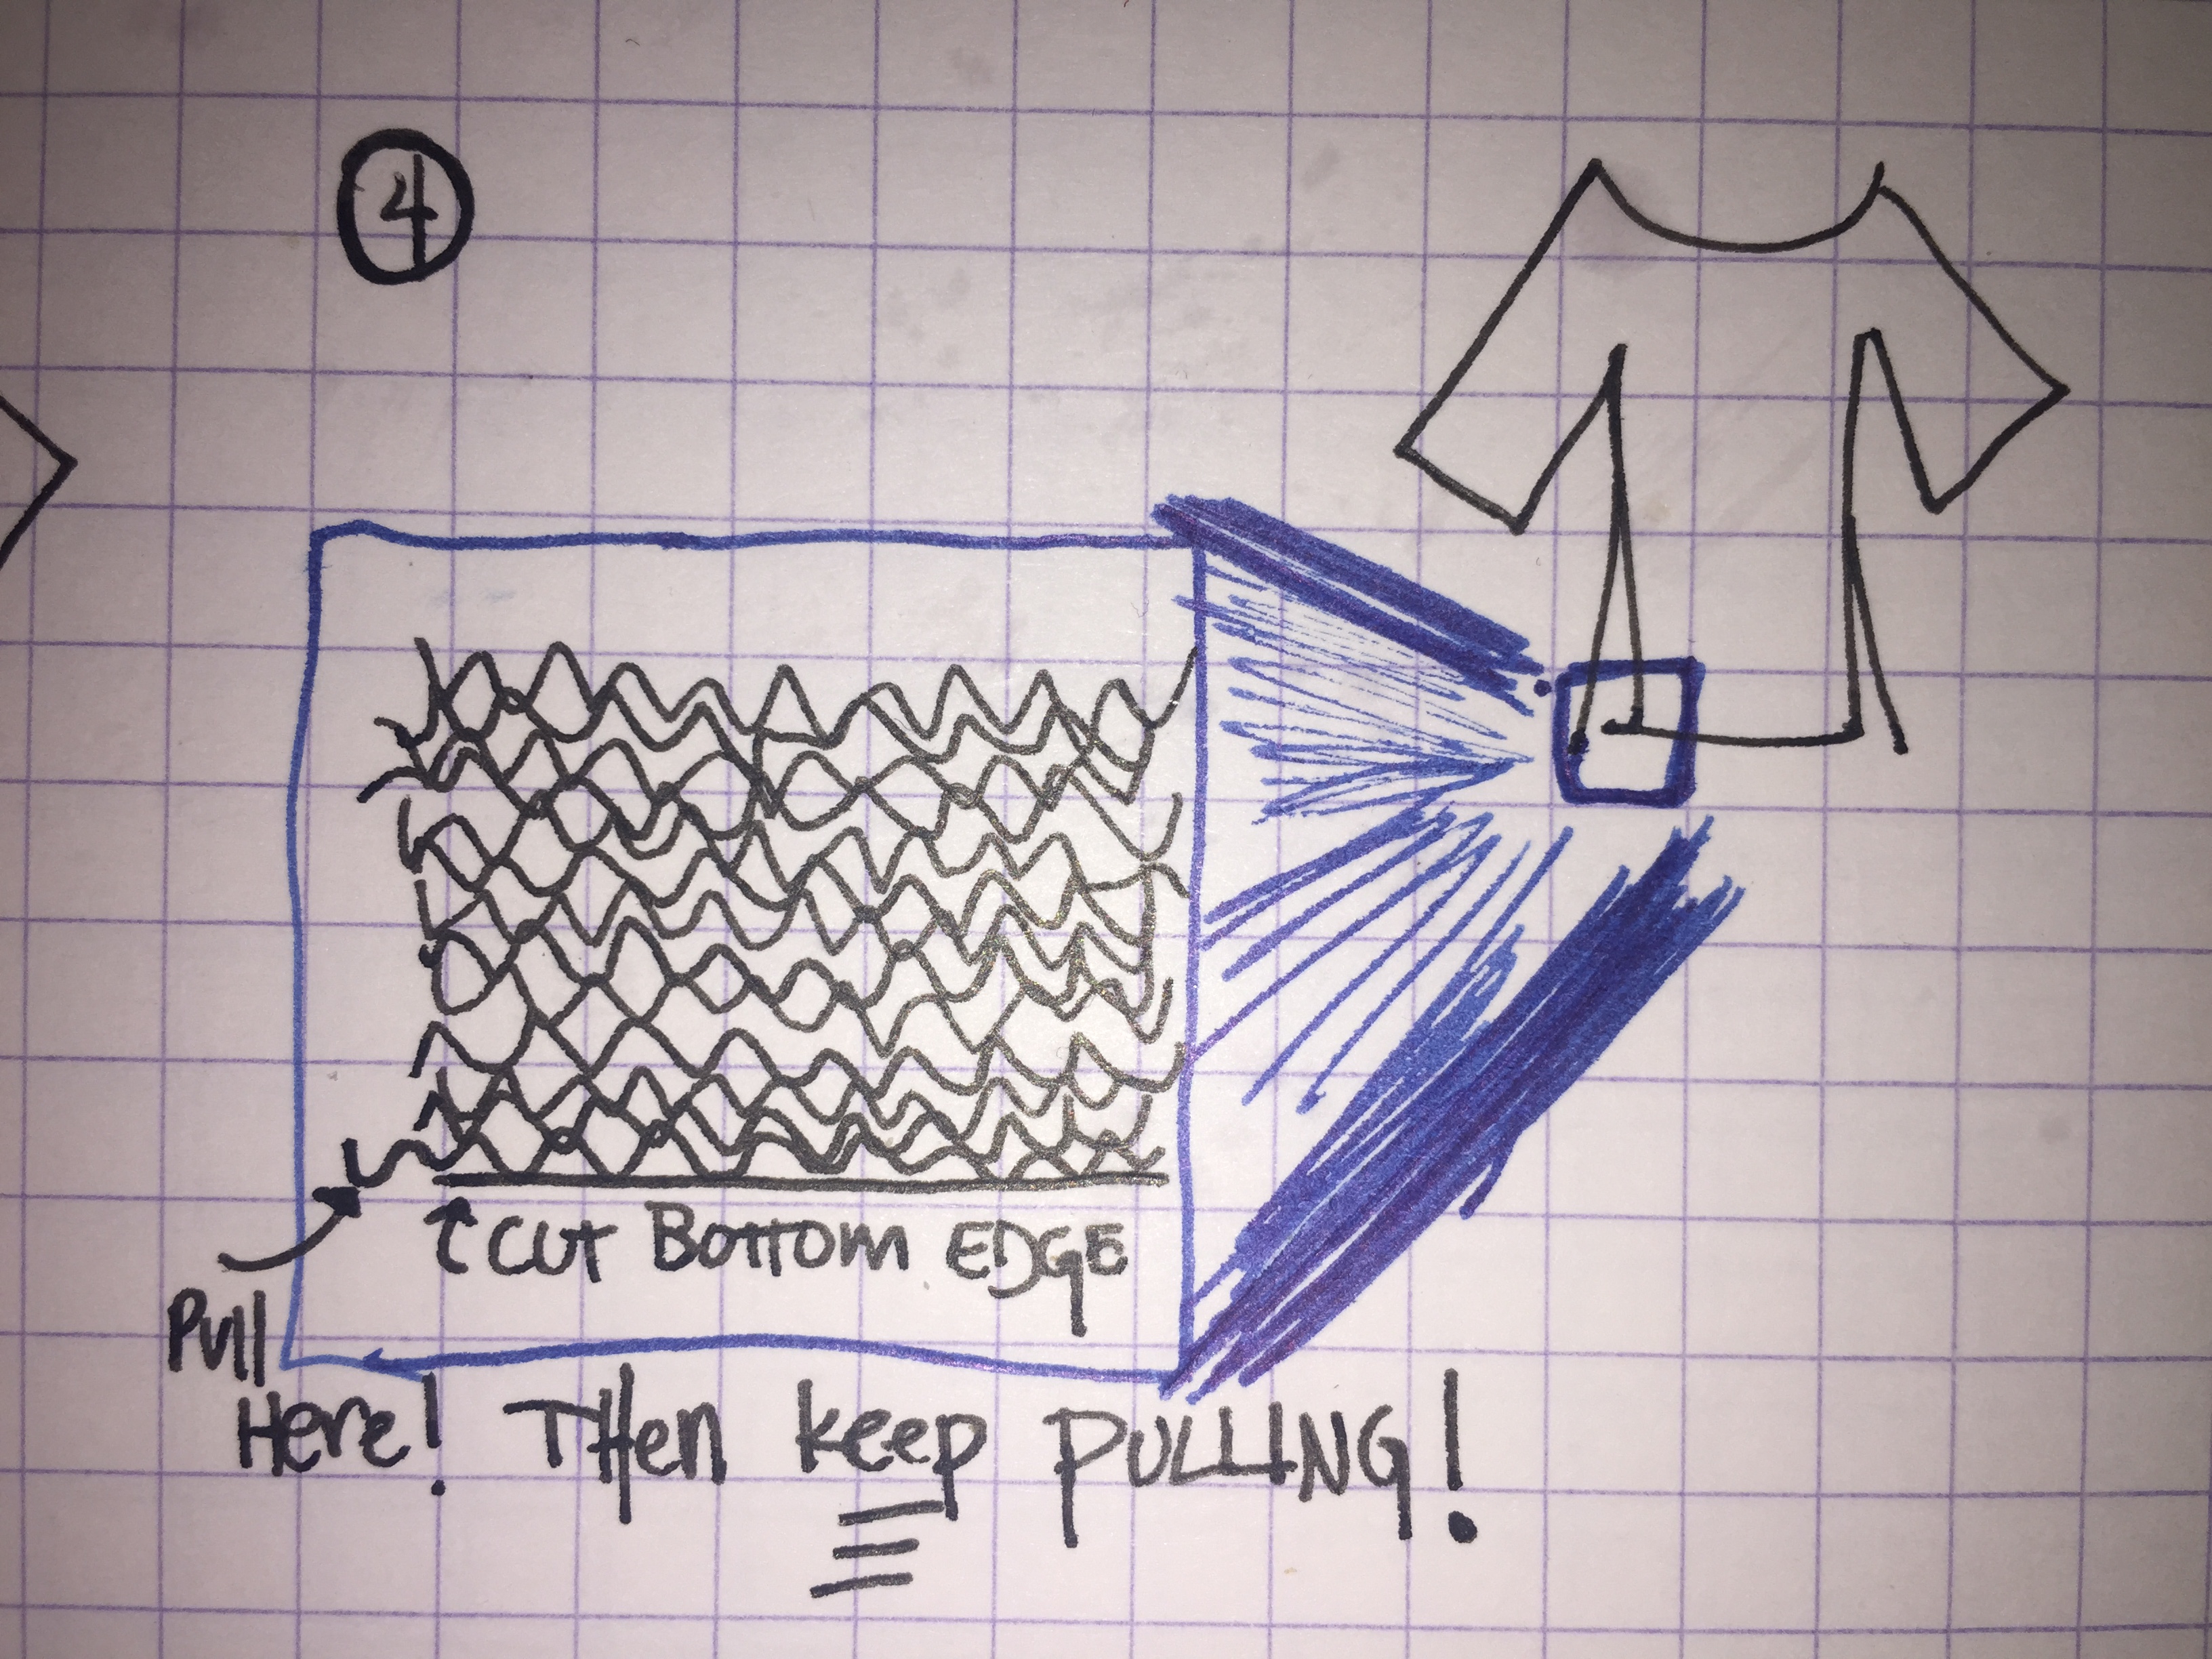
Note: at first you might just get little fragments of yarn fluff. This is because you might have cut through some rows of knit as you were cutting the band off. Have patience. Pull enough stupid tiny threads out and you’ll eventually start pulling the string (ba-dum!) on a longer one.
5. Basically, save any threads that are wider/longer than the hole that needs repairing.
Now comes the fun part, baby. Time to start ‘weaving’ that cloth back together. A brief overview below, but I would highly, highly recommend reading the lovely posts on Tom of Holland, but mostly this one. You might not want to darn your socks, add starbursts to your crotch to hold it together or make a patchwork of your sweaters, but I promise that the man who does those things has something valuable to teach you about repairing fabric.

1. Thread a needle with some of your recently-harvested yarn.
2. You want to start weaving across the narrower part of the hole. Beginning about 1/4 to 1/2 of an inch from the opening, start weaving your needle through the existing fabric, making sure you are running parallel either to the weft or weave.
3. Cross over the hole, and weave your thread into the fabric on the opposite side of the hole.
4. Snip the tails of your thread on either side. Don’t tie a knot or anything.
5. REPEAT, working your way across the length of the hole, keeping your threads very close together. This is easy, but not quick.
Now you’ve got many, many parallel lines of thread running across the hole. You’ll start essentially reweaving the fabric now by repeating the above process, running threads across the longer part of the hole. In this way you’re basically creating new fabric to patch over your hole.
1. Beginning at the long end, again, about 1/4-1/2 inch before the start of the hole, weave your thread in and out of the existing fabric. Then go over and under every other thread currently crossing the hole, before weaving the tail into the original fabric on the opposite side.
2. Snip tails.
3. REPEAT, working your way across the hole.
Now, steam your patch, using your iron on the wool setting and a lot of steam. This will help tighten the fibers up together.
Either snip remaining visible tails off, or use a sweater shaver to raze off those nubbins.
B: patching the lining:  The biggest tip here is to make a regular shape (rectangle or square) regardless of the shape of the hole. That could mean cutting a rectangle-shaped hole bigger than the original, but it will keep the patch a bit more stable. Also, match the grain of the patching fabric to the grain of the original fabric.
The biggest tip here is to make a regular shape (rectangle or square) regardless of the shape of the hole. That could mean cutting a rectangle-shaped hole bigger than the original, but it will keep the patch a bit more stable. Also, match the grain of the patching fabric to the grain of the original fabric.C. Reinforcing the undercollar: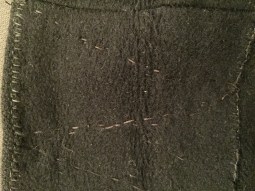
The under collar still doesn’t look great, but the fabric was essentially disintegrating along the roll line, where it had been folded. To try to strengthen it a bit, I just did running stitches in V shapes across the width. Nothing major, but seems to have held things together a bit.
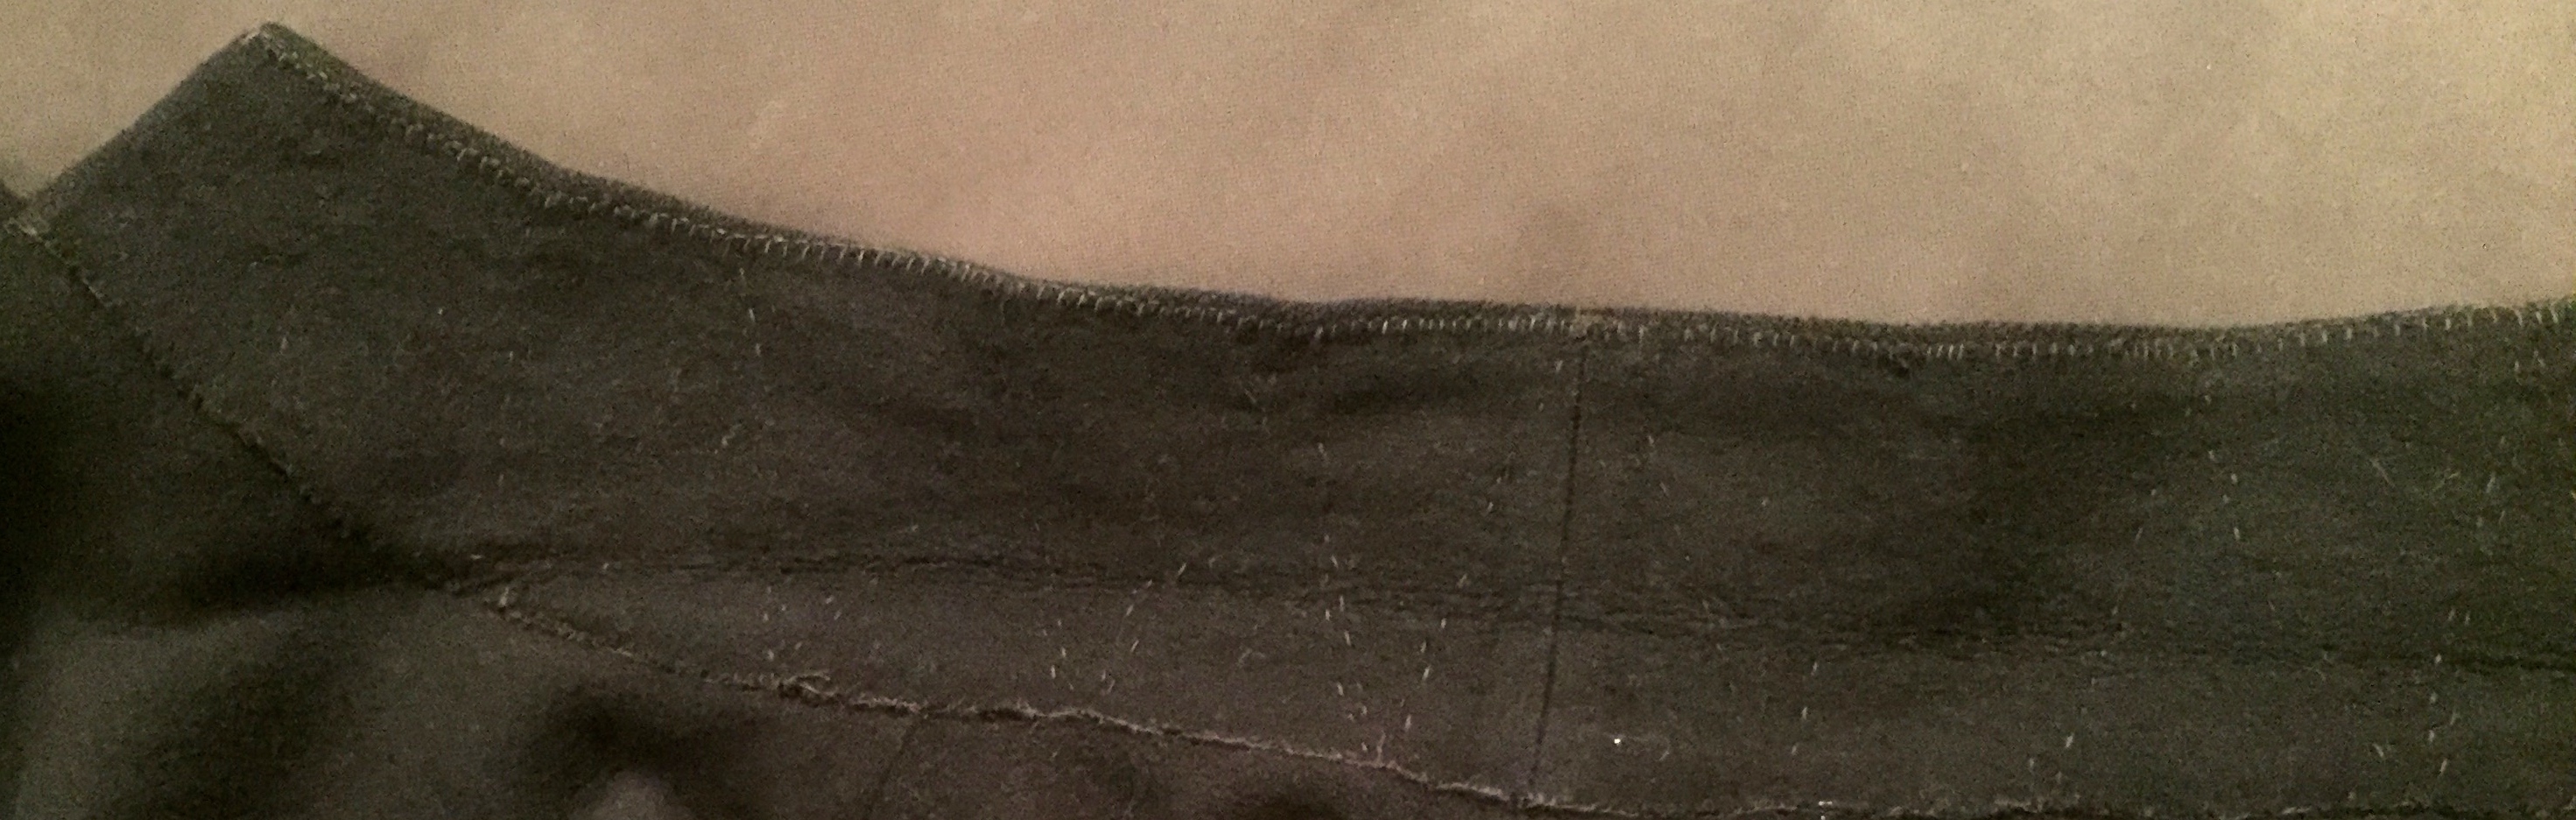
D. Reinforcing the collar seams: The fabric was also disintegrating along the original stitch line. To address this, I used a tiny, tiny blanket stitch along the seam lines, both where the collar attaches to the body of the coat and where the upper and under collar meet.
So that’s it! Labor intensive but not so labor intensive as making a new coat.
Let me know if anything’s not clear.
**just kidding. i’m making it, it’s my first hand-tailoring adventure and eight inches into catch stitching the horsehair canvas into the seam line of the first pattern piece i decided this is not my preferred sewing style.

You are amazing! Mind blown.
Thanks, O!