
I wanted to make a couple of easy dresses for work. And I wanted these dresses to have sleeves to make dressing the most easy (if sleeves, no need for coordinating with cardigans or blazers, amiright).


I liked the look of the Colette Laurel and I even had a paper copy. But a quick trip around the interwebs suggested fitting problems galore and I just didn’t have the appetite for three muslins.
And THEN I remembered that I have a shift dress pattern that’s been through three muslins: this Marfy 3667 that came with the catalog last year.
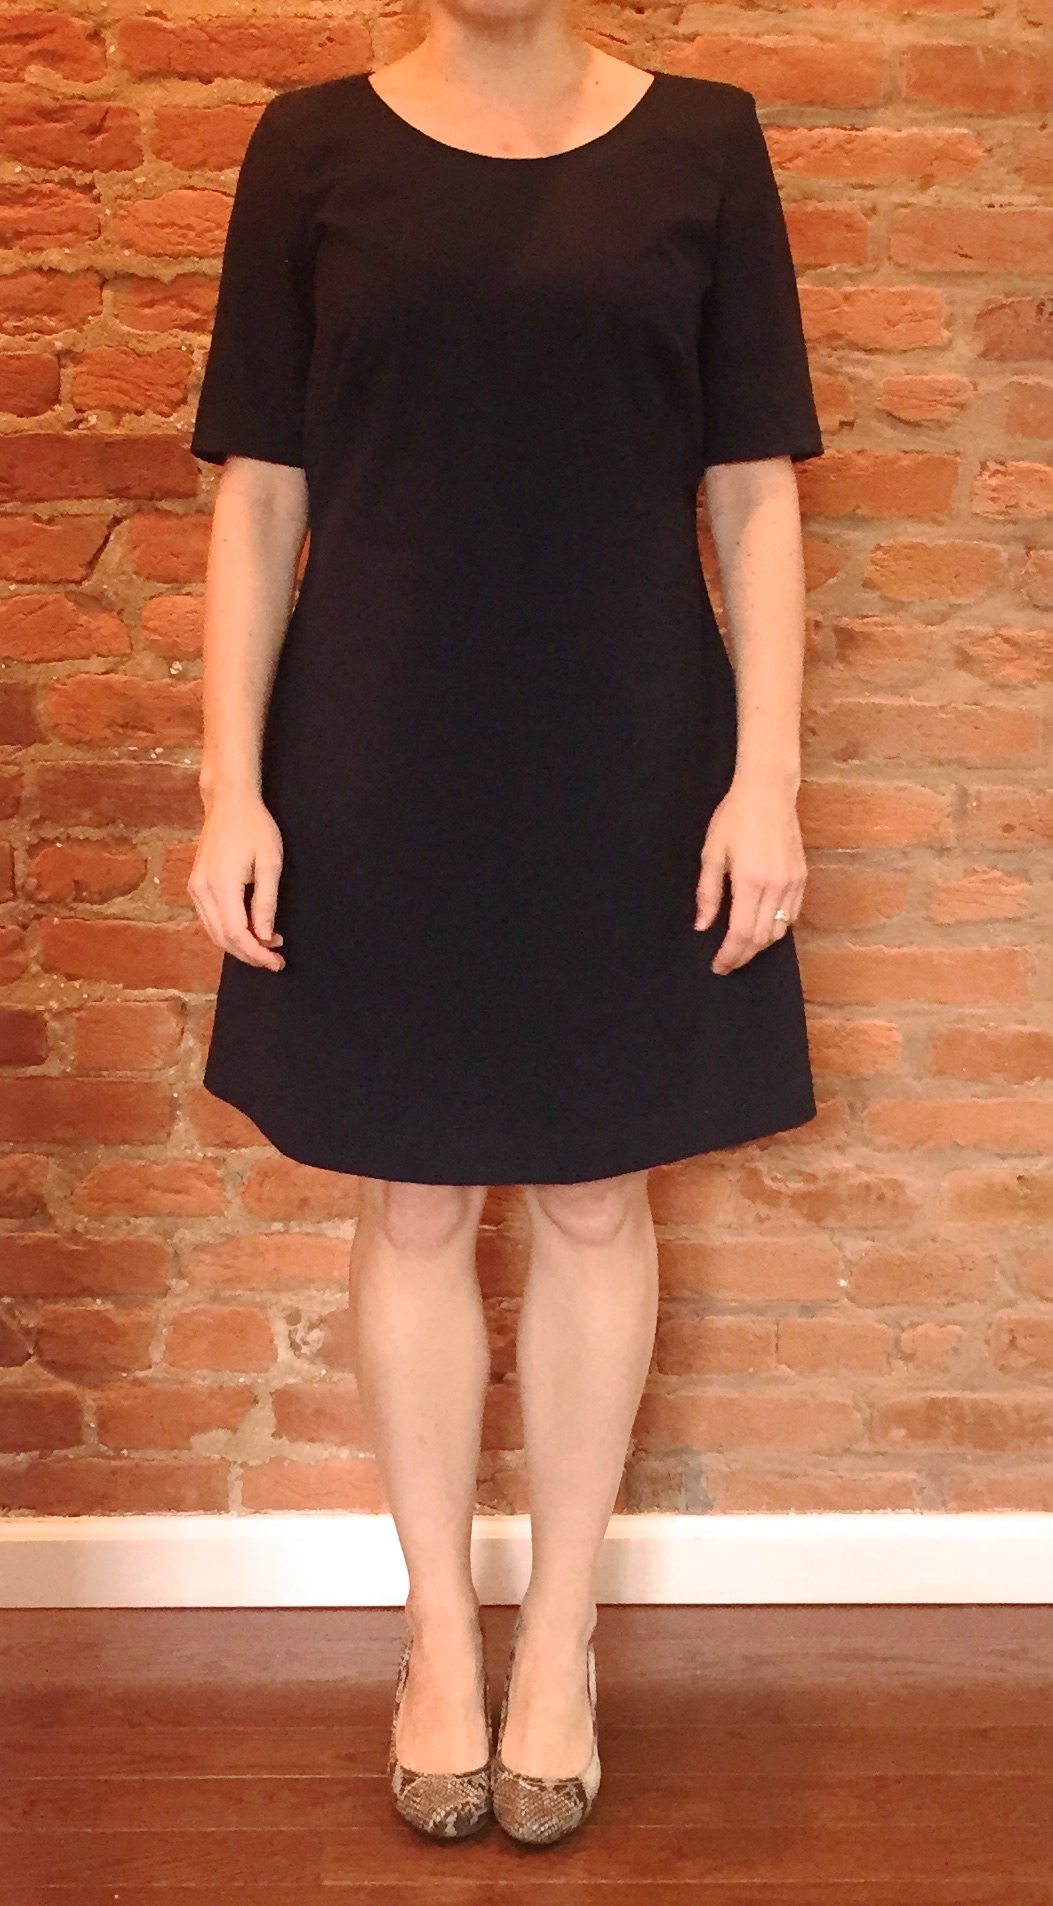
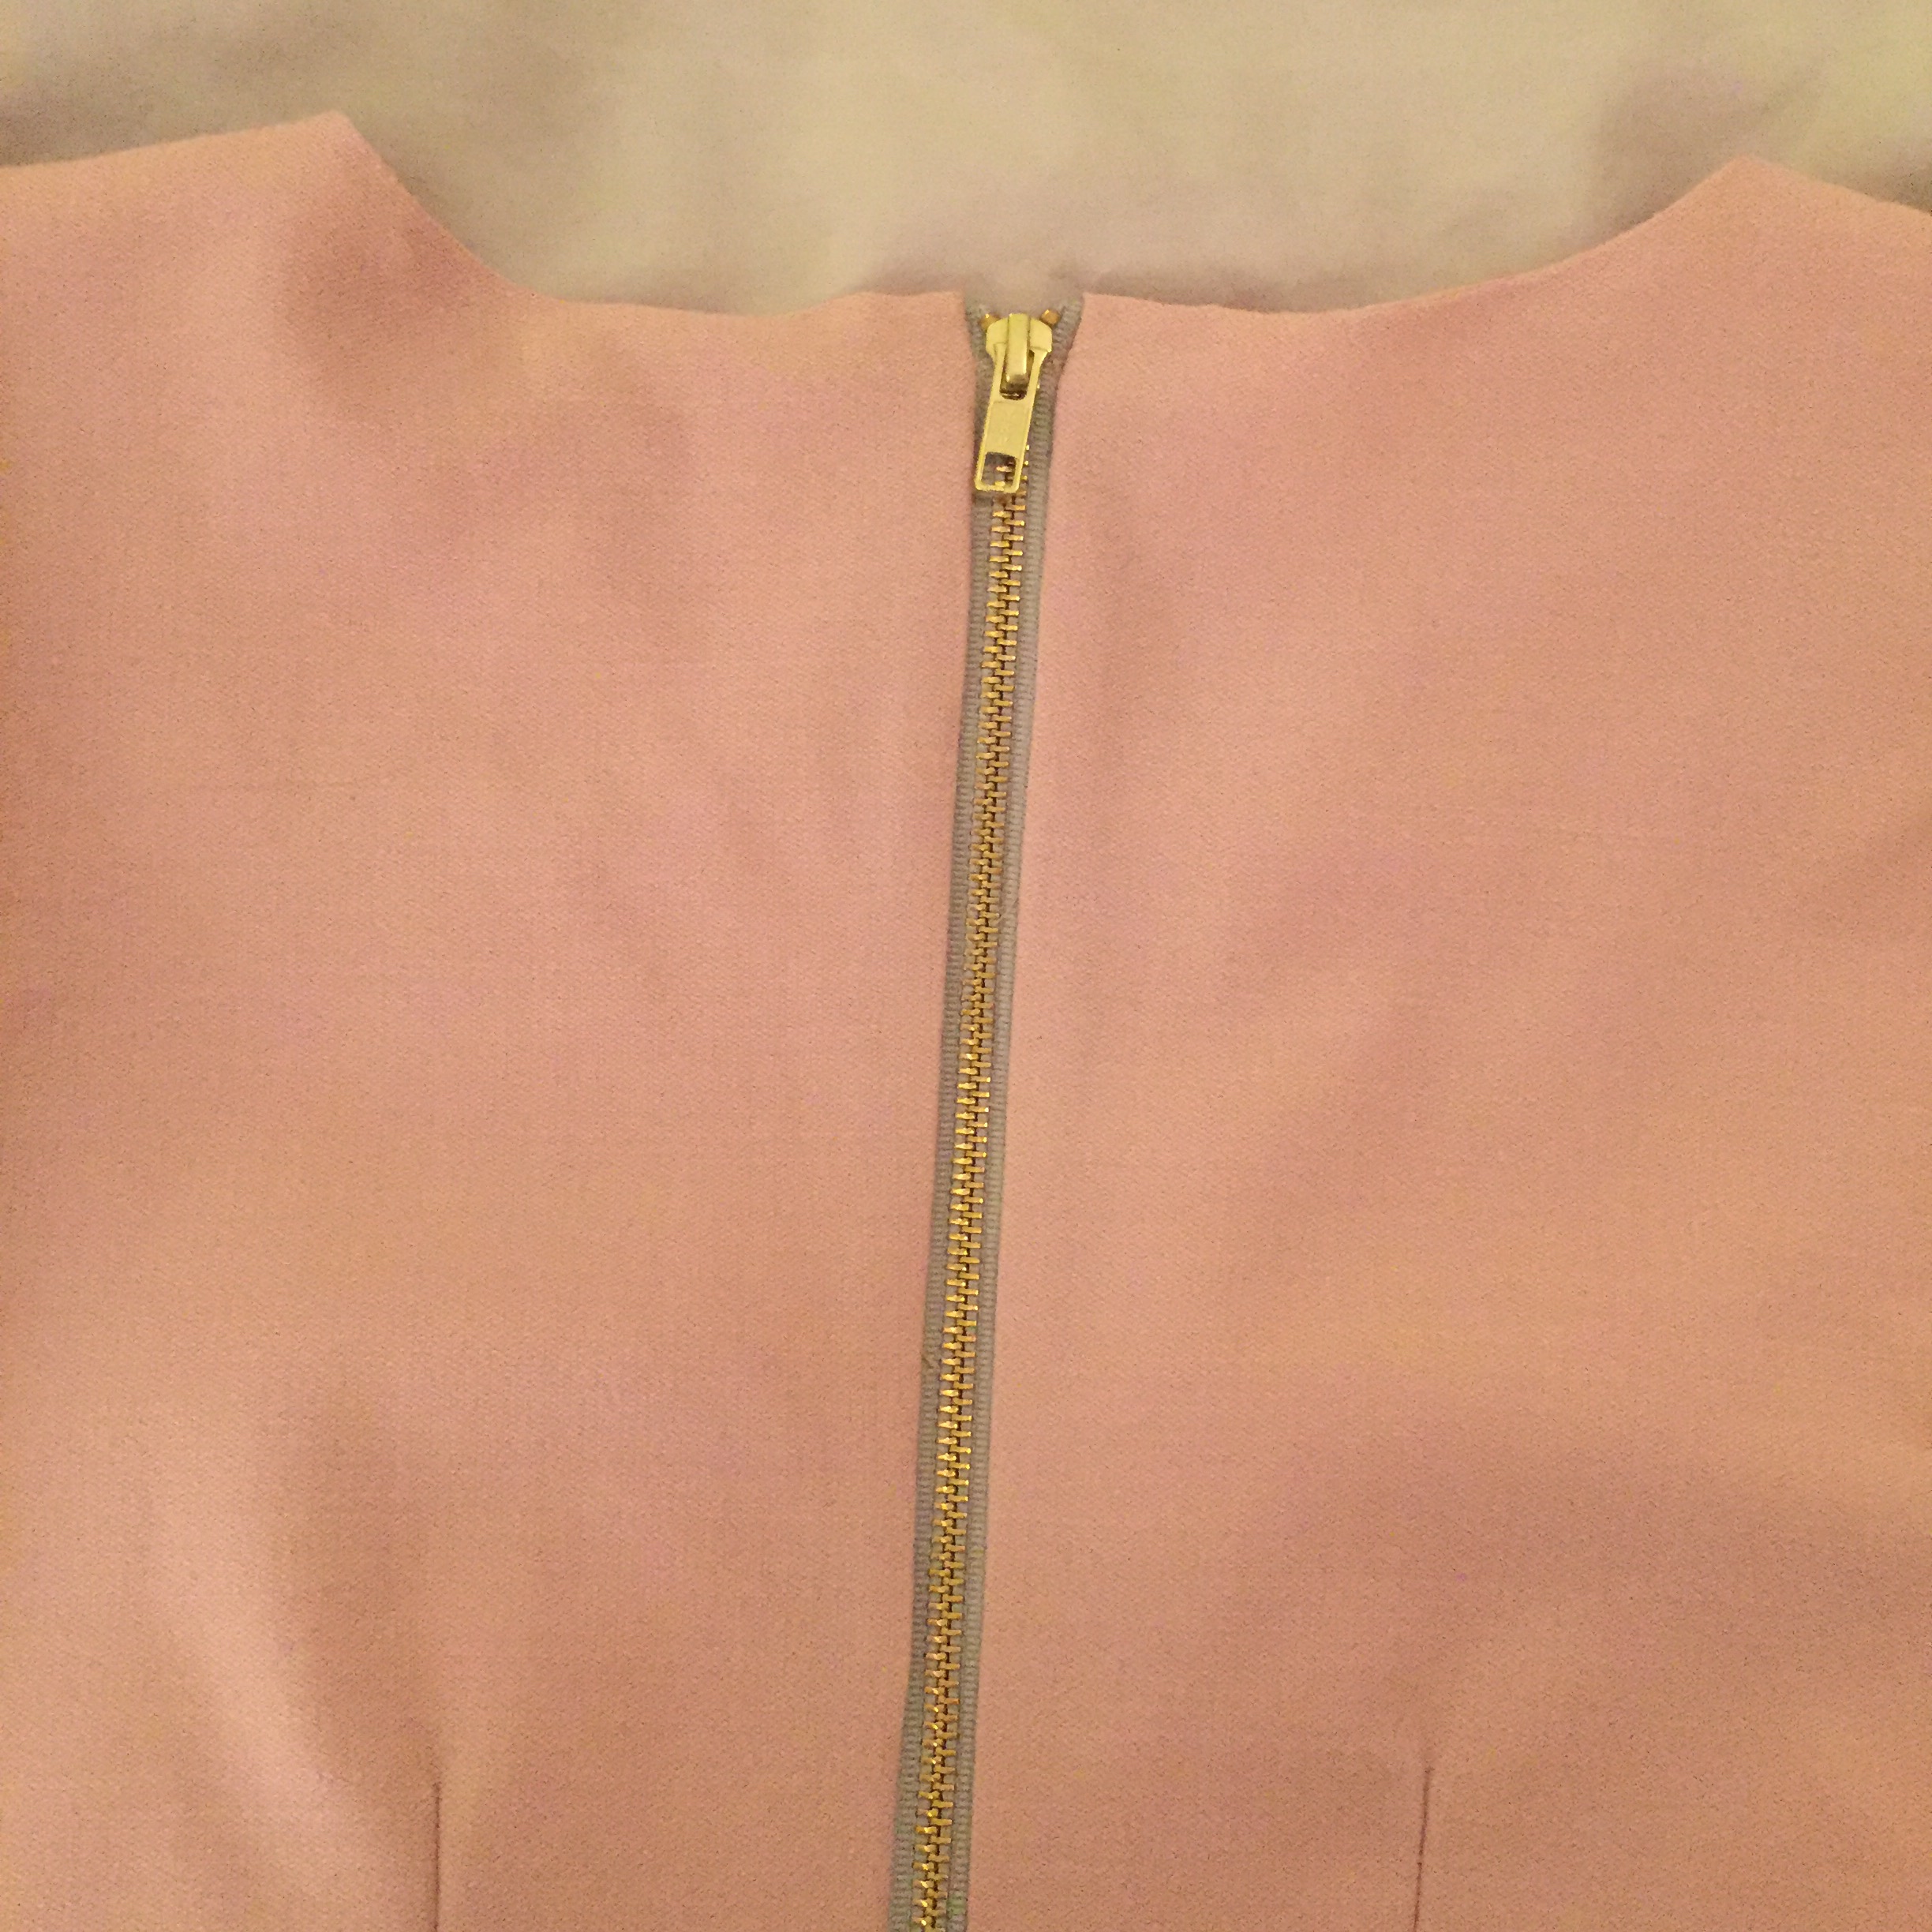
So here we go, two work dresses, one with invisible zipper one with very visible.
The original Marfy had short sleeves and a slimmer skirt with a high low hemline. I liked both, but I wanted a simpler make and wear.
I took out the Laurel pattern to compare the skirt and sleeve lengths. The Laurel sleeves are significantly wider, so much so that I was concerned there wouldn’t be enough ease or something with the Marfy ones once they were extended. But I went against that instinct after measuring my bicep and the Marfy sleeve, simply lengthened the Marfy one to match the Colette one, and it turned out just fine.
okay sleeve –>
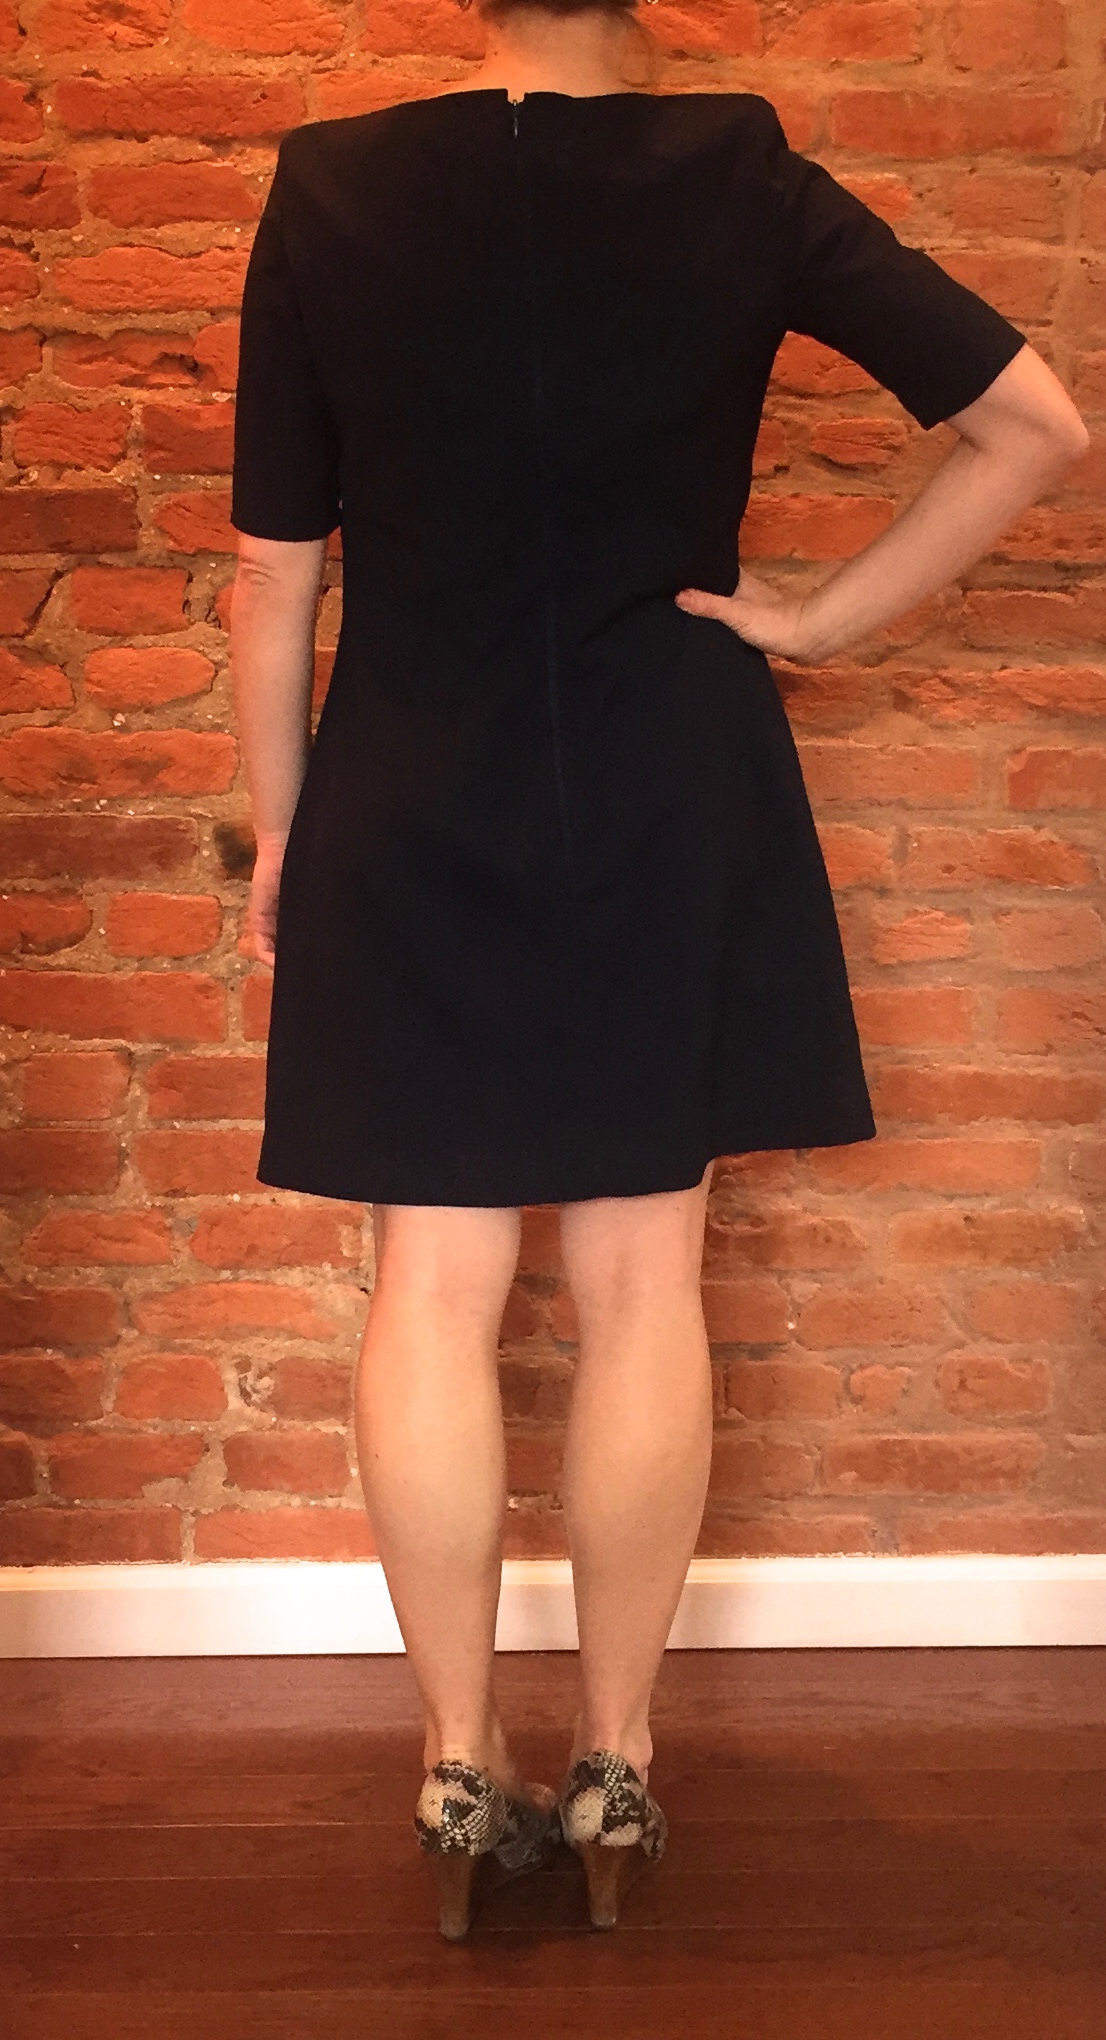
I then took the Laurel skirt and laid it over the Marfy one. There’s a significant flare– almost bell-ish– on the Laurel. I used my french curve to tone it down a bit, but it’s still a bit more dramatic than I normally wear, especially on the navy dress, which was my first go-round.
 <— bell bottom
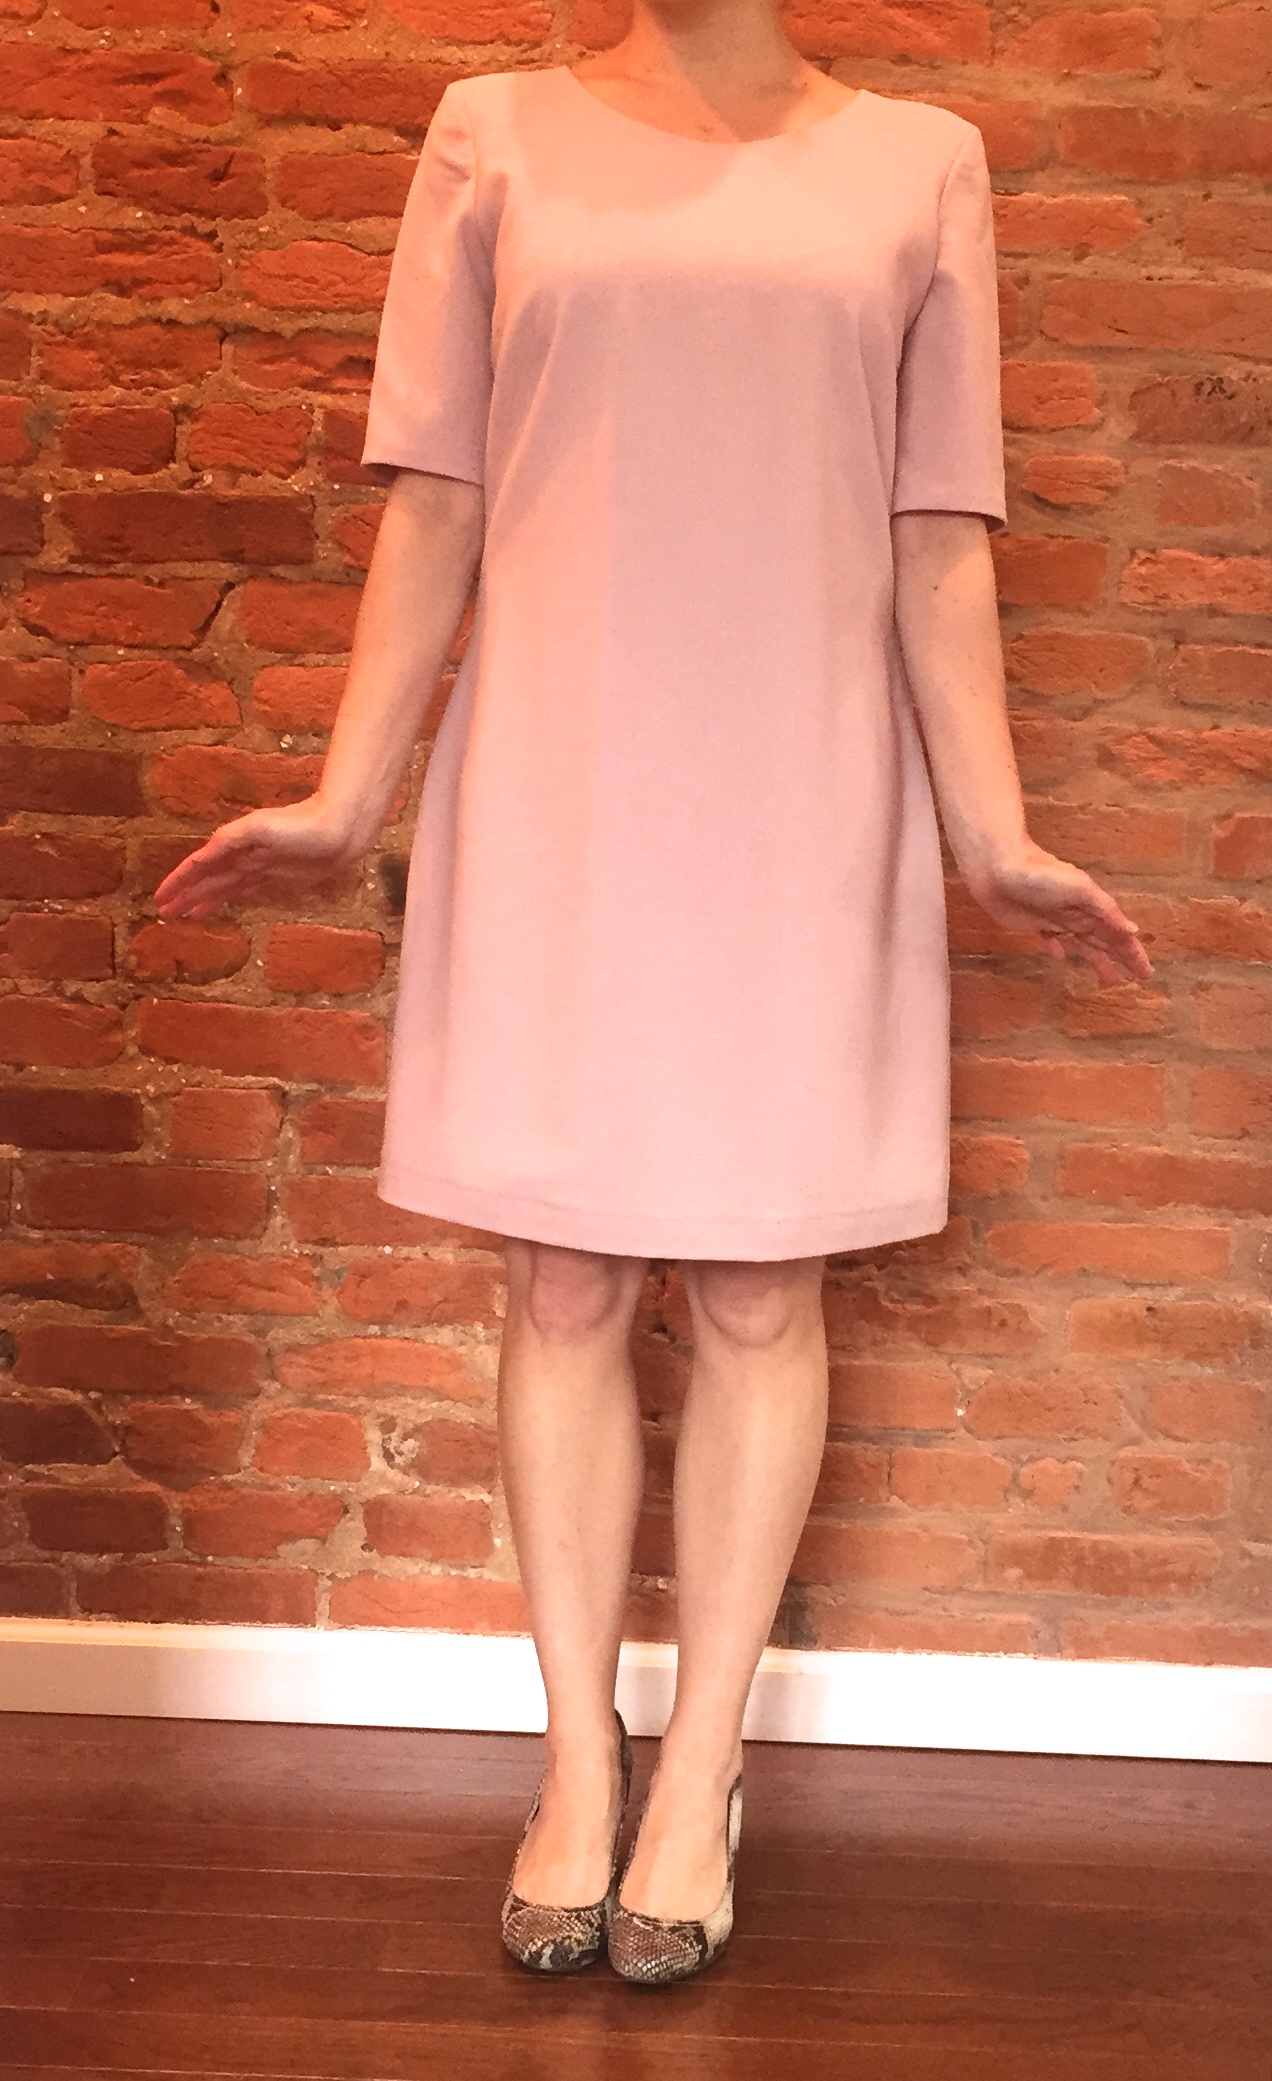
I ended up using quite fat seam allowances from the waist down on the pink dress and then trimming off the excess, reducing about four inches overall from the bottom of the flare. This wasn’t the right move, exactly. You can see both photos below, but particularly the left, that the base 3367 silhouette is still there, just trying to rid itself of those side seams. If I make another, I’ll slim it further, but it might be a while yet before I feel compelled to add another shift dress to the mix.

Construction notes:
First. Guess who figured out how to use the mock overlock stitch.

This kid. It wasn’t until the second dress that I got brave enough to try and also had a double needle handy. I like it! What do you think? Any arguments for/against this versus overlocker and/or serger? Will this all fall apart?
Second: Guess who figured out the blind hem?

I know, it’s embarrassing. But partly I never figured it out because it always bothered me. The hem’s not really ‘blind’, you know? I can see that little line of dots. I’ve always preferred either to just turn up the hem and visibly sew it down — let’s not lie to ourselves here — or to underline and then handstitch so that the hem is truly blind. But I didn’t like HOW visible it was on the navy dress, and sometimes you gotta say EFF it for productivity’s sake.
Which brings me to, the rogue sleeve underlining:
I really went off the reservation here with both dresses, I think.
So first, I did the all-in-one clean finish on a machine bodice and lining method that is best explained (that I’ve found) here. I’ll save you my own second-person rewrite.
BUT, my dress has sleeves. So I did this, though I’m not sure it’s entirely legal:
– Right sides together, I sewed the sleeve lining to the sleeve fashion fabric with 1/8th inch seam allowances. Then I flipped it right-side out and pressed.
-I then set in the sleeves as normal, but using just a 1/4′ seam allowance, and pressed the seam open.
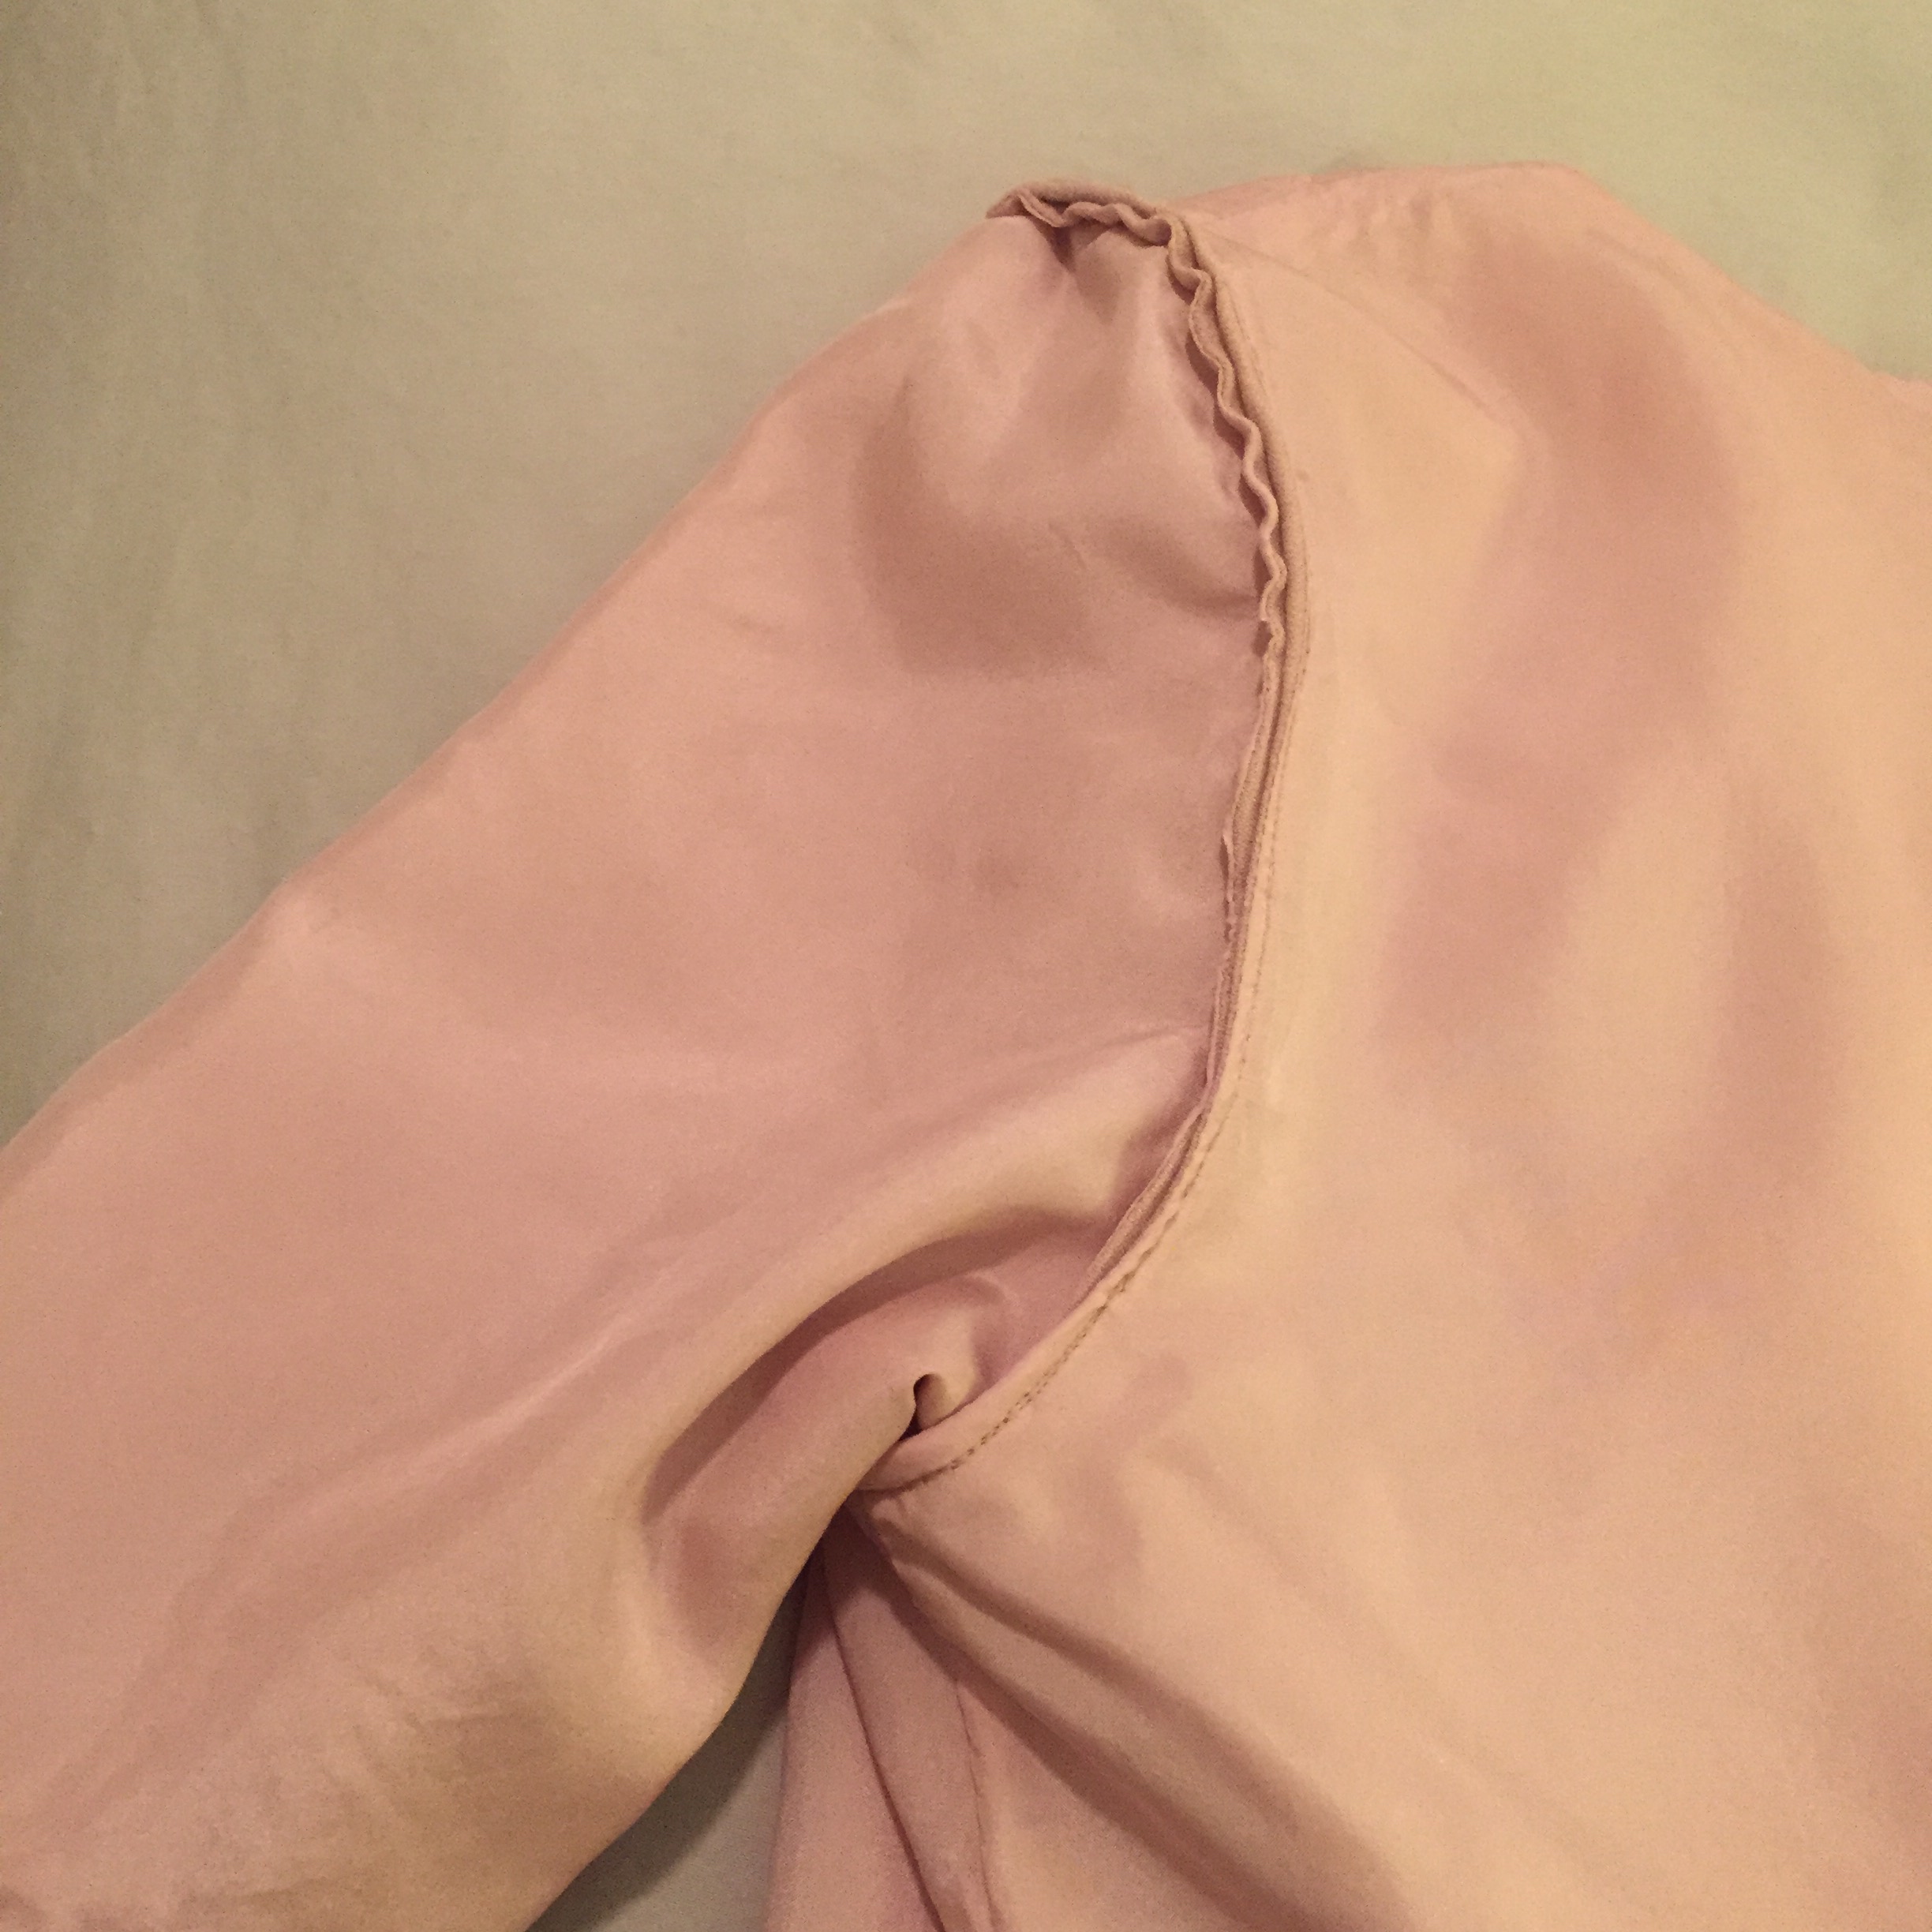 <– Sexy finished insides.
Yes, this means the shoulder seams are a little bulky, but the fabric’s thin and i tell myself it just adds a little structure to the shoulders without going so far as being a shoulder pad.
Also Zipper. This tutorial is invaluable. It will also work for a zipper like this that is visible. Yes, I cut a lot of corners here.
It’s not all roses and honeysuckle though. This marfy dress was really my first attempt at fitting a year and a half ago, and I defo did not get it right. I really need another full bust adjustment (SUPER obvious on the pink one, oh heyyyyy drag lines, etc.)


Can’t win em all all the time, though. Life is (hopefully) long and I’ll have another chance to make a shift dress.
Khalas, unless you have thoughts on mock overlocking as an adequate substitute for serging?

You’re so ambitious! Blind stitch hemming is awesome especially on pant legs! Really, who ever looks down at the stitches on your ankles?
Thanks, mom. 🙂
I feel exactly the same about blind hemming! It’s not invisble enough. That said, I am SO impressed you have used the mock overlock and blind hem stitches on your machine. I’m too nervous. I really need to have a bash at them though. I think your frocks are gorgeous.
The mock overlock in particular was easy. It’s a thread hog, but faster than doing a second pass with a zigzag. It would be bulky on a thin fabric, but on these wool crepe dresses worked just fine.
You look fabulous! Nice job!!
Thanks! And thanks for such a well-photographed zipper insertion tutorial.
You still look good in them. I’m sure the non-sewer doesn’t even know what drag lines are!
Thanks! It’s true, and it’s not like I don’t have drag lines on the ready to wear stuff in my closet…