I’ve been wearing a lot of skirts and dresses lately for two reasons:
1. DC is hot even at 8:30 in the morning, and I walk to work.
2. I don’t have many pants.
I can’t control number one, so I made an attempt at remedying number 2 using the Skinny Bitch Curvy Chick Manhattan trouser.
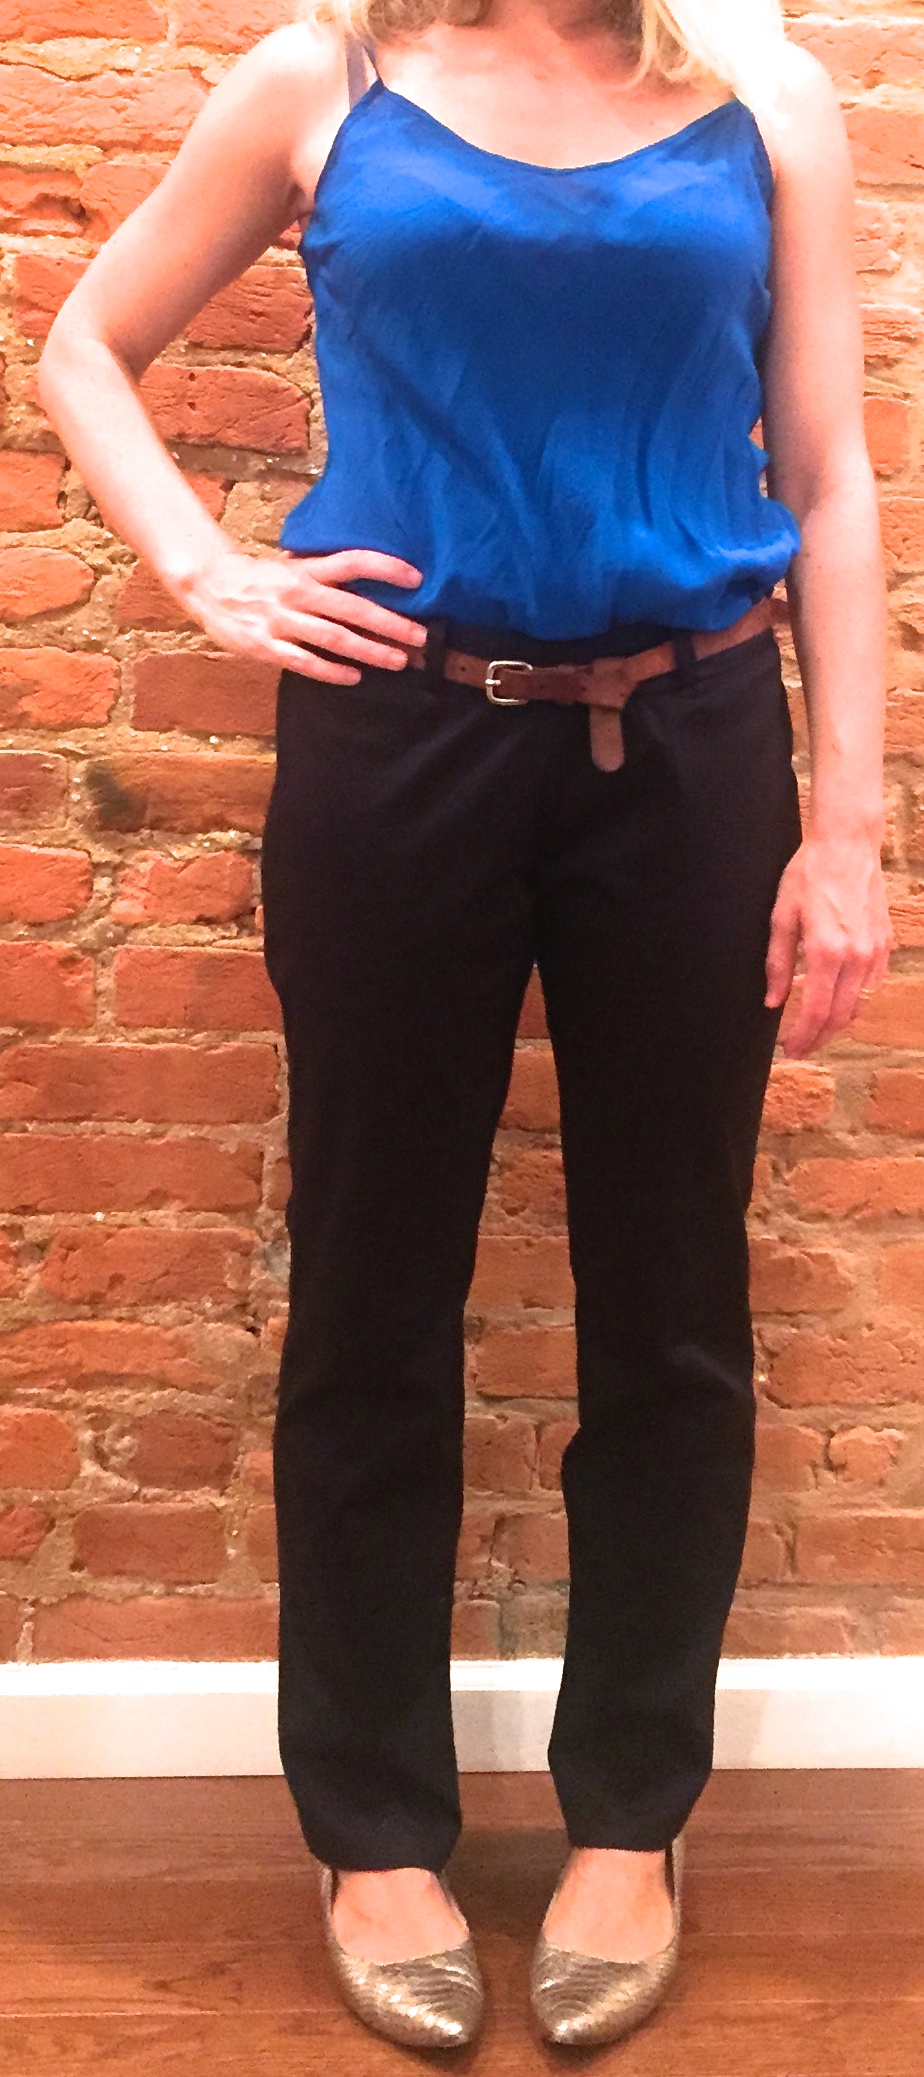
And they look like this.


So, the pattern:
– First, this company designs for petite people (I’m 5’3”). Having a pattern already made for a short-ish person really eliminated a few fitting headaches for me.
– The pattern comes on paper that is somewhere between tissue weight patterns and heavier paper that’s used in your computer or Style Arc patterns. There aren’t different colored lines for different sizes or different types of lines (like dashes versus dots), but she writes in the directions to highlight your size to keep from getting disoriented.
– There also separate pieces for the ‘with pocket’ and ‘without pocket’ options, which is amazing — I took out the pieces fully intending to line up the pocket with the pant and redrawing in order to eliminate the pocket so it was like being gifted an hour of extra time when I didn’t have to do that.
– The pattern did not come with a waistband pattern for a side zip, though. I really don’t like the look of flys and pockets junking up my front, never mind my fear of learning new skills. I wanted the clean look of the Colette Clovers, even if the thought of pulling out that pattern again made me cower in a corner.
The modification was pretty easy: The waist band that comes with the pattern is two pieces, which meet at the center back and fly front. Because of the fly, one is longer than the other. Redrawing for a front waist and back waist was basically a matter of identifying the side seam, center front, and center back markers, and then tracing and adding appropriate seam allowances. The top two are the originals, the bottom are my re-done pieces.

– I also ‘lowered’ the waist band 1” in the back and side seams, grading down to 2” in the center front. I really just cut the fabric off the top for this pair, and it’s okay. In the future, I think this will need to be more technically executed.
On fit:
I had a lot (a lot) of this cotton sateen from Fabric Mart a year ago. It was cheap, and I figured it would be better to make muslins out of the actual fabric.
So. I didn’t make a muslin. I did, however, make some initial changes for fit based on regular problems. Specifically, I have really narrow hips. I often have weird horizontal wrinkles right around my hip bone caused by the excess curve at the side seam.
I fit well enough in the size 8 for both the waist and hips, but while I want the circumference of a size 8 at the hips, I don’t want the hip curve. Here’s how I tried to account for that.
:: Traced size 8 at the waist, grading down to a six at the hips. There was about a 3/8” difference between the 6 and 8 at the hip line, for a total of 1.5” lost (3/8 front +3/8 back =6/8 per side lost, X2).
:: Did a full butt adjustment, adding 3/8” to either side of the dart, essentially adding the lost inches back to the back of the pattern.
This worked out pretty well!!
 <– Sorry, I tried to overexpose the photo so you could see the pants detail, but this navy was tough to photograph.
I also found these pants to be somewhat roomier than I need in the belly area. I don’t know if this is a crotch curve thing, a flat belly thing or what, but honestly, whatever issue is causing that is going to have to wait for another day.
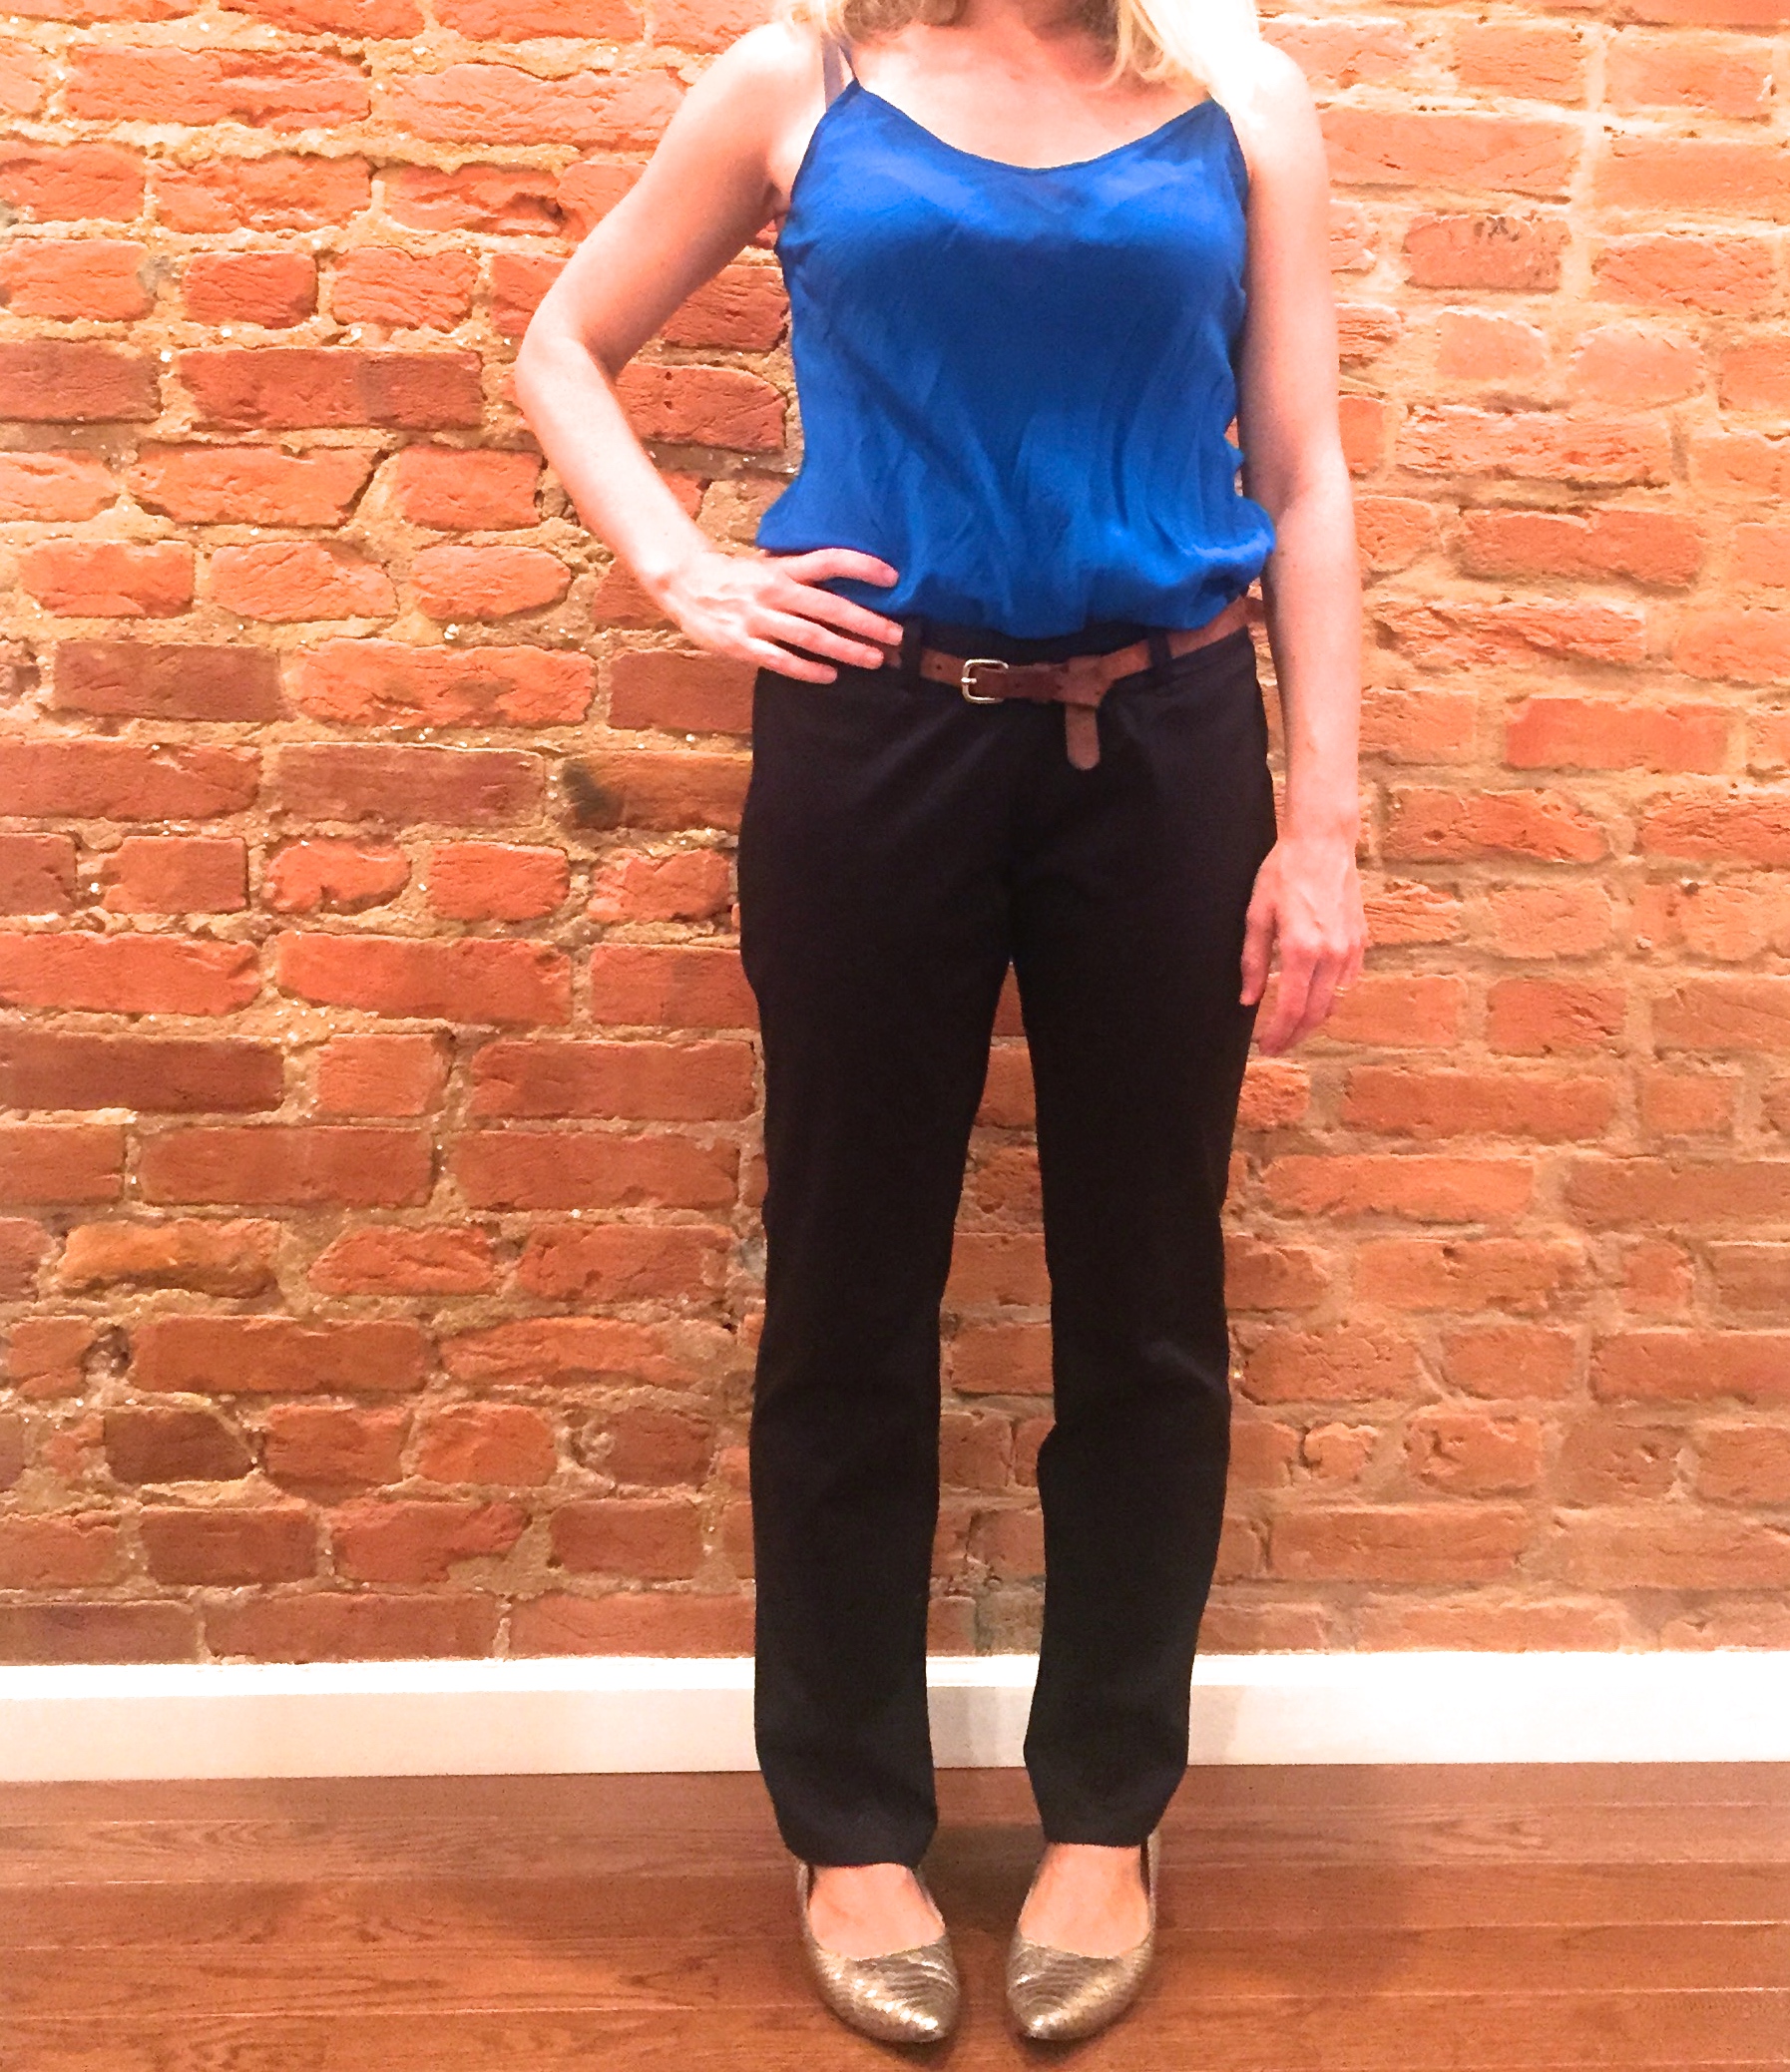 <— See them wrinkles?
To cope, I just pinched out 1/2” at the center front and resewed the seam, grading to nothing where the two front pieces begin to curve.
In the future, I might take a stab at a flat belly adjustment for the front pattern piece but who knows.
Construction notes:
– For seam finishings, I sewed two lines of stitching on each seam for reinforcing. I then used folded hug snug to finish the seams. Is it better than bias tape? I don’t know. I think it’s a bit faster if you pre-fold it, because you only need one row of stitches, but I could probably be convinced otherwise. Thoughts?

– To finish off the waist band on the inside, I attached silk bias tape leftover from a recent tank top project to the bottom edge of the waist band facing band. Then, then stitched in the ditch.
– I used strips of interfacing in the side seams where the zipper is to stabilize the fabric. I think this is a ‘best practices’ thing that I’ve been skipping, but will try to remember to do in the future. It helps.
These pants have a really sad story ending. There’s a reason this fabric is cheap. It has terrible recovery, and so I can only get one wear out of them before they have to go into the wash to regain their shape. Because the waistband fits and was cut on the cross grain, they stay put, but the legs get very very baggy.
SO! I consider this pants project pretty successful because I think I’m on a good track. But there are definitely some fitting issues to remedy, and better fabric to be acquired.

I’m so excited to read this post! I’m petite too, and I’ve always wondered about this pant pattern, but never seen it made up! My fear is that the rise is too low for my taste, so it’s helpful to hear that it’s actually higher than you made it – maybe I’d like it after all! They look great for a first attempt with a pants pattern – hope you’ve got some better fabric in your stash to try another pair! 🙂
Oh I’m glad!! It was a bit of a leap of faith for me as well, because there don’t seem to be many reviews of it. But I’m really happy with how things went. My plan for now is to dummy up another pair with the changes I think I need in this fabric, but not finalize them too much. I just bought some really lovely lightweight woolens with a bit of stretch, so will focus finishing efforts there.
You should try another pair. These pair look pretty good!
These look great! I keep chickening out of making trousers
Thanks!! Yea my first experience was terrible. But then I did an easy loose fitting pull on pair last year which helped me understand gongs a bit better, and I’m pretty pleased with these ones!
Thanks for the review. I like SBCC but I haven’t seen many reviews of this pattern. Good to know that you had to lower the waist, I like them low too!
Sure! Hope it was helpful. Just FYI, the ‘lowering’ I did was just slicing off the top, which worked since I changed to a side zip, but that wouldn’t work with the fly I don’t think. I’ll pinch out the distance on my next go round and let you know how it goes!