This was a bit of an uncharacteristic make for me, but man if I didn’t have a vision when I saw that ballet pink silk dupioni at Fabric Mart within days of this StyleArc skirt coming out.

Yes, this was another wedding make. God knows what I’ll sew for once all my friends get themselves married off.
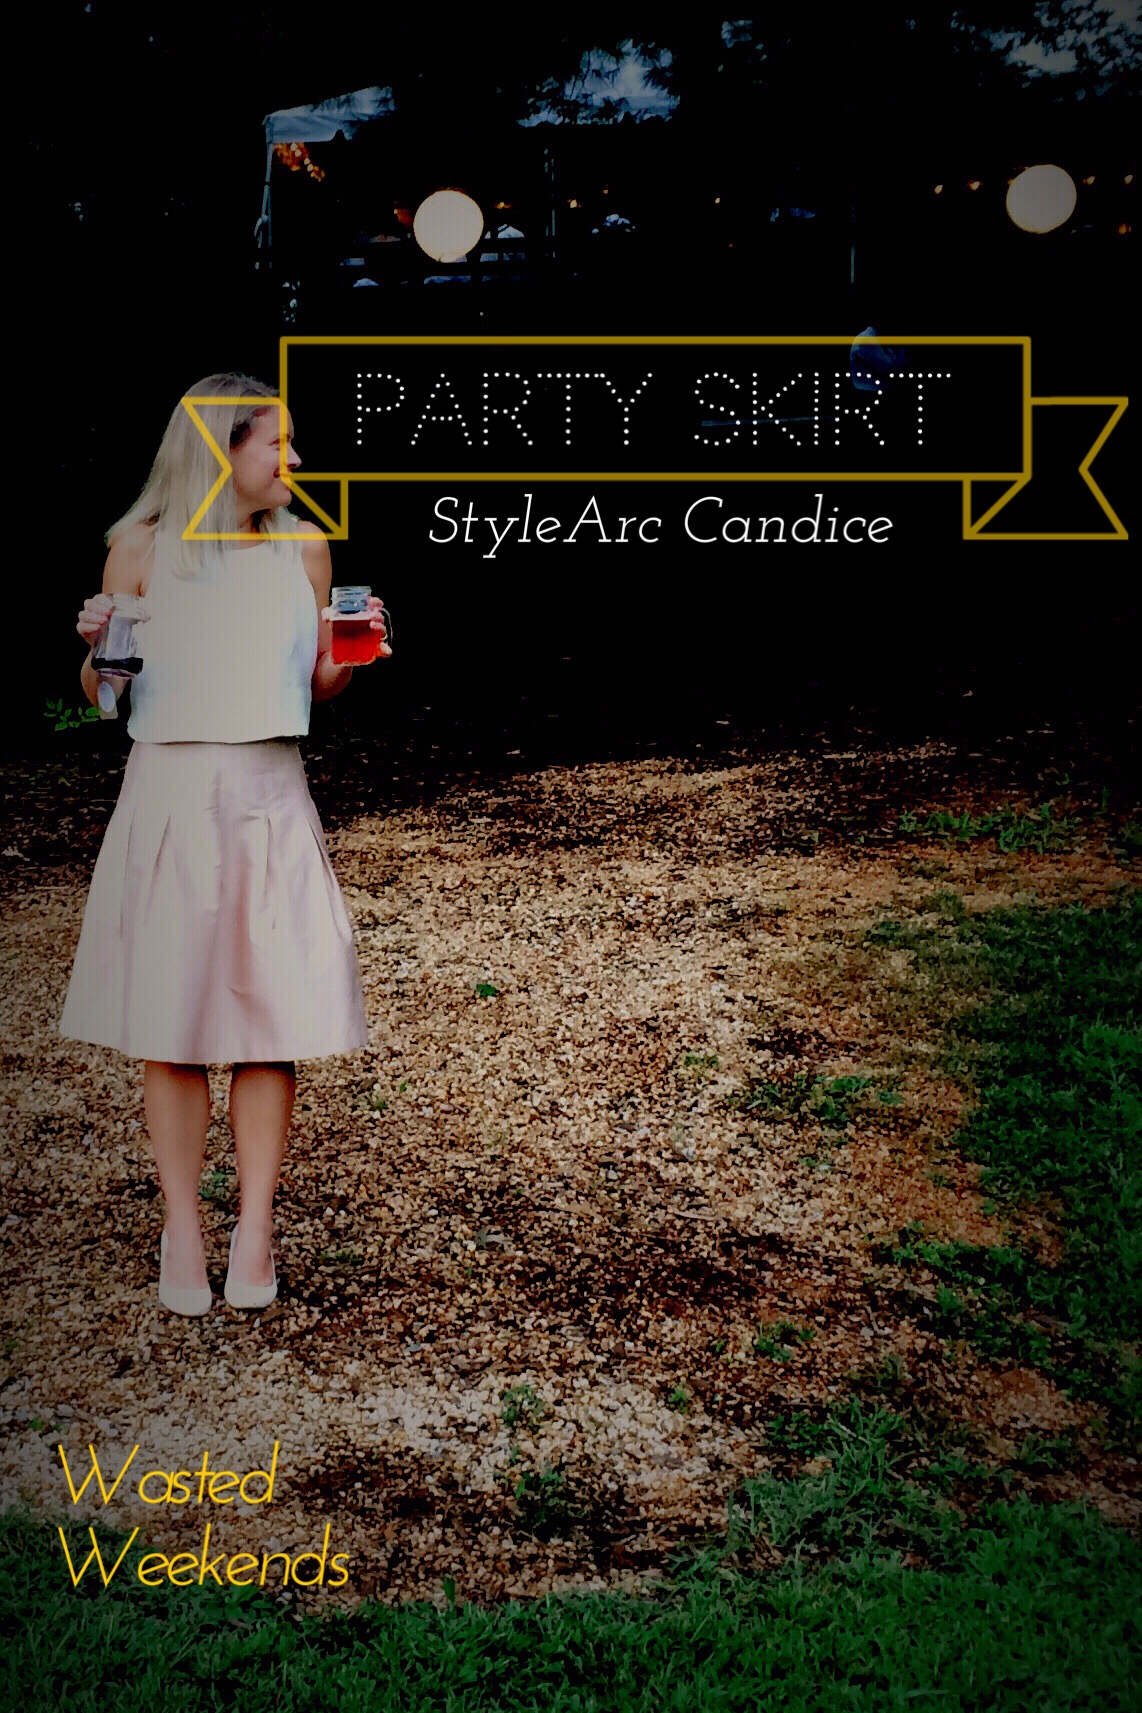
Anyway, the skirt! It looked like this and I loved wearing it.

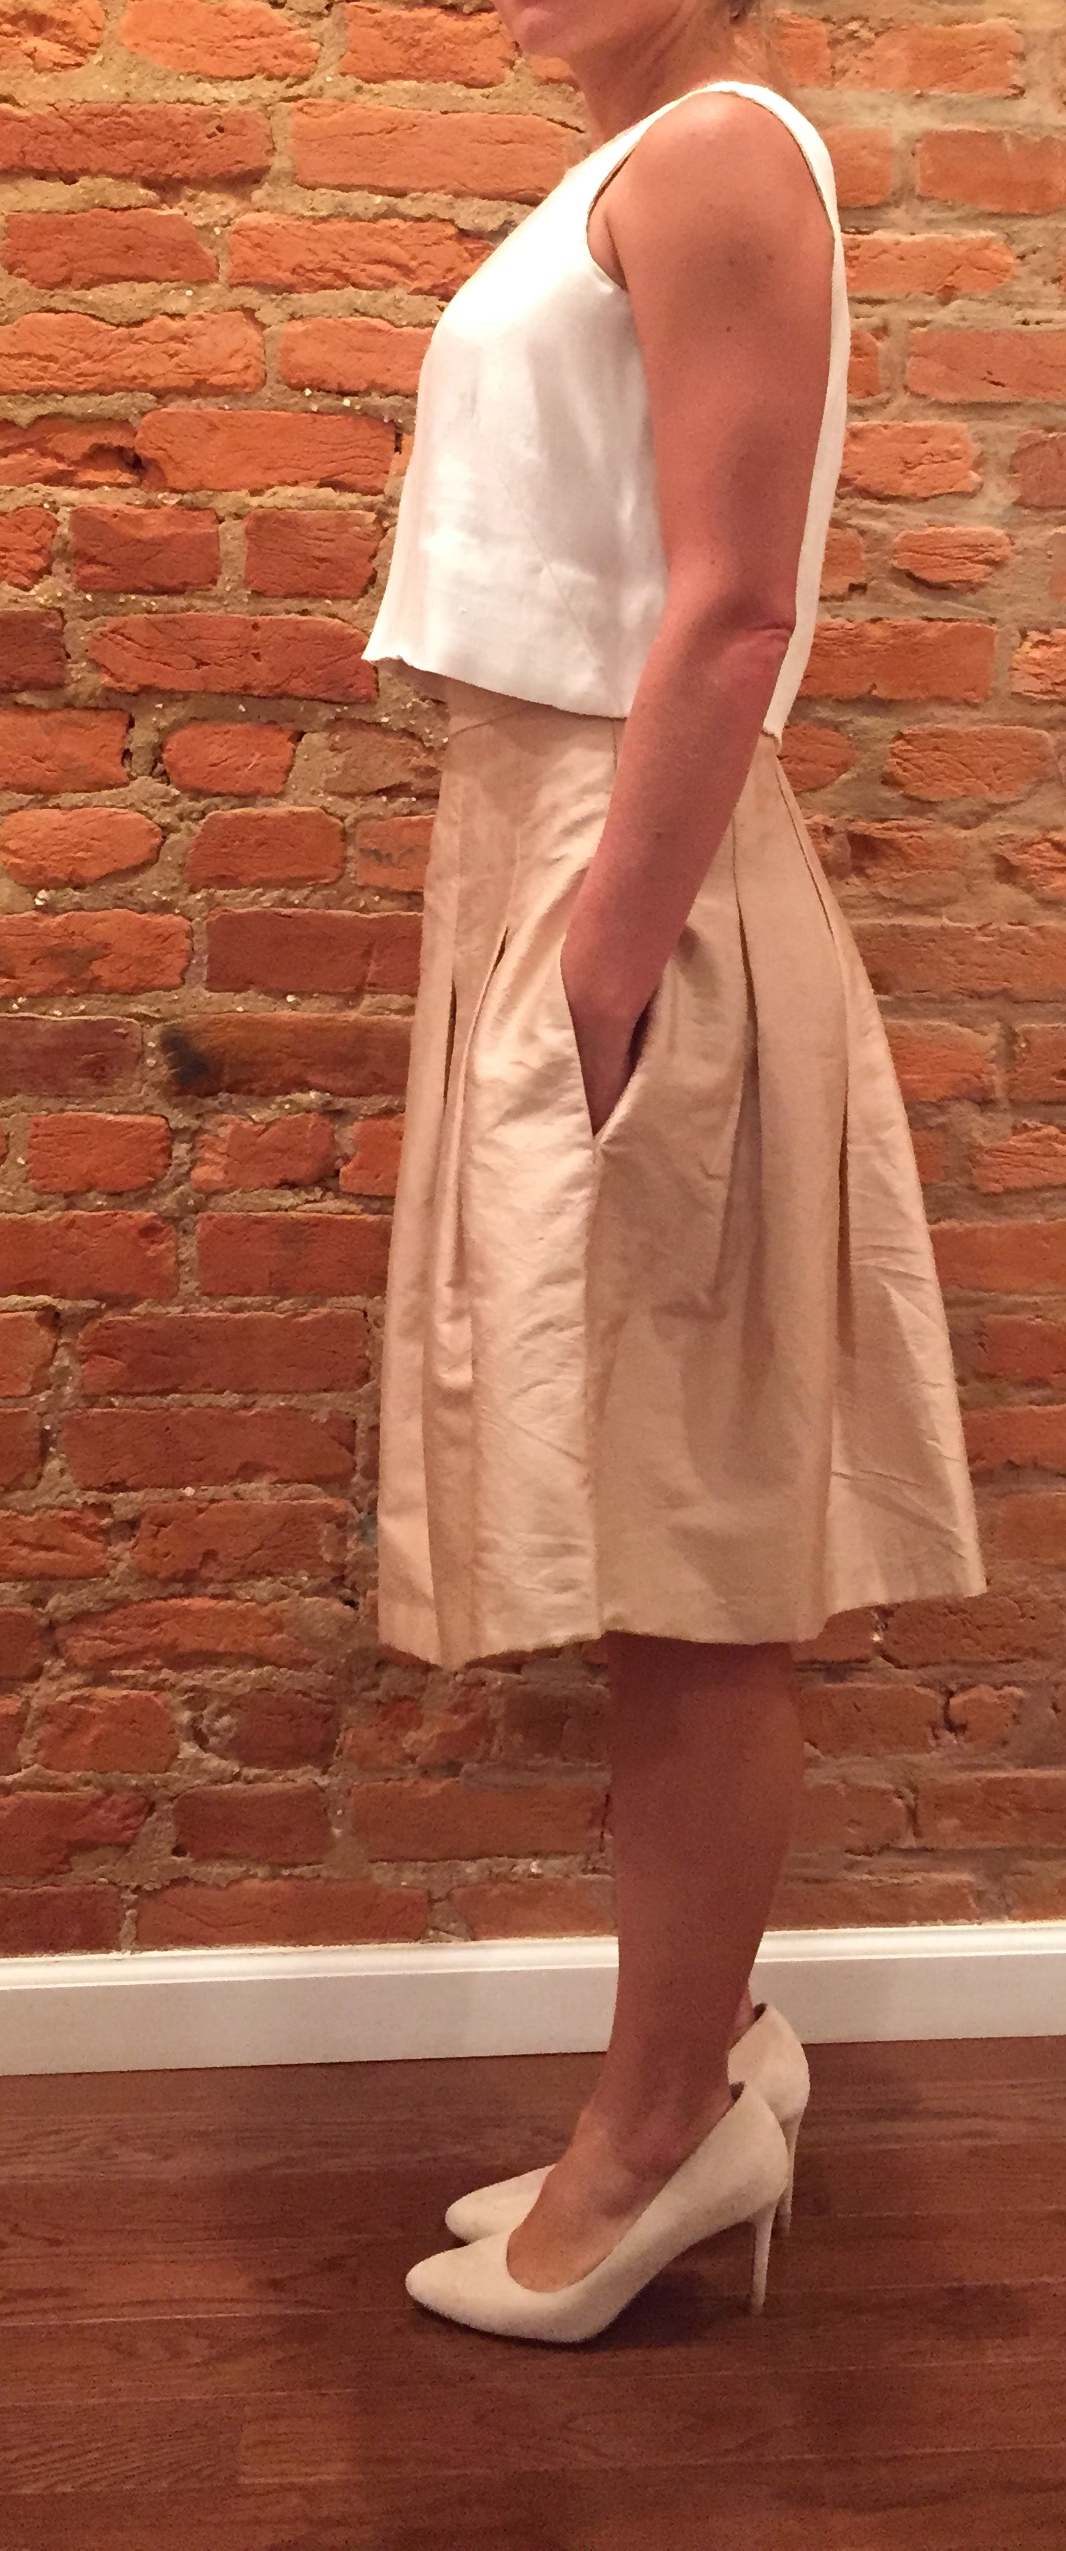

But I also really loved sewing it. Too often, my eyes get a little bigger than my sewing ability and I end up spending much more time than anticipated getting a garment to finished status. But this? This was easy: three rectangles, two of which are pleated for shape, one of which is your waistband. And so fancy when done!
First up, a couple of pattern notes:
:: I’m a bit unsophisticated in my comprehension of pattern drafting, so check out this discussion on how the rectangles end up being flattering.
:: For length reference, I’m 5’3″, and I followed the 1″ hem guide. I loved it for this fabric and shape, and with heels. But I’d probably shorten it in something with more drape.
:: The waist band uses negative ease to stay up, as pointed out here, by Clothing Engineer’s Anne. Thank god, or I never would have recognized that before making it. Negative ease might be fine if you take instruction well and use ponte knit like you’re told. But if you use thick woven silk, you’d better plan on not eating or drinking in that skirt.
I planned on doing both, so I added about 1.75 inches to the waist band with the intention of using a bit of elastic in the waist band to make sure it stayed tight as Anne suggested. To compensate for the added inches, I just reduced a few box pleats by 1/8″.
But best laid plans, etc. The only elastic I had was 2″, I didn’t take turn of cloth into account when widening the waist band pattern, and It didn’t fit. This means my waistband doesn’t cinch ever so slightly, forcing the fabric to lay flat against my stomach, but it seems to stay up well enough.
It looked like this in the end (note to self: figure out where the hell to place invisible zip so it lines up with hook and eye properly. note to inernet: suggestions welcome)

Not so bad of a showing, especially for something that won’t get worn enough to be terribly stretched out.
As far as construction:
:: I really wanted the skirt to be stiff and hold the pleats, so I underlined with silk organza. I cut an exact copy of the front and back pieces and then hand basted the organza to the dupioni. Check it.

::To keep things from shifting further (and give myself an extra stitching guide since I’m still new to my serger!), I machine basted 1/4″ from the fabric edge. I then serged all edges. Any errant slicing off of fabric edge from too quick serging is okay. That 1/4″ basting line acts as a further stitching guide — I just stitched 1/8″ away from it when doing assembly on my regular matching.
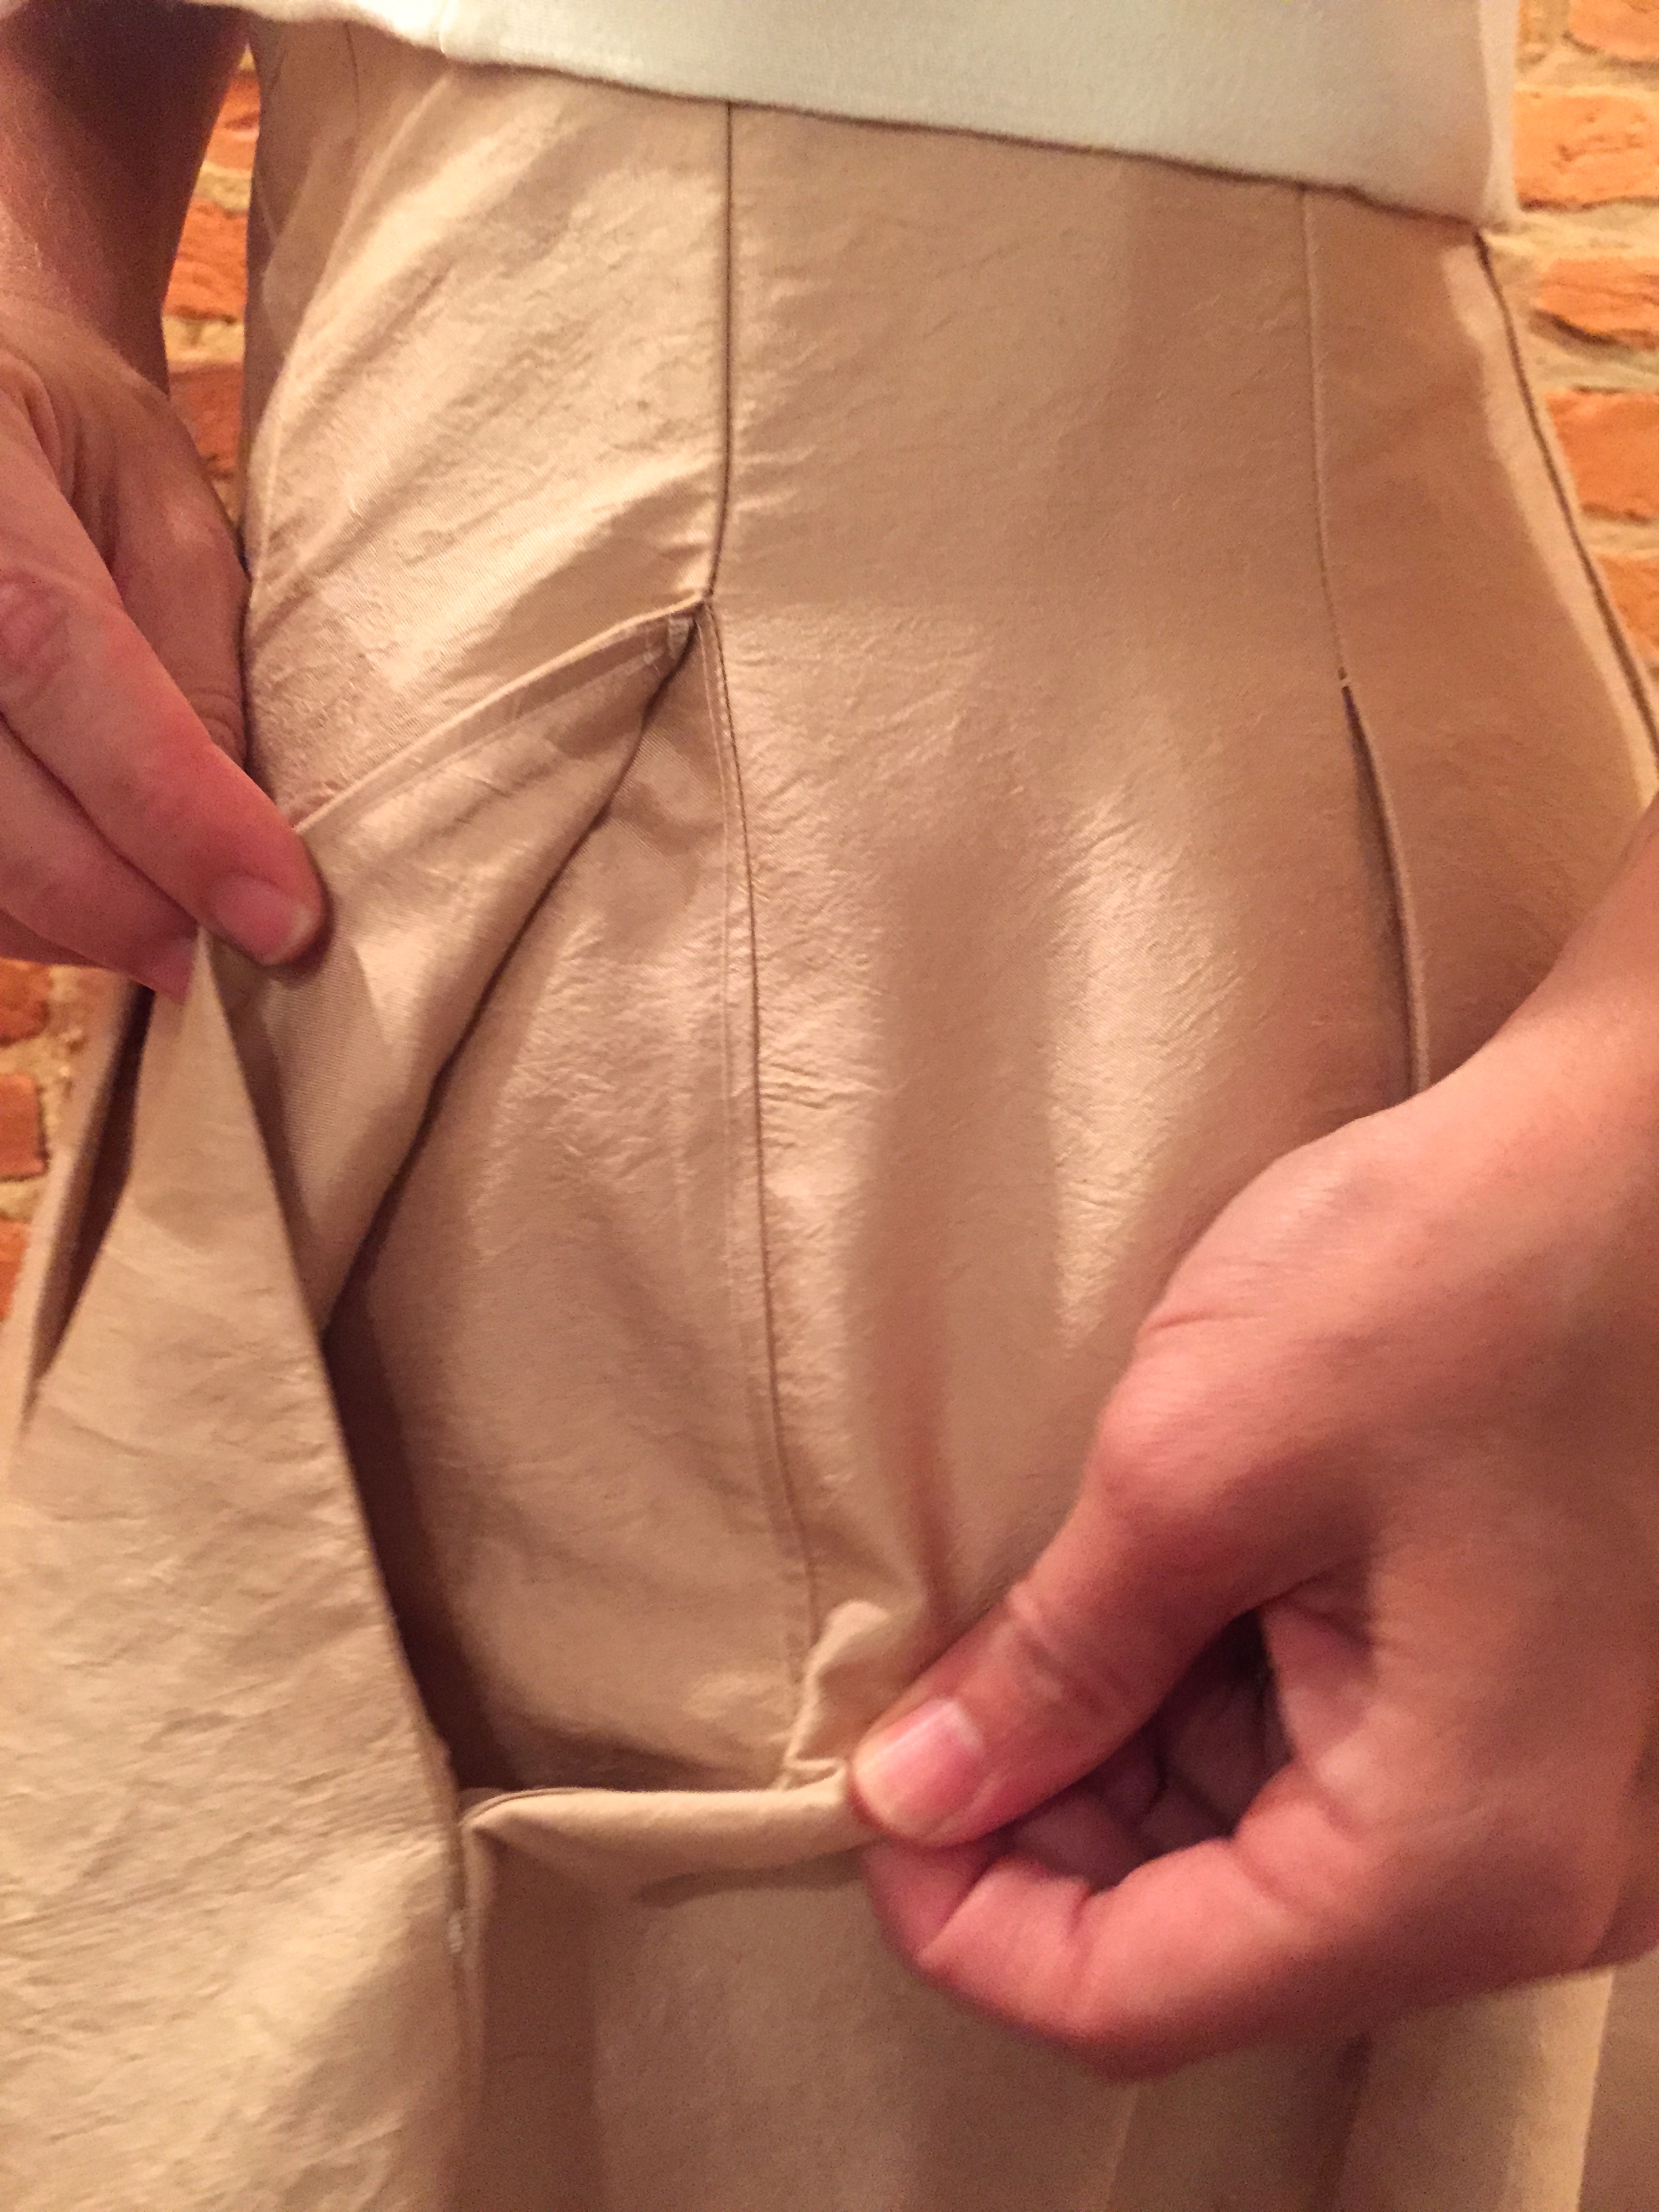
::I more or less followed the instructions from there. creating the inverse box pleats and attaching the pocket pieces. I did understitch the pocket pieces to discourage them from flipping out. Can you see?
Wondering about that top? (likely not, but I’m going to tell you)
This is a cream dupioni shell I made to practice couture sewing methods and test my self-drafted bodice for my wedding dress. It’s been a bit of a weird length — too short for the low waists I usually favor but nowhere near cropped.
To make it suitable for this outfit, I just hemmed it up 4″ and tacked in place with a catch stitch. Repeat photo to show ginormous hem:
And that’s it! Last wedding of the year done and dusted!

This is beautiful! The color is great on you and the pleats are really nice.
In terms of invisible zippers, I usually line them up with the plastic stop all the way to the top of the waistband fold and then stick the hook and eye on that and then you have no gap, is that makes sense? We can discuss at the next sewing happy hour if not! 😉
I also really like the top, too. It’s perfect with the high-waisted skirt!
Thanks dude! I was so happy with those pleats, and I don’t think of myself as a pleats kind of a girl. I think that zipper method makes sense, but I might run it by you one more time.
Oh what a beautiful skirt you ended up with! The underlining provides that structure to take it up a notch. And you are SO RIGHT about ease & negative ease & fabric choice. I learned the same lesson sewing a simple skirt from brocade which I had underlined. I needed to let out the seam allowances in order to fit properly.
Thanks for that! Yea, fortunately I was able to learn the lesson by reading about the issue first, or else this would not have worked.
Excellent wedding guest outfit. It’s just terribly classy. I love how the dupioni/organza combo makes such a full hem. Re: invisible zippers, I align the top of the zip with the top of the seam allowance of whatever I’m sewing it to. So in this case, I would just match it up with the top of the waistband seam allowance, then sew the inner waistband like normal. I think you could skip the hook and eye if the zip goes all the way to the top.
Thanks so much! I was really happy with the fabrics all around.
As to the zipper, consensus seems to be ‘line it up at the top.’ Which suits me just fine as I always seem to be scrounging around for a hook and eye. (This particular set I cut off of the pair of shorts I was wearing during pre wedding brewery visit and sewed on in the car on the way there…)
How funny… I have more hooks and eyes than I can possibly use in a lifetime. I’ve never bought any, just inherited them!
really simple and classy looking, hope you get more chances to wear it.