Once upon a time, the second bedroom in our apartment had one verrrrrry long dining table that served as desk, cutting table and sewing table. It’s footprint was roughly three-quarters of the room, making the space awkward and difficult to use — and difficult to clean up from messy projects.
It was terrible.
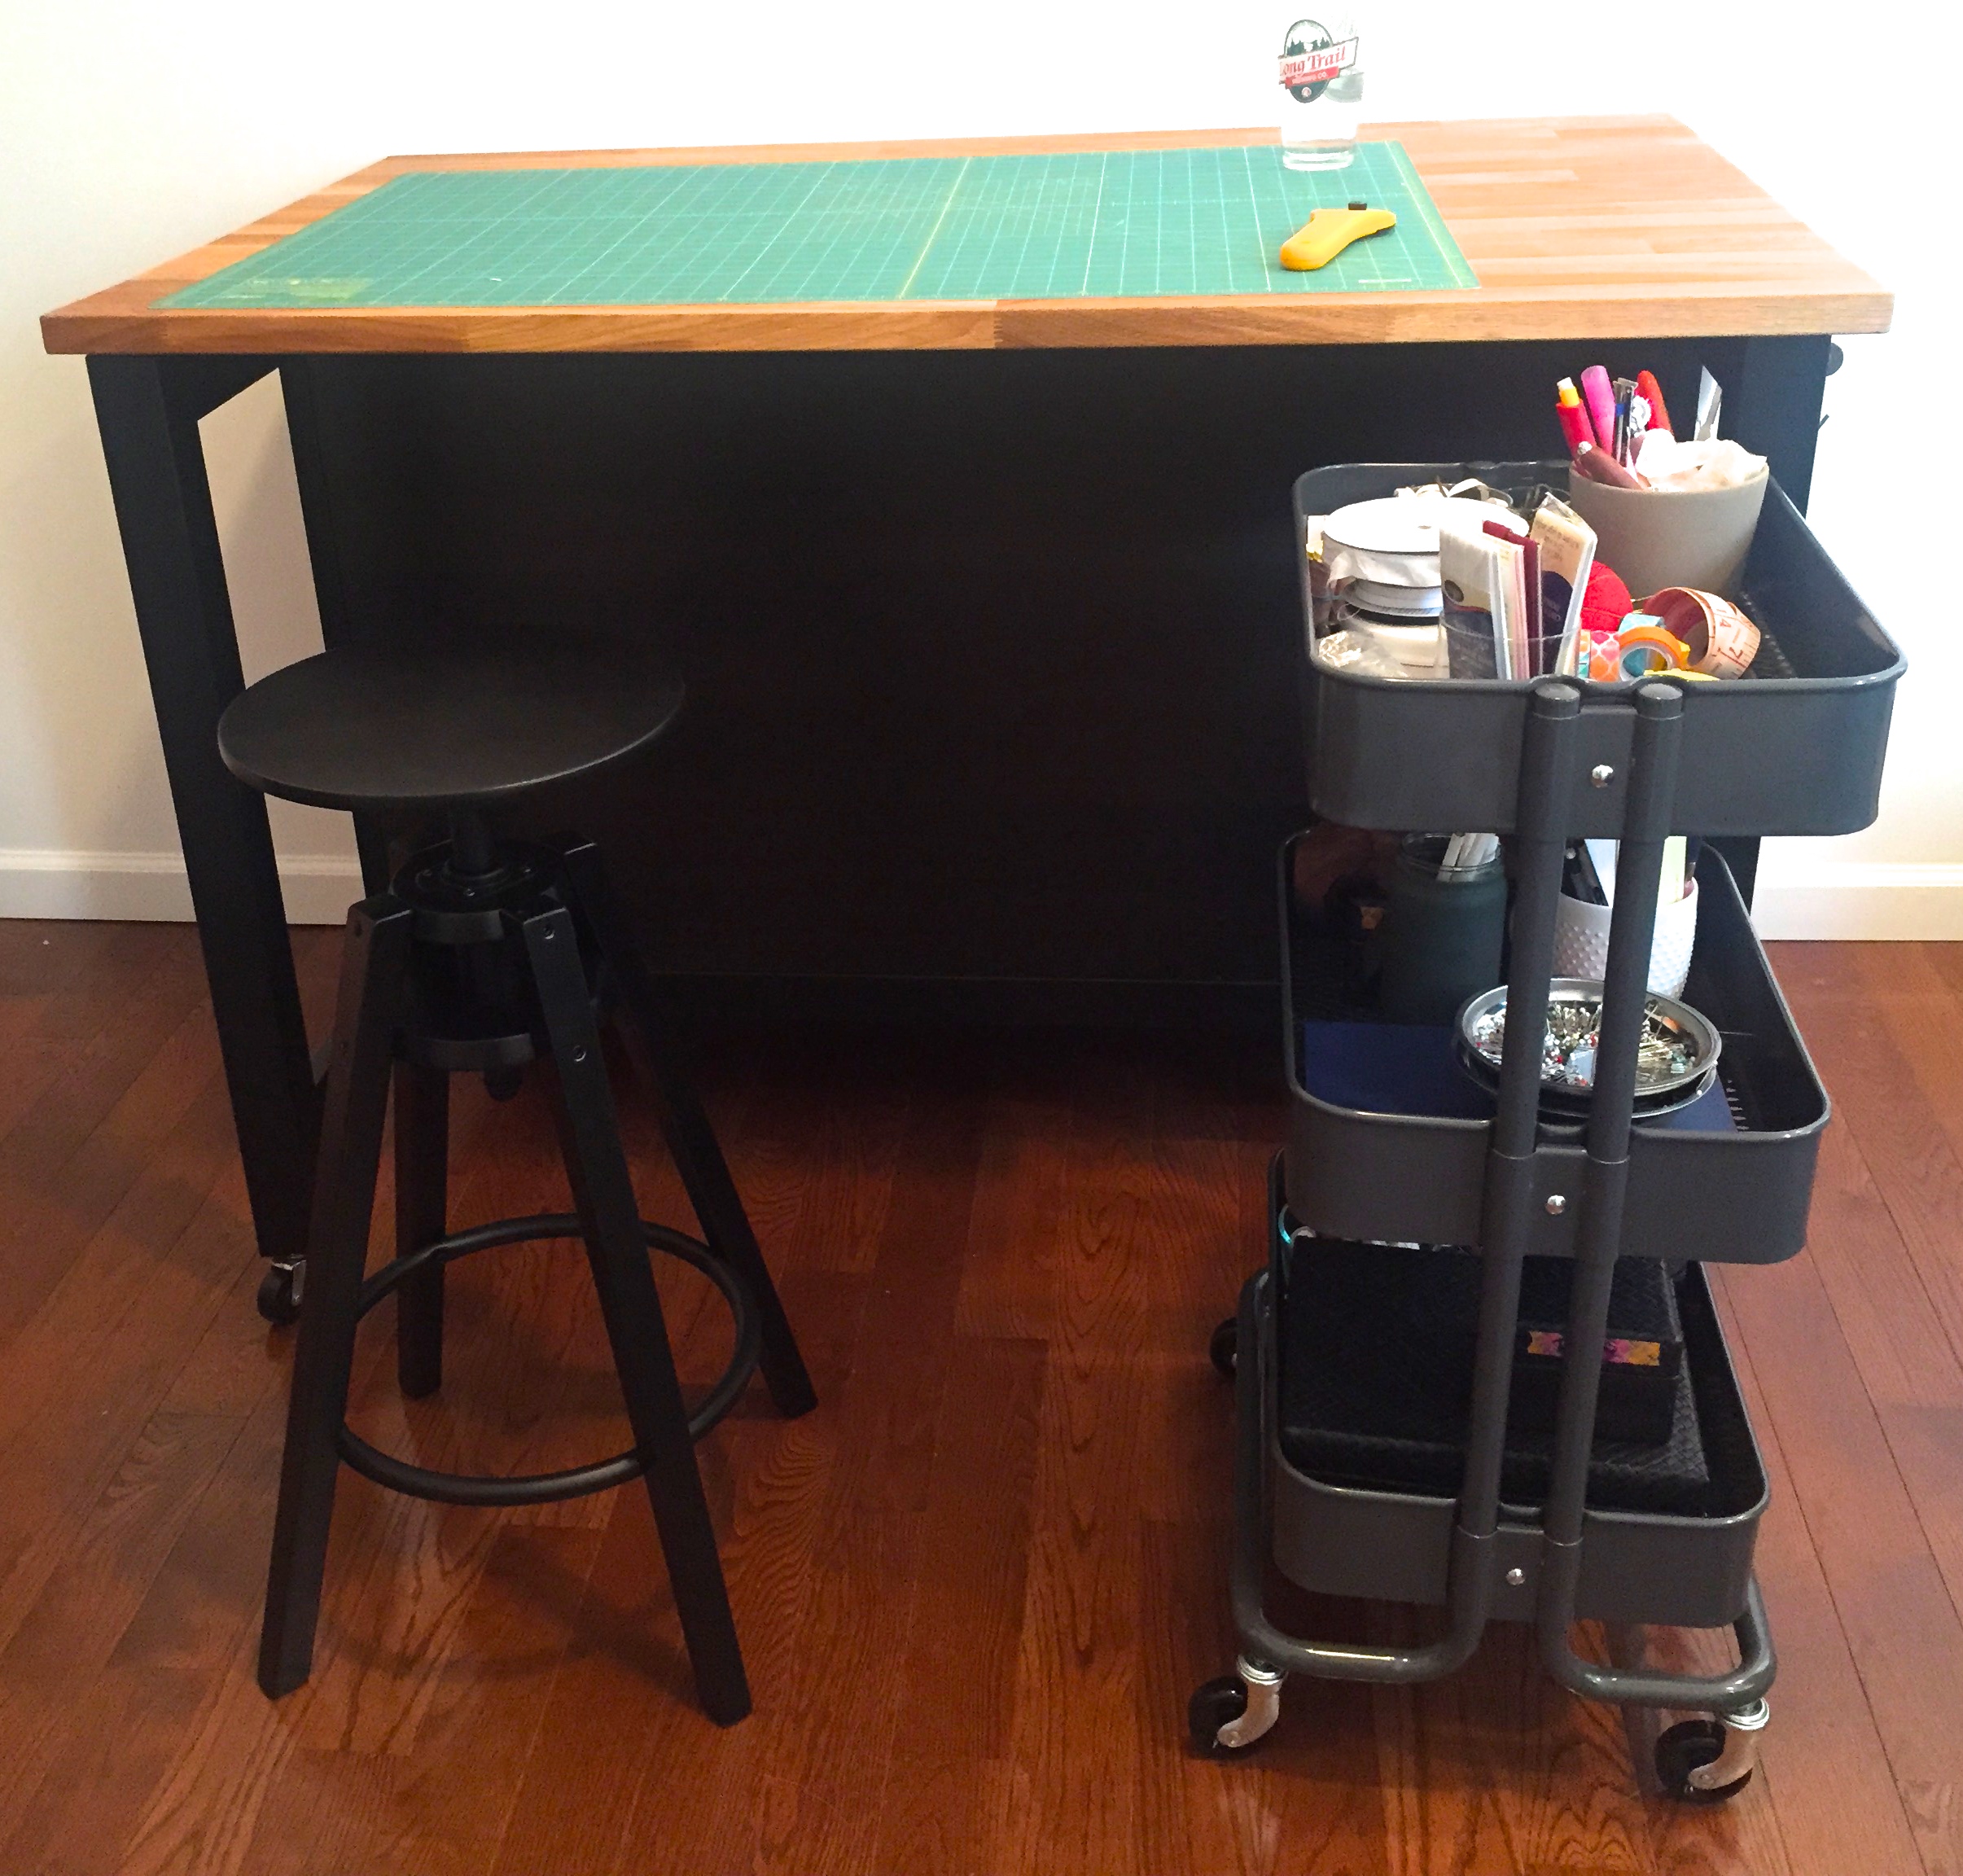
But now, the room is beautiful and functional and I have this lovely, mobile cutting table!

And it’s all because of this lady. Well, Tilly and the Buttons, and my own overconfidence.
This Ikea stenstorp kitchen island really is a great cutting table. It is counter height, and there is shelving in one half of the underside of the table (fabricstoragesayswhat). The other half is empty, which works perfectly for storing a barstool and/or this little storage caddy.
This 100% a copycat project, but I thought it might be useful to outline some of the construction process for anyone interested who is less foolhardy than I am.
Tilly’s post is very beautiful, but she must be very lucky. There’s a toss-off line where she says her guy helped her adjust the height and install the casters.
My guy’s philosophy on (most) any home improvement endeavor is roughly: I’m not going to try to stop you from doing it, but I don’t want to be a part of it. Which lead to:
I was leaning over that first, half sawed leg of what is actually a $400 Ikea purchase before I realized “I DON’T EVEN KNOW HOW TO USE A SAW AND HOLY SHIT IS THAT REALLY A CASTER ANYWAY”.
So, for the hardware store-shy, what follows is my process. I and the mobile cutting table are both here today to attest to the fact that it worked.
Ikea hacks. You can too.
Acquisition and Planning
1. Buy this stenstorp. You can not do this part on your own, you need an adult helper unless you are getting delivery. One box is very big and heavy and you can’t load it into or out of your car by yourself. (Another kitchen island would probably work, but I’d check to make sure that the legs are made of solid wood).
2. Watch this video.
3. Again.
4. Procure the following tools: hand saw; power drill; 1/8” drill bit; 3/8” bit. Also find a suitable place to carry out the sawing, such as a small table you don’t care about or a concrete ledge.
5. Buy casters! Here’s a primer . This was seriously the toughest part. There are so many kinds! I used threaded stem casters (they look like screws on the top). Not grip neck casters, which require a separate socket thing-y. Not the gold ball castors that look like the go on an old man’s office chair. The threaded stem caster. Also, be very mindful of the load the casters can bear. I used ones that could take 50 lbs each to be safe. You will also need t-nuts.
[Side question you may have: Do you need casters with brakes? That’s up to you! My hardware store didn’t have the perfect mix of necessary load+brake caster. So mine do not have brakes, and it is fine. The table is pretty heavy, so I haven’t had any problems with it scooting around, and I’m pretty aggressive with that rotary cutter.]
6. Measure your casters from the bottom of the wheel to the octagon-shaped raceway (minute 2:45 of Jerry and Jared’s video) to have a sense of how many inches the caster will add to the height of the table.
7. Decide how tall you want the table. Ikea lists the kitchen island as 35 and 3/8″ high. The casters will add about three inches. If you’re tall, awesome, eff sawing! Just add the extra inches. But if you are short, decide on a comfortable height for you. You’re sawing off some of the leg so it doesn’t get too tall. I removed 3″ from my legs.
Construction: NOW FOR THE SCARY PART
1. Remove the leg frames from your Ikea boxes.
2. Take them over to your short table/concrete wall. Measure and mark your cut line on EACH SIDE of each leg. I used tailors chalk which was great.
3. Begin sawing, keeping a watchful eye on the lines you marked in order to try to get a level cut. Look, I don’t really have much advice here. Lay the frame on your small table, with the bottom of the legs hanging off, and just start, holding the portion of the frame that is resting on your ledge/small table firmly. You can try ‘how to use a saw’ on youtube, but honestly that led me down a bizarre enough rabbit hole that I don’t feel I should guide you there.

4. Now, remeasure your legs. If you’re like me, you miiiiight not have sawed perfectly and there miiiiight be a difference in the length of the legs. PANIC ENSUES. Go get a beer it will be fine.
5. Go back to minute 1:28 of Jared and Jerry’s video. The trick I used was to drill the caster stem holes at varying lengths to accommodate my shitty sawing tactics. Use math. Mark different distances on your drill bit. It’ll be great.
You can see on my finished leg here that my sawing wasn’t exactly even, but the table does not feel slanted and everything worked just fine.

Now just do everything else Jerry and Jarod tell you to do.
6. And FINALLY. Assemble the Ikea furniture. Help is nice for this part, but I was able to do it myself and I’m only a medium-strong 5’3″ woman.
7. I also hung a bar and hooks on one side of the table to hang up all my tools. It’s awesome.

Made it this far? You better have a damn cutting table to show me.

I’ll have to remember this one! Love it!
Thanks!! It’s so helpful to have but it was a little hairy about midway through construction.
that is fantastic. so useful and I find power tools very fun to use. I made one also but covered it will a wool blanket and ironing board cloth so it is a giant pressing/worktable. did you check out that website, Ikea hackers (or some such name) I looked at for about 2 months and got all sorts of ideas for other stuff – none of which I have done but it is fun to see how creative people are.
Thanks! I did look there but the only hack for this island involved quite a bit more plywood than I have the patience for. Giant pressing table sounds amazing!