So I recently had an answer to the question ‘what will I sew for once my friends are done getting married?’, and that answer is: work-related black tie events.
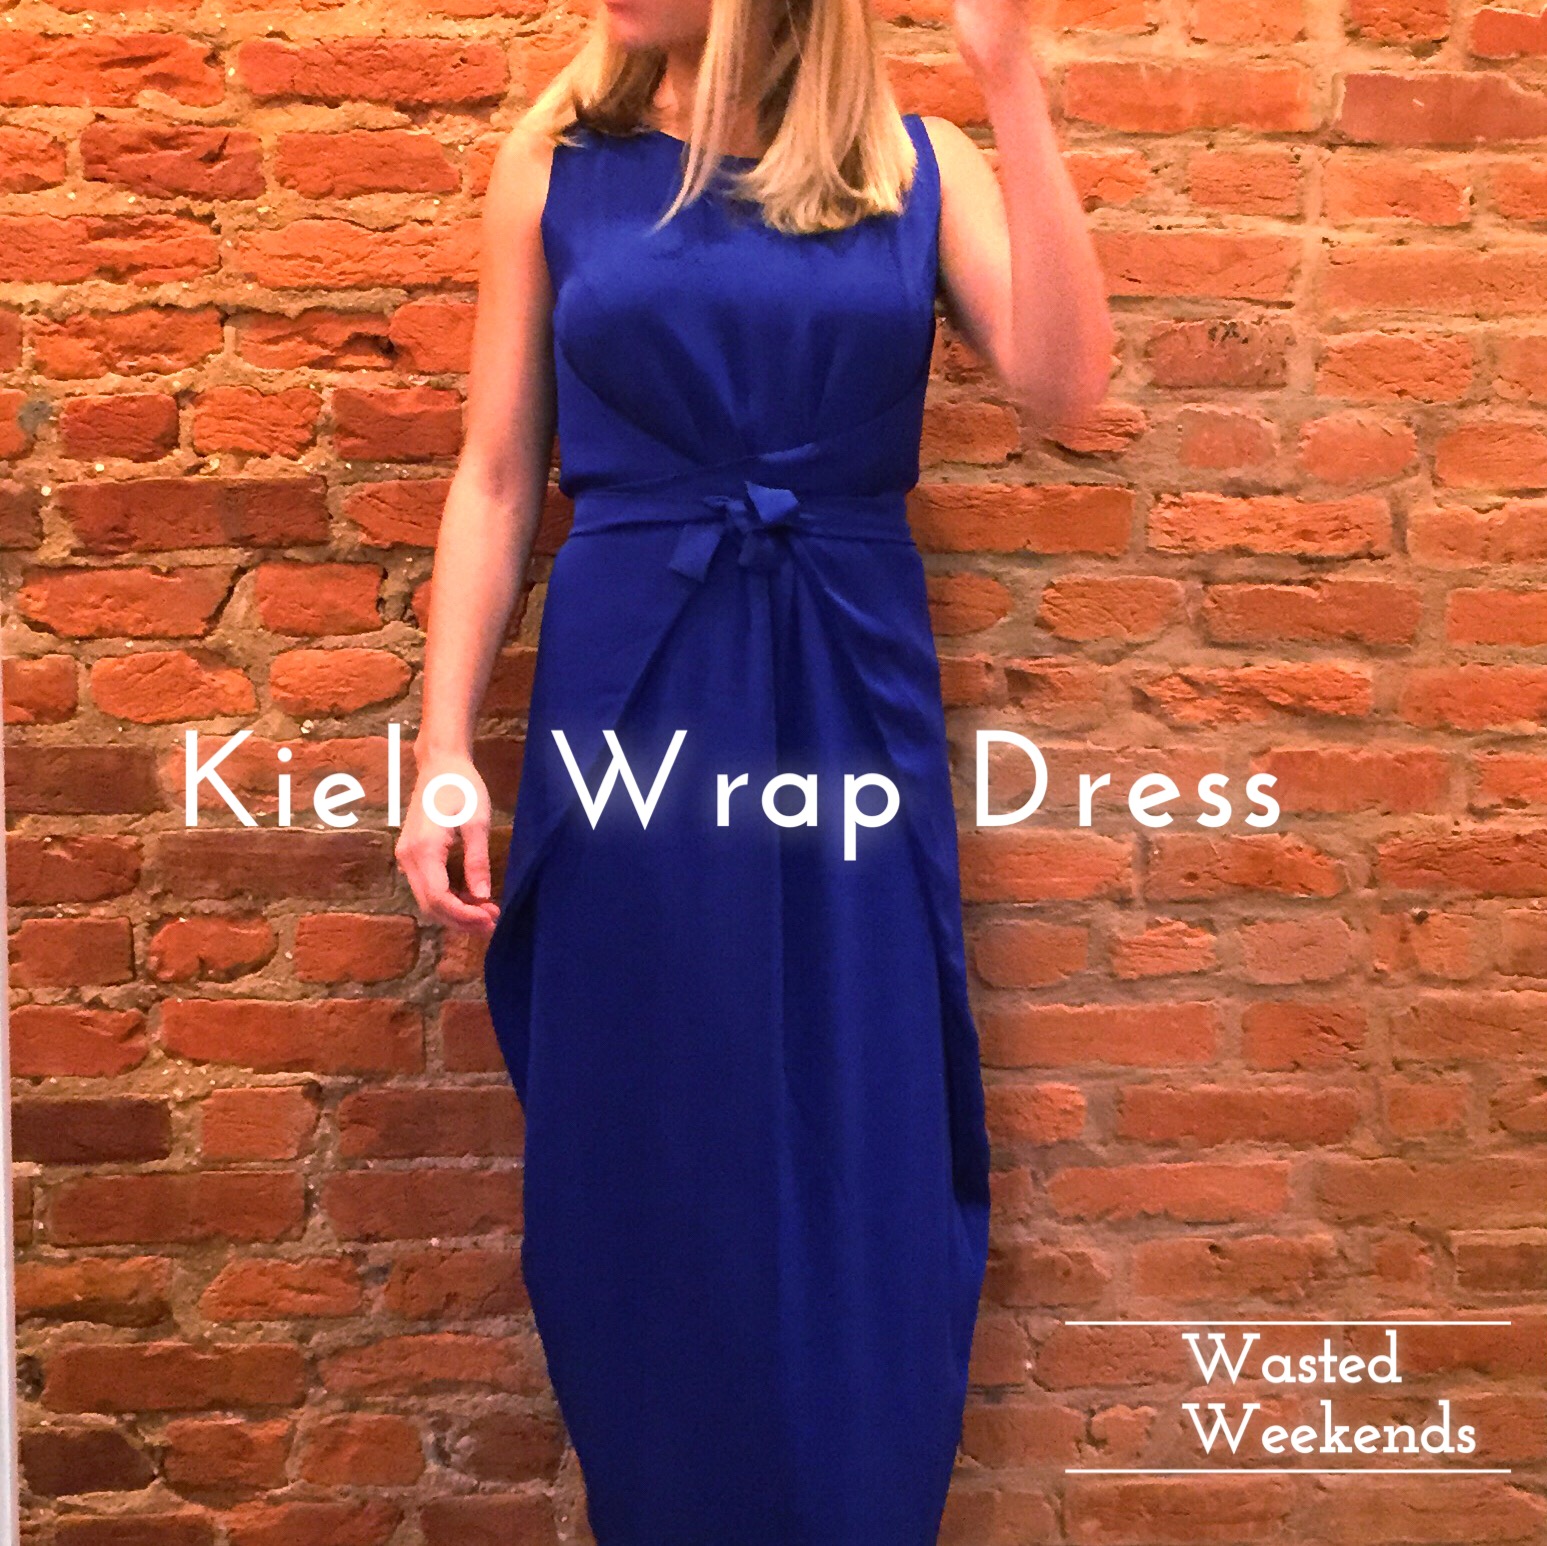
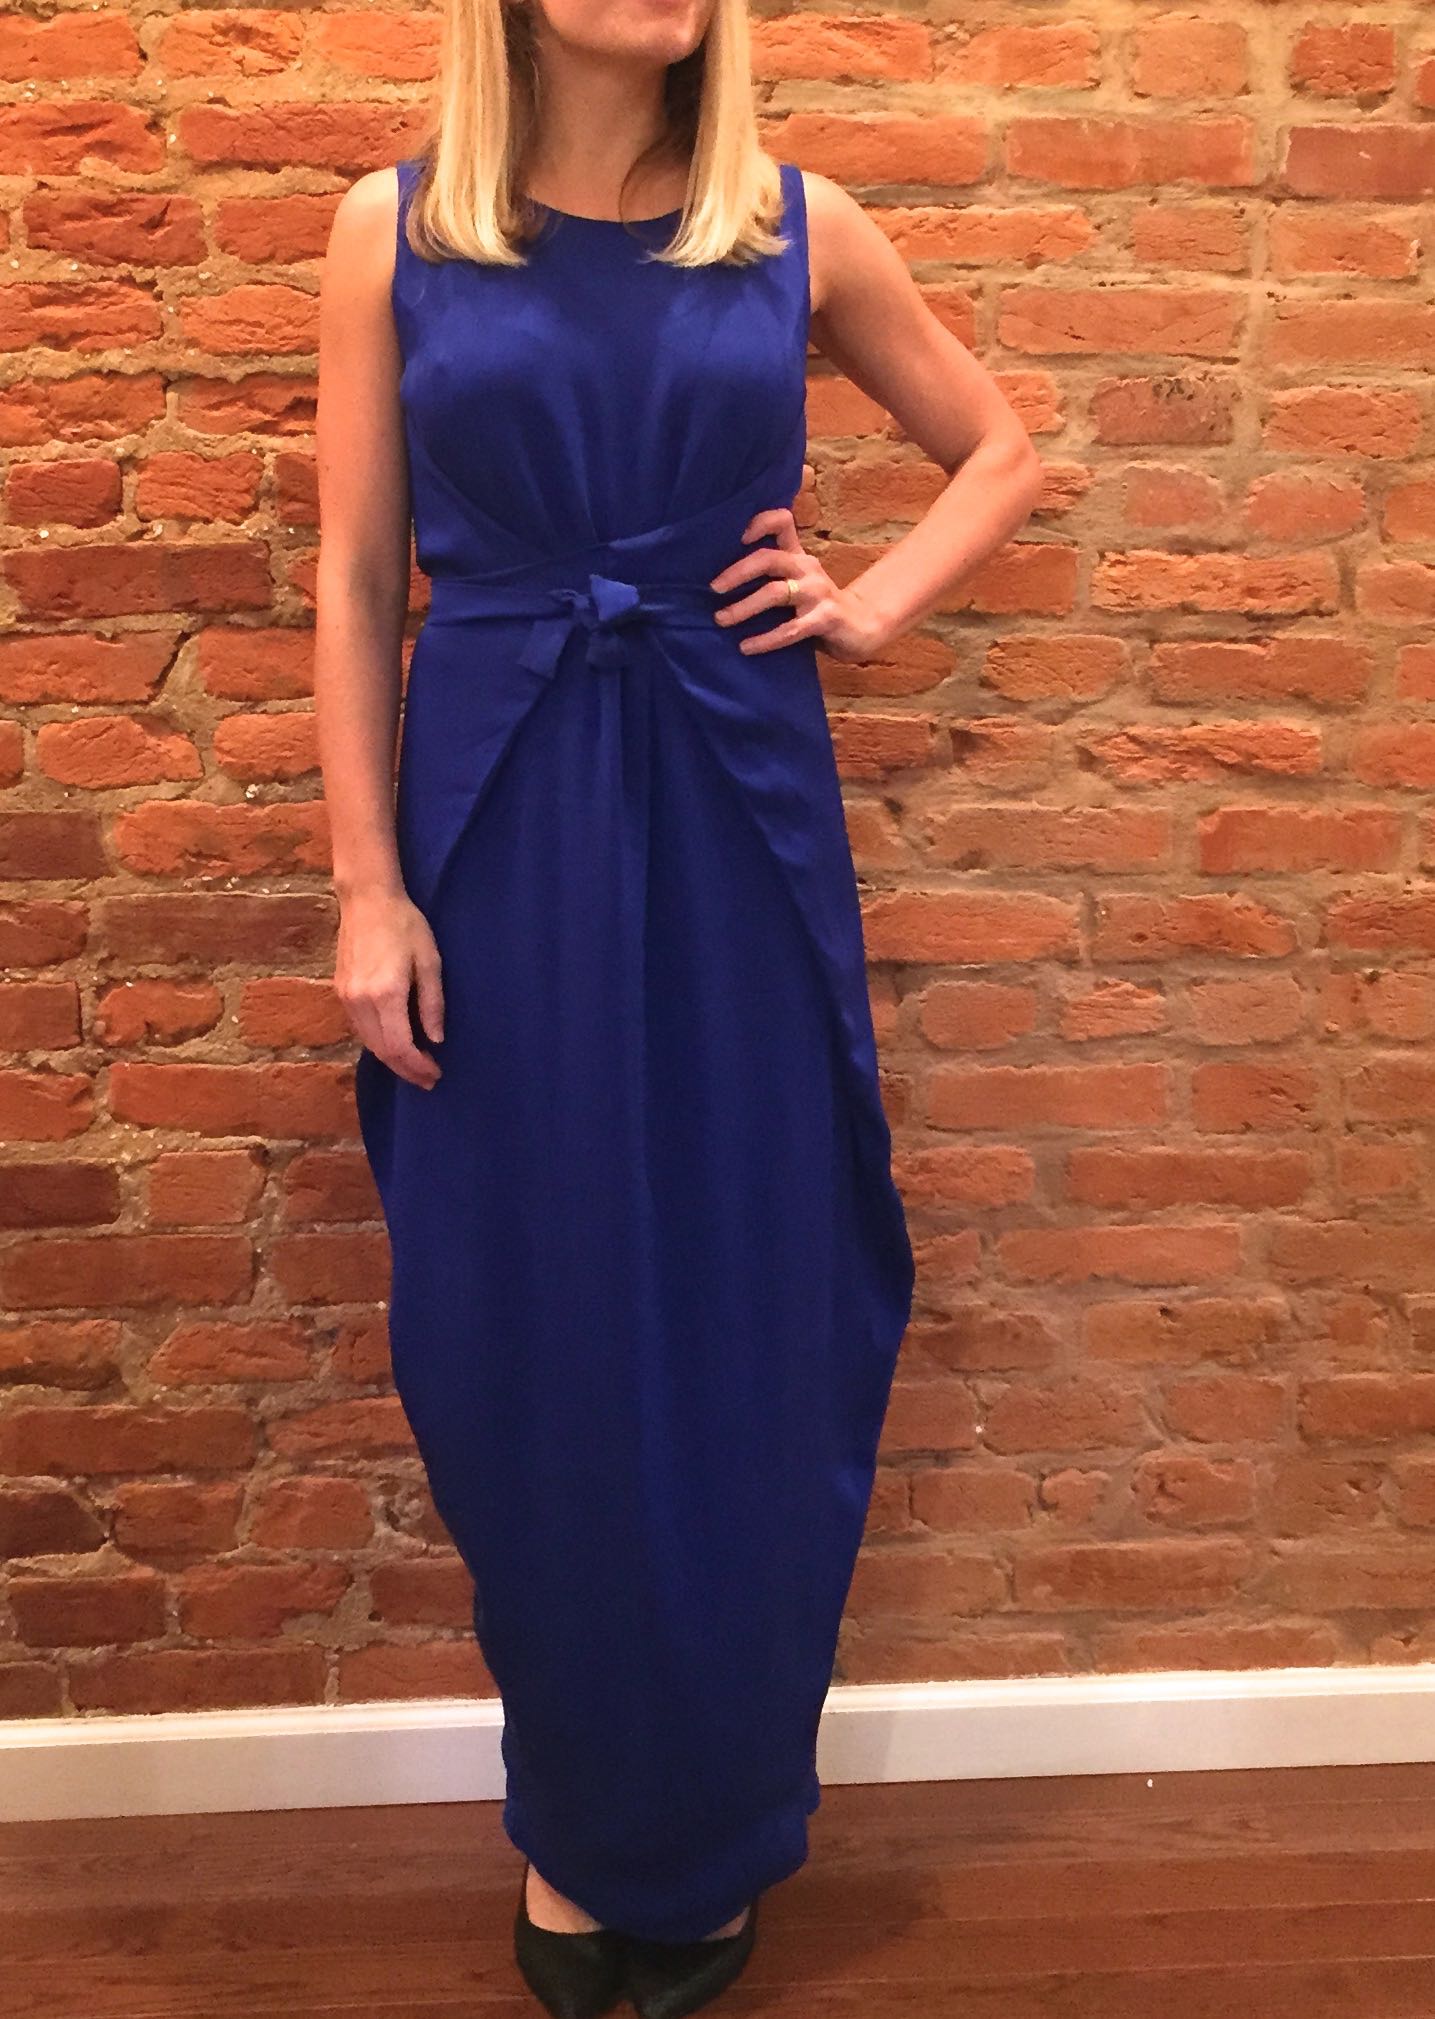
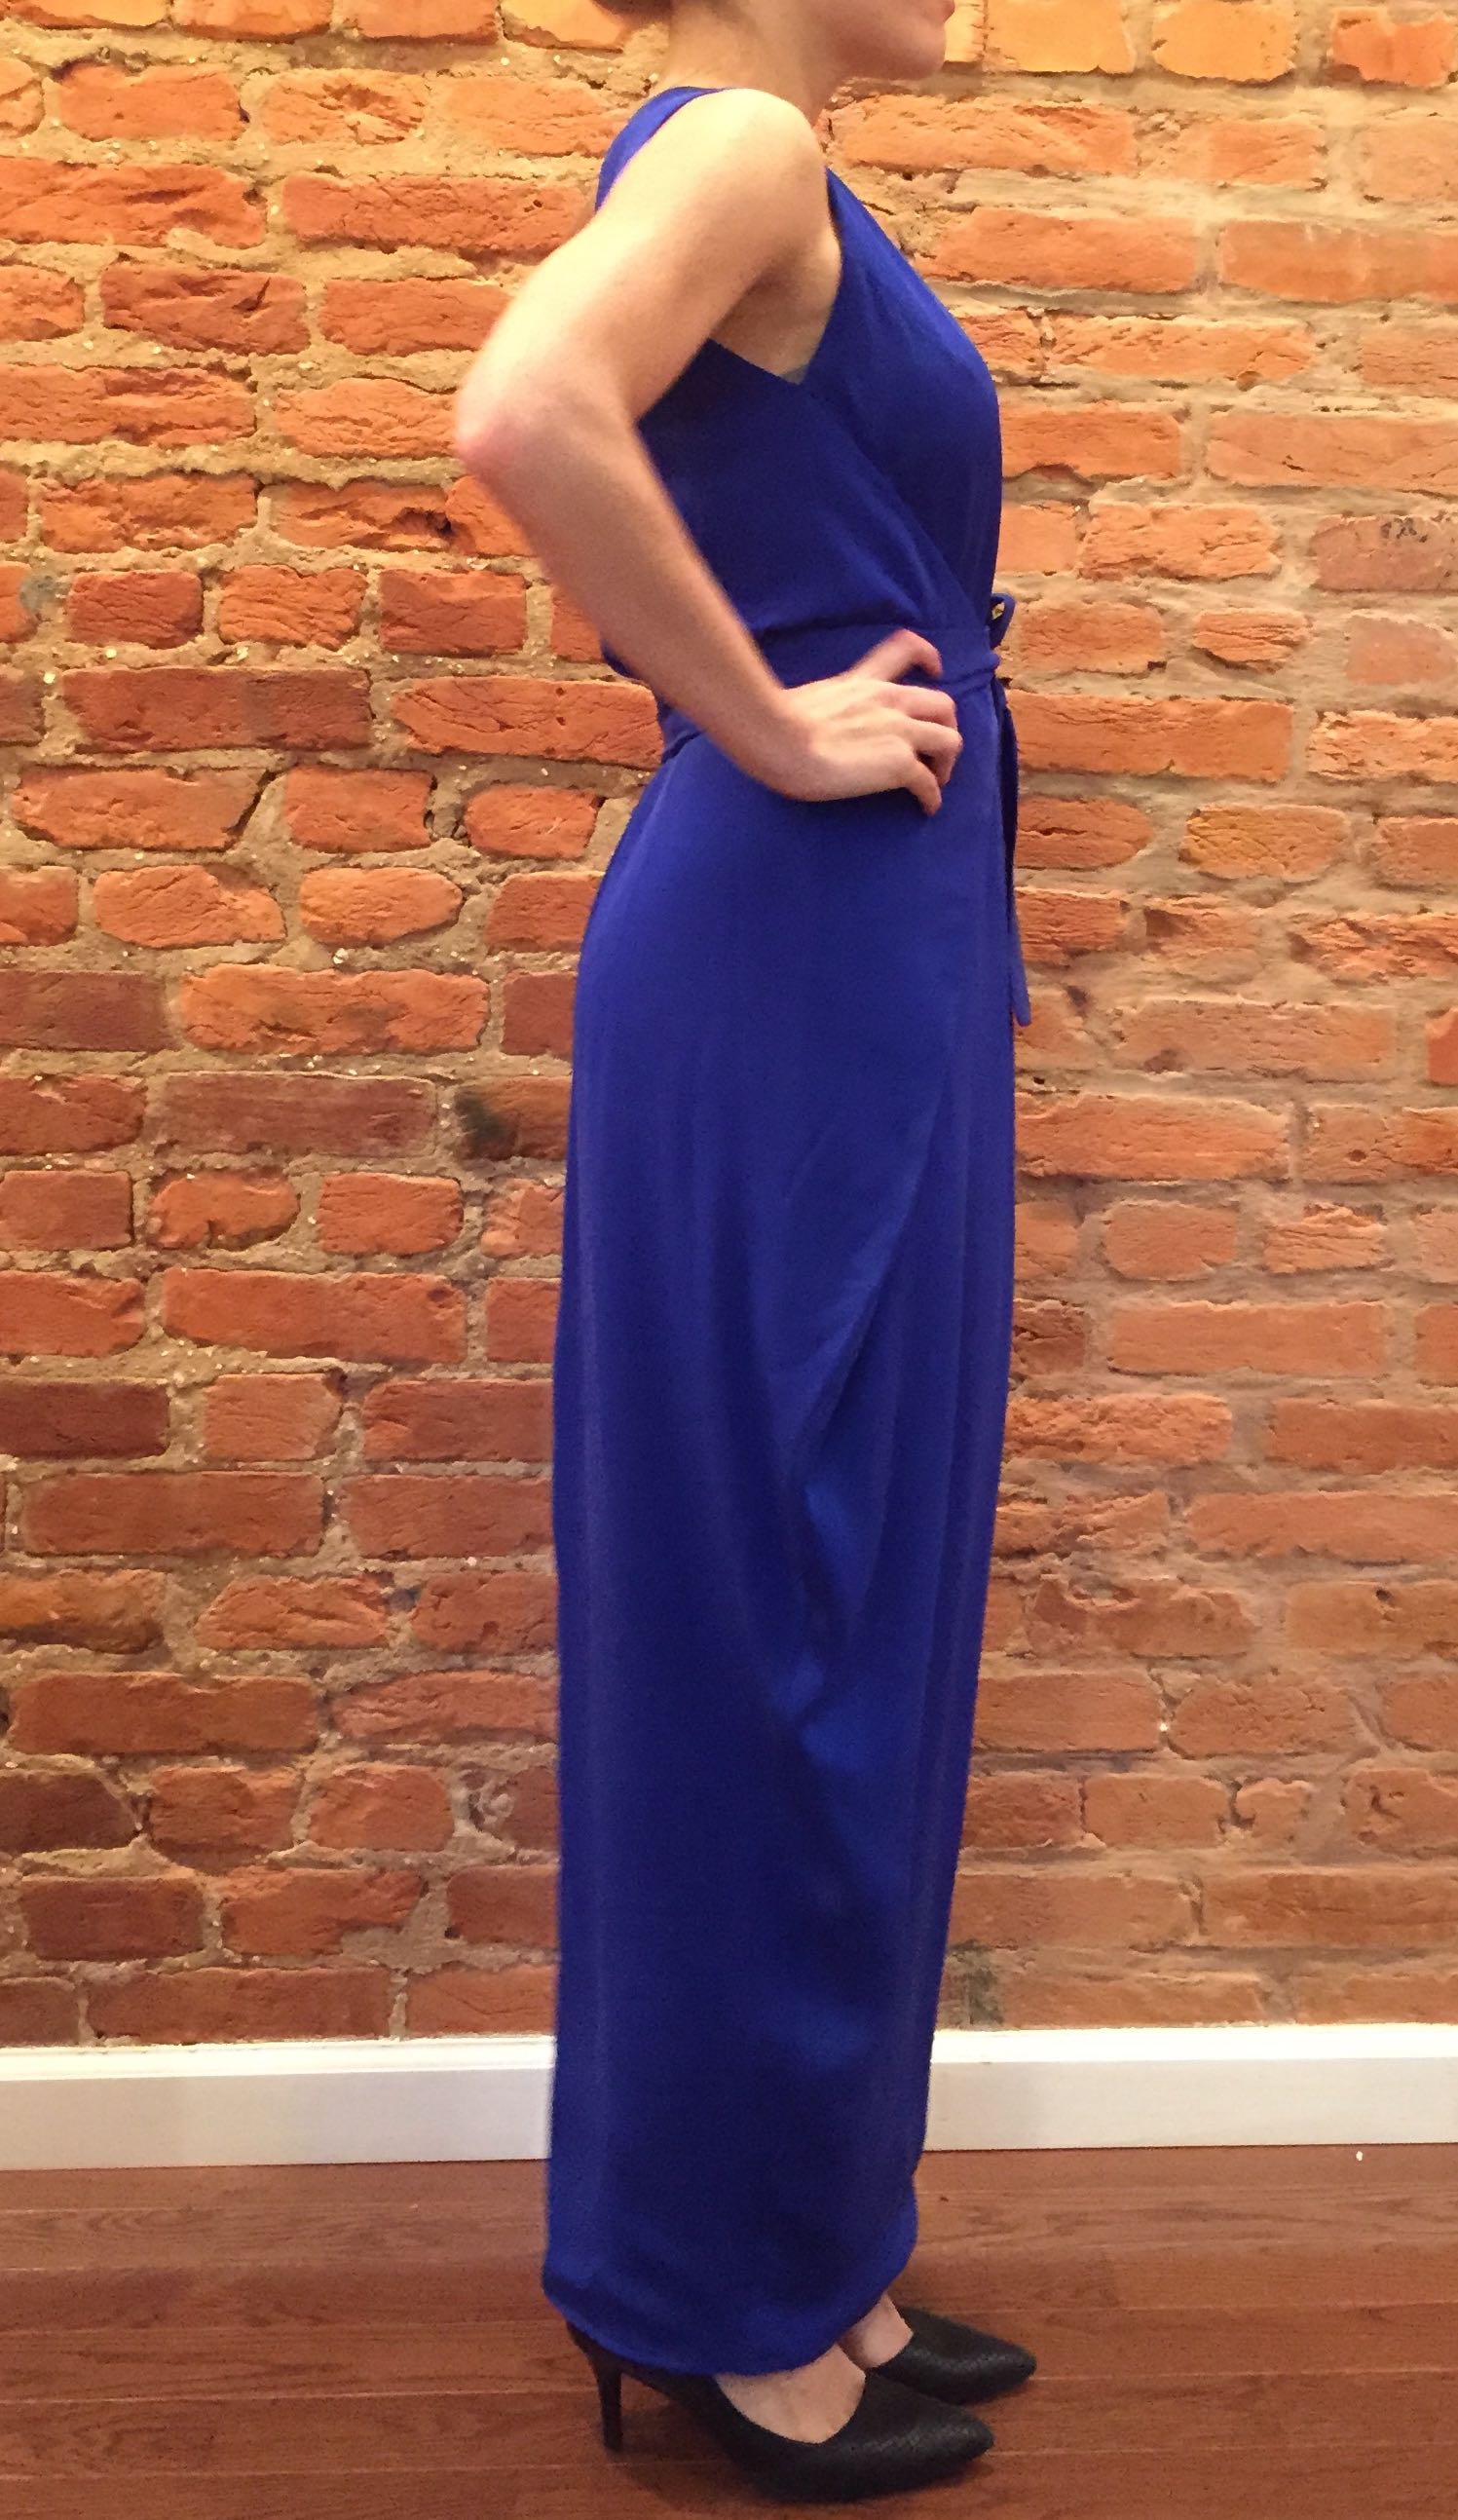
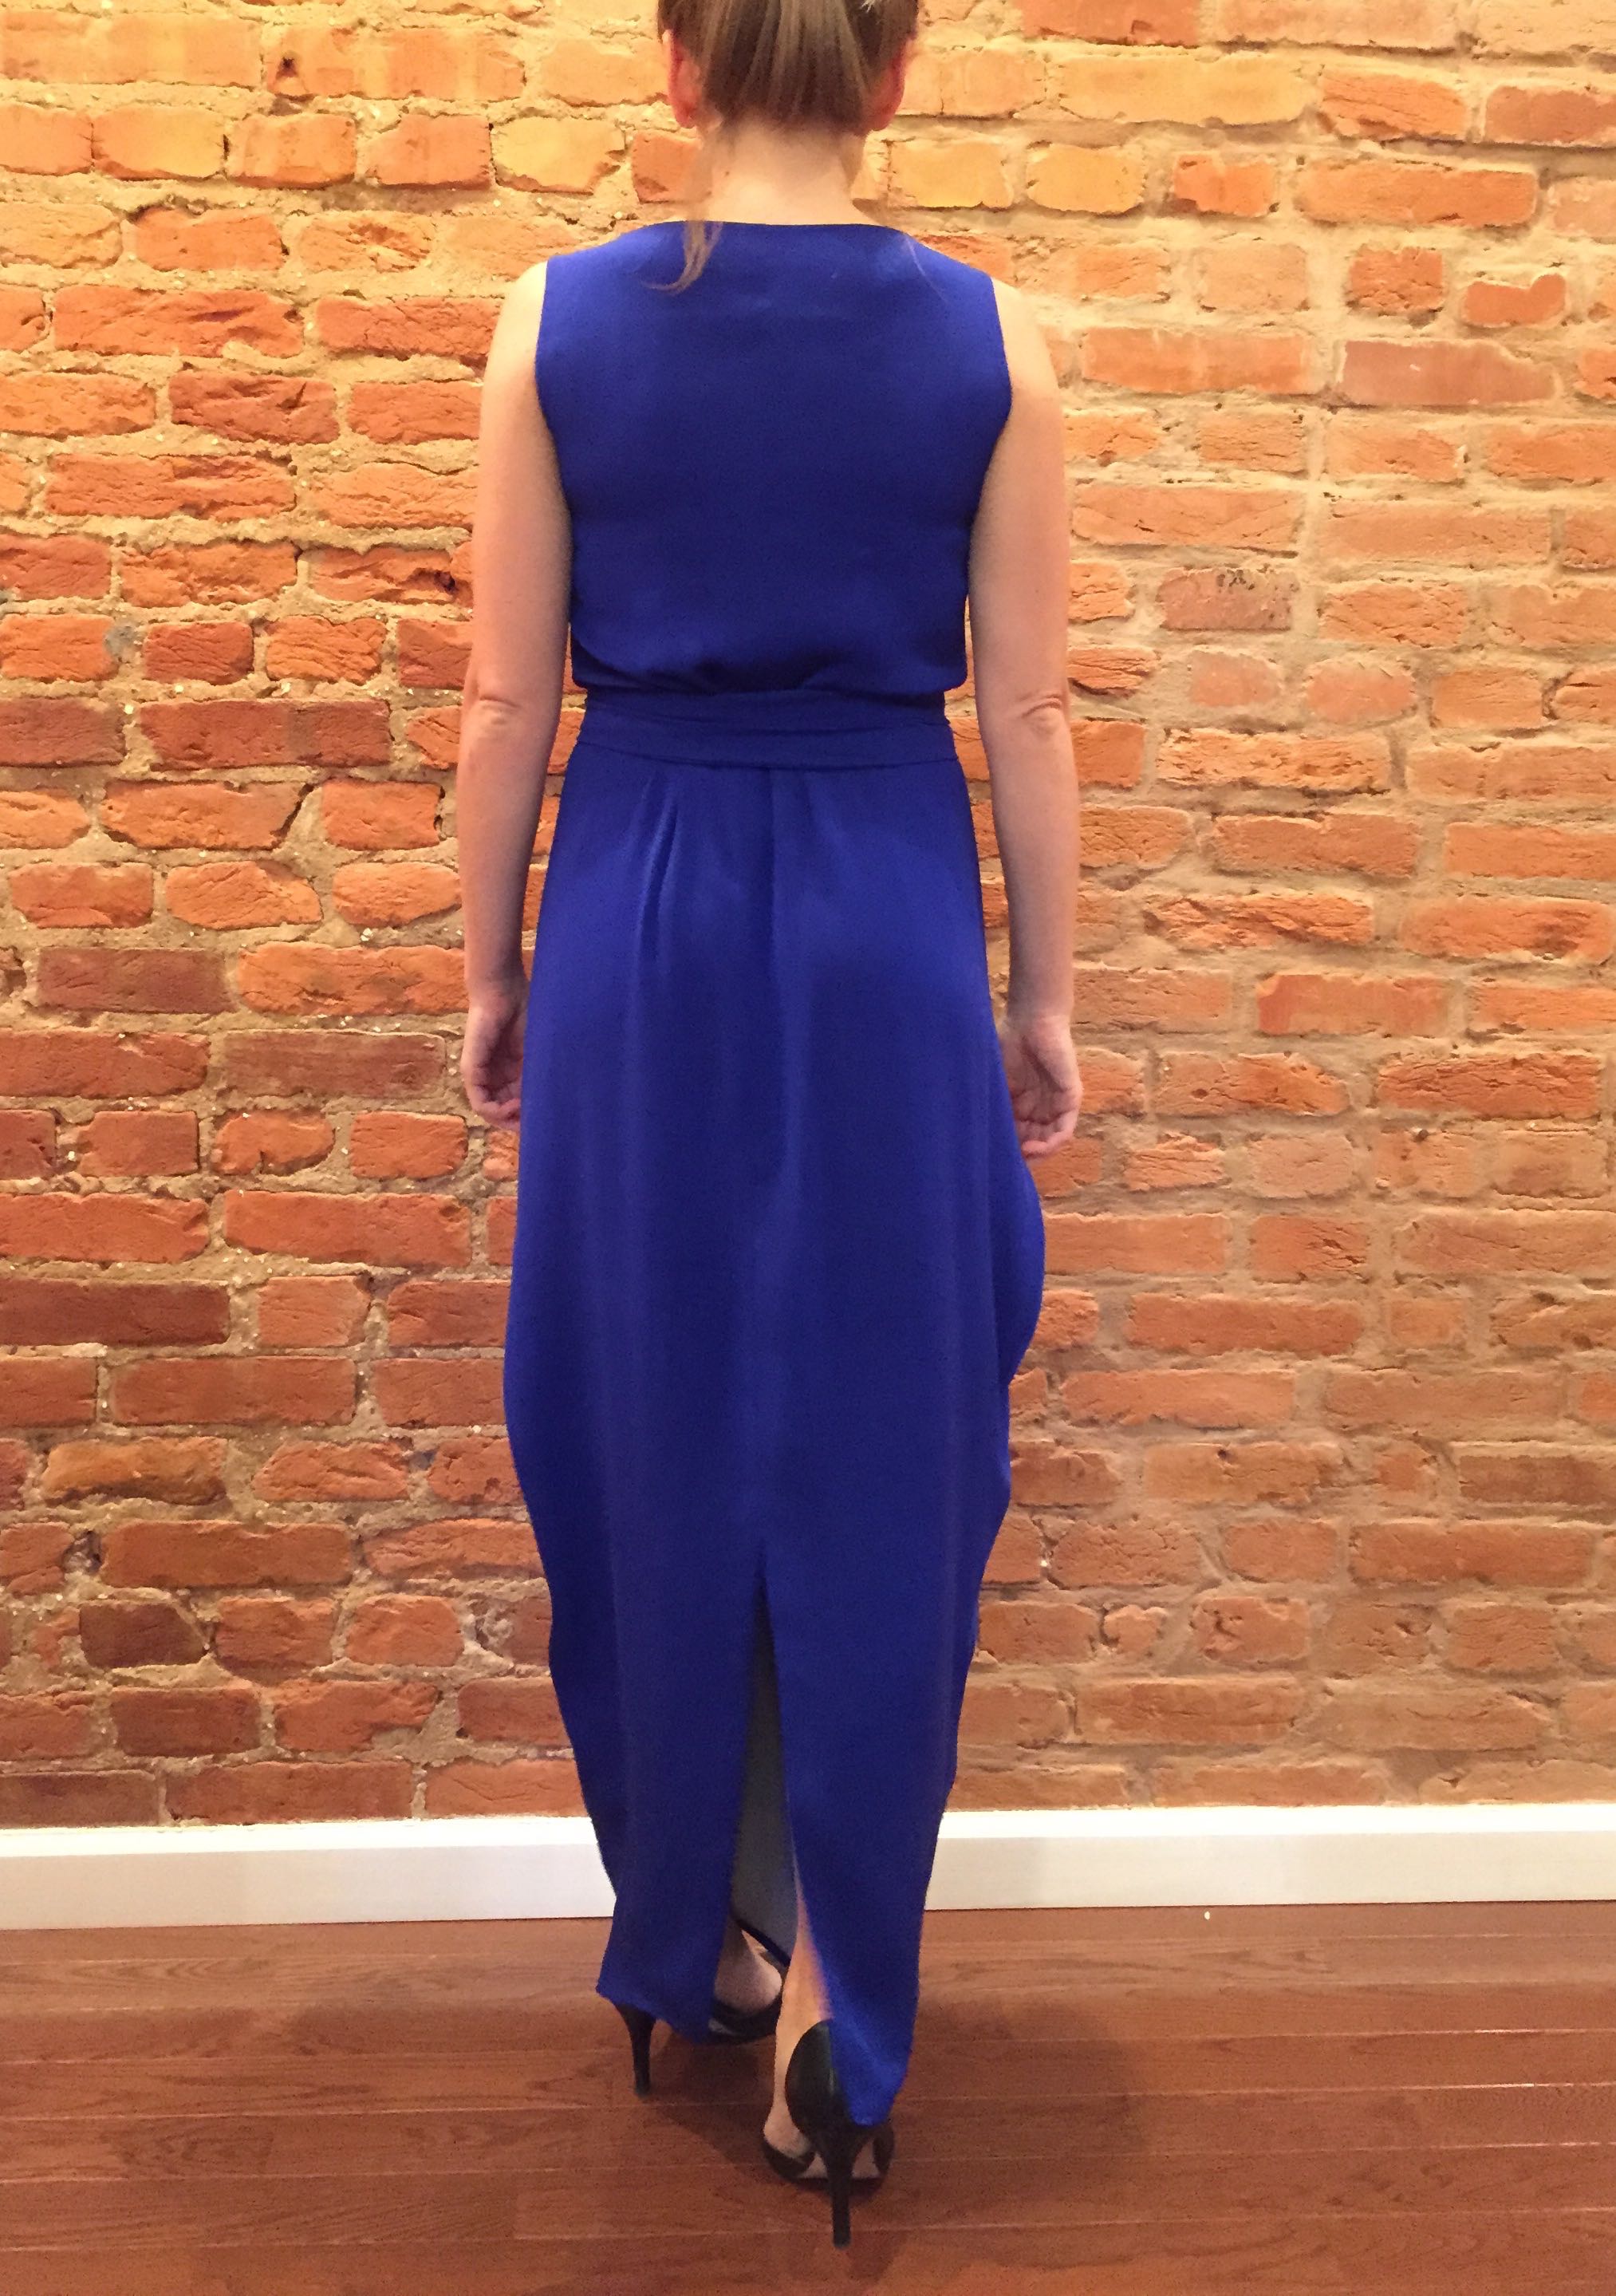
This is the Named Patterns Kielo Wrap dress, and I really like it!
There were several of these on the internets, I liked the pattern envelope image. But I wasn’t particularly motivated to buy the pattern until I saw these two iterations of the dress.
I had already picked out this royal blue stretch silk from Gorgeous Fabrics, initially to make this dress. But after some last minute second-guessing and spousal nose up-turning, I rededicated it to this Kielo!
Let’s talk pattern details:
Unwrapped, the dress is essentially shaped like a curvy hexagon, with tails coming out of the side corners. It also mildly resembles one of those squirrel suits that mentalists wear to jump off cliffs. This is not for cliff jumping.
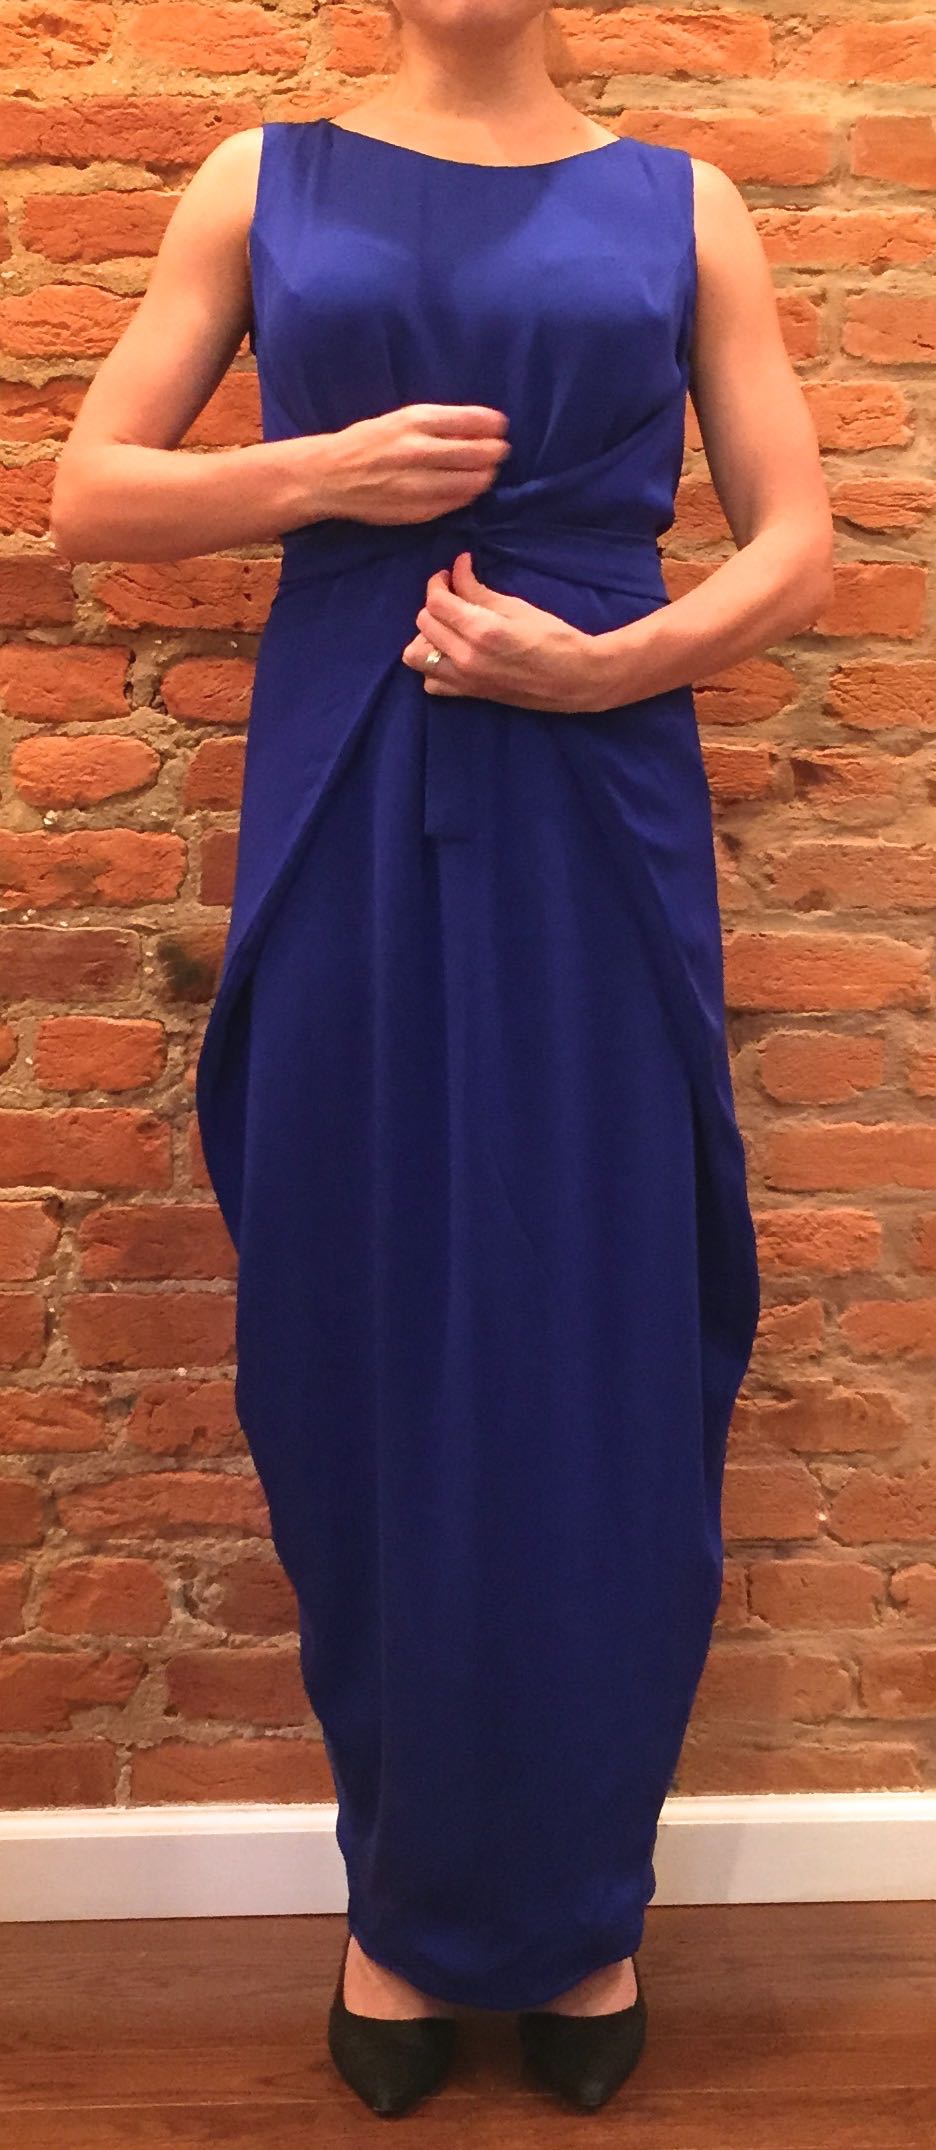
Wrapping it looks like this!
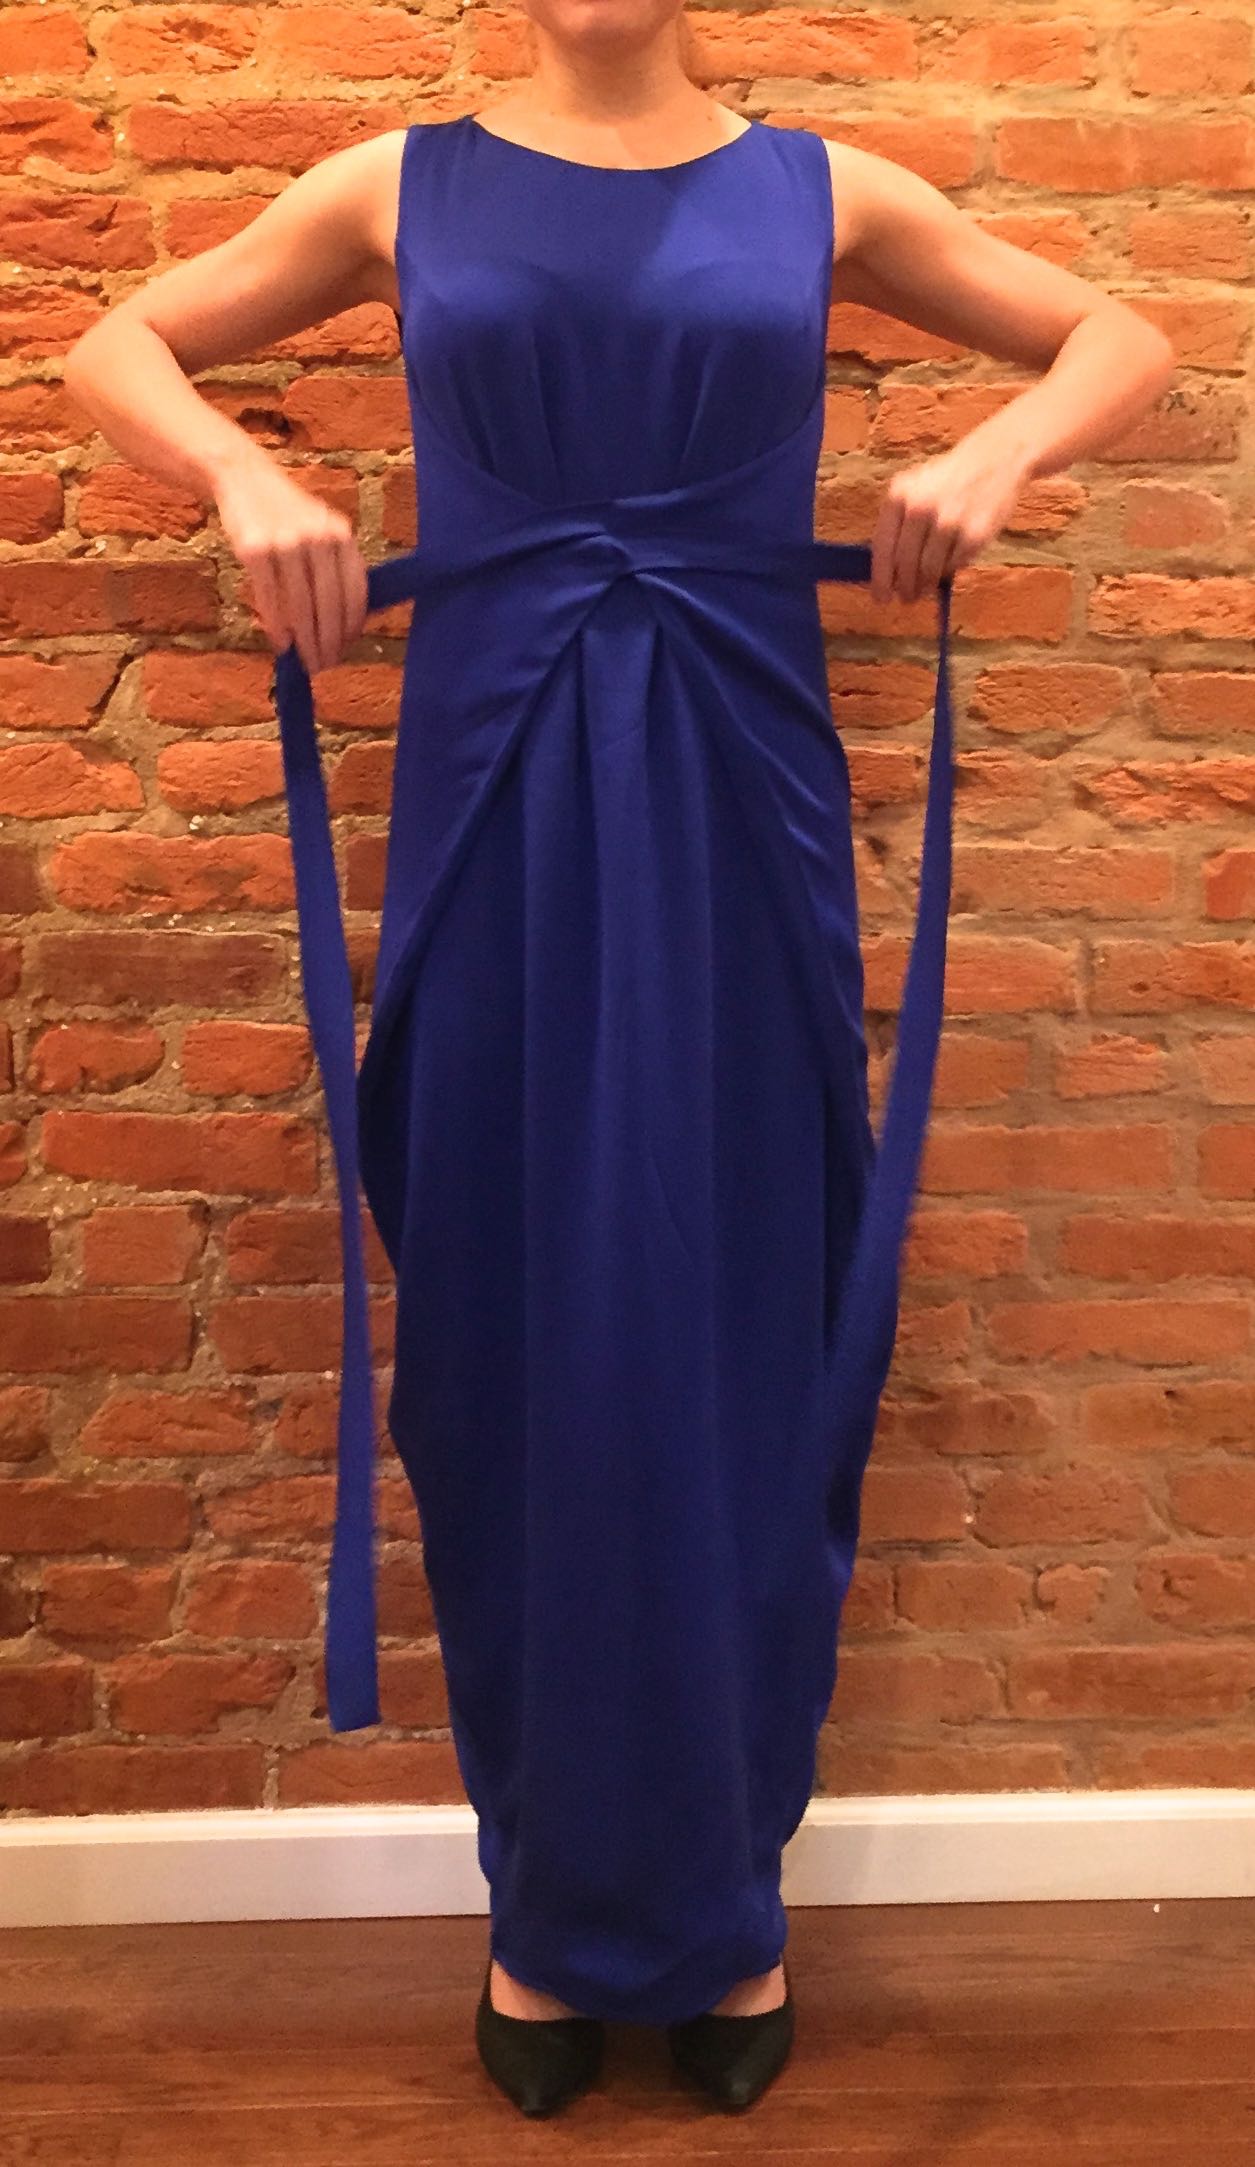

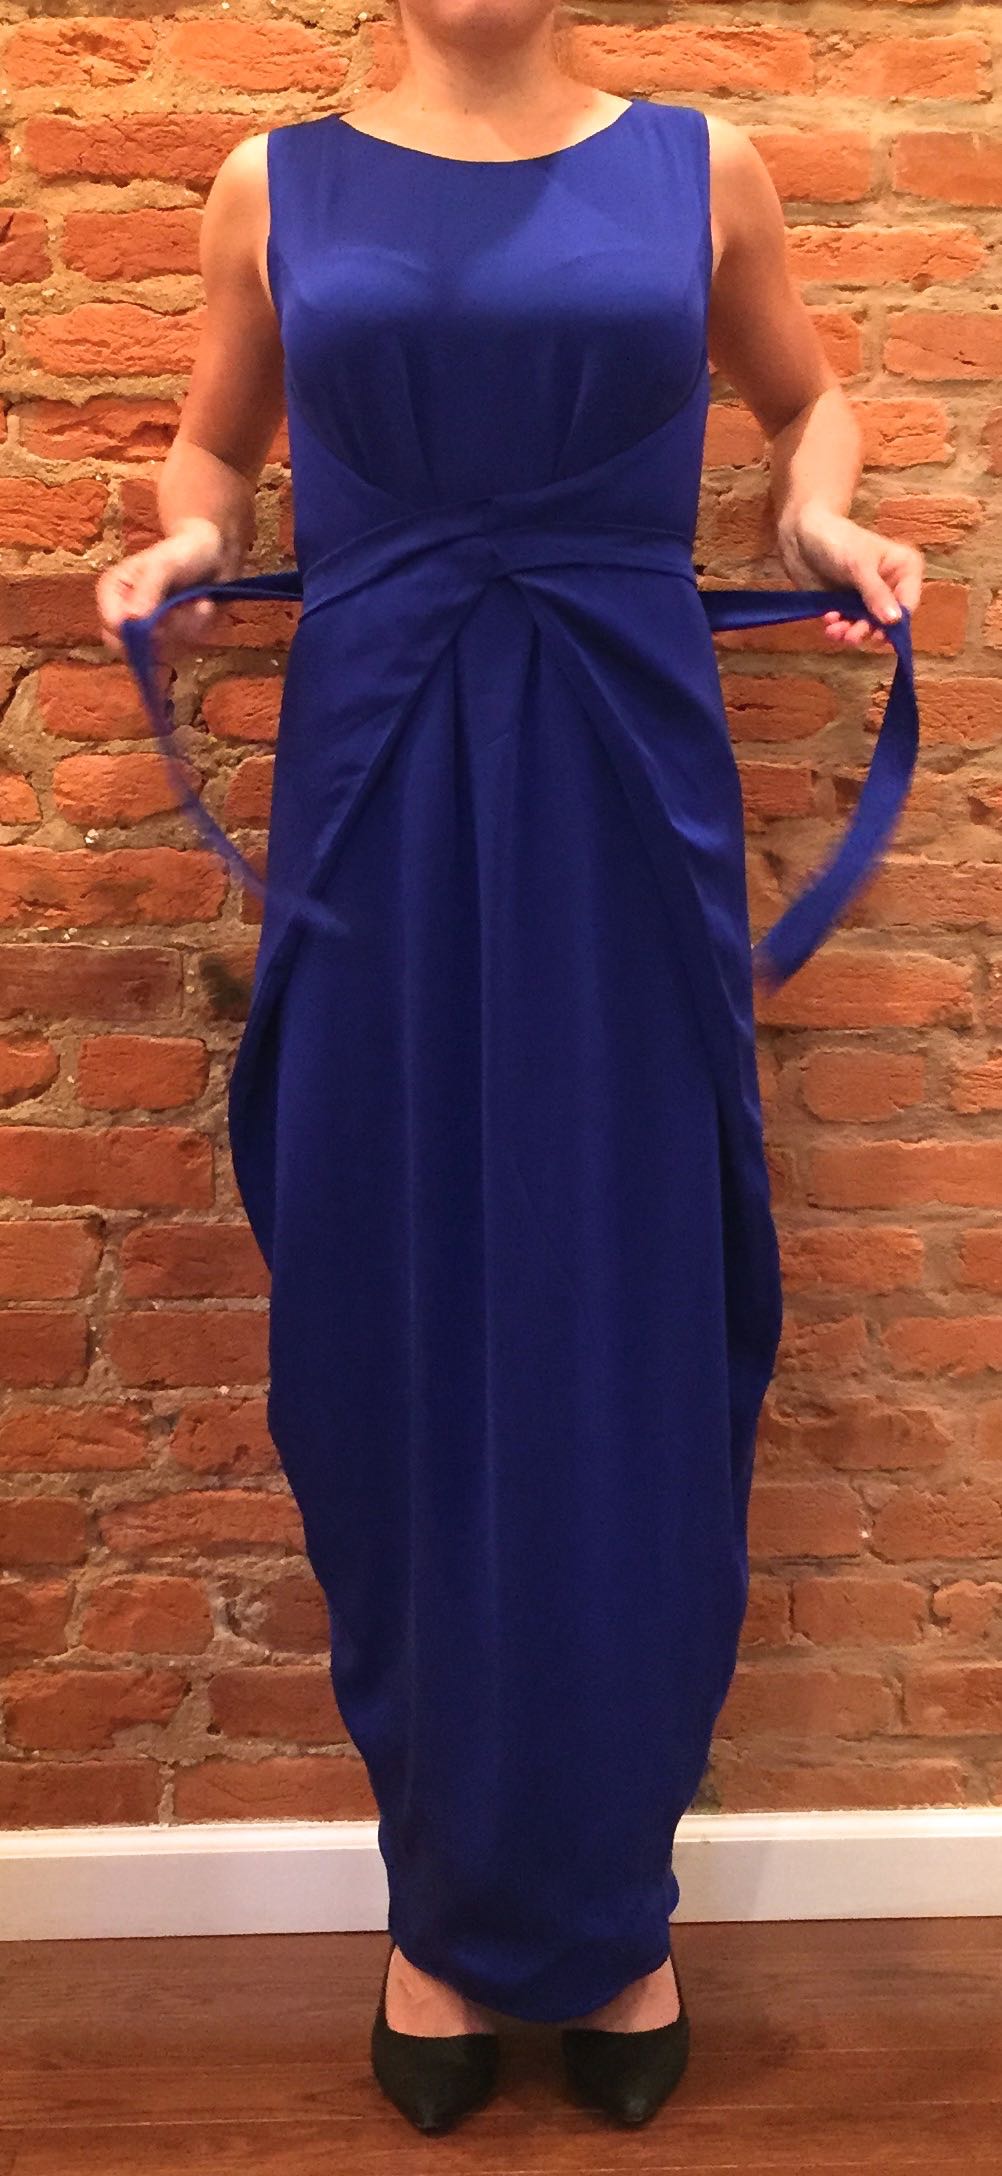
There are only three pattern pieces: the front, which is cut on the fold; the back, which you cut two of, and the wrap ties.
I used a printed Named pattern, but let me tell you. The printed versions of the patterns don’t come with seam allowances. I’m not going to whinge too much about that, especially since I had recently done myself the favor of buying the SA curve ruler, but you should know that’s a thing. Forewarned is forearmed, etc. [Eh hem, also, the front and back pieces are split in two horizontally and placed in different spots on the sheet. Tracing is a must, and not just because of the seam allowances.]
I made several modifications to account for the fact that I’m 5’3″ and Named is designed for a 5’8″ woman (do the humans generally come that tall in Scandanavia?). I shortened the pattern in several places by drawing horizontal lines perpendicular to the grain line, and then overlapping the pattern pieces and blending the seam lines. [**edited to add: I cut a size 40 at the chest, grading down to 36 at the waist to fudge a full bust adjustment. This is a bit of a dodgy grading, since the patterns aren’t nested, but I traced the size 40, and then realigned it with the size 36 cf/cb to make the grading for the lower portion. Make sense? I used the armhole notches from the size 36, but I would maybe still go half an inch higher still]. Anyway, here are the cuts:
:: 1/4″ at shoulder point
:: reduced 1/2″ at a point 2″ below the armhole notch
:: reduced 1/2″ below tie notches
:: reduced 1″ where the top and bottom halves join
:: reduced 1/2″ at bottom notch.
Those of you particularly adept at spacial reasoning will notice that the reductions above the armhole actually move the end of the bust dart closer to my, eh hem, bust point. Those of you who need an illustration:
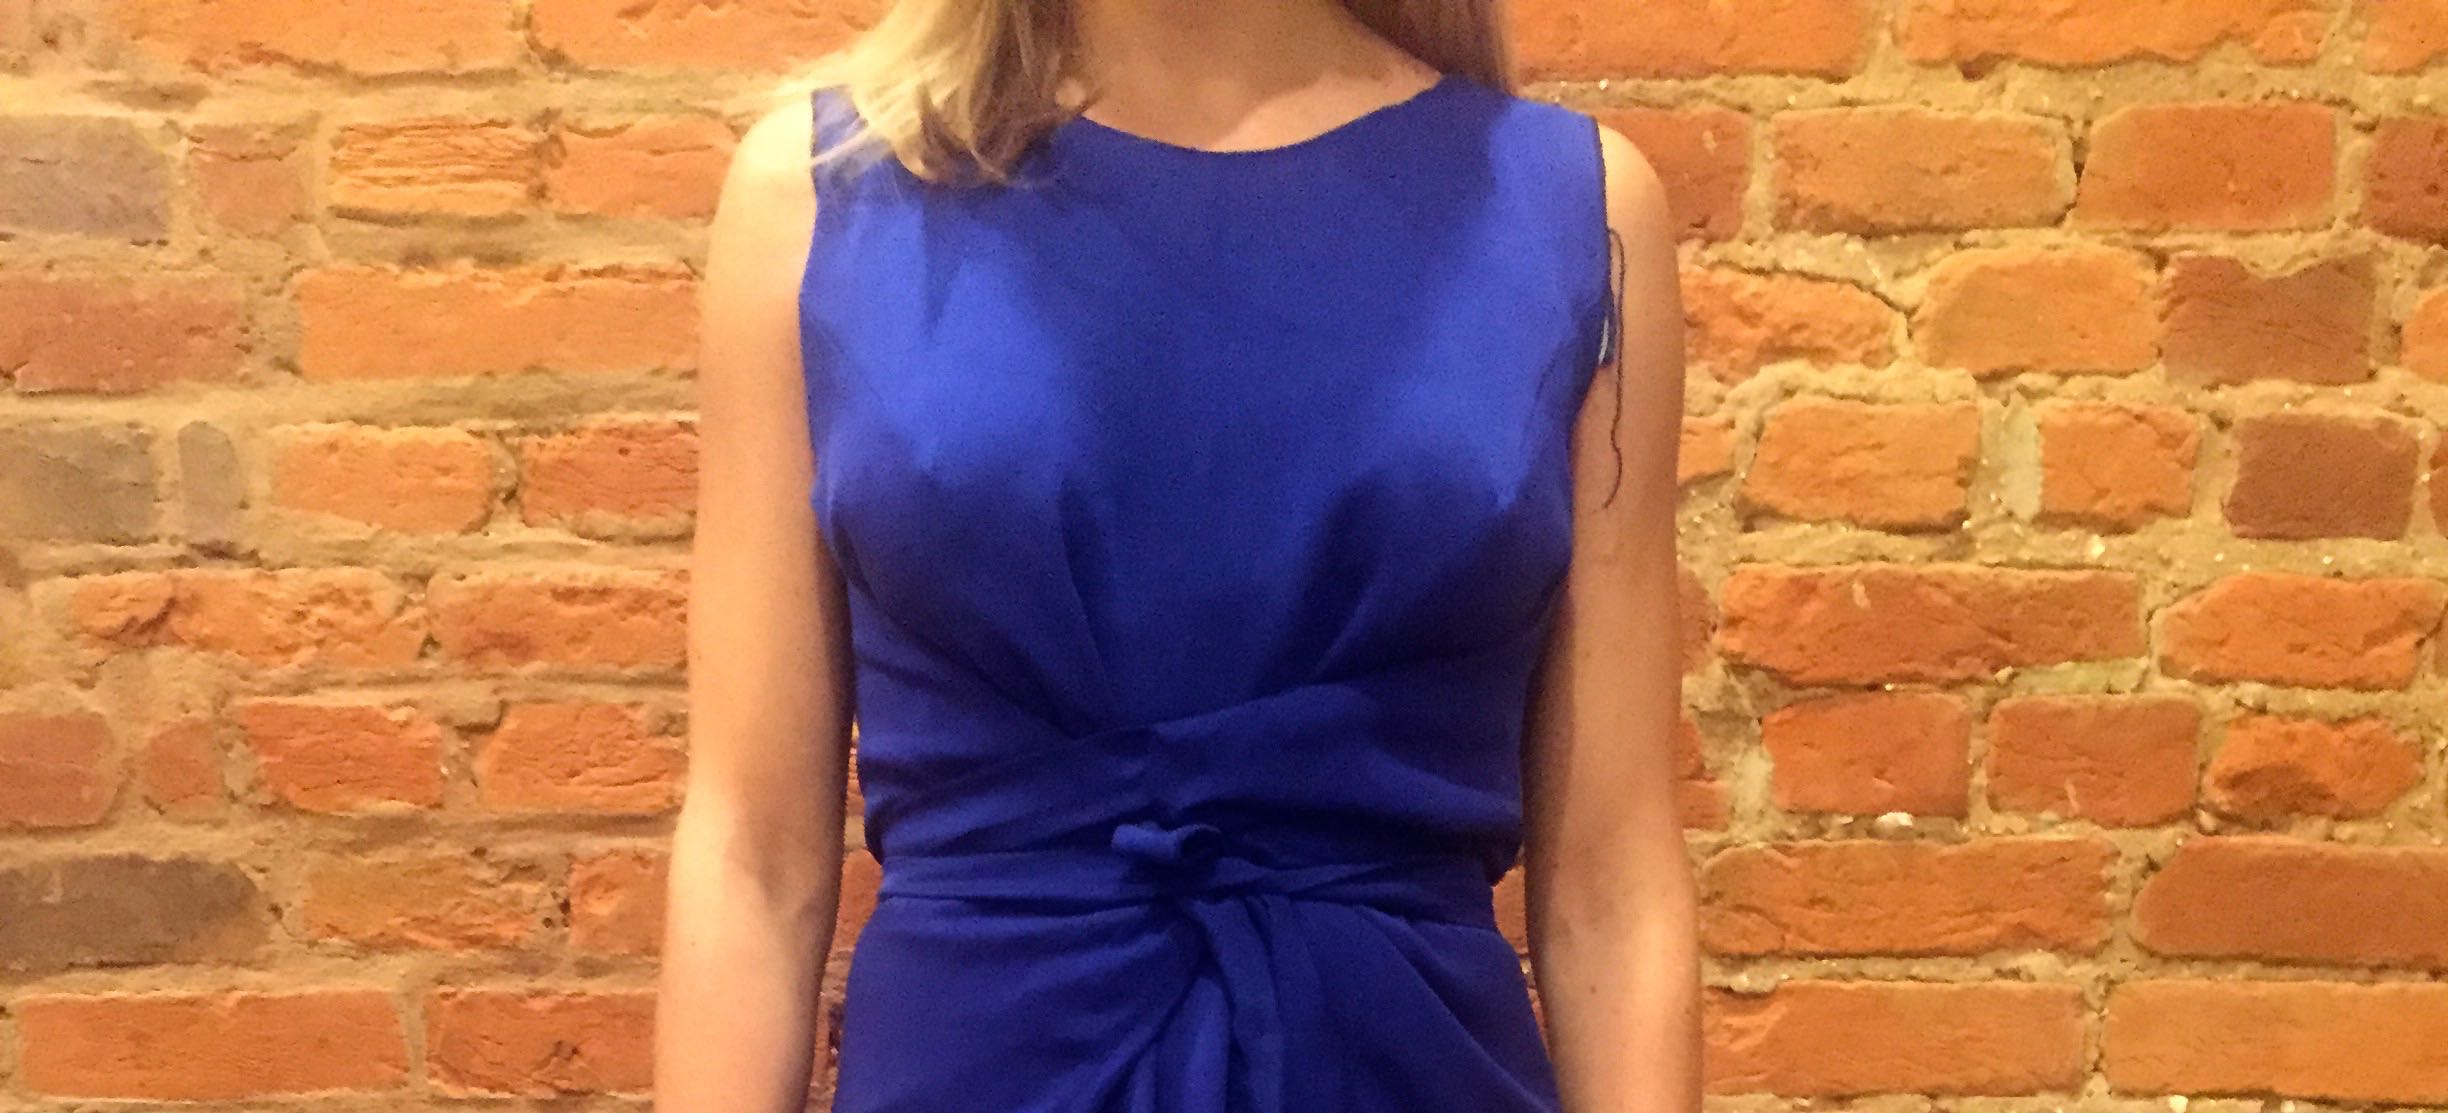
Suffice it to say, I was lucky I had left those dart tails loose. I unpicked the darts and redrew them to stop an inch short. And now it’s fine!
In terms of construction:
::I underlined. For a formal dress, this was really necessary. The soft drape and thin hand of my fabric would have put all kinds of things on display, so I underlined with a silk stretch georgette that happened to be cheap at Fabric Mart when I was in the market.
Underlining was horrible. The crepe and georgette are fiddly and finicky and getting the two layers to match up in order to be basted together was the single most time-intensive part of this project. It took a days-worth of sewing time. Also, if you are feeling very fussy, your underlining should probably be similar in color to your dress. See that white peeking out from the back vent?
:: After hand basting the layers together, I then sewed them together using a 1/4″ seam allowance on my regular machine. This is because I didn’t yet trust myself to serge accurately. The 1/4″ stitching line serves as a guide in case you get your fabric a bit too close to the serger knife when finishing the seams. I’m a couple projects past this one now, and might be comfortable enough to take the training wheels off, but this was a good method for the time.
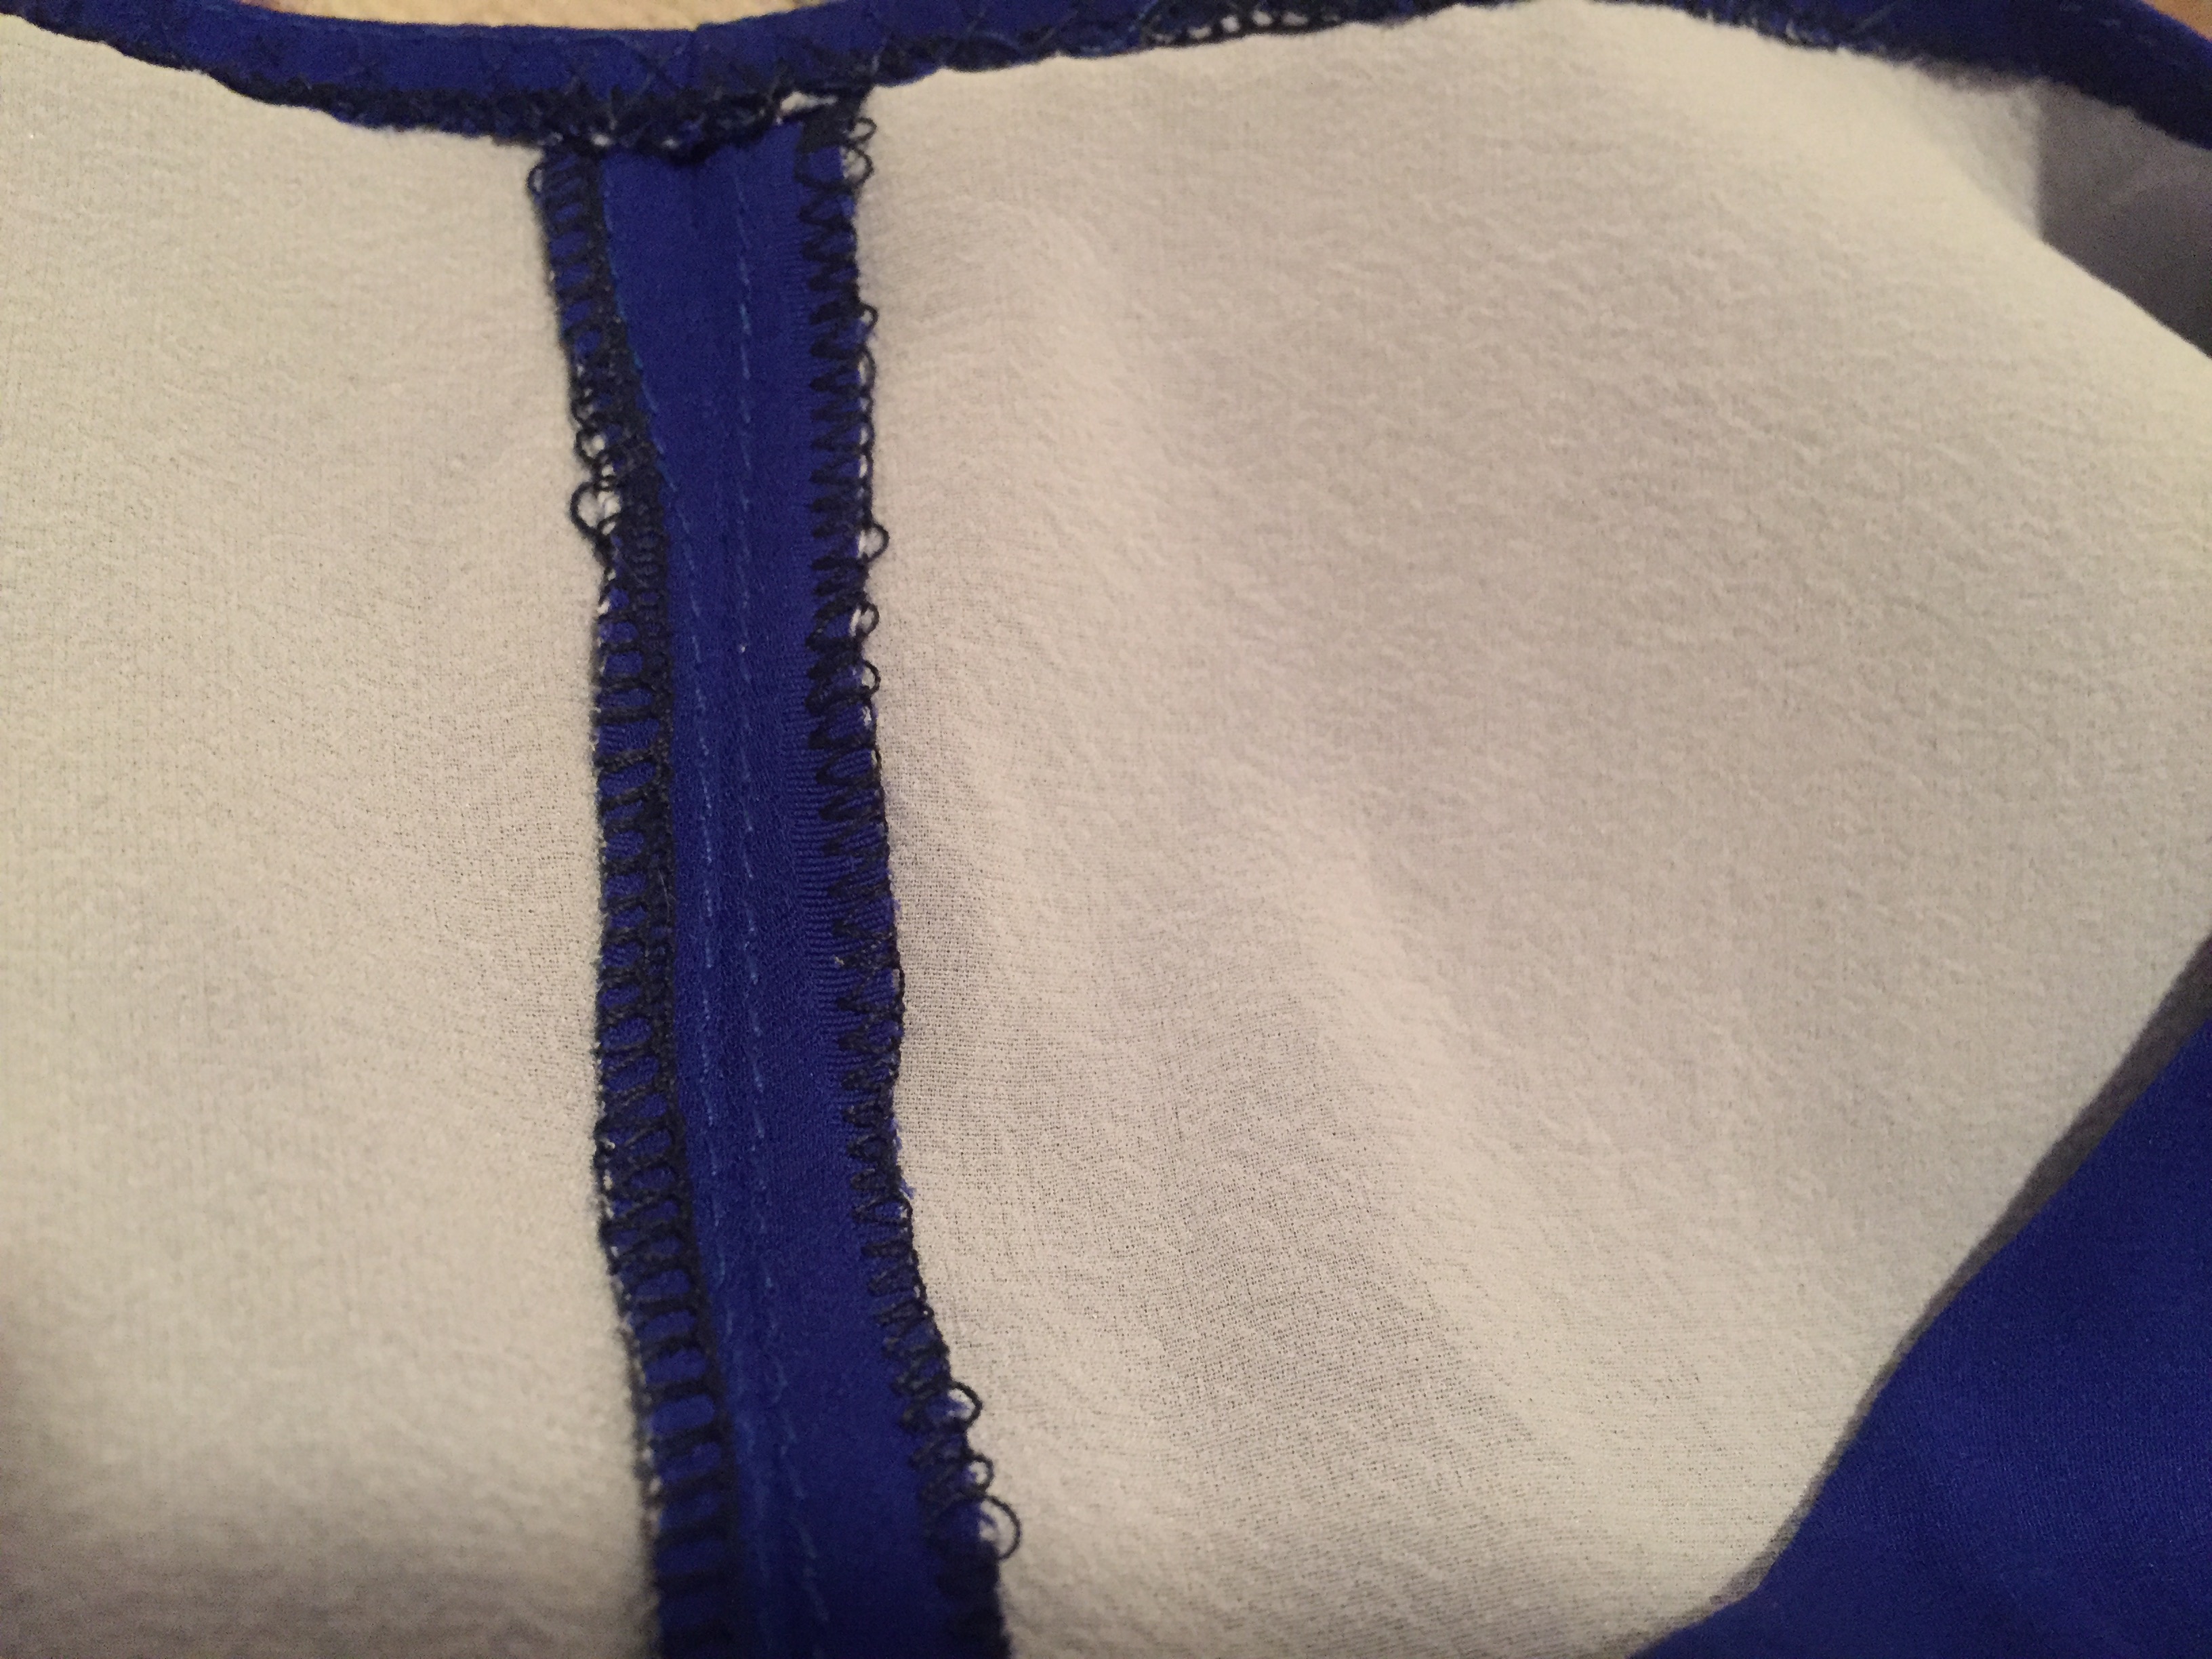
:: I then serged all the edges, except for the hem edge. Assembled you can make out the serging and the stitching line.
:: I assembled the dress. This took almost no time! It’s so easy.
:: I catch stitched the seam allowances down by hand. Because of the underlining, I was able to do this without catching the outside fabric, thereby avoiding itty bitty little catch stitching dents. It was tedious, but left a really, really nice finish. Also, I used blind stitch threat, which I did not know was a thing until recently. Glad I found out before this dress!
:: And finally, I did a machine-rolled hem using a 6mm rolled hem foot.
And then I got my hair did and wore that thing with a fake fur caplet to adult prom like I was supposed to do.
Also! I sat next to a woman who also made her dress. It was an Elisalex. Weird world.

You look amazing!
Thank you so much! It was really fun to wear.
Your dress is gorgeous, hope you had a lovely evening.
It was a good time, thanks! (Possibly made better by having another person to talk sewing with.)
Super elegant! The blue you chose is one of my hands-down favorite colors. (How strange about your table mate wearing an Elisalex!)
Thanks! I did get lucky with that blue since I don’t live near too many honest-to-garment sewing fabric stores. The on-line inventories of a few places often dictate my selection. I’m in a bit of a blue period at the moment– I’ve got two more blue things to write up, though neither are quite this vibrant.
I love the blue! Such an elegant and unique dress. It looks lovely on you!
Thank you so much! It was a really good time to wear.
That is a lovely dress on you. Several sewist have been making this dress-some with not so good results. Your dress seems like a perfect fit!
Thanks!! I do think the fabric choice has an awful lot to do with it. I’m glad I didn’t let my lazy side get the better of me and skip underlining, because I think that keeps the dress from being too clingy.
that looks fantastic and what a great choice of fabric and color. very elegant. I have been tempted by that pattern but the price and now the tracing/sizing put me off. However now that you have it mastered I hope you repeat in a summer dress 🙂
Yeah, that’s fair about the tracing and re-sizing. Honestly if I weren’t in the market for a formal-but-fast-to-sew dress, I don’t know that I would have ponied up the cash. I hope this dress is still summer appropriate! It’s pretty light, and we do have a wedding or two this year.
Wow, such a beautiful dress! Well done!
And yes, Scandinavians really do come that tall, those lucky people. 😀
Man. Lucky is right. I always wished I were like 5’8″ or 5’9″. I feel like that’s the height my spirit wants to be. My spirit does not like trying to hide the fact that I’m standing on my tiptoes when I’m talking to men in a group. But you know, can’t have everything!
Thanks a bunch for the shout out! Your dress looks great BTW
~Claire
Thanks for making such a useful tool! Even on the patterns with seam allowances included I like to have seam lines marked, but I hate the tedium of making all those little tick marks. So this is great.
Named is designed for taller women? I’ll be looking at them more closely…. and you look great!
They are! I am jealous, then, of both your ability to make up those patterns without adjustments and your height!
Beautiful dress in a beautiful fabric!
Thanks so much!!
Very very nice indeed. I wish I had a posh do to go to…
…or you could make one for grocery shopping. you know, embrace the ‘one can never be over dressed’ idea to the extreme.
That’s why I’m embracing the steampunk lol