Here’s my first make of 2019, and the first item to cross off of my #makenine list. 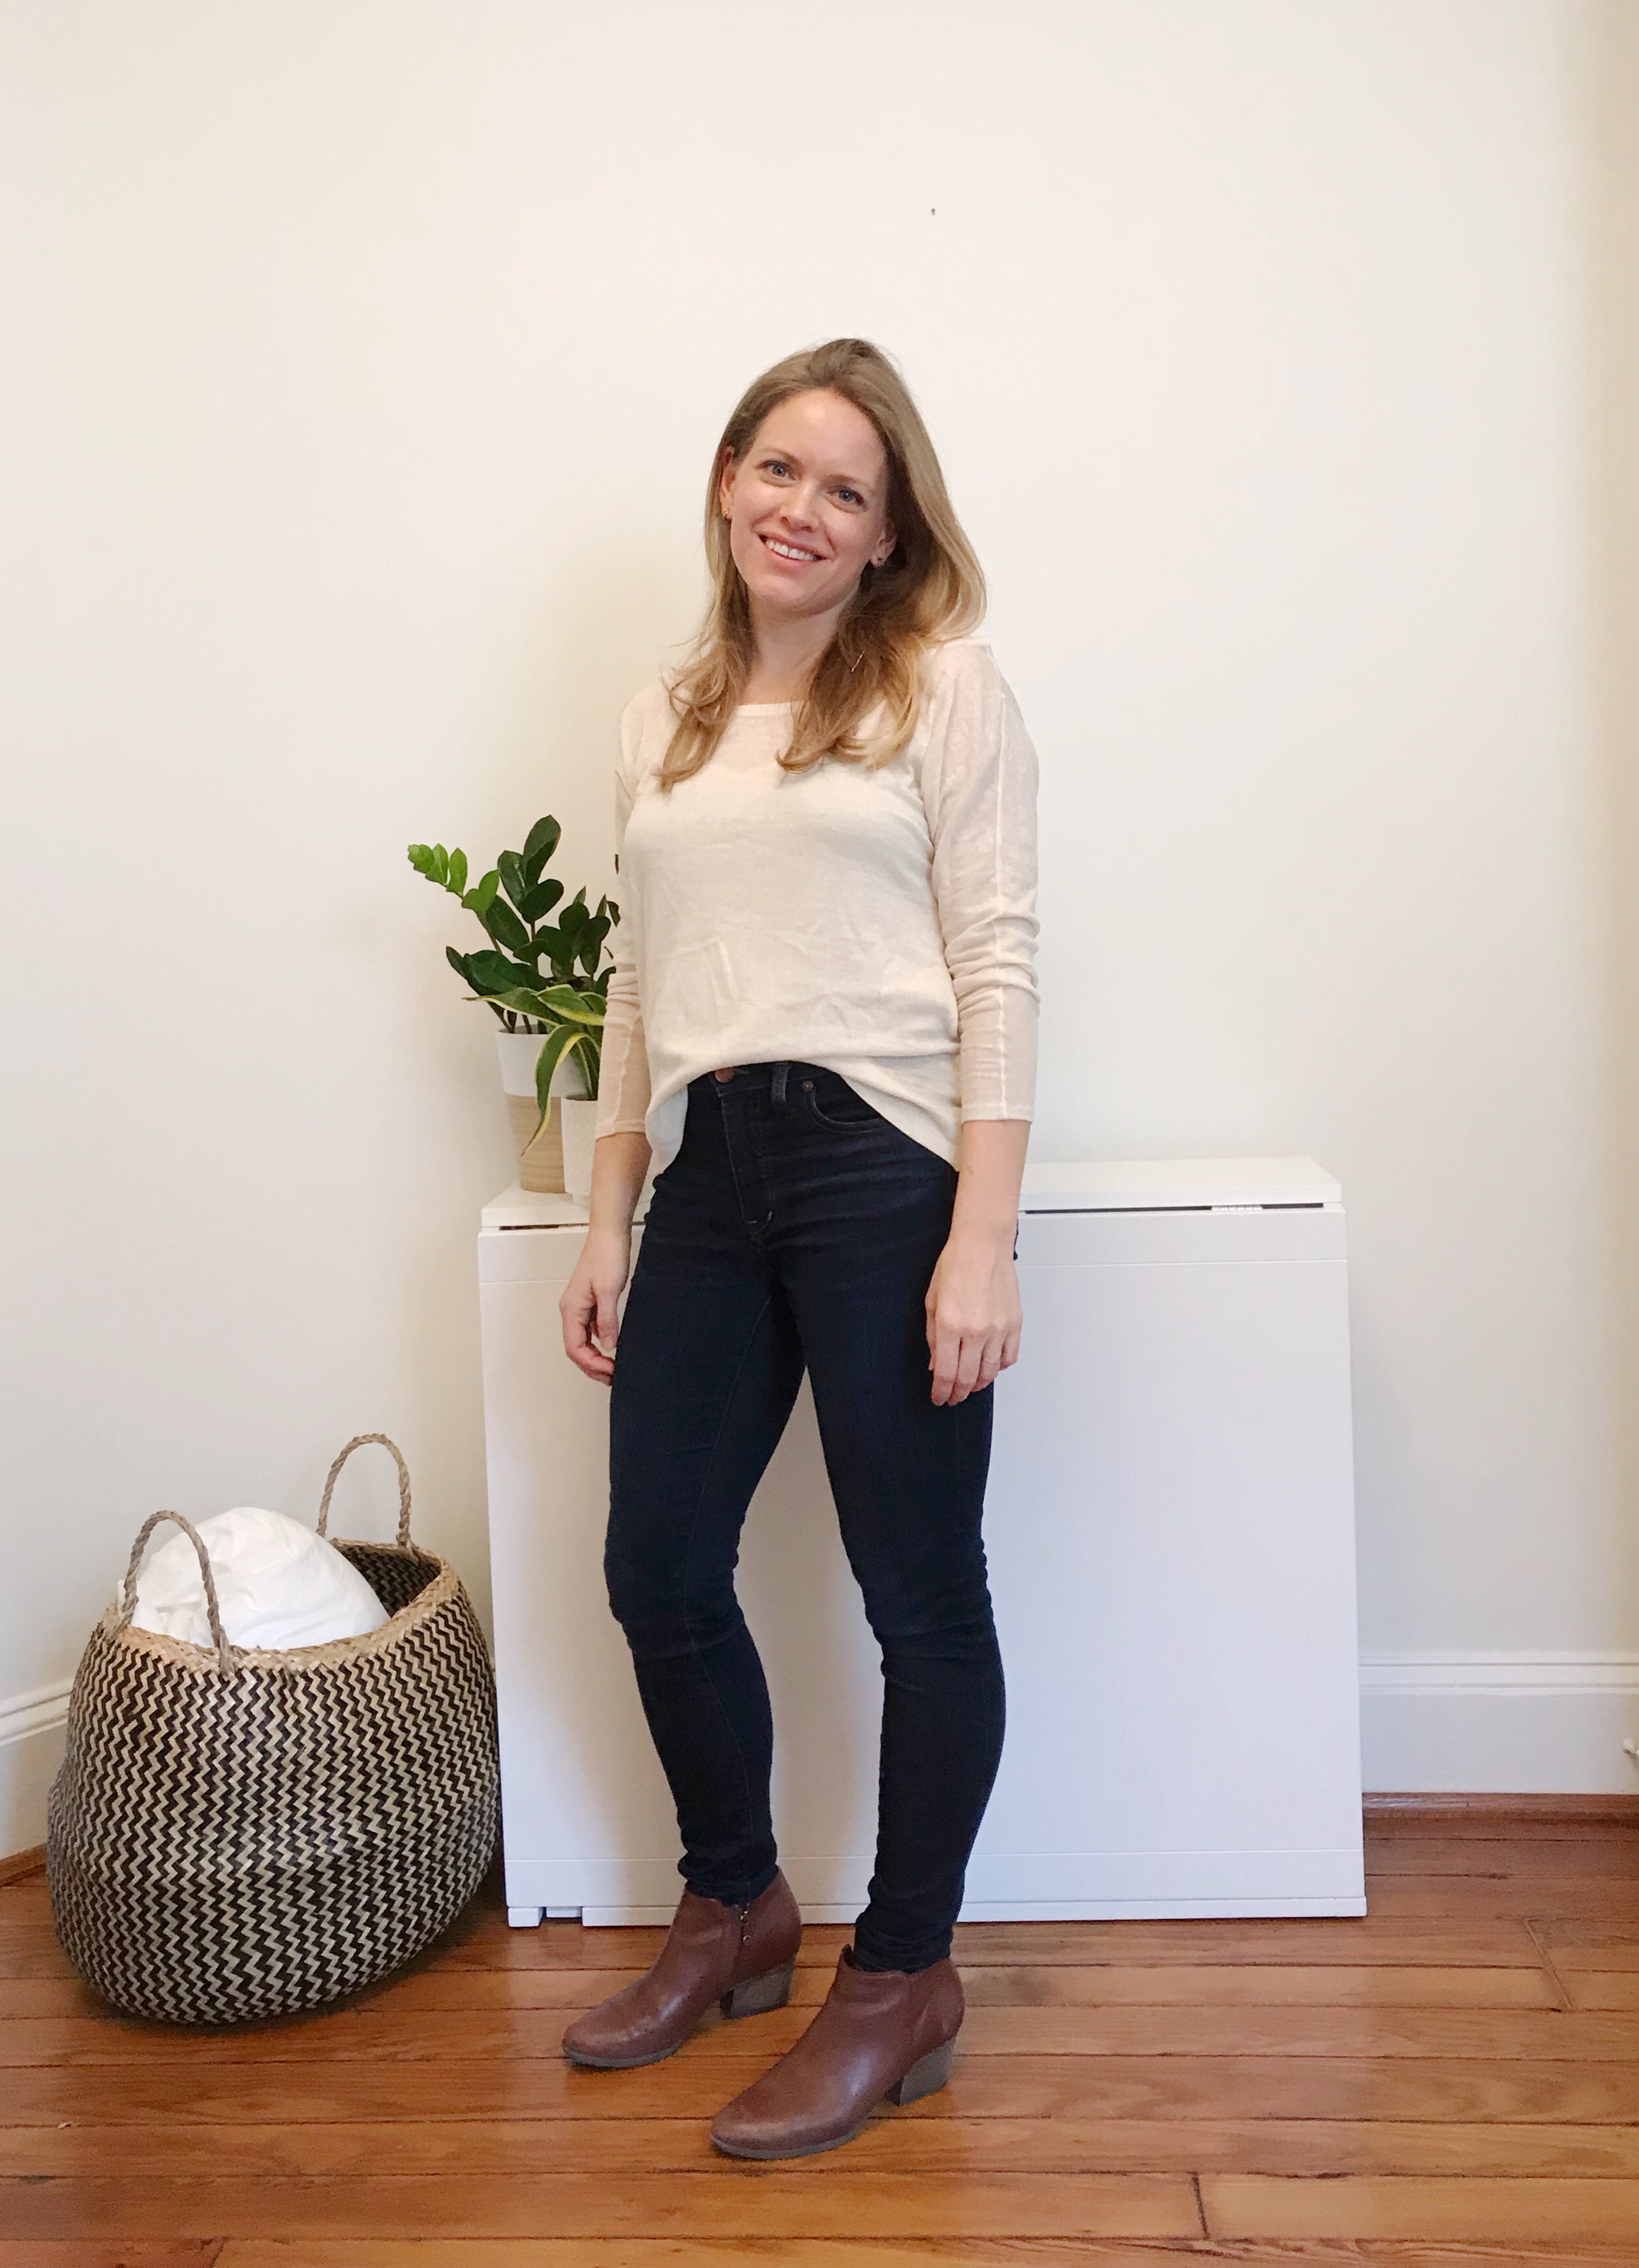
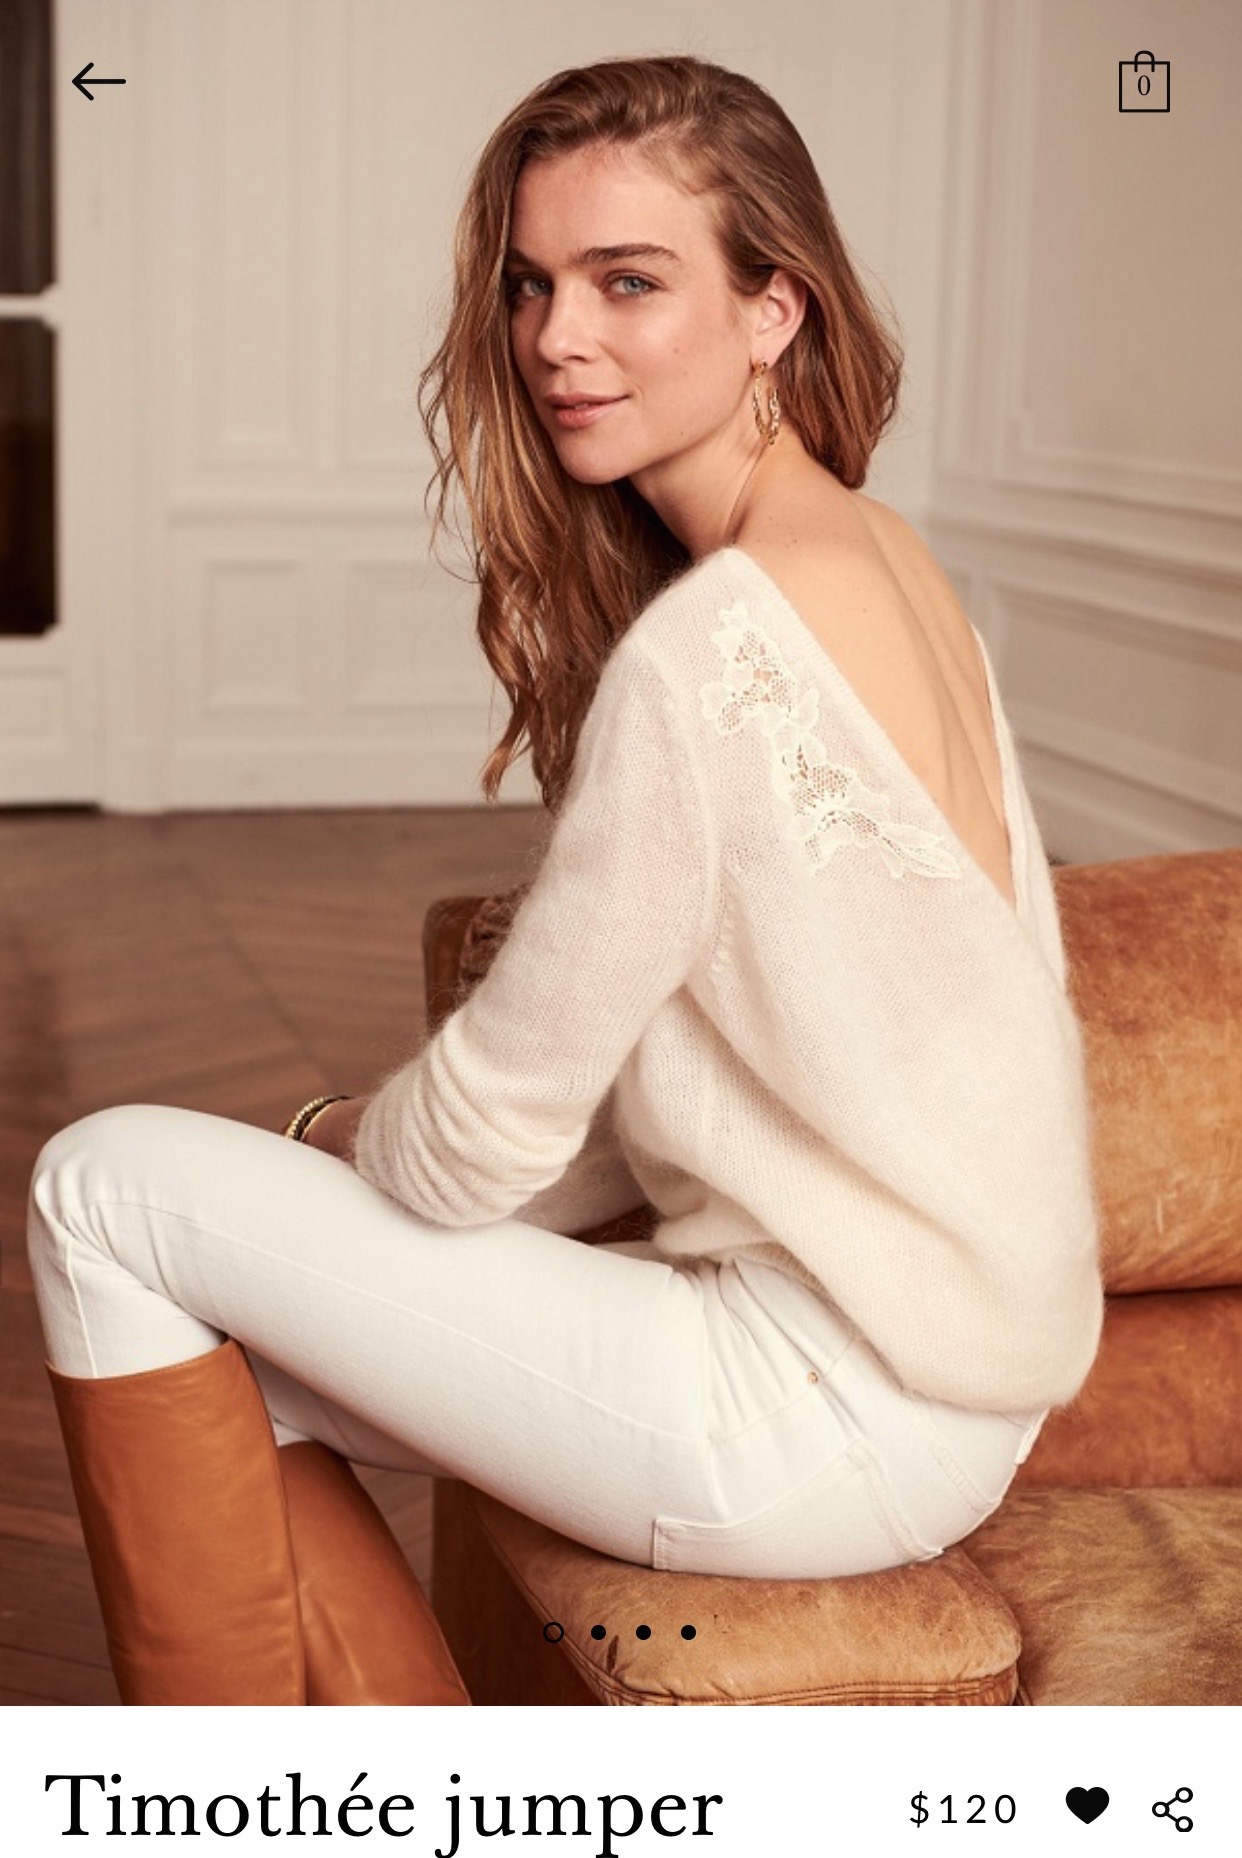
This is a hack of StyleArc’s Fran Knit top, and I used it because it seemed like the pattern in my stash that would be most amenable to executing the vision I had for this sweater. Namely to echo this Sezane sweater.
Funnily enough it is also the pattern I used to execute this very, very different top, about a year and a half ago.
That’s right. The same pattern that gave rise to this low-back wrap sweater is also responsible for this maternity top.
(Side note: I had every intention of writing up the maternity sewing I did, but man did I not have the energy for it. We’ll see if I can get around to one or two more posts, now that the baby is outside of my body and sleeps for 15 hours a day).
On both versions, I faked a full bust adjustment by grading from a size 8 at the shoulders, out to a 10 at the bust, and back to an 8 at the waist. It’s a kimono sleeve in the front, so you’re basically just lowering the underarm arc. Nothing too technical.
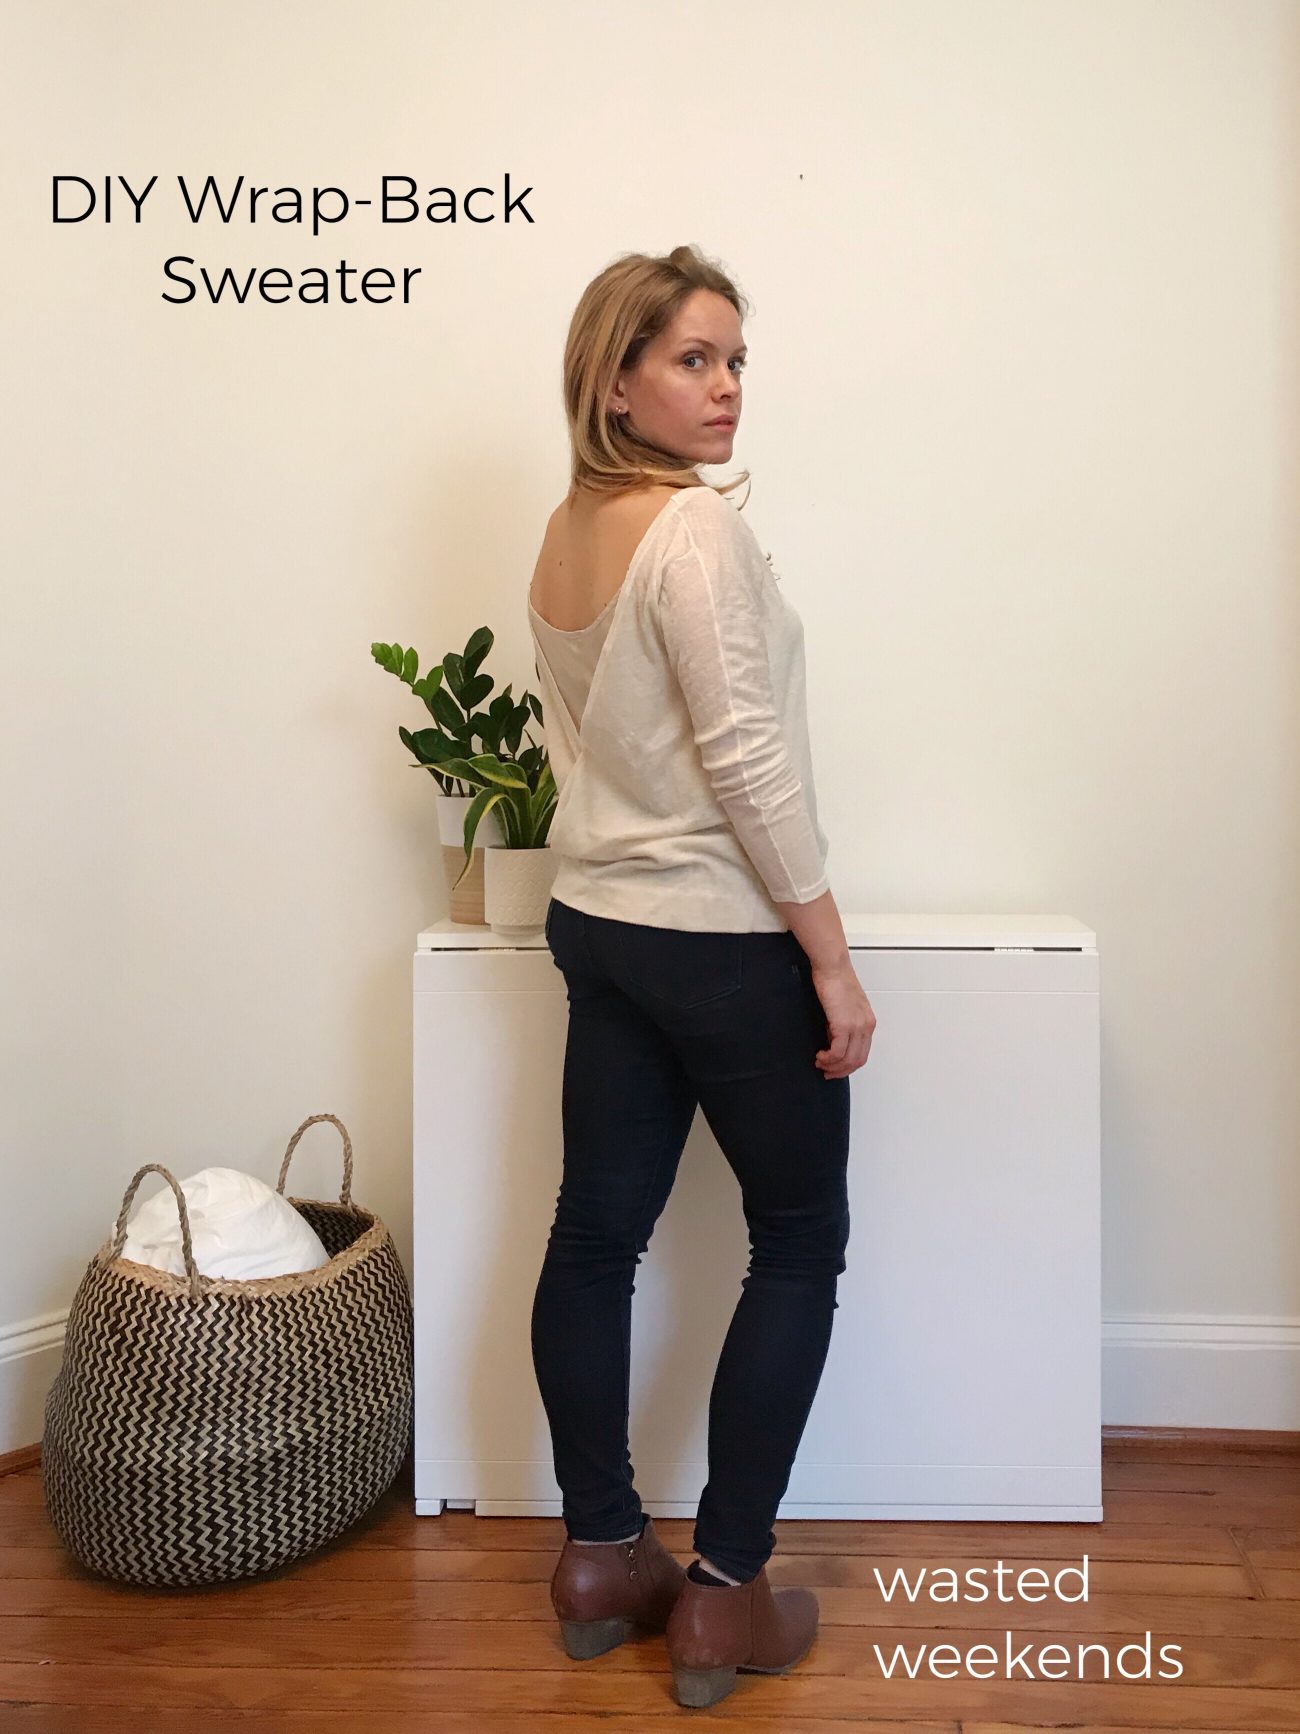
For the low wrap-back sweater:
:: I wanted a more boat-neck look, so I started the neckline 2.5” into the original shoulder seam. Note: this was too far, and the sweater tries to slip off my shoulders when I wear it. For a future version I would only take off 1.5”. Am very sad about that, since I love the aesthetic and this was the perfect fabric for it. It’s from Emma One Sock, though, and from last winter, so it’s not something I can get more of.
:: I raised the front neckline about 1.5”. (I forgot to write it down so am just eyeballing!).
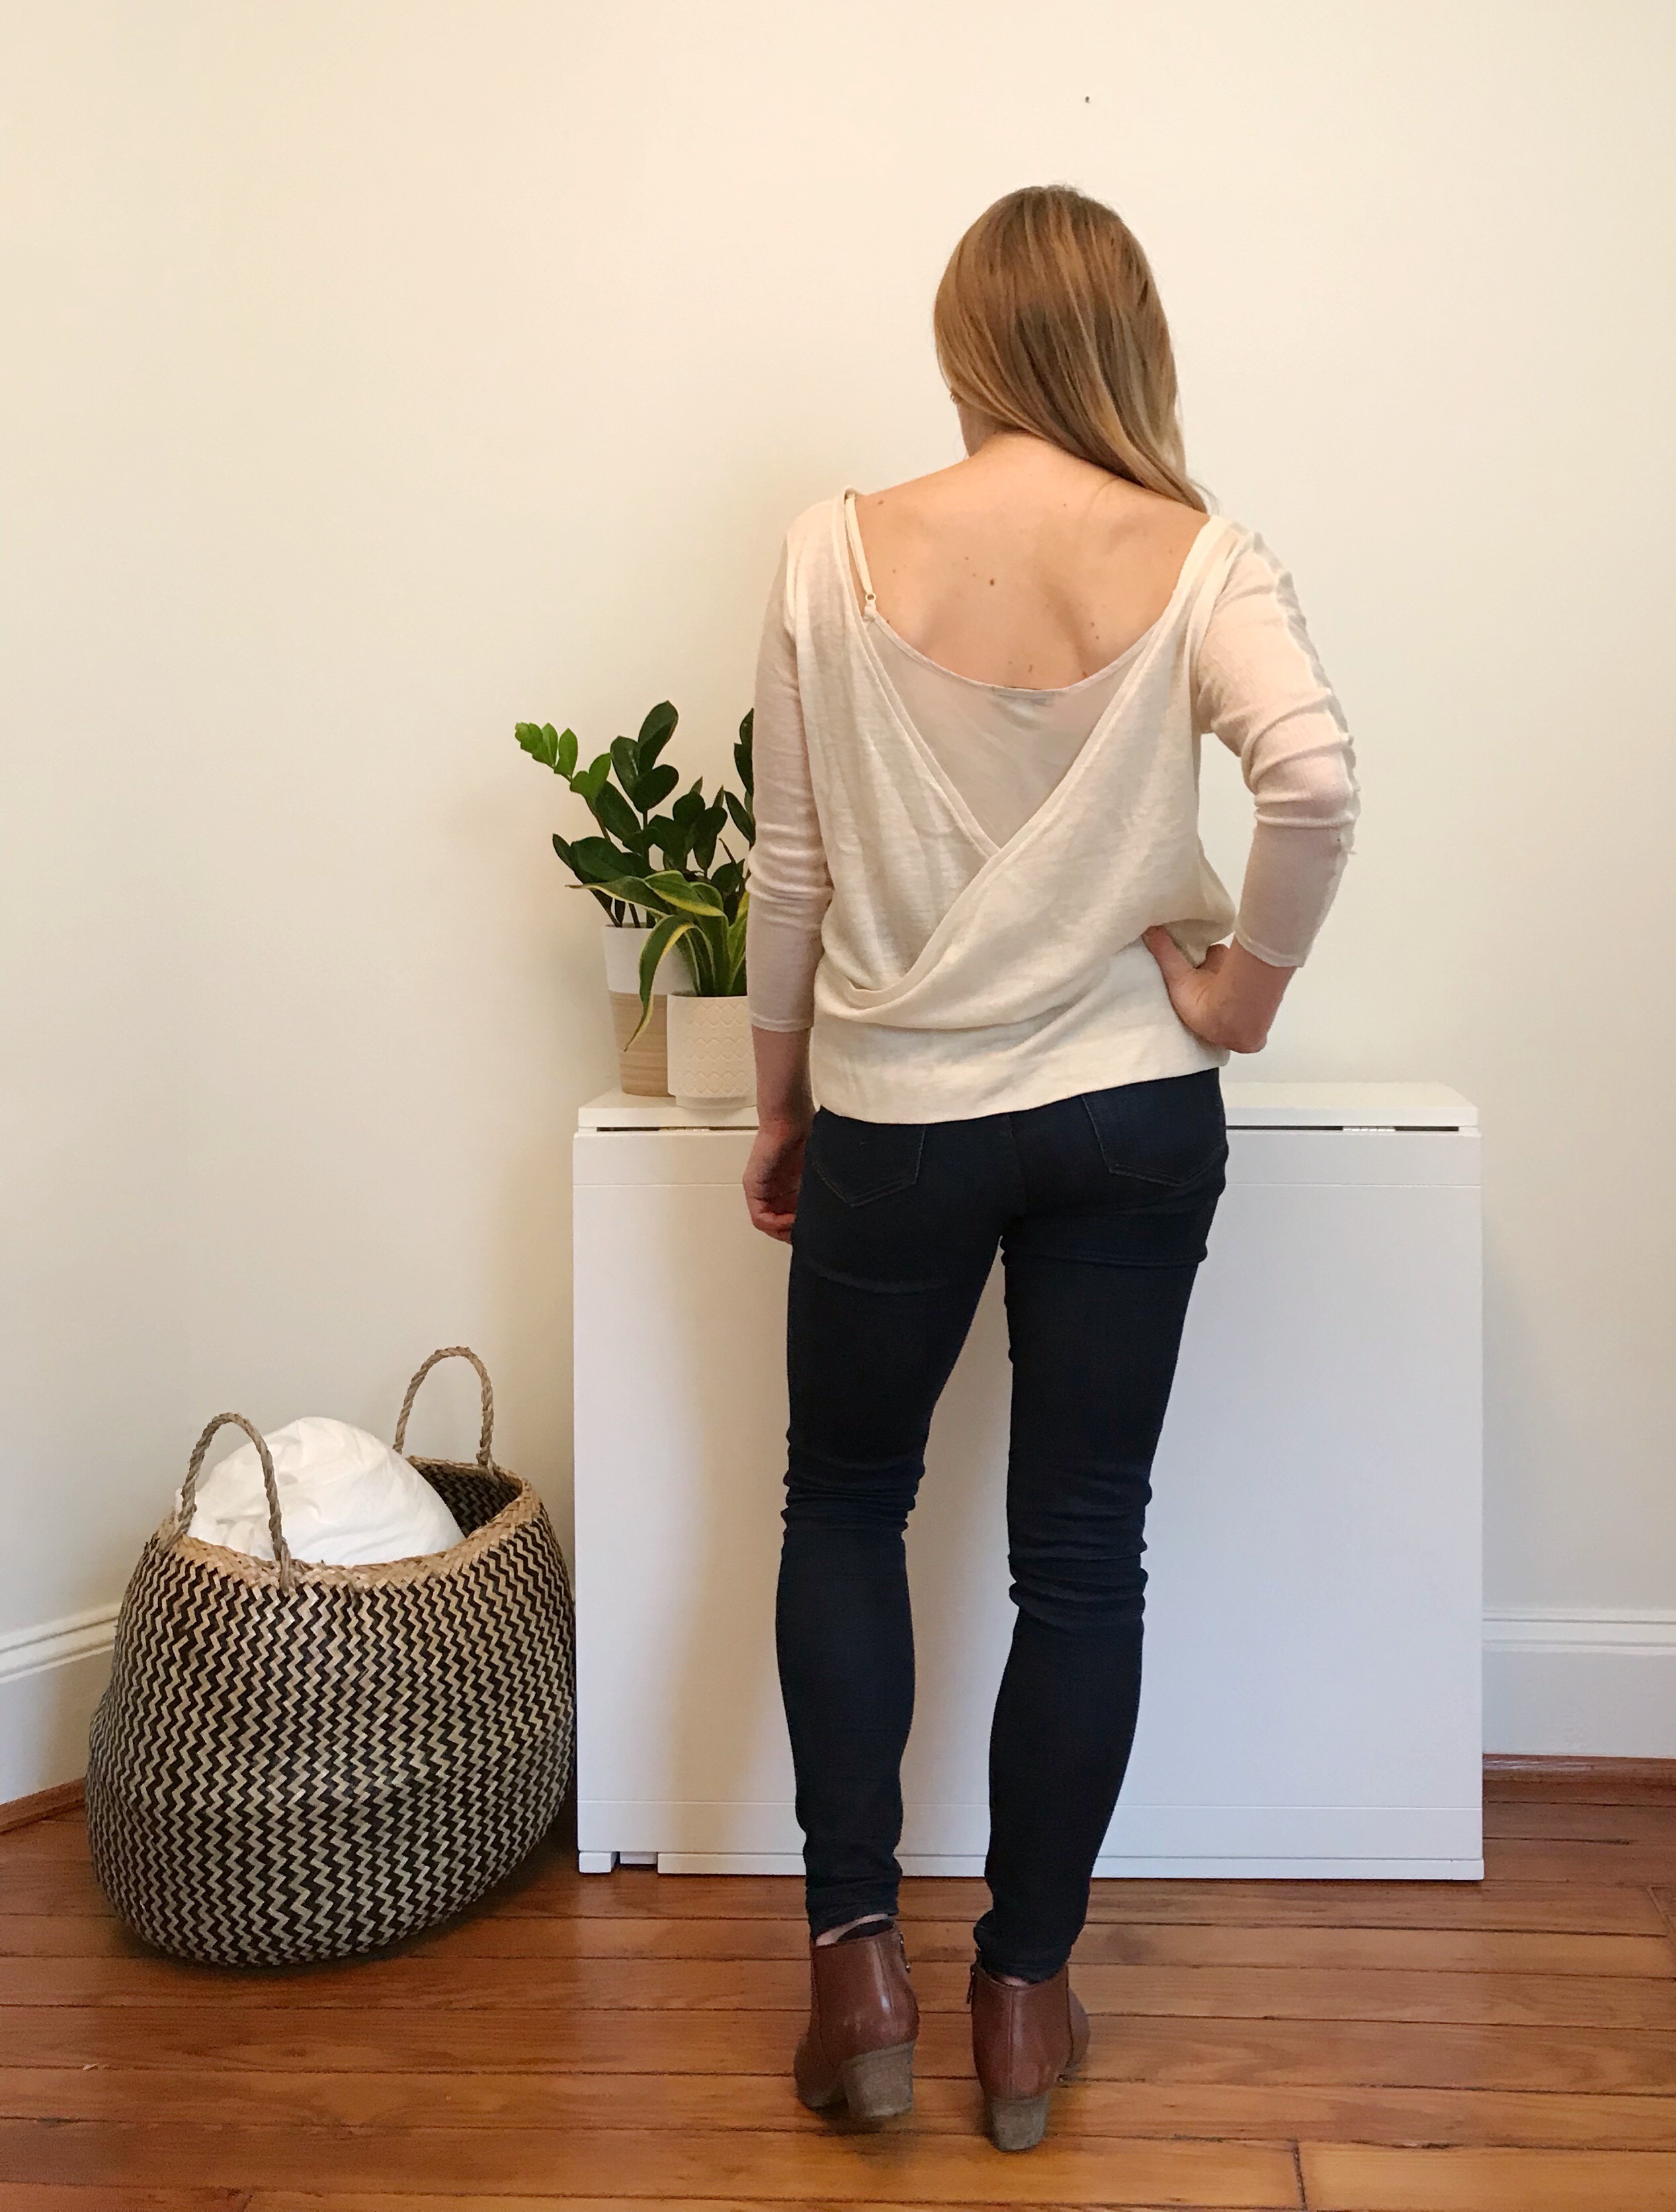
:: I made a gently sloping v-back for the back pattern piece. Note that you obviously need two back pieces. If I made it again I would also use a straight V. The scoop makes the sweater sag and bow out from the back a bit. It’s not super noticeable above, where I’m standing pretty straight, but moving makes it slip a bit, as below. I ended up tacking the two back pieces together where they cross over, which helps. 
:: I needed to change the binding to fit the new back pieces. I measured the seam line on the original pattern and the binding on the original pattern to see what the ratio was. (Note that bindings are somewhat smaller in order to coax the fabric to tighten up and lay flat against your body). The ratio was about 85%. I then measured the seam line on my adjusted back pattern piece, and redrew my binding with an 85% ratio.
:: I extended the sleeves to be wrist-length. I just drew a straight line from the current length about 8”, but that made them quite narrow. I’d flatten out the angle a bit if I made this again. I ended up having to piece the front sleeve b/c of fabric limitations, but that’s no big deal.
For construction, I did the following:
:: Attached back sleeve to each back piece.
:: Attached back and fronts at each shoulder and back piece.
:: Applied the neck/back binding. Since the back edges extend into the side seams and do not form a circular neck, the binding should be applied now.
:: Overlapped the back pieces, lining them up at each side seams and underarms and pinned in place. Note that you’ll have two back piece layers in the bottom portion of the side seams because of the overlap.
:: I don’t have a coverstitch machine, so I catch-stitched the bottom hem and sleeve hems in place. I know it’s hand sewing, but knit doesn’t ravel and I’ve found that a catch stitch both holds the fabric in place and maintains flexibility in knits in a way that using a twin needle does not.
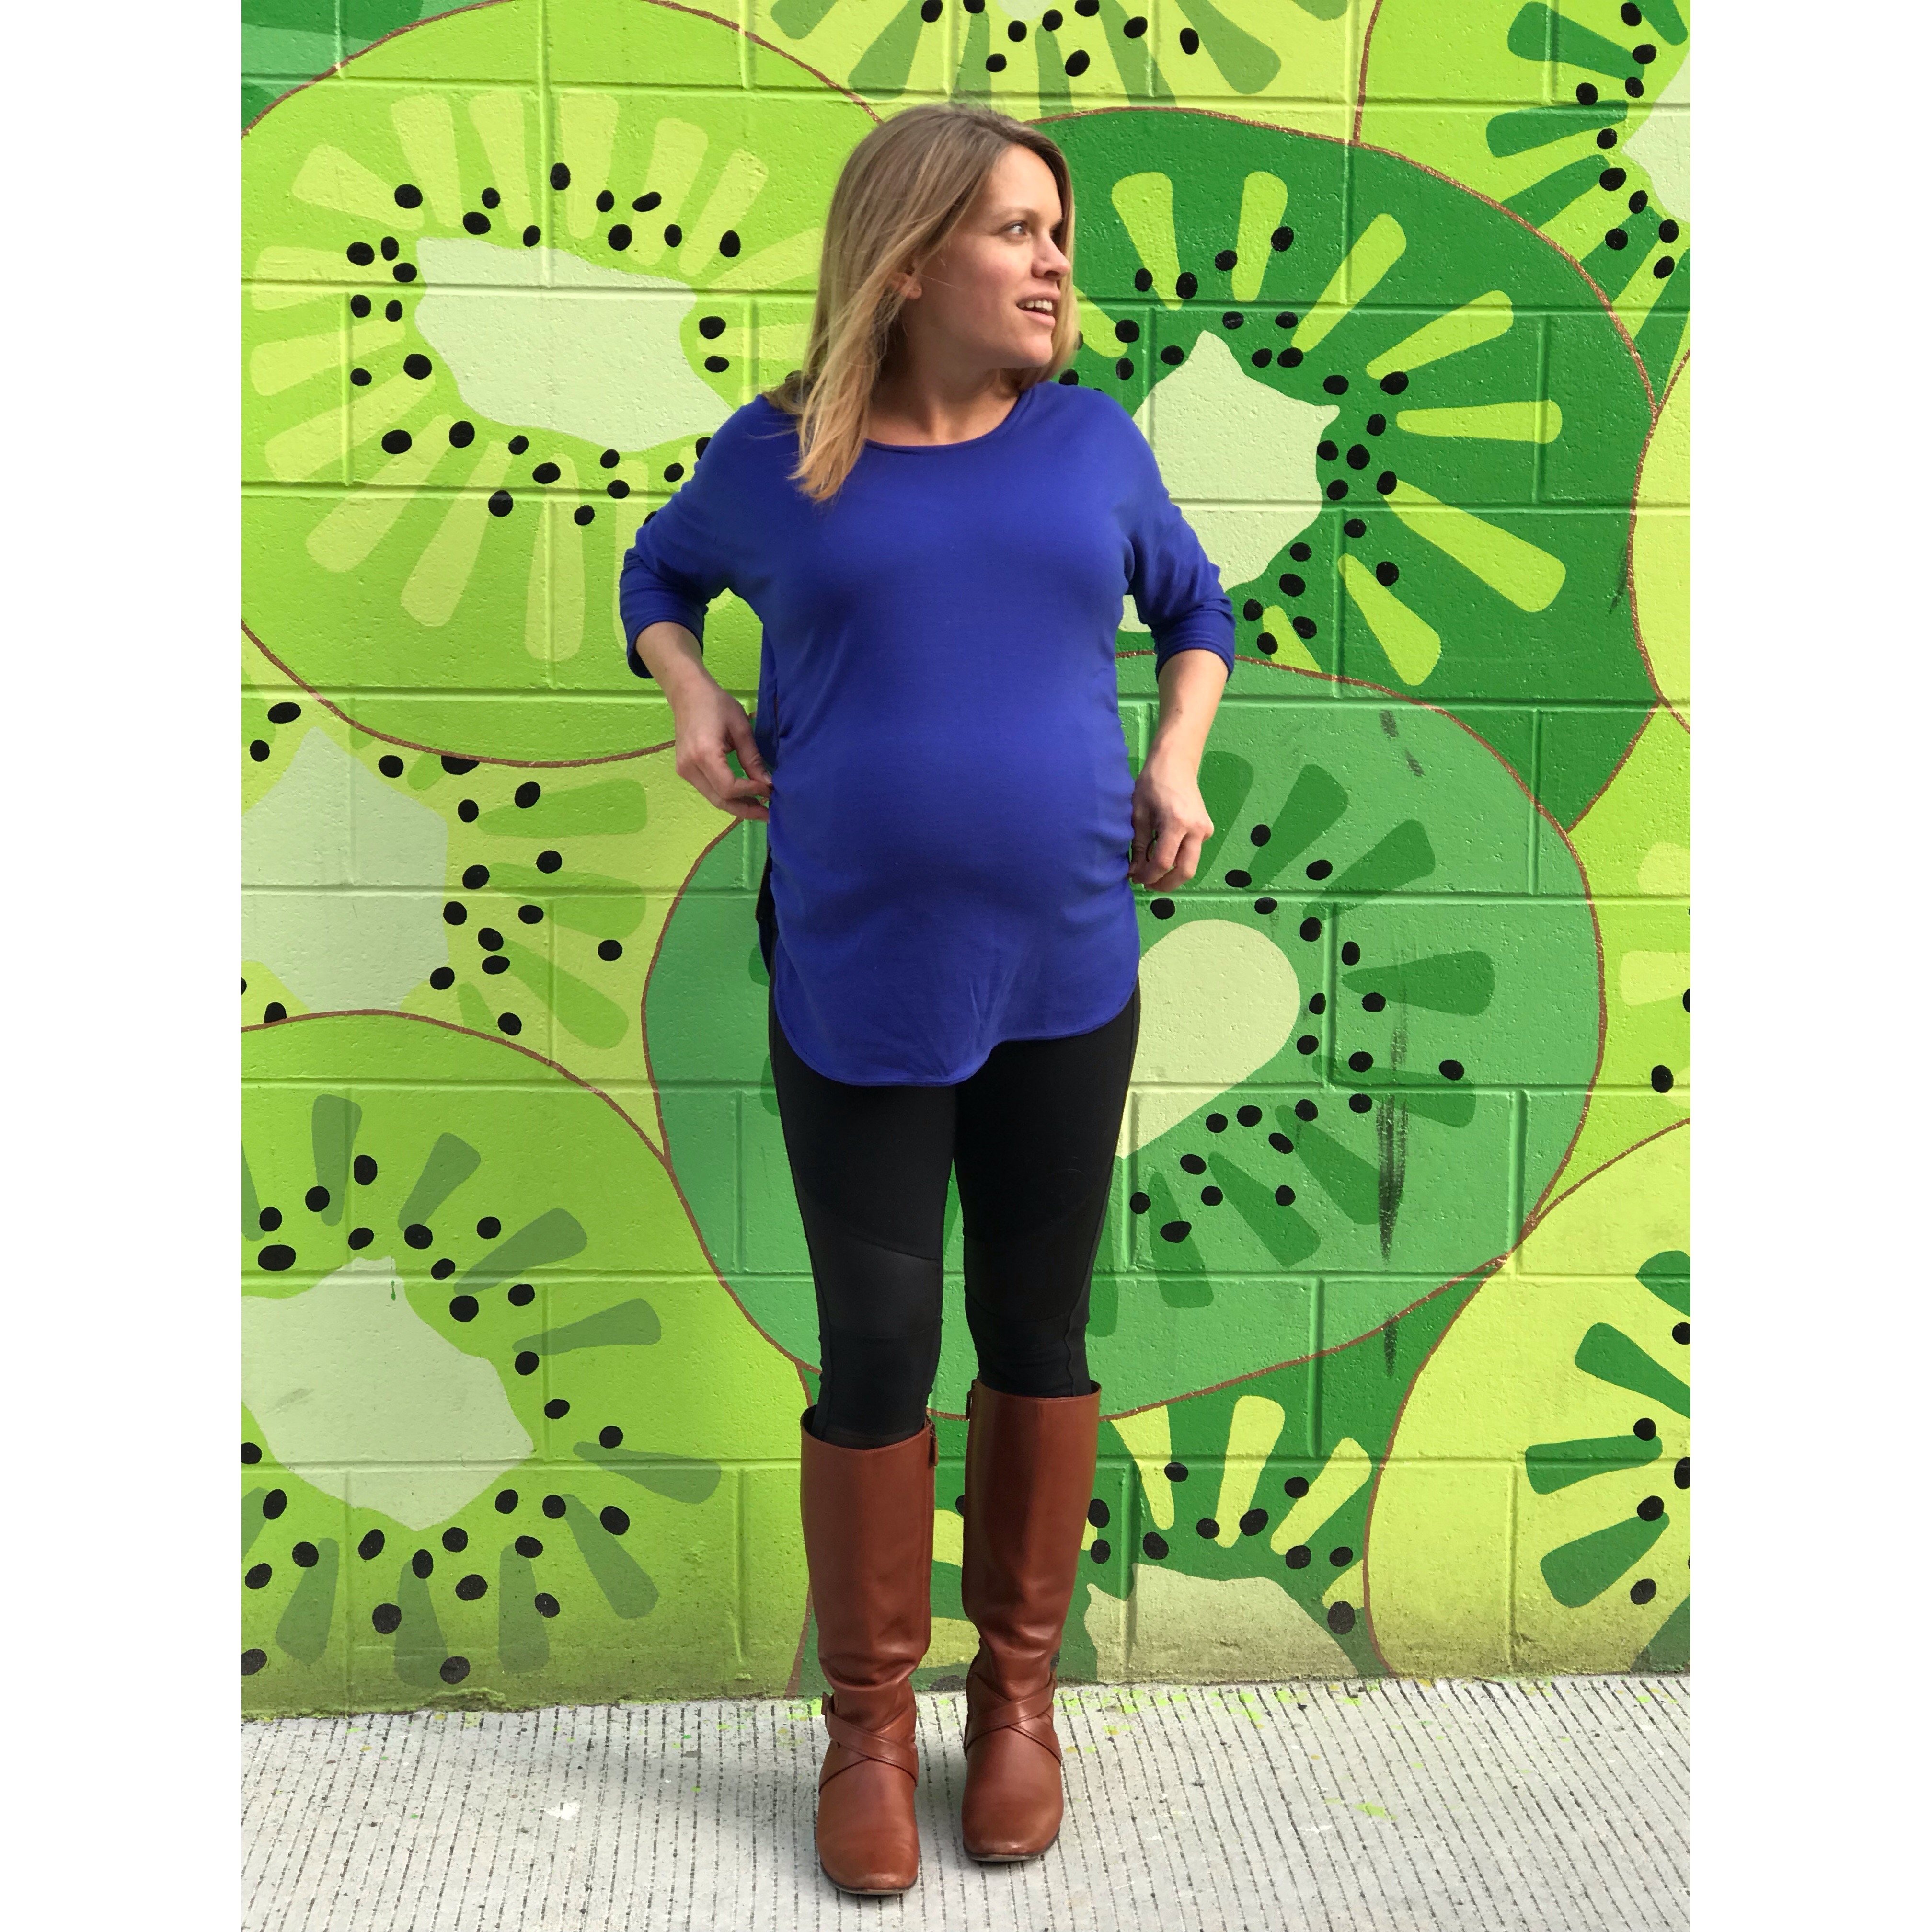
For the maternity sweater!
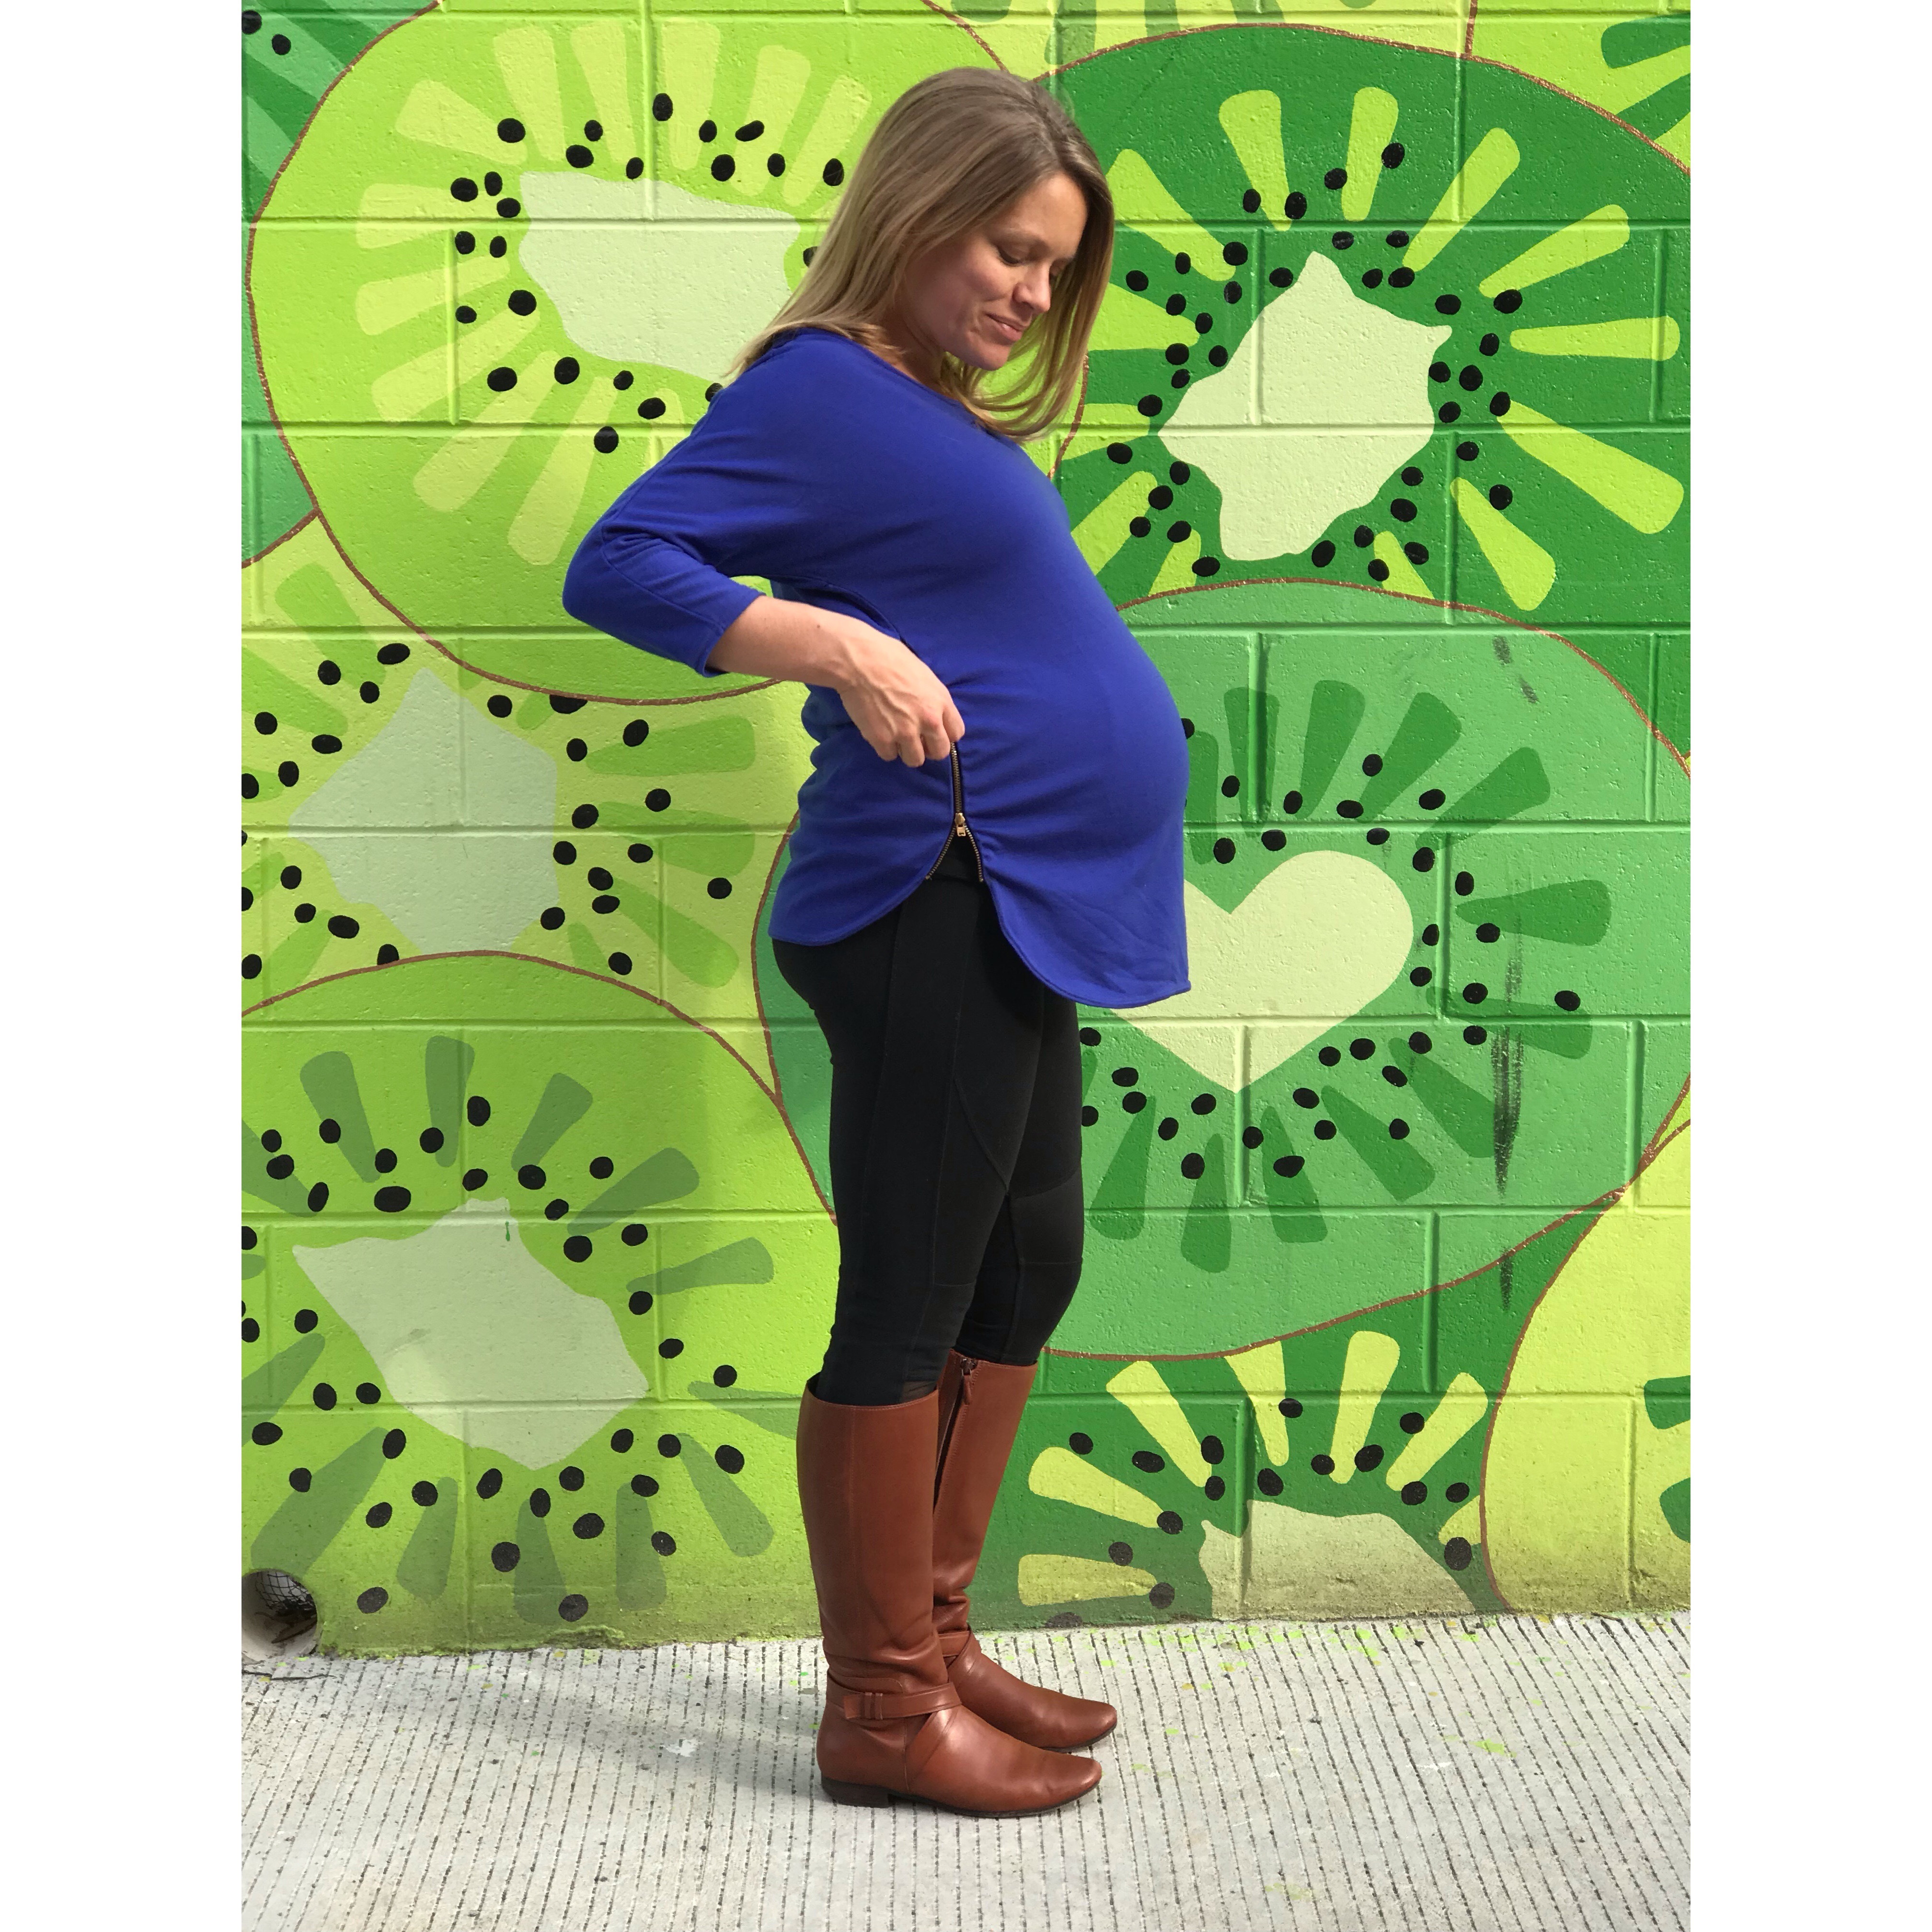
This was my first version of the top, and it worked just fine for maternity. I had grand hopes of it also being a nursing top, but that just didn’t happen. To accommodate the preg belly in this somewhat thicker sweater knit, the belly area was a little a little too distended to want to wear for very long after birth. (This is not the case in ready-to-wear tops that are marketed as nursing/maternity, but they’re often made from slinkier knits and you tell me how much you want to wear a slinky knit at 8 months preg).
When these pics were taken I had probably outgrown it to be honest. Day stamp is Dec 2 and I was due Dec 18. (I didn’t give birth til Jan 1, but nevermind about that).
ANYWAY. It’s pretty simple, really. All I did was add 3” to the front length by slicing across the waist and spreading to add in the extra. That preserved the bottom curved hem. You need the extra length to go up and over your big huge bump, much in the same way a full bust adjustment needs to add length to a pattern. I distributed the gathers throughout the front body, basically from under the bust to just where the front and back curved hems meet. Really not too complicated.
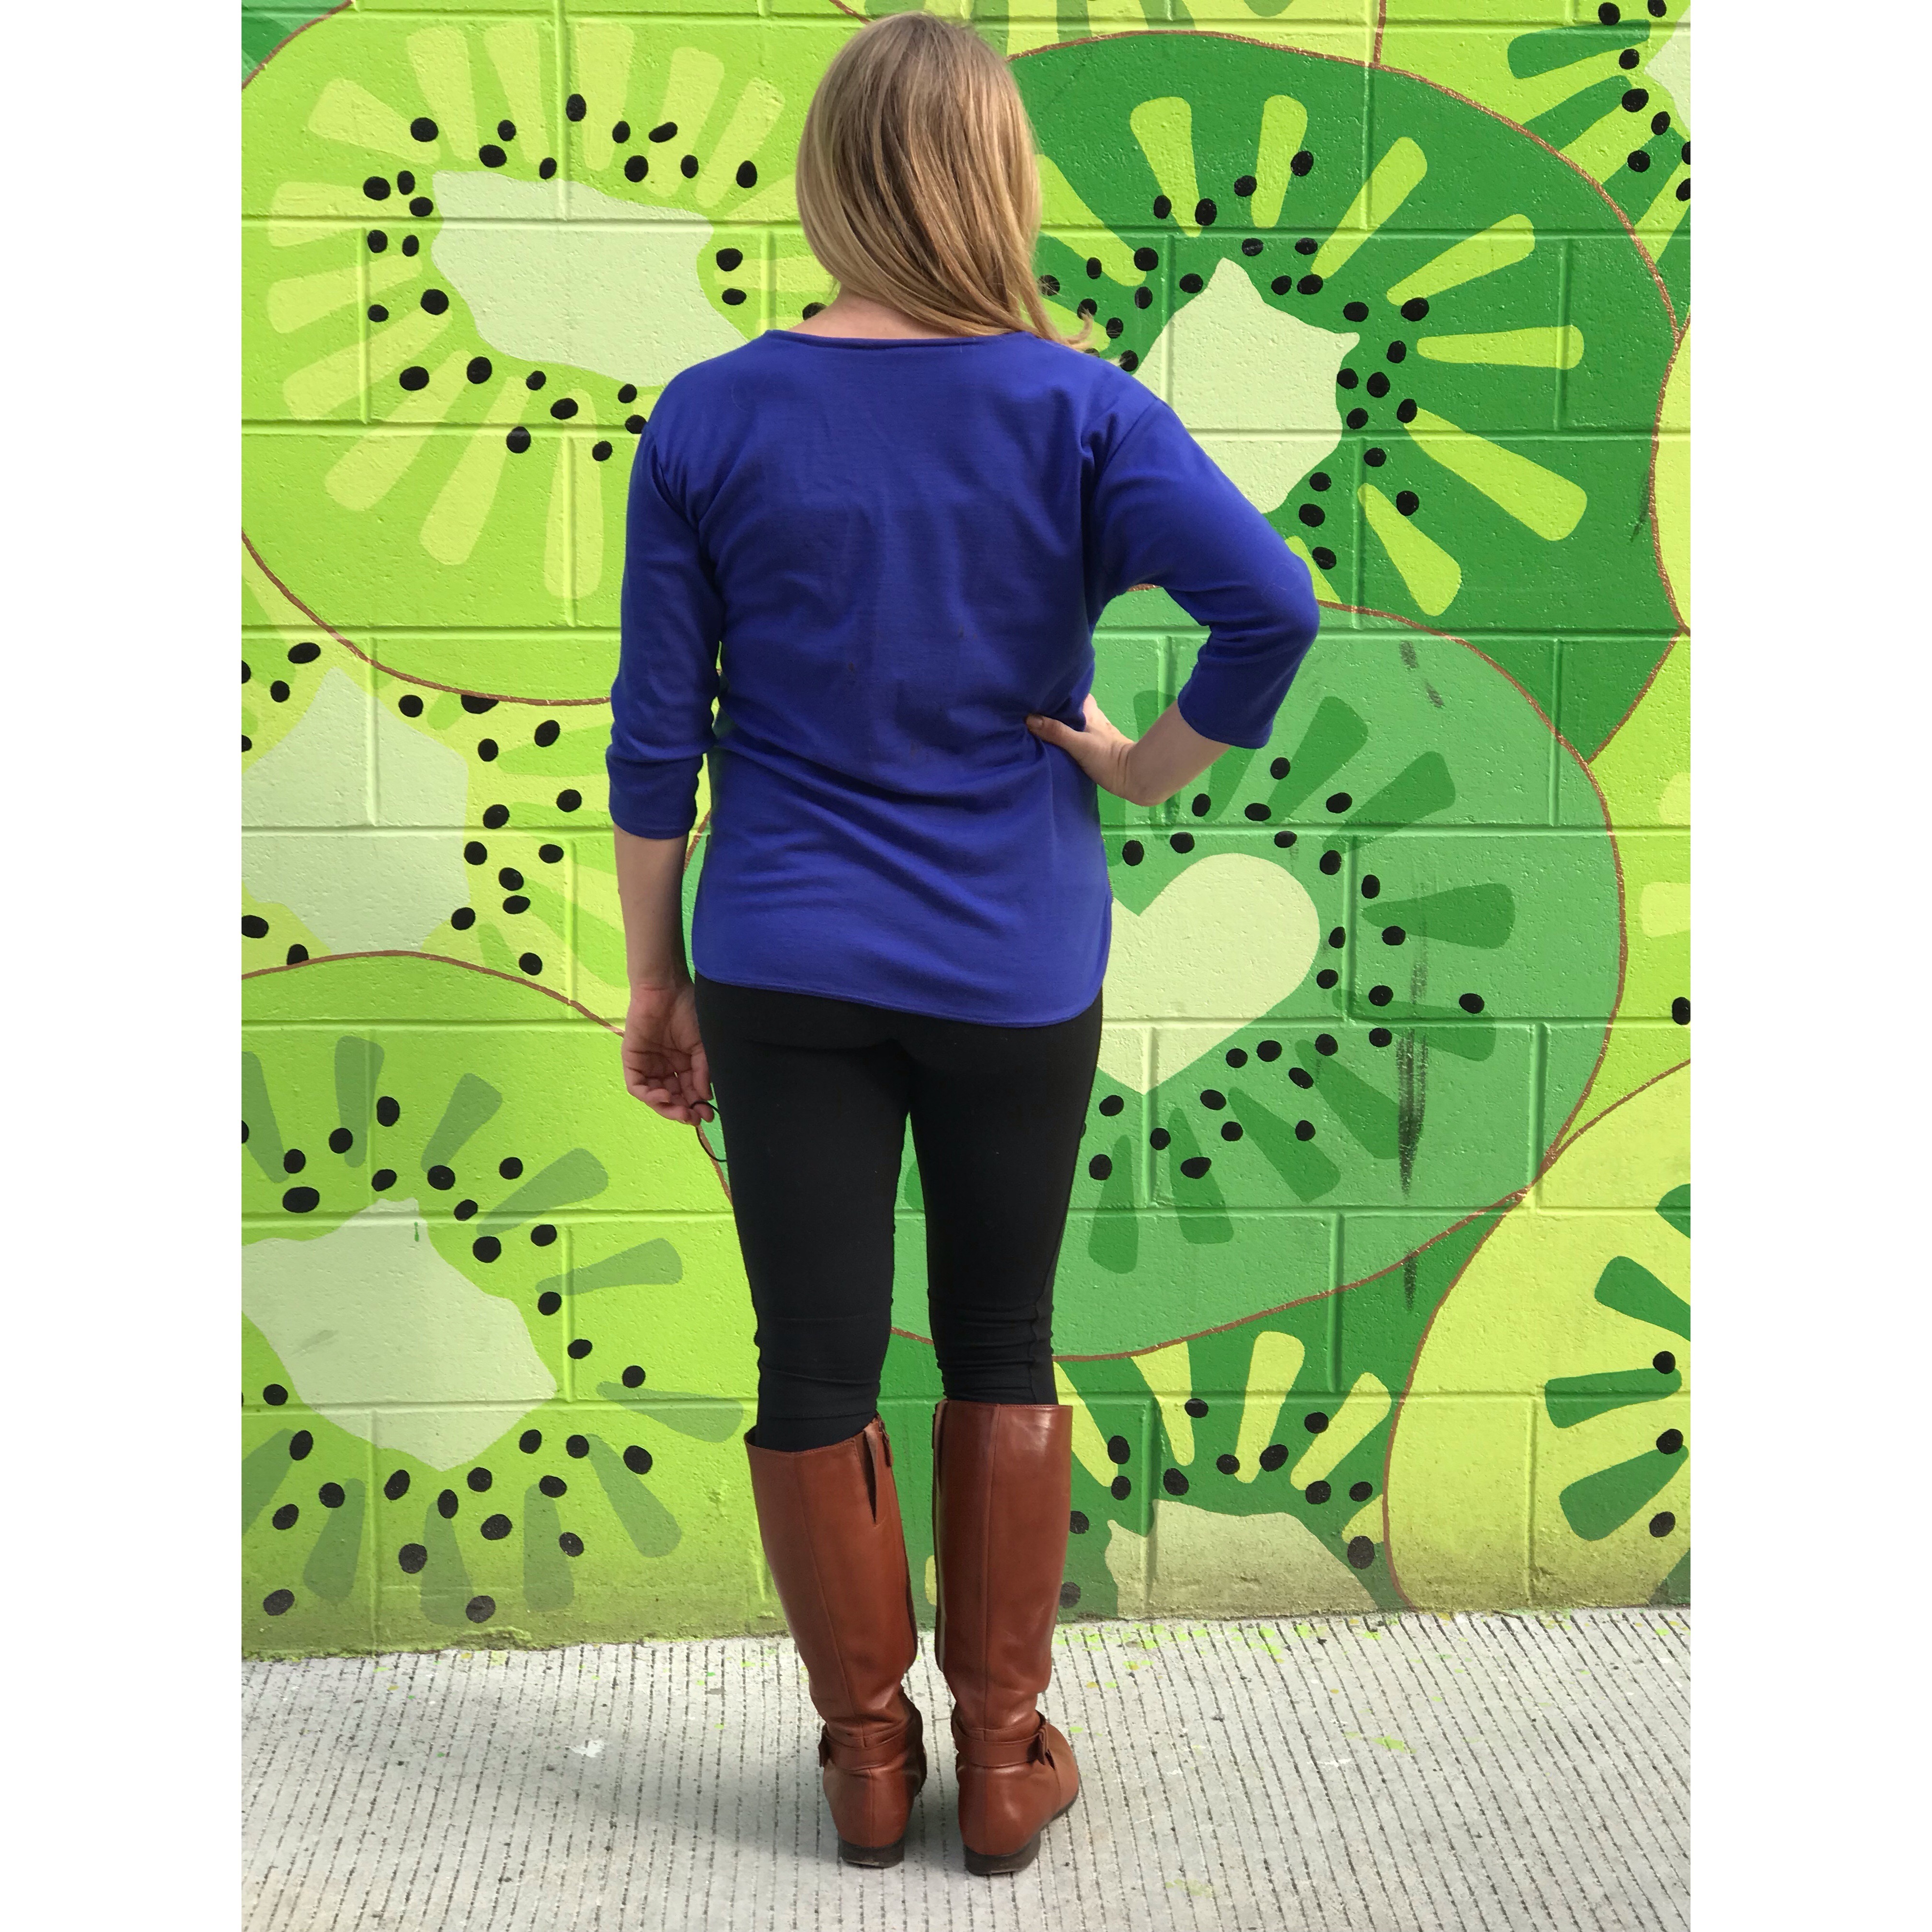
You can see from the below pic that adding to the back was not necessary. Plenty of room there, despite the obvious pulling and stretching in the front.
The only other thing I did was insert zippers in the side seams. See above about trying to make it a nursing top. I never used them, though, because see above also about it not really fitting a post preg body.
And that’s it. I’m going to try to ignore what the dramatically different hacks of this one sweater pattern might have to say about my massive, massive pattern stash.

Both sweaters are very cute. I particularly like the cross back version; nice work! Random aside, are your boots Blondo Villa? I just bought a pair this afternoon so was tickled to see what looks like the same boot pop up in my blog reader. 🙂
They are! I’ve had them a couple years and they’re a great all-around winter boot, especially if you have to do a lot of walking.
Wow that’s a lot of different “hacking” there! Nice work!
Thank you!