All right. Wedding season is upon us (well, those of us who are between the ages of 26 and 35) and I have more than I was expecting. Which is great! And which also means it’s dress-making time.
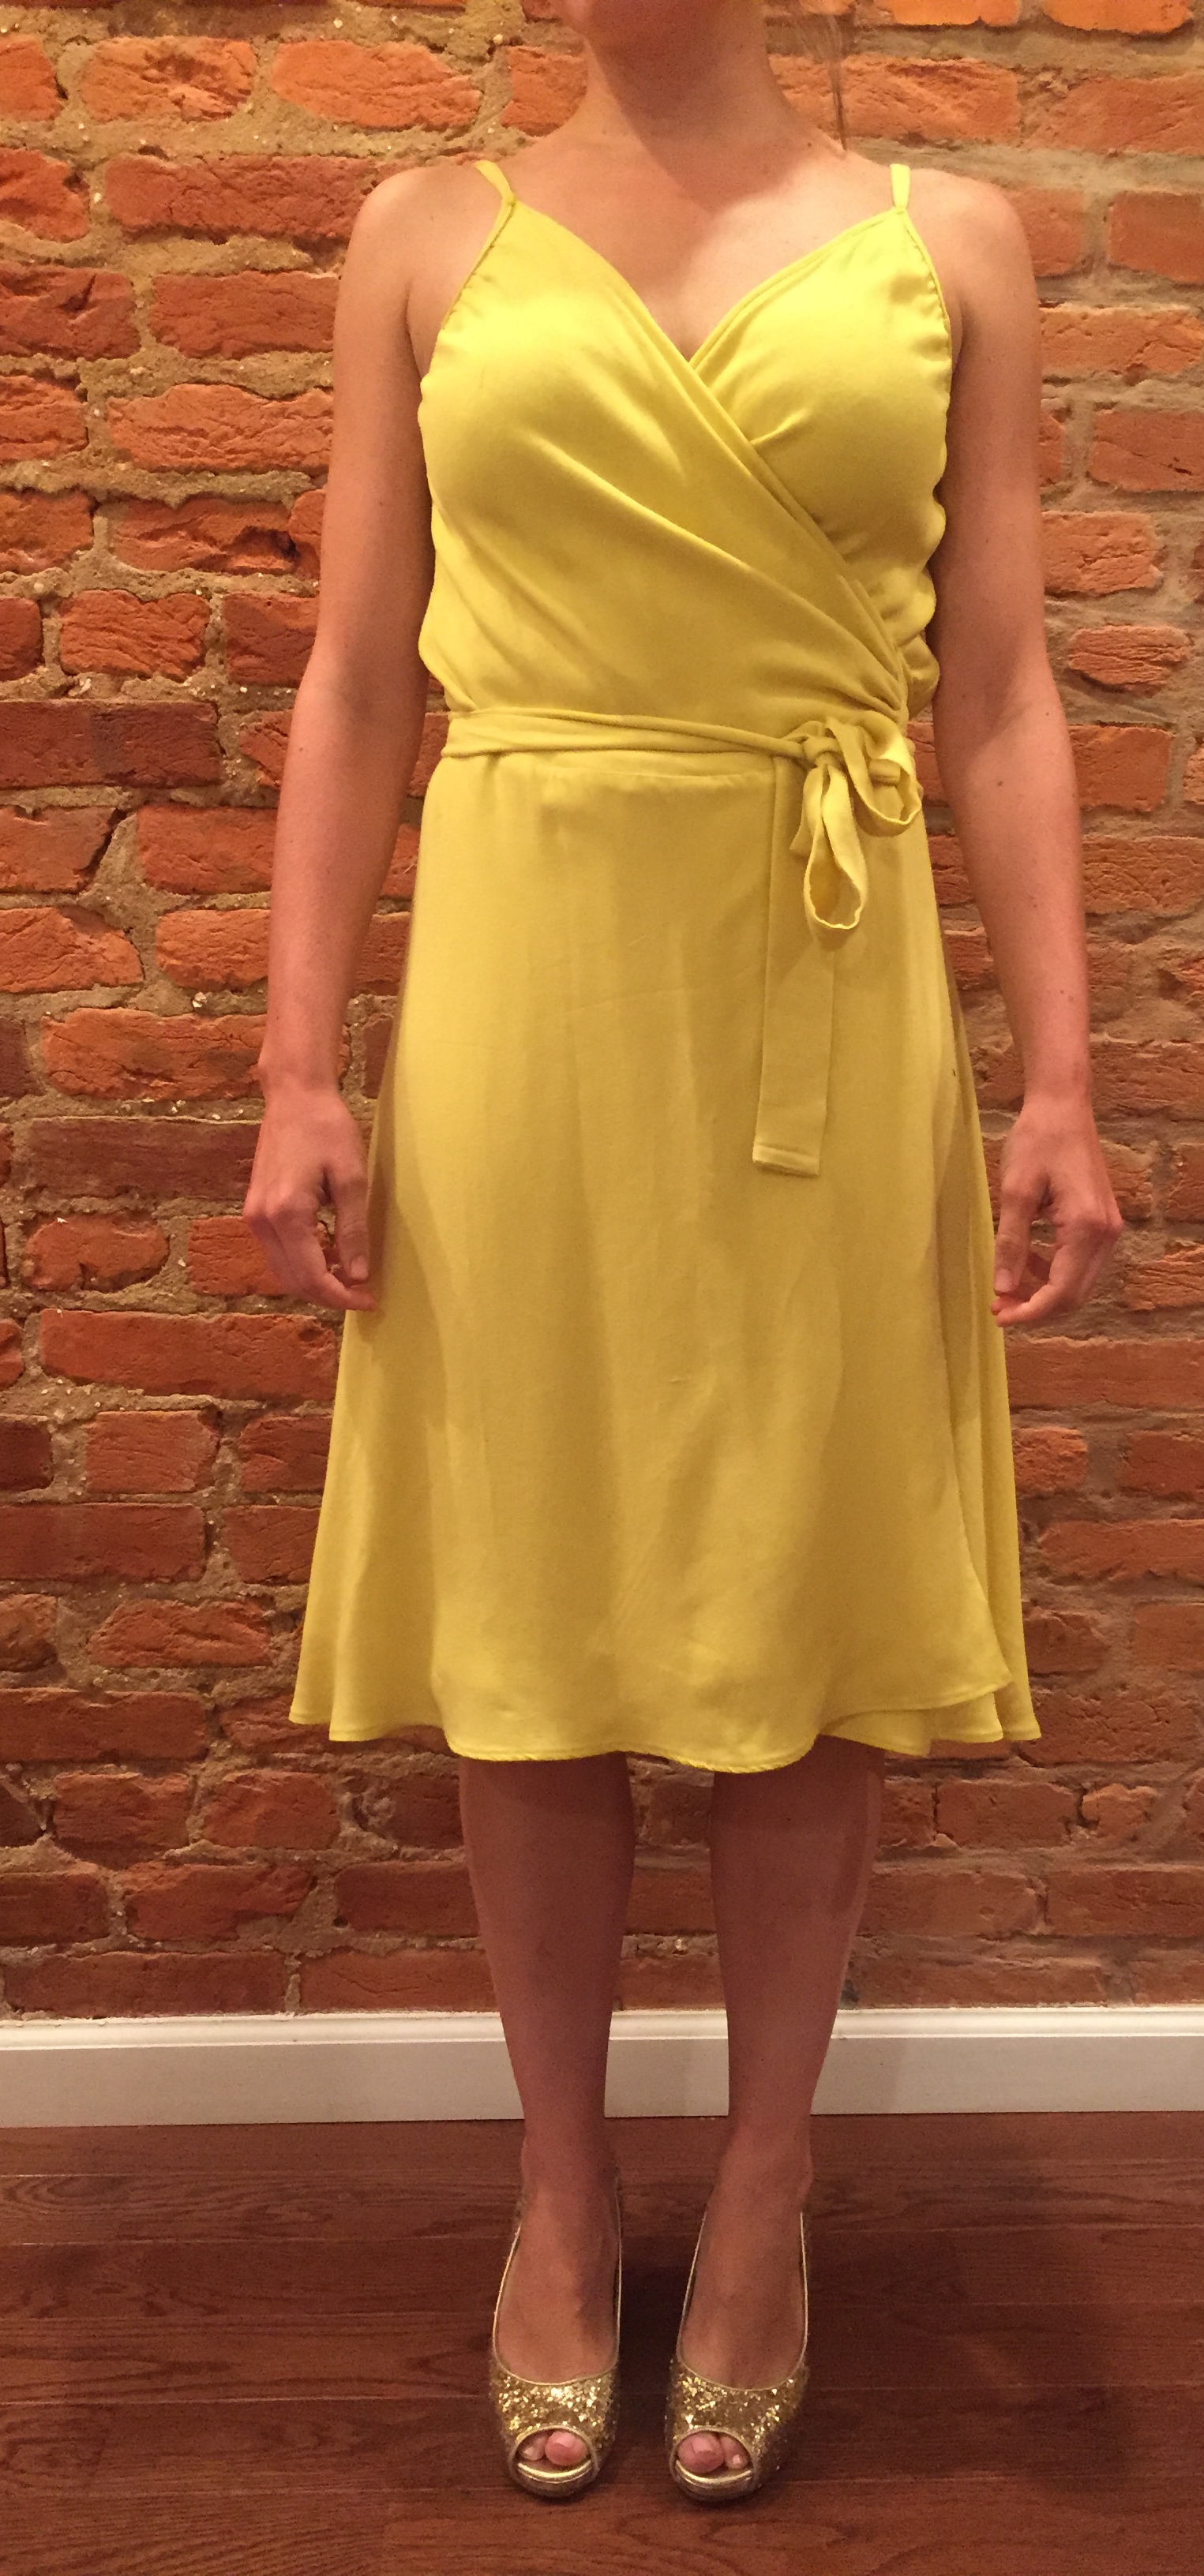
 Last year I made this Paper cut Patterns Midsummer Night’s Dream dress and I really liked wearing it, apart from that fact that I didn’t leave myself a hole through which to pass the wrap tie in one side. (Stupid).
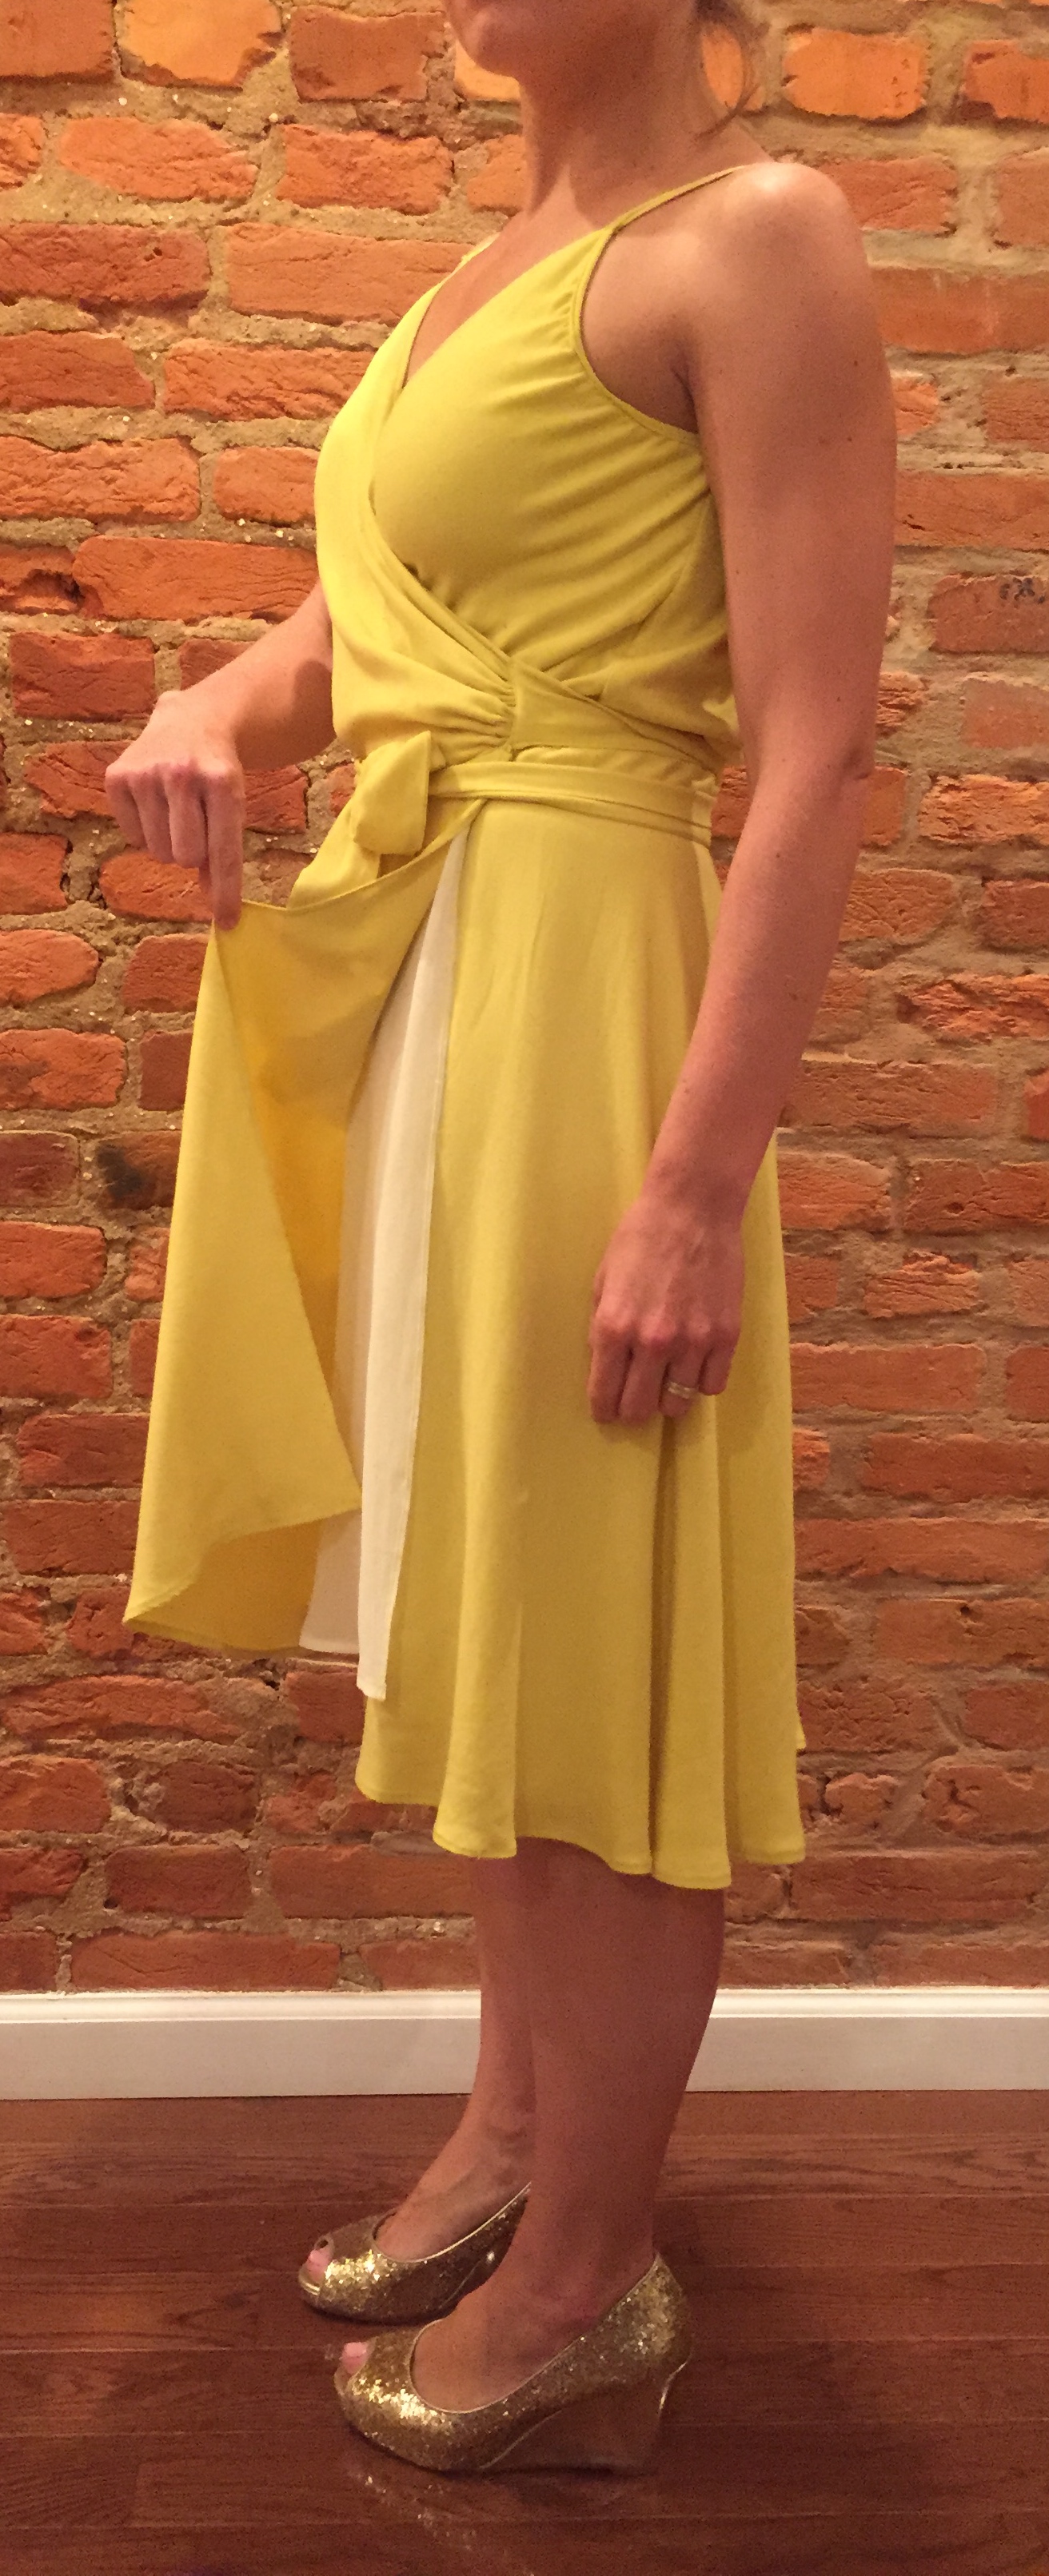
My other mistake on that one was that I didn’t underline the bodice of the delicate silk charmeuse. It’s asking quite a lot of that fabric to have it hold up the skirt all on its own.
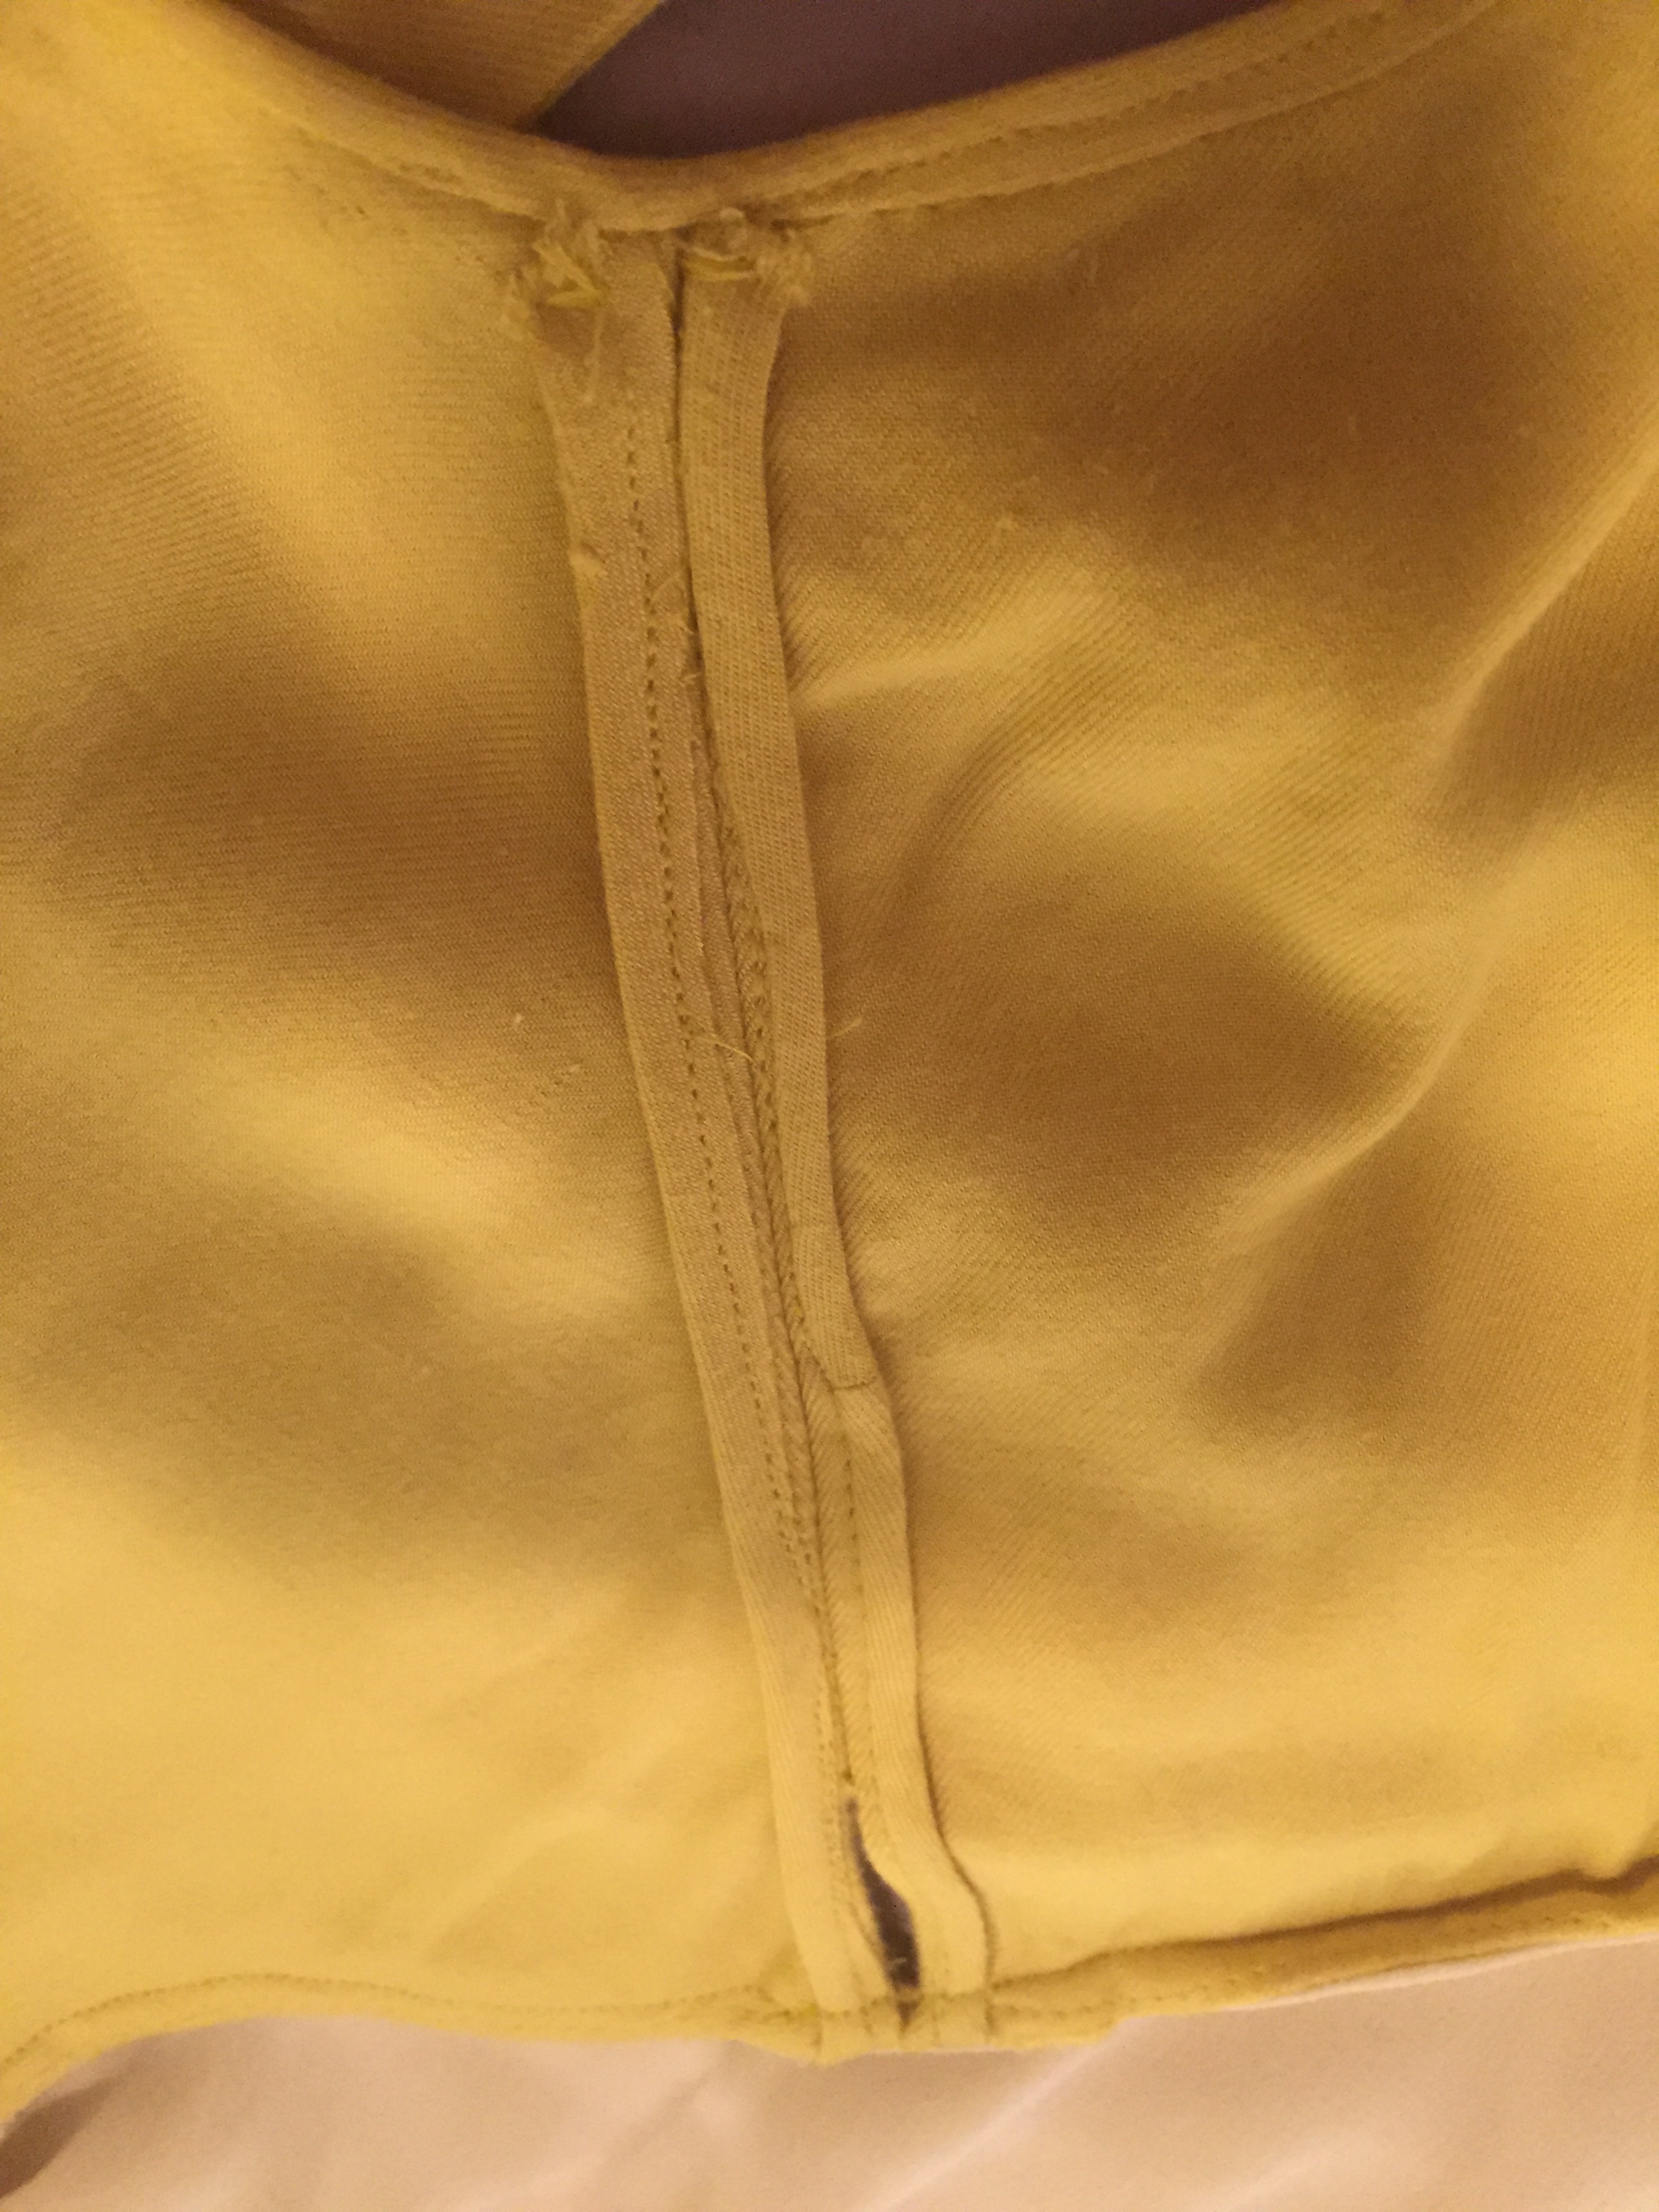
:: lowered the back neck a full inch.
:: lowered the front peaks a full inch.
:: reduced the bodice length by half an inch (in hindsight, a bad idea given the inches I’d already taken off its length).
:: increased the armhole height half an inch on side front and back bodices, and smoothed the armhole curves to account for all the changes.
:: straight up copied A Handmade Wardrobe and tacked down the strap on each end to create a double strap rather than that silly looking bow. Multiple bows look ridiculous on grown-ass women, especially short ones.
:: measured the excess of material/gaping at the side boob. Again, from AHW: sewed basting stitches and then gathered the material to reduce the length by the 2 inches of gaping I had.
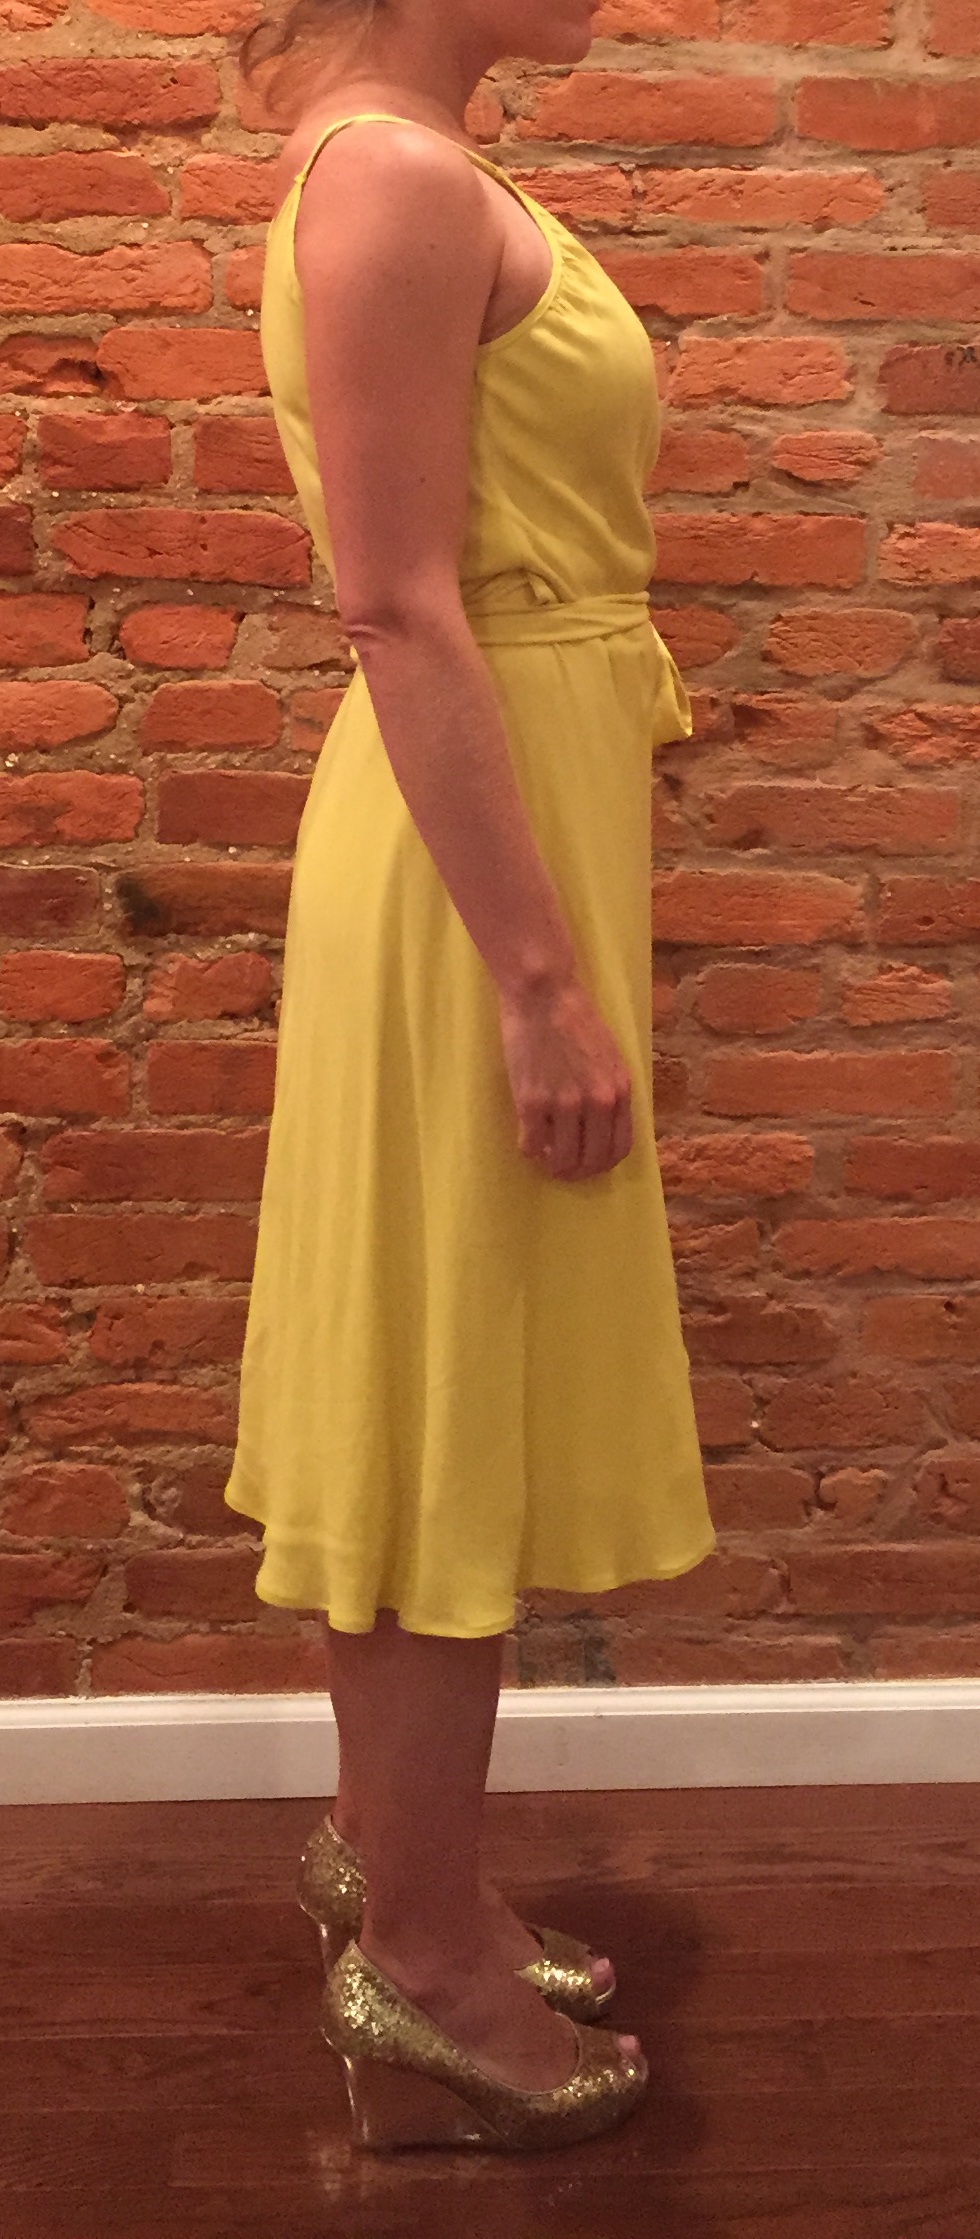
:: I hemmed the dress by 2″. Last year, that made the skirt too short, but this is evidently a study in fabric weight and bias growth, because the length is great here. The skirt was pinned to my dress form for about a week and seems to have grown a decent amount.
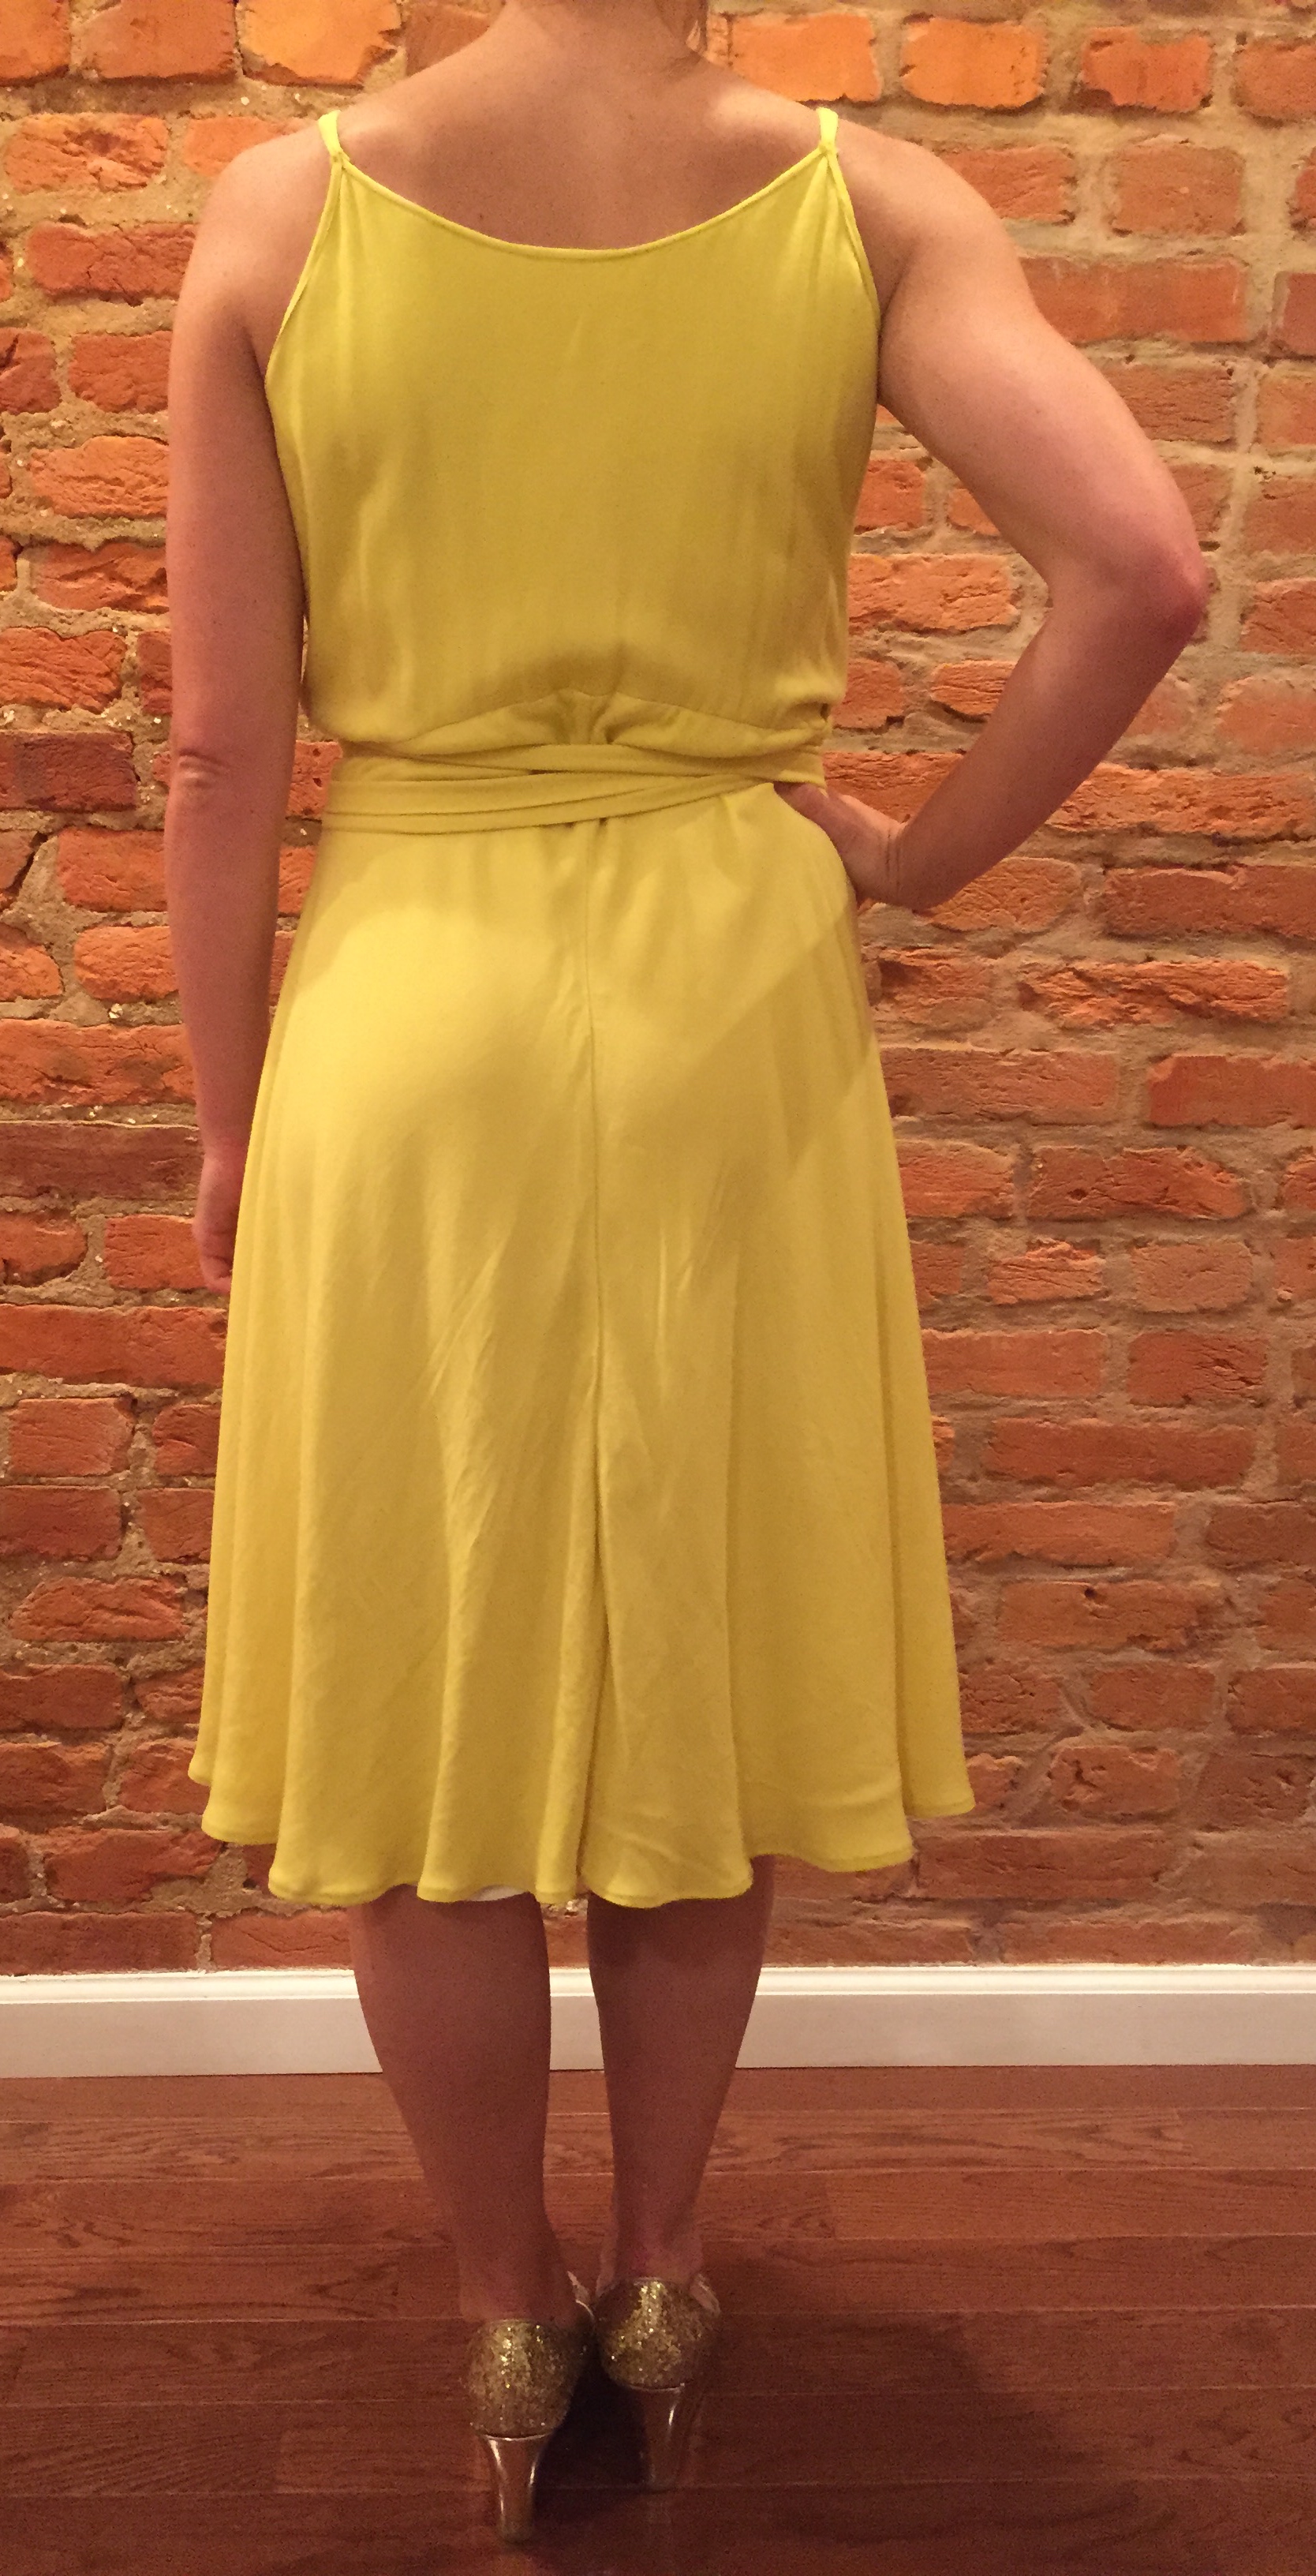
Something about the bodice back still bothers me a bit. The back waist seam pops up over where the ties settle, but maybe that has to do with where my waist is on my body? Who knows.

And that’s it! It’s a dress!
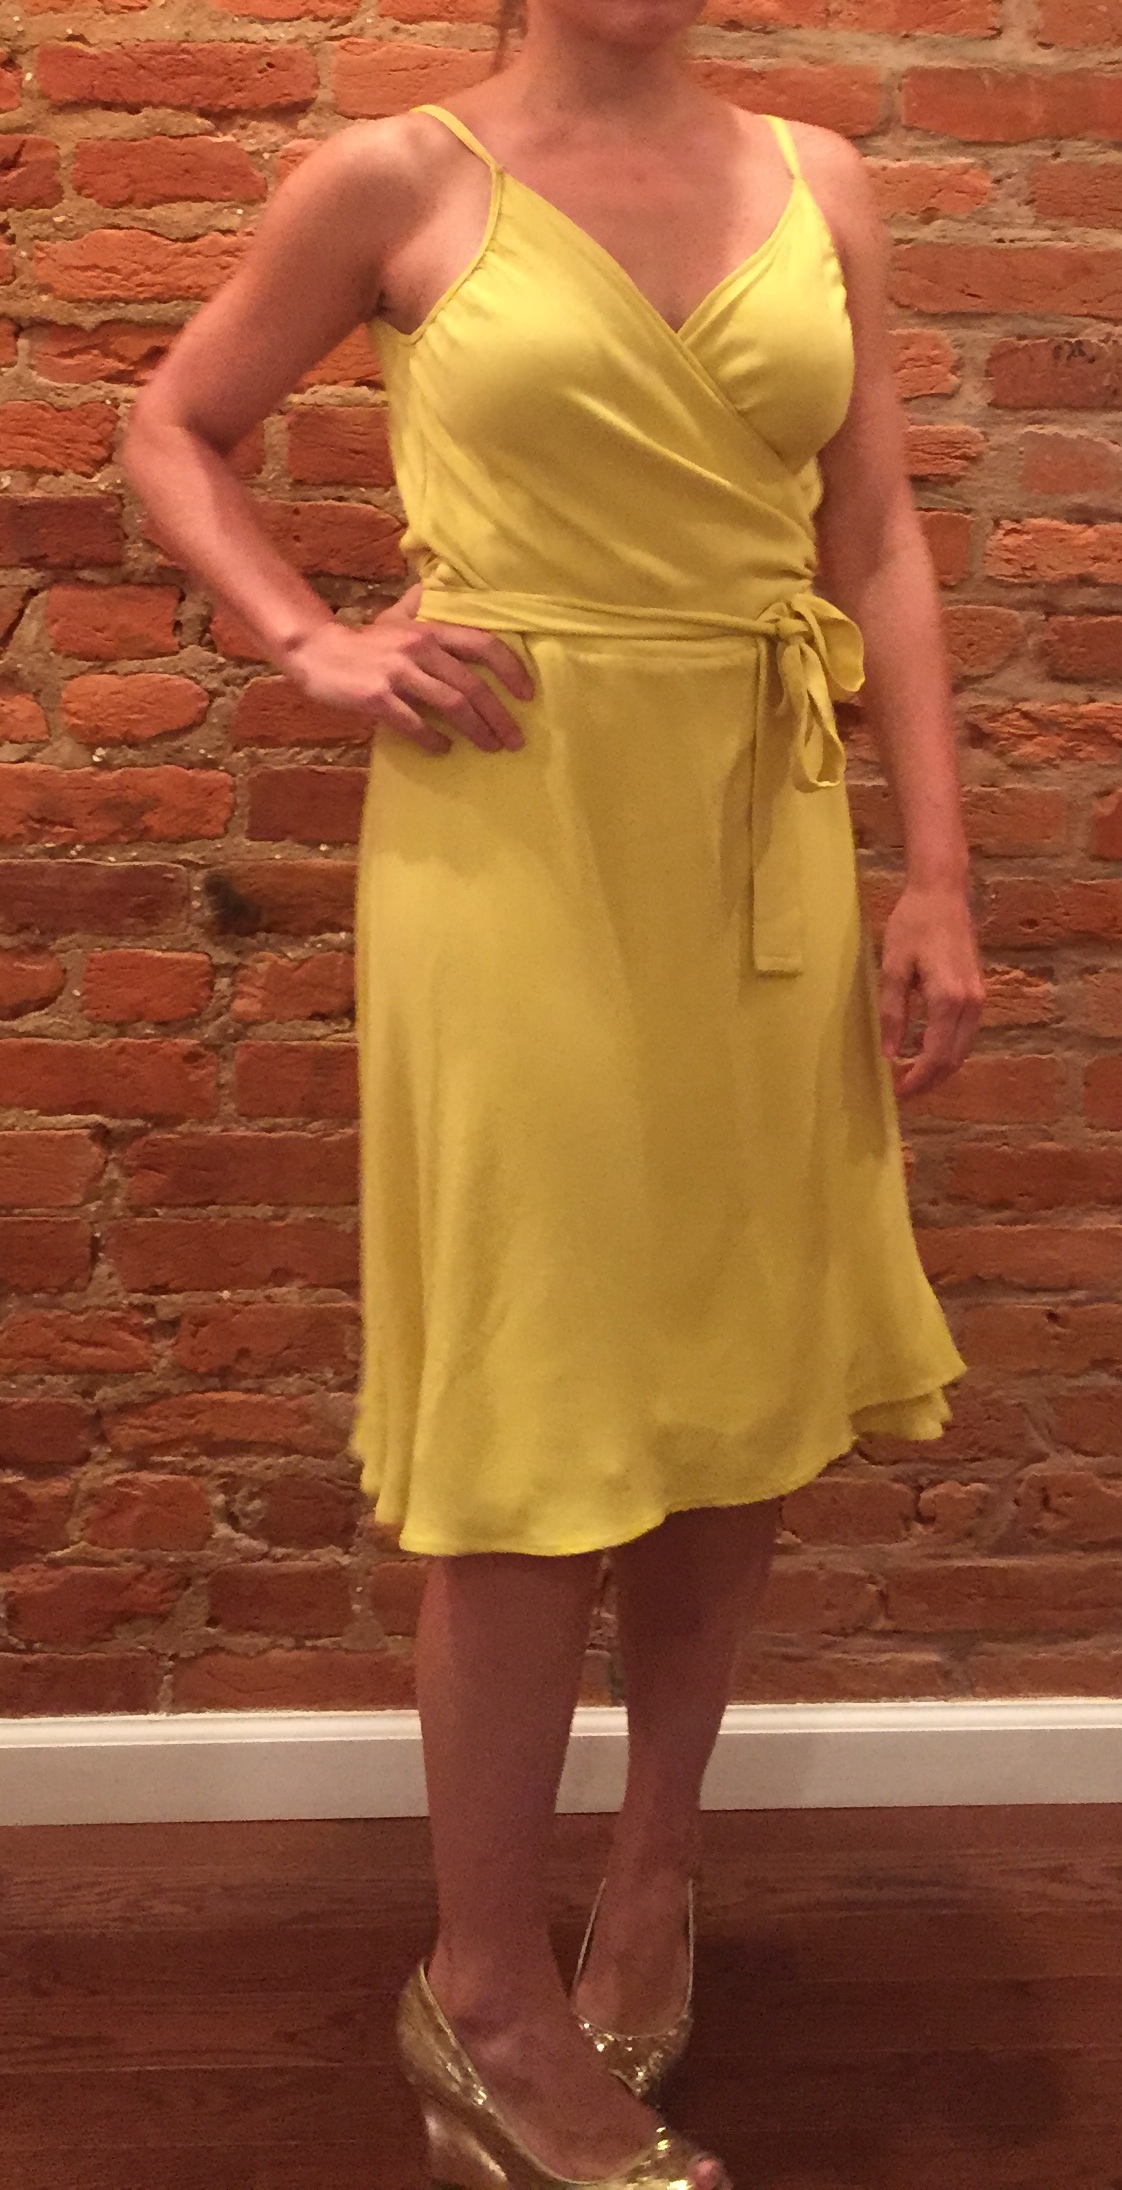

Your dress is really nice! I love the color.
The pattern has always been on my to-sew list but I still haven’t had the occasion… now I want one in yellow too:-)
Oh good! I’m glad you like it. Let me know if you make it, I’d love to see the result.
A very lovely dress. It looks like it might be a challenge to sew? It sounds like the fabric I just finished sewing up – with Wonder Tape!
Thanks, Linda. I feel like most of my challenges are on fit. Since I’d already been through that once with this dress, this iteration wasn’t so bad. The fabric was also pretty agreeable once it was all cut out!
Lovely colour choice, you look great in it.
Thanks so much! It’s actually the only yellow I own, I don’t generally gravitate to it at all, so I appreciate it.
Yellow isn’t really something you may want a lot of in your wardrobe (unless you’re my old yoga teacher who I only ever saw wearing all yellow), but I think a little bit adds a splash of sunshine.
This is a lovely dress, the yellow is so cheery! New to blogging, returning to sewing so I appreciate your willingness to share your fails….will undoubtedly have some of my own. Found your blog through SunnygalStudio and now a follower, it’s a great read.
Thanks so much! The fails are where I learn the most and so probably where I have the most to say.
Glad you stopped by!
Hiya! I’m making this dress at the moment, and feel like the answers probably so obvious but I have left an opening on one side for the one tie to go through but I don’t understand how the other tie is supposed to wrap around the body to tie into a nice even bow?!
Hey! Great I’d love to see how it looks. So, one side overlaps the other, right? The tie attached to the underlap (is that a word?) side will pass through the hole. The tie attached to the overlap side just goes over the opposite side seam (the one without the hole). You pull them to your back first, cross them, and then keep pulling around to your front, where you tie the bow. Make sense?