
I spent all day yesterday in the sewing room trying to make some progress on a man’s overcoat for my husband that’s been in the works now for three fall seasons. It’s been cut out since probably very late 2014, and I’ve picked it up a few more times before getting frustrated with the level of hand sewing, cutting into my facing and coming up short on fabric, or — as with yesterday — realizing that the coat is just. too. short. I’ve got a plan to use hem facings to get me an inch back and open up the shoulder seams to get me 1/2”-1”, but that project is slouching dangerously towards the ‘well at least I learned something’ category.
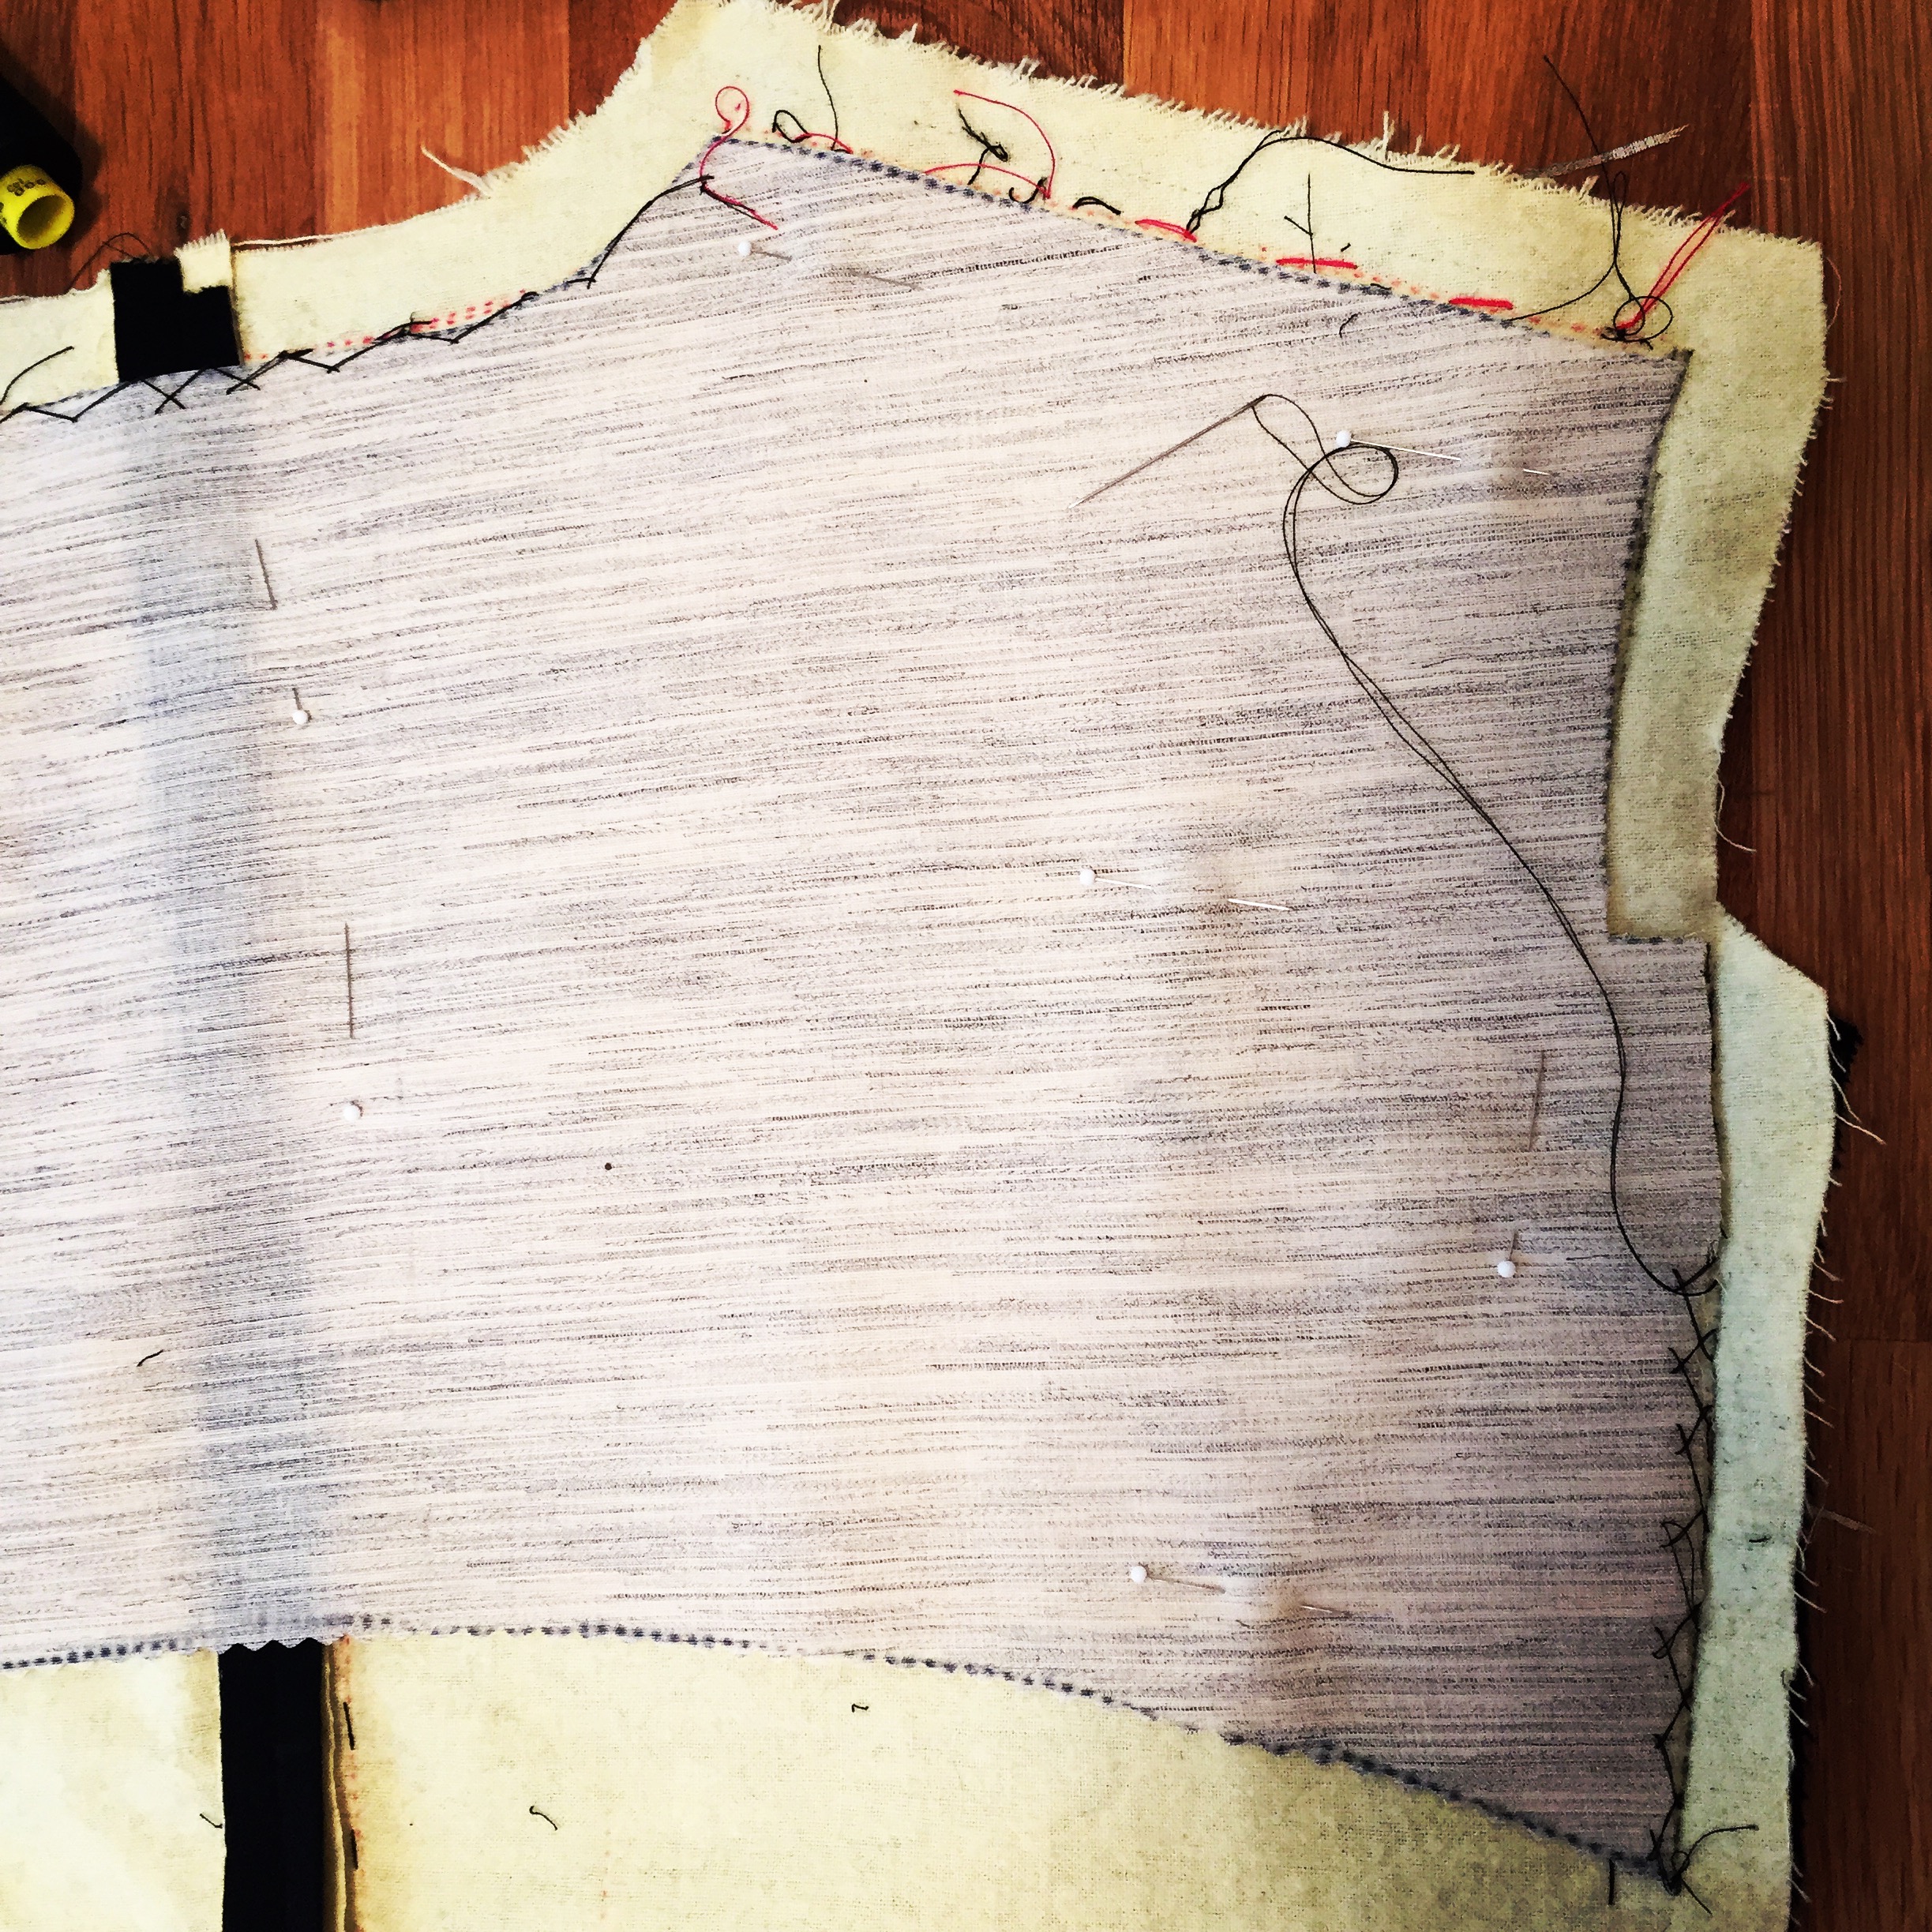
Here’s a progress shot. It makes me feel sad.
To remind myself that not everything’s a failure, I think it’s time to revisit the Inari Tee Dress from Named. I made two versions this summer and they were in heavy rotation through July and August.
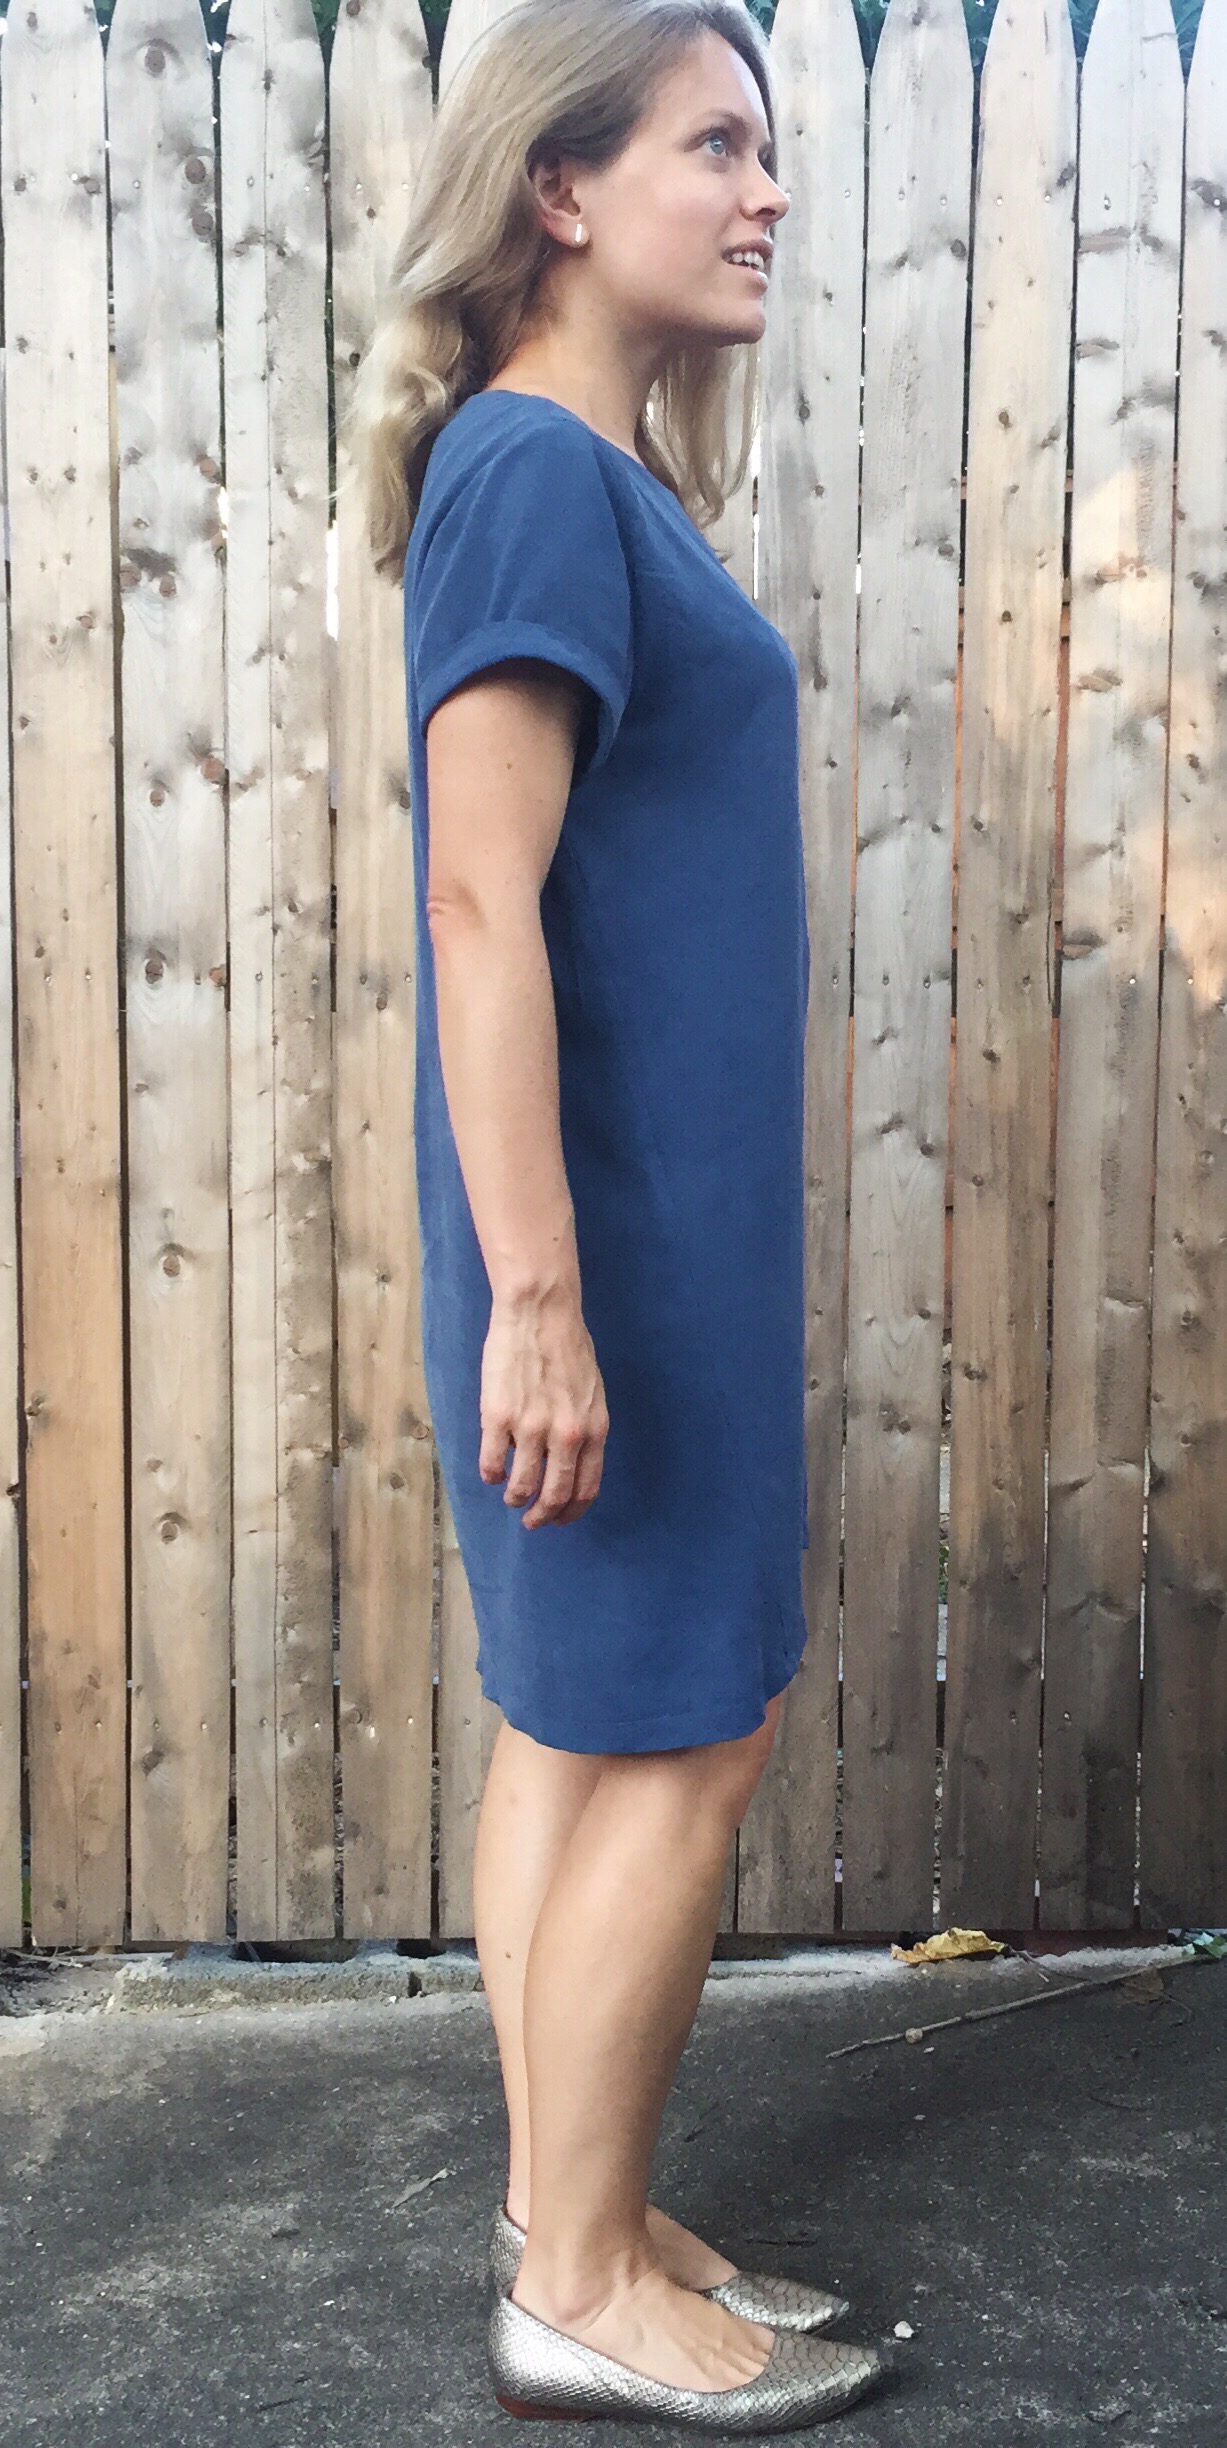
First, was in a black linen from Gorgeous Fabrics. The second I made up in a more work-appropriate heavier sueded silk from Fabric Mart Fabrics probably two years ago, and I eliminated the slits.


That’s right, a work appropriate sack dress — for the days when it’s just too gross outside to put on actual clothes.
For orientation purposes, there are three things in this post:
– How to modify the dress to eliminate the slits. In case you also want your sack-dress-at-work dreams to come true without showing everyone your thigh and/or bike shorts.
– How to construct an Inari dress with a lining.
– Some details on how I adjusted the pattern for my shorter and slightly bustier shape.
Up first, eliminating the slits. (I did this once I was happy with the rest of the fit, just fyi). On many garments, the slits are made on a straight seam, so eliminating the slit essentially consists of adding even amounts (or a godet) to each side. But the standout feature on the Inari dress is the cocoon shape where the back piece wraps around towards the front — we don’t want to lose that, so everything we add we’re going to add to the back pattern piece, as below. Makes sense? Here we go:
1. Lay out your front and back pattern pieces on a table, lining them up along the side seam. Ensure they’re touching at the slit notch, even if the curved lines means the flat pattern pieces bow out from one another above and below the notch.
2. Notice the gap between the front and back pieces below the notch. We’re filling this in. T
3. Fold the seam allowance away on both the back and front pattern pieces.
4. Take a piece of paper (I used swedish tracing paper but whatever you have), and slip it behind the pattern pieces. Trace a triangle that runs along the back piece stitching line and the front piece seam allowance. For now, finish out the triangle by drawing a straight diagonal line connecting the back piece and the front piece. Mark the slit notches on this triangle.
5. We need a little more walking ease than this triangle will give us. After all, sometimes we take big steps like this.

So, remove the paper, and trace a line up the center of the triangle to about one or two inches above the apex. Slice up that line with your scissors and then spread the triangle open by about two inches. (This will give you four extra inches of walking ease in the hem, two on each side). Tape this triangle down to another piece of paper.
6. Add a seam allowance to the side of the triangle that will abut the front pattern piece.
7. Tape your triangle to the back skirt, lining up the notches. Line the notches of the front pattern piece with the front triangle notches. Smooth the hem line into a nice curve that slopes up towards the higher front hem. If you like, make a smooth curve up towards the hip line of the dress. This is how my triangle ended up looking:

8. Now just unstick the front pattern piece and make sure there’s enough tape attaching the triangle that it won’ get all out of sorts. This is — I think — basically a cut-on godet. Leave it attached to the back pattern piece when cutting out your fabric and you will be good to go.
This will obviously change your construction order. You’ll sew all the way down the side seams since the hems are even, and you’ll simply turn the them up before stitching down (or catch stitching if you’re feeling very industrious). Here was my construction order for a lined version of the dress.
1. In main fabric: cut 1 back piece, one front piece, and two sleeves. In lining, cut a front piece and back piece.
2. Sew main fabric back and front together at the shoulder seams. Repeat for lining pieces.
3. Sew side seams in both your main and lining pieces.
4. Turn main dress right side out. Right sides facing, slip the lining over the main dress, pinning along the neck line and at shoulder seams to hold in place.
5. Sew dress and lining together at the along the neck line, understitch seam allowance to the lining fabric, and turn the lining into the main dress.
6. Pin at armholes.
7. Baste armholes together before finishing seams (serge or zigzag stitch in seam allowances).
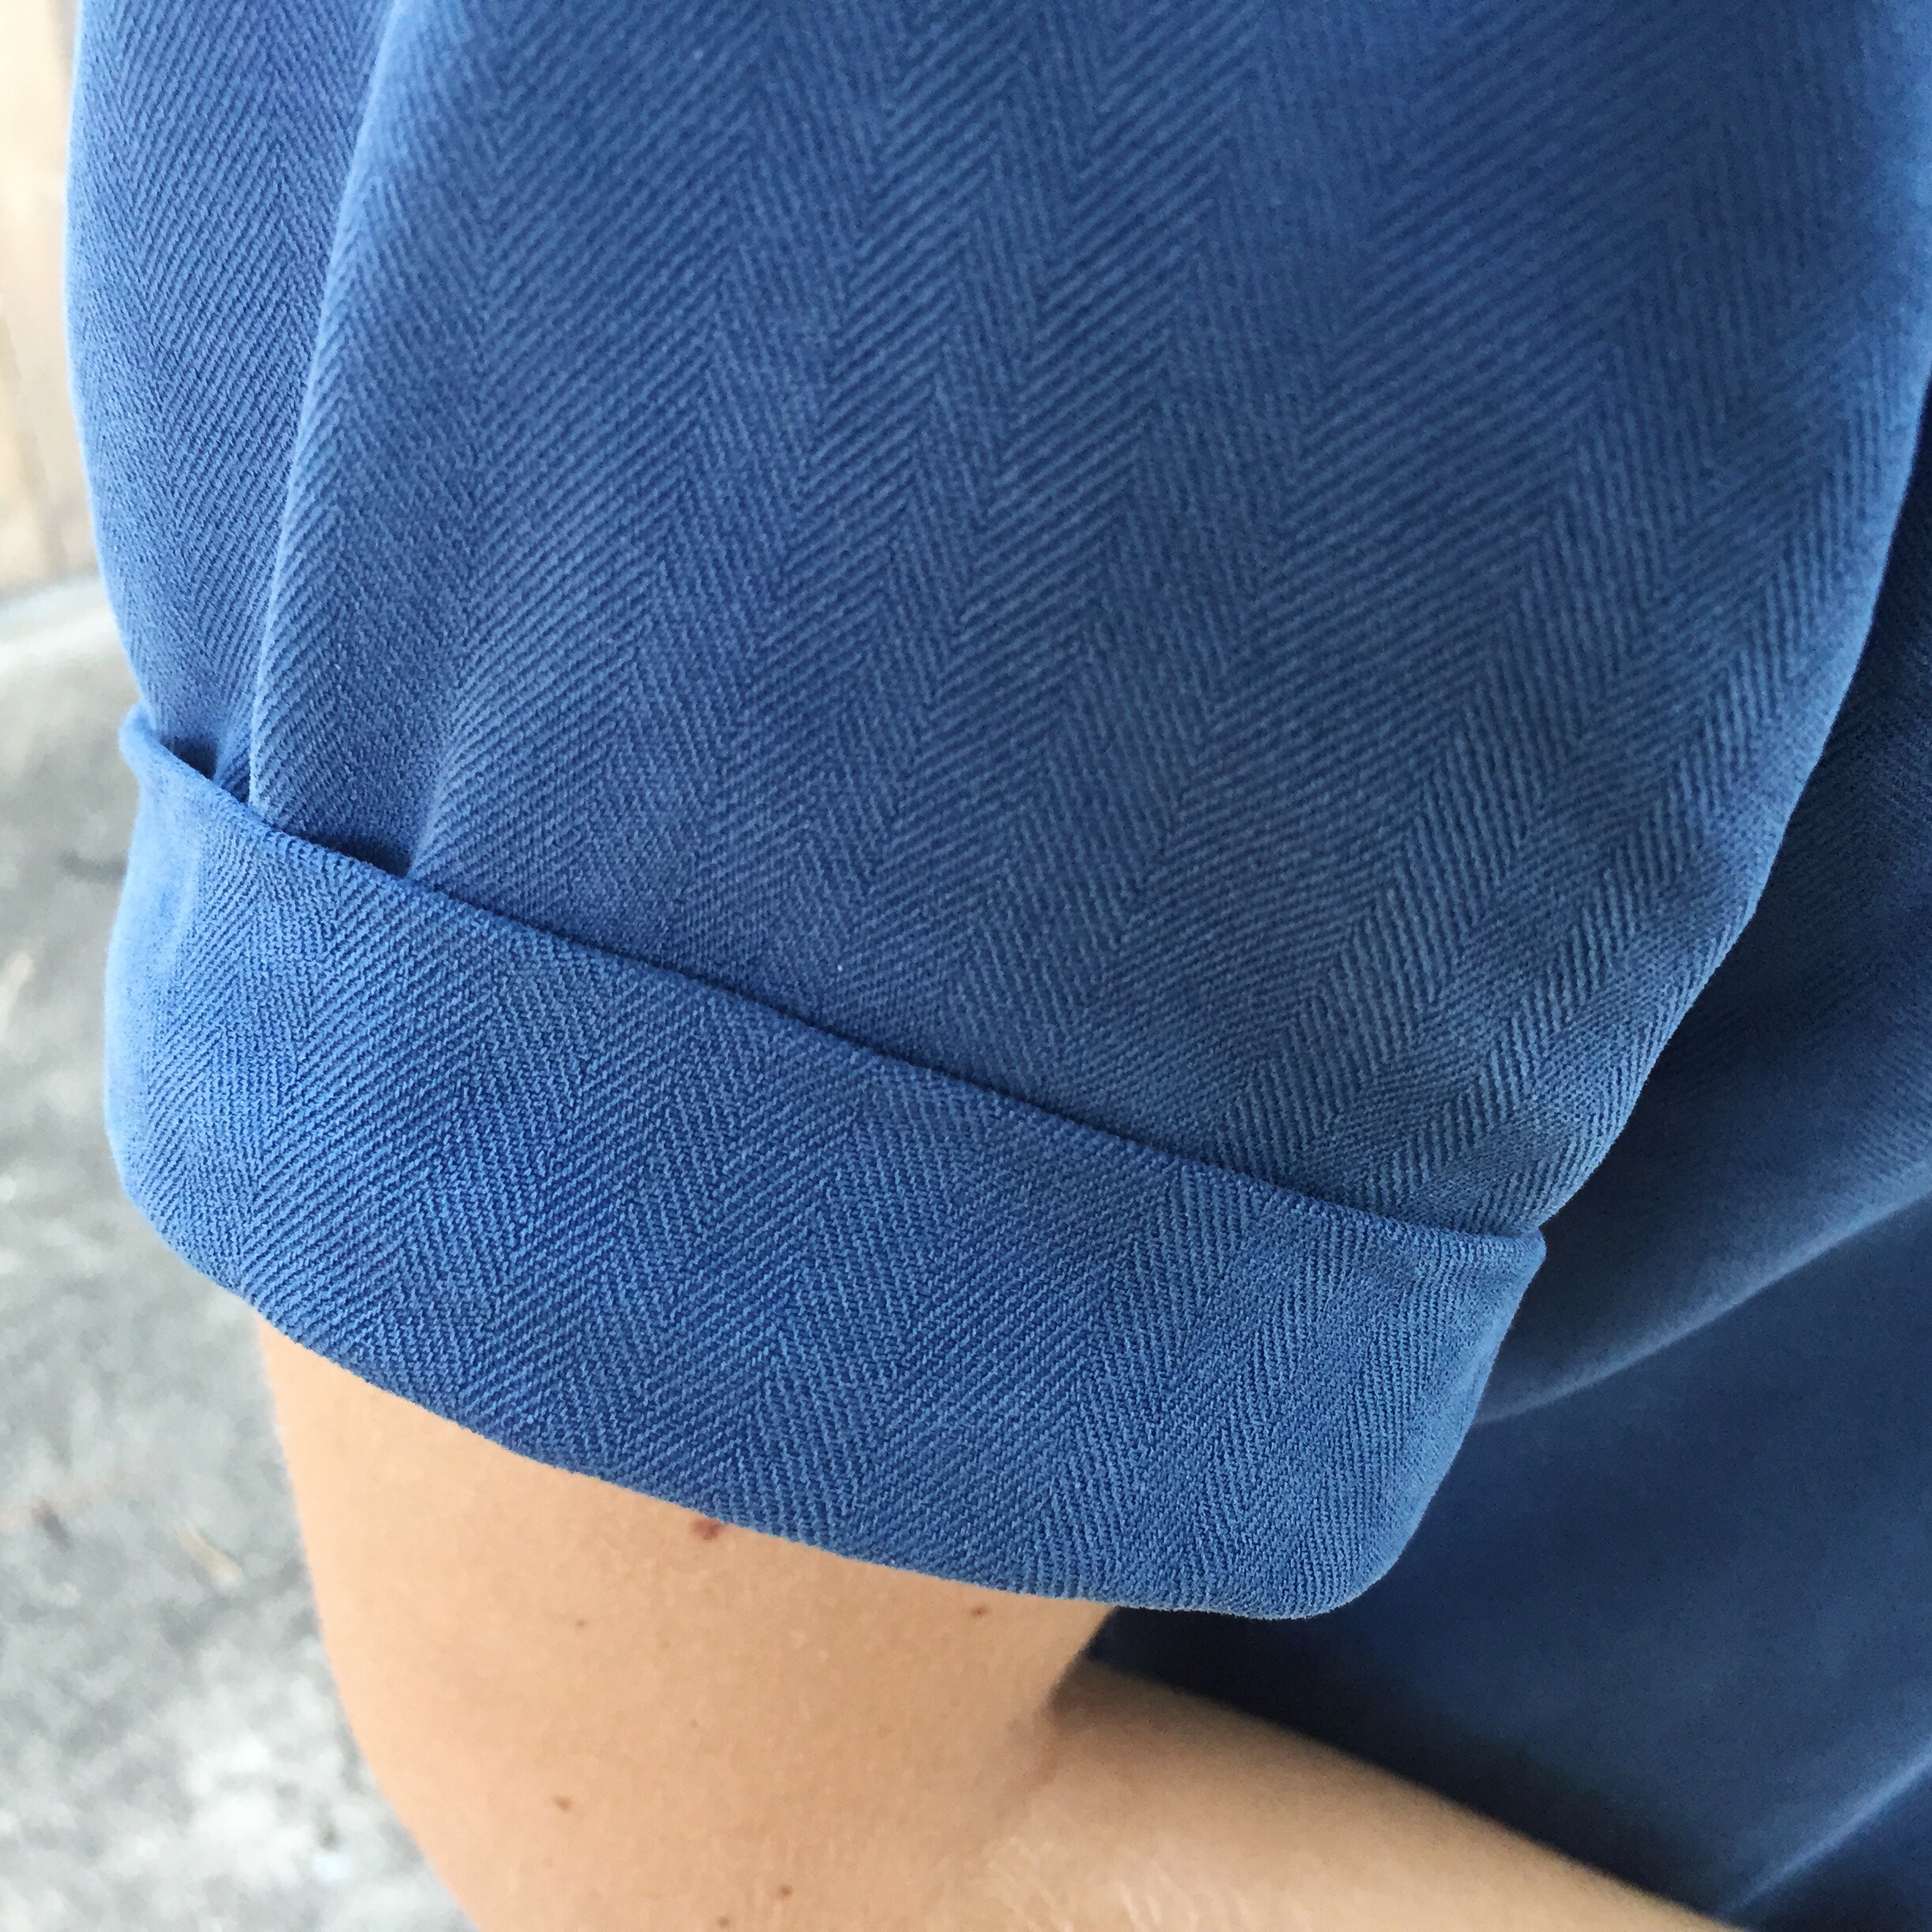
8. Construct the sleeves according to the Named instructions. Since we’re on sleeves, here’s a close up of the pretty cool sueded silk. It’s irregular herringbone is nice, but it feels really ‘dry’ to the touch, and every time I get a little bit of oil near the dress — messy eater — it like sucks it up immediately into the fibers. So I don’t know what that’s about.
9. Now affix the sleeves to the dress, treating the lining and main dress as one.
All make sense? You should have a lined, cocoon shaped dress at this point.
And now, for the fitting.
I’m 5’3” and Named designs for a 5’8” woman. This dress is meant to be mini, which isn’t really something I’m super comfortable with (whatup gymnastics quads). I ended up only removing 2” from the length, with roughly an inch (sorry, I couldn’t find my notes, just the old pattern pieces) from above the bust line and below the bust line, and the second inch from above the slit notches, so as not to distort the shape too much.
I also did a full bust adjustment using Maria Denmark’s tutorial for bodices without darts. See, not too many drag lines!
I was really nervous it wouldn’t work for a woven pattern, but it totally did. In this photo the red seam line is after full bust adjustment, with original seam line drawn on for context. Pretty interesting.

Whoo. There you go. 1,000 words of musings on a simple sack dress.

Great post, very thorough. I just love NAMED patterns, and I really like what you’ve done with your Inaris.
Thanks so much! I know about Named — I wanted to buy probably 80% of their new collection immediately. I’ve managed to hold off for now, but not sure how long that will last.
I’ve already told my husband that all I want for my birthday are their partners!
Oh good call. We just move house, though, so I feel like all presents for all occasions for the next two years are going to be house related and not seeing related…
Bummer! But hope the new house is going well.
Lovely. That blue silk one comes up beautifully in the photos and it looks like a dream to wear!
Thank you. The blue silk one is really nice to wear, though I have to be a little precious with it when I eat since the fabric basically begs to get stained
Wooooow at this point you HAVE to finish that coat, but I can imagine that you’ve learned a lot. I’m starting myself off easy with a Clare coat as my first attempt (no pad stitching for these fingers just yet). Also those Inaris look great on you – I think the shape and the cuffs makes it look way more polished than a typical sack dress. Aaaand thanks for that FBA tip! I’ve only seen methods that add a dart and sometimes you just don’t want a dart, right?
Yeah, like all the times I don’t want to add a dart.
I think just as bad as the hand sewing was not understanding what was going on with fit and construction. If you’ve made a jacket, should be easy enough to wrap your brain around. If you’re just cutting out your fabric like woooooooo I’ll figure it out later if it fits, massive seam allowances solve everything WHATEVER!!!!!! then you will understand how I’ve got myself in this position.
I like Clare and have the pattern! I’ll like to see it on you and hear how the fba goes if you’re using the asymmetrical pattern.
Just wasted to say hi. I am a friend of your father and an avid sewist myself.
Hi Michelle! I’d love to see some of your stuff sometime if you write about it.
Thank you so much for the detailed information! I am also quite short and a little bustier than the Named gals have in mind. Despite *really* liking the Inari style, I have put off purchasing/ sewing the pattern for all of the reasons that you have have addressed in your post (side slit, bust issues etc…). It is so useful to have your notes on modifying the pattern!! Thank you so much…
I’m so glad! Would love to see yours if you do end up making one!