
Look, I don’t know what came over me (aside from constantly tripping over various measuring tools, never being able to find the right color thread, and laying out cut pieces on the floor in another room all the time). But about three weeks ago I decided that the answer to at least some of my sewing stagnation was a pegboard.
Not a small, precut pegboard, but a gigantic one that takes up the whole wall and can HOLD ALL OF THE THINGS. All of the thread anyway.
Fine. But that project let me down the rabbit hole of other organizational whatever and here we are today with a clean sewing room and easily accessible tools and patterns. Let’s take a look, shall we?
Here’s the entrance:

This is a funny room. Previous owners — we don’t know which ones or when — put an addition on to the back of the house. In the downstairs, that addition expanded the kitchen and made room for a small bathroom. In the upstairs, it got us this 6.5 foot by 8 foot micro room that is down two stairs from the back of the small third bedroom and not accessible except by walking through it. The rowhomes in DC are charming to look at from the outside. On the inside, they can be quite funny if you don’t have the cash on hand or willpower in your soul to rip everything out and start over on the interior — layers and layers of decisions and updates made by generations of owners. In our house, that means some weird little archway windows in a wall, the original winding staircase intact, some gorgeous old pine floors uncovered from some pretty rank carpeting, and this micro room.
(We made out great, btw. In one house we looked at, owners installed a massive grand staircase flanked by two pillars smack dab in the middle of the master bedroom that went to a — i dunno — 5 foot by 5 foot storage space in the peaked roof. I wish I had a photo.)
Not sure what a non-sewer would do with it, but the micro room is an amazingly functional lady cave, the cringe-worthy name Dr. Wasted uses to describe it.
To the left of the entryway, we now have some wall-mountable magazine portfolios; a tiny shelf that holds marking tools, pencils, sharpeners, and pens; and my ill-advised but quite successful DIY pegboard.


I made it. I used lumber and a jig saw and wood glue and everything. I’ll try to write about it soon but in the meantime, know that I basically single white femaled Laura at A Beautiful Mess. Even down to covering the back of my cutting matt with a Chasing Paper (read: fancy contact paper) design so that the dull turquoise of my favorite cutting tool doesn’t detract from the bright feel of the room. (Fussy, I know.)
On the back wall is a magnetic message board with a shelf. I’ve used this to put up the pattern I’m working on at the moment, a couple of notes, and my magnetic pin holder. My thinking is that I’ll put instructions up here when I’m mid-project so that I’m not constantly losing them under fabric.
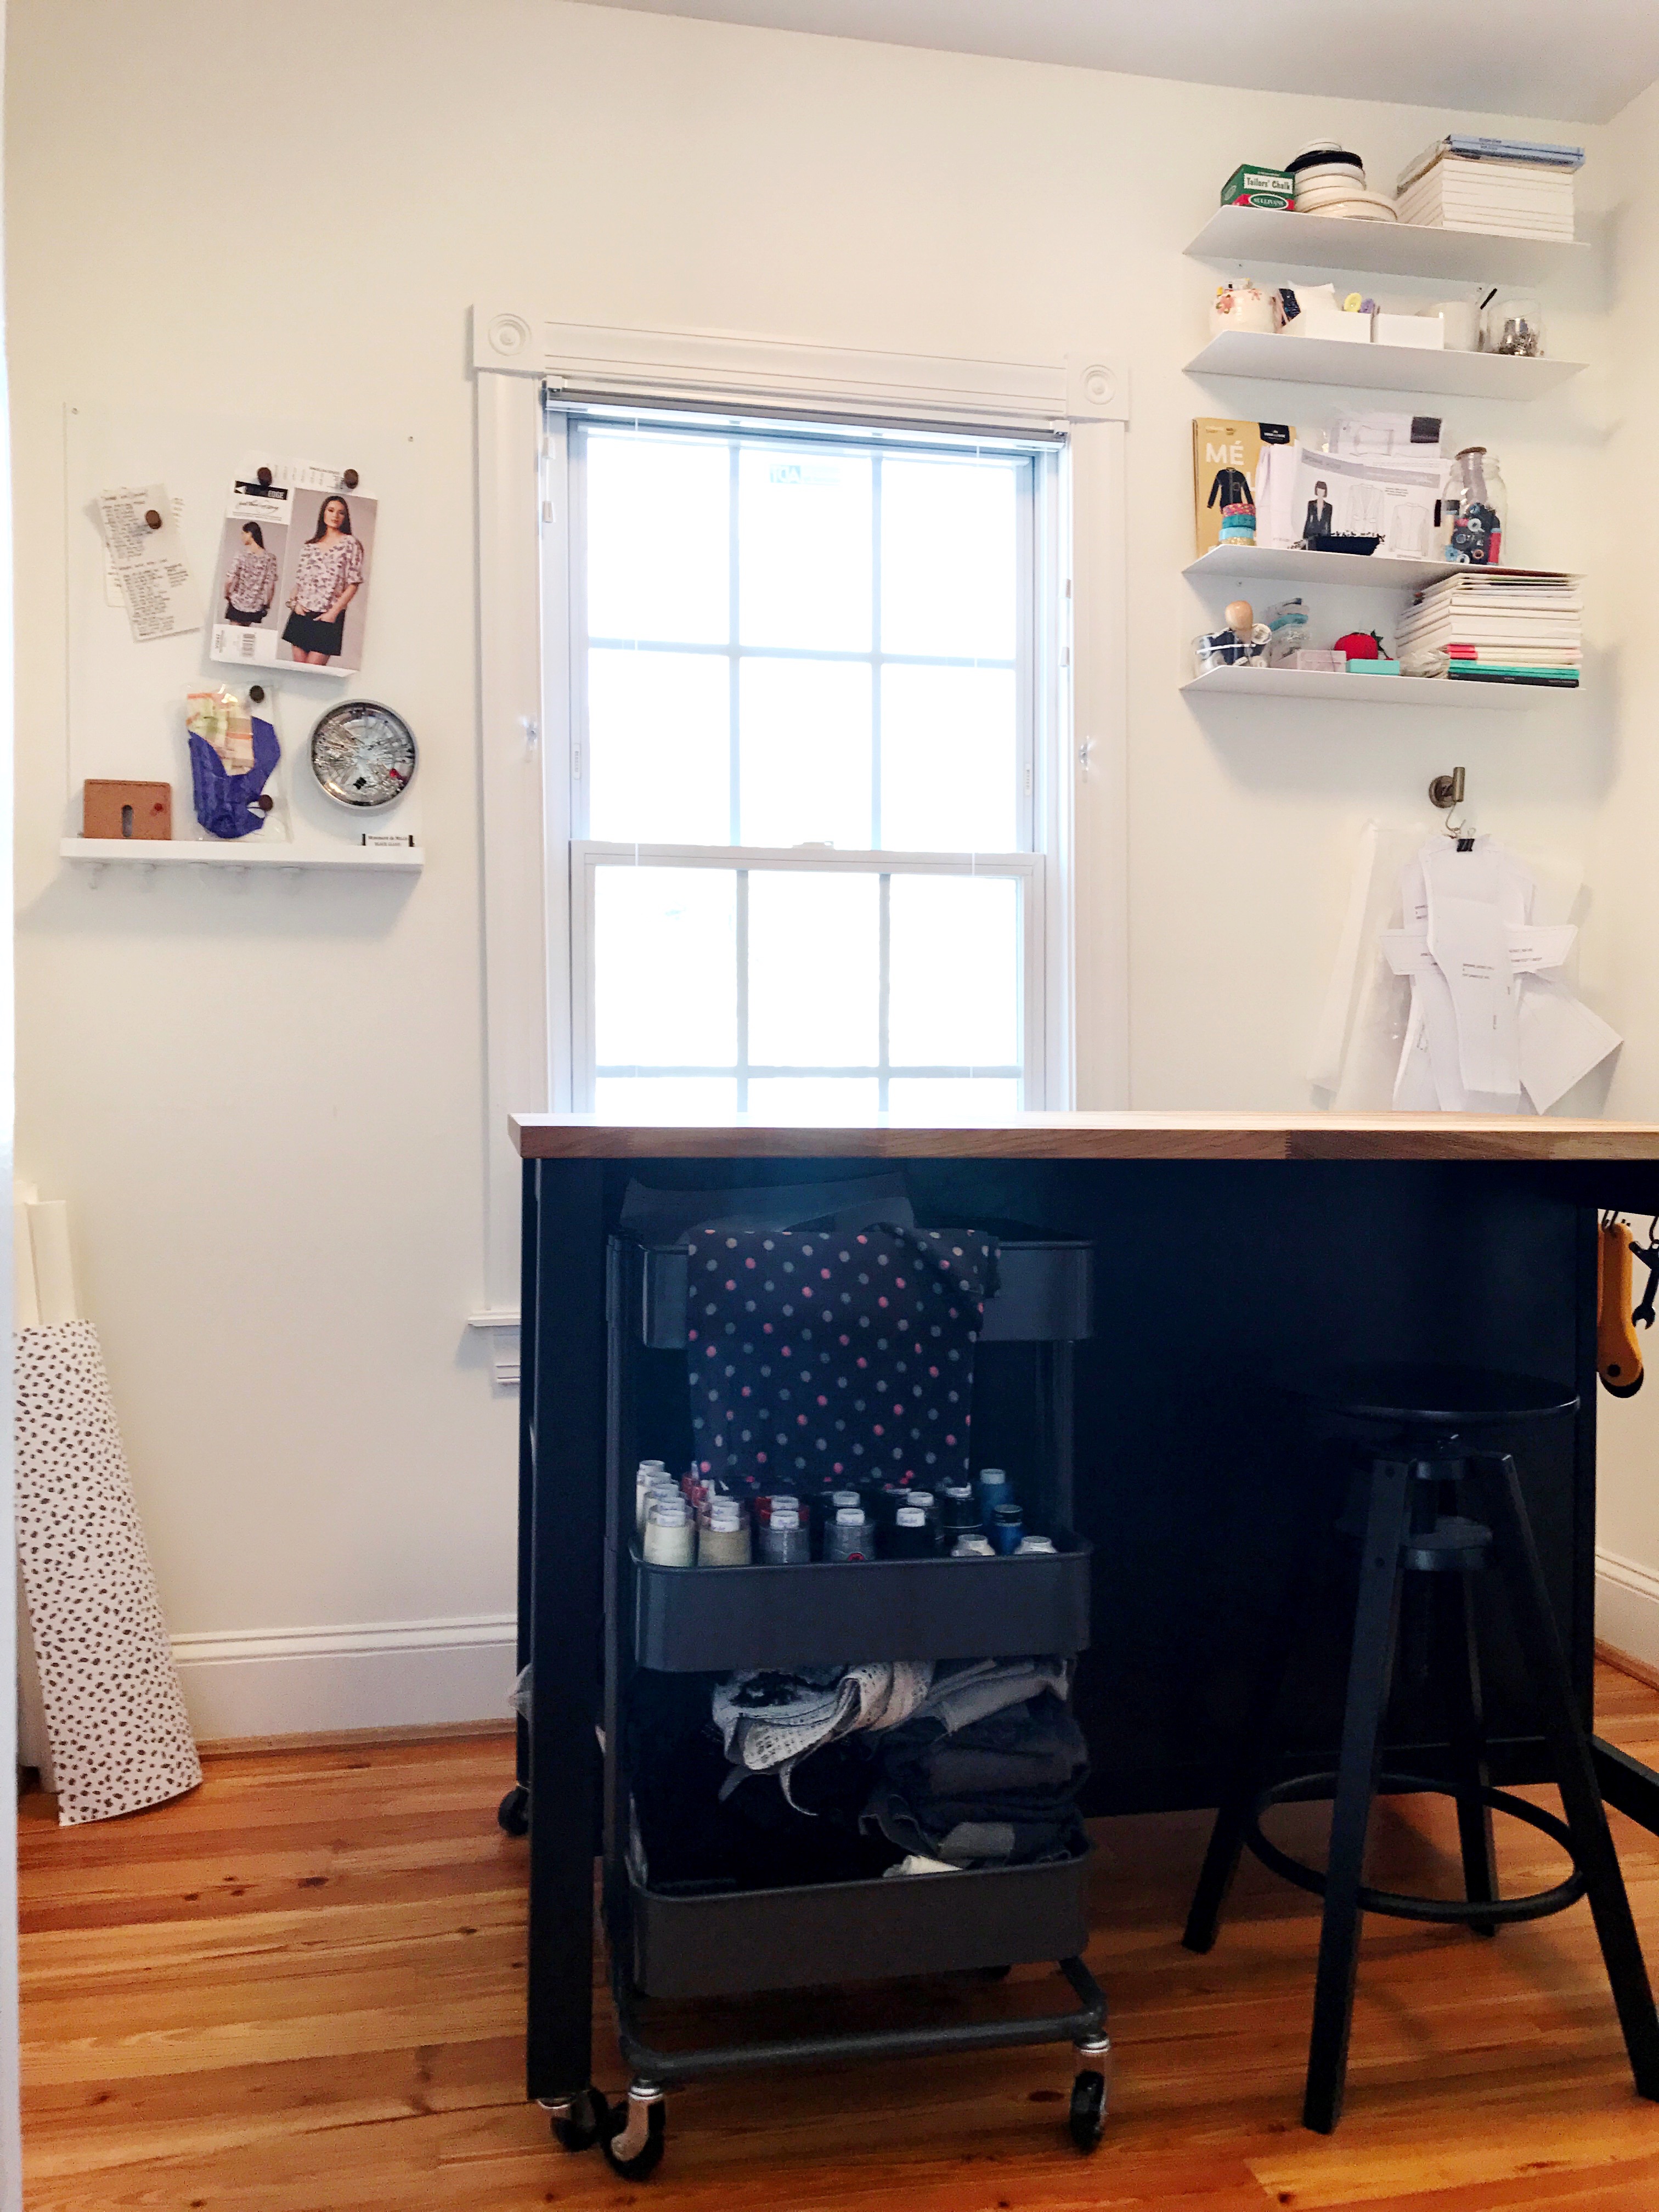
On the other side of the window are these two (brilliant) “staple” shelves, the shape of which gets you two shelves for the price of one drilling and mounting expedition.

Patterns and sewing notions I don’t need frequent access to (like bias tapes, etc) on the top. More patterns, stuff I use with more frequency (hand sewing needles, silk basting thread, etc) on the bottom shelf.
I also mounted a robe hook (originally bought for bathroom door and then abandoned) underneath the shelves to hang pieces of whatever paper pattern I’m working on at the moment. It’s awesome not to have those pieces floating around on the limited floorspace.
By getting all of my threads, needles, bias tapes and other small notions onto shelves, I freed up a lot of room on the Ikea Raksog cart that lives under the adapted Ikea kitchen island that is my cutting table.
That has been a total win as well. Projects in process (i.e.: cut pieces and pattern pieces for reference) are now on the top shelf of the Raksog, some other fabrics that are being worked on in the bottom, and serger thread cones in the middle.
Where does the rest of my fabric live? And the machines?
In the closet.

You don’t get a picture of the insides, though, because it is embarrassing. Let’s just say it’s time for some fabric purchasing abstinence.
As for cutting table, that is a minor hack of the Ikea Stenstorp kitchen island, ripped off of Tilly and the Buttons and executed more than a year ago. In our old apartment, we had a second bedroom with a long desk where my sewing machine lived and space for this cutting table. When we moved, I’d originally thought I’d need a table for the sewing machine, but it’s worked out pretty well to store the serger and sewing machine on this little step inside the closet, and use them on top of the cutting table. Even easier now that the cutting table isn’t quite as susceptible to being covered with crap.
Anyway! I’ve tried to link to things I’ve found useful in overhauling this little space. Any qs, though, let me know!

Amazing! Looks great!
Thanks, Mom.
You’re a boss. This is so, so good.
Also the first time I encountered the verb, “single white female,” which is still unclear to me.
Dude, thanks. It feels so, so much better to be in the room than it did before! As for SWF, here’s your answer: https://www.google.com/amp/s/www.urbandictionary.com/define.php%3Fterm%3Dsingle%2520white%2520female%26amp%3Dtrue
fantastic. It doesn’t look like a micro room – looks amazingly big and I wasn’t expecting it to have an actual closet – what a bonus. ps. did I spy the greatest skirt pattern ever as your work in progress?
Thanks! Photo angles, white paint, and mirrors help, but part of what makes it seem small might be the footprint of the cutting table, which is ~4 ft x 2.5 ft. You couldn’t put a chair in there unless it fits under the cutting table.
And yes! Vogue 1247 it is. I’ve done one in a weird heavy-ish woolen jacquard and am in the midst of a second in a bottoms weight stretch woven. Slow-to-blog though so am going to roll them into one post.
Yep your micro room is ginormous compared to my wee shed. It’s also got brilliant light. lovely!
Your wee shed is great! I love that it’s a little sealed off — though I bet in the spring and summer you’ll have little visitors.
Sighing in admiration here – what a fantabulous lady cave! Loving the ikea hack too 🙂
Thanks so much. I also love that Ikea hack — was a bit scary to execute once I had saw-in-hand though!
It’s so lovely, the pegboard is awesome!! I don’t yet have a sewing but I can dream and happily get inspiration from others (that means stealing everyone’s ideas 😁) for when mine finally happens. Love that it’s so bright ☀️
❤ thank you! Yes, took me a few years to get to a point where it was serious enough and we had enough room to carve out some space!
Ooo I am soo jealous. Love your peg board – did you also make the thing all your threads are on, how did you mount this? Love the look.
Oh! Good question, I forgot to add that. These are pre-made thread racks that I got off amazon, the type sold as being wall mountable or freestanding (there are two legs that swing out from the back). It’s two 60-spool racks side by side — what I thought would best suit my board’s dimensions. They’re just hung on the peg board atop two “L” hooks that come in standard pegboard accessory kits.
Ooo good to know! Thank you!
😍😍 this is amazing and I am super jealous
Thanks so much!